

LG LP1014WNR/00 Owner’s Manual

OWNER’S MANUAL
AIR CONDITIONER
Please read this manual carefully before operating
your air conditioner and retain it for future reference.
TYPE PORTABLE AIR CONDITIONER
MODEL LP1014WNR
www.lgappliances.com
INTRODUCTION
IMPORTANT SAFETY INSTRUCTIONS
Basic Safety Precautions . . . . . . . . . . . . . . . . . . .3 - 6
Electrical Safety
. . . . . . . . . . . . . . . . . . . . . . . . . . . . . 6
PARTS AND FEATURES
Key Parts and Components . . . . . . . . . . . . . . . . . . . 8
HOW TO USE
Before Using Your Air Conditioner
Control Panel and Remote
. . . . . . . . . . . . 9, 10
. . . . . . . . . . . . . . . . 11,12
INSTALLATION INSTRUCTIONS
Preparing for Installation
Selection of Installation Location
Attaching the Hose and Diffuser
Window Vent Panel and Extensions
Installation in Vertical Sliding Windows
Installation in Casement Style Windows . . . . . . .18,19
. . . . . . . . . . . . . . . . . . . . . 13
. . . . . . . . . . . . . . . 14
. . . . . . . . . . . . . . . 14
. . . . . . . . . . . . 15
. . . . . . . 16,17
CARE AND CLEANING
Water Drainage
Cleaning the Case. . . . . . . . . . . . . . . . . . . . . . . . . . 21
Cleaning the Air Filter . . . . . . . . . . . . . . . . . . . . . . . 21
Storing the Air Conditioner
. . . . . . . . . . . . . . . . . . . . . . . . . . . .20
. . . . . . . . . . . . . . . . . . . . 22
THANK YOU!
Congratulations on your purchase
and welcome to the LG family.
Your new LG Air Conditioner
combines high-efficiency operation
with portable convenience.
If you follow the operating and care
instructions in this manual, your air
conditioner will provide you with
many years of reliable service.
TROUBLESHOOTING
Before Calling for Service
. . . . . . . . . . . . . . . . . 23,24
WARRANTY
Product Registration Information
. . . . . . . . . . . . . . .25
2
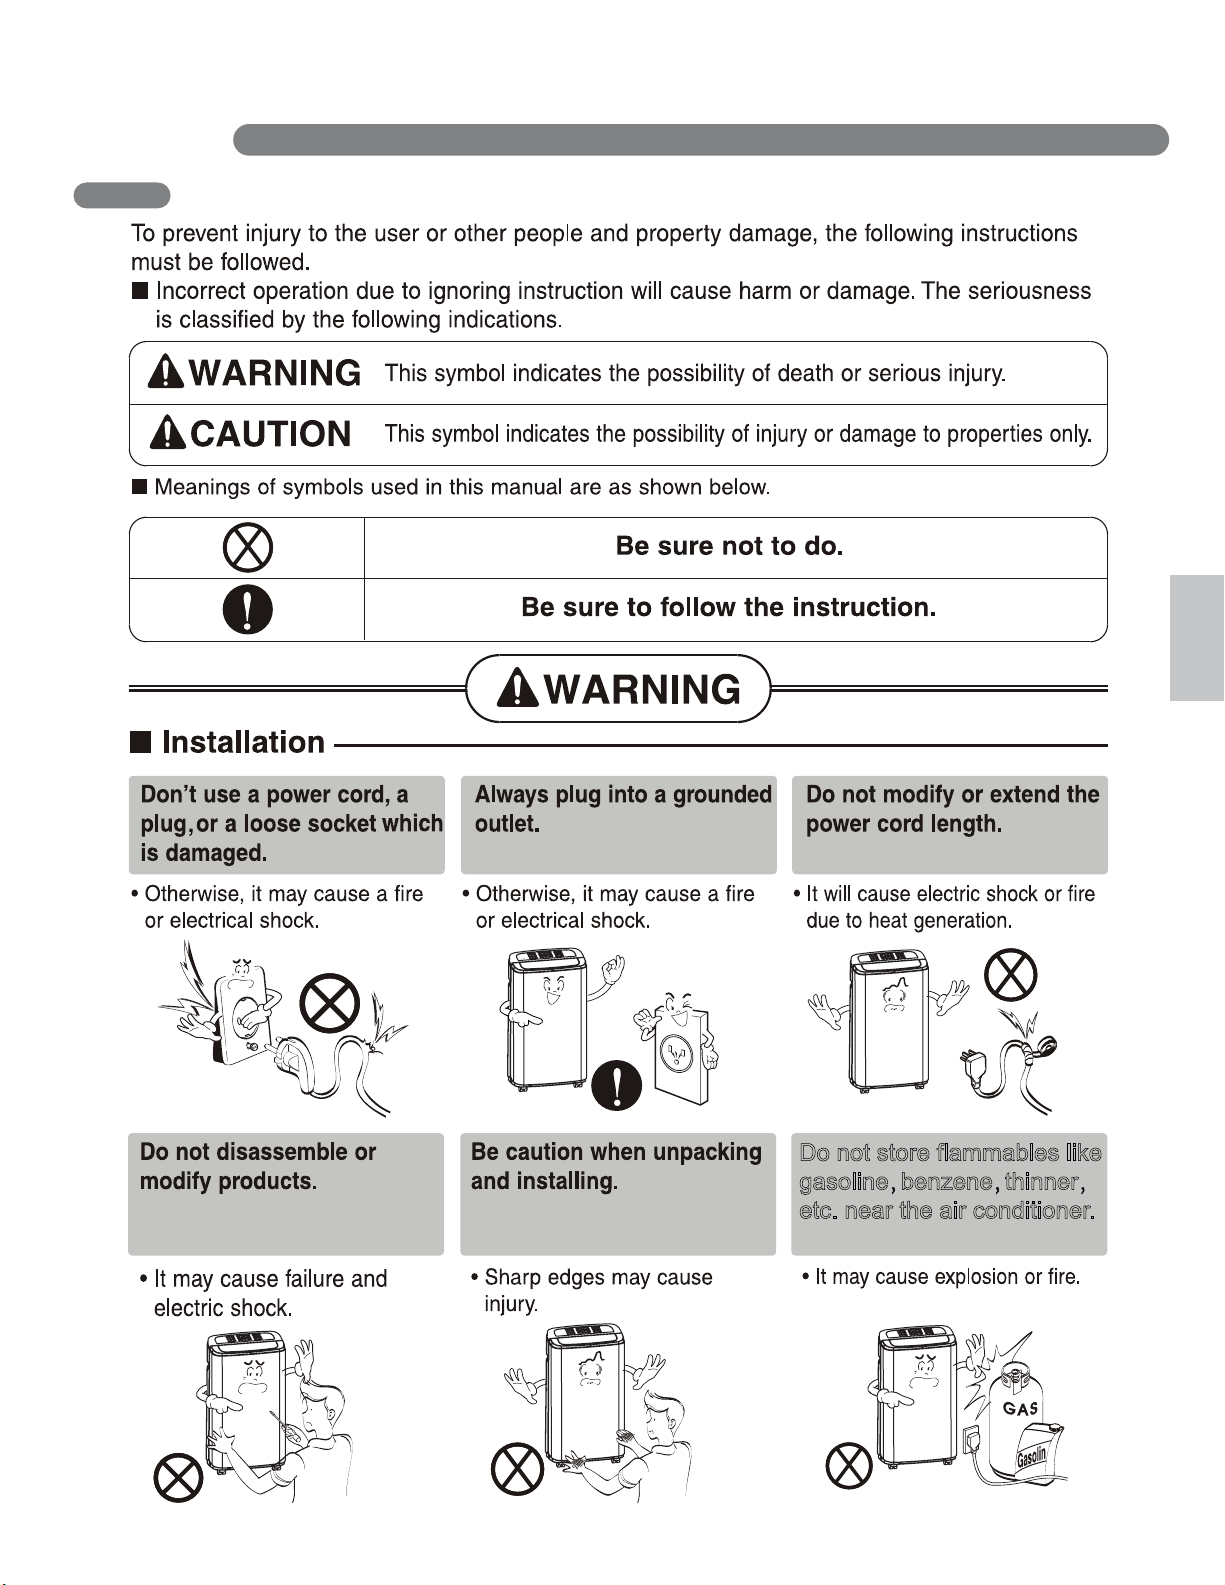
I MPORTANT SAFETY INSTRUCTIONS
BASIC SAFETY PRECAUTIONS
Do not store flammables like
gasoline benzene thinner
etc. near the air conditioner.
EnglishEnglish
3
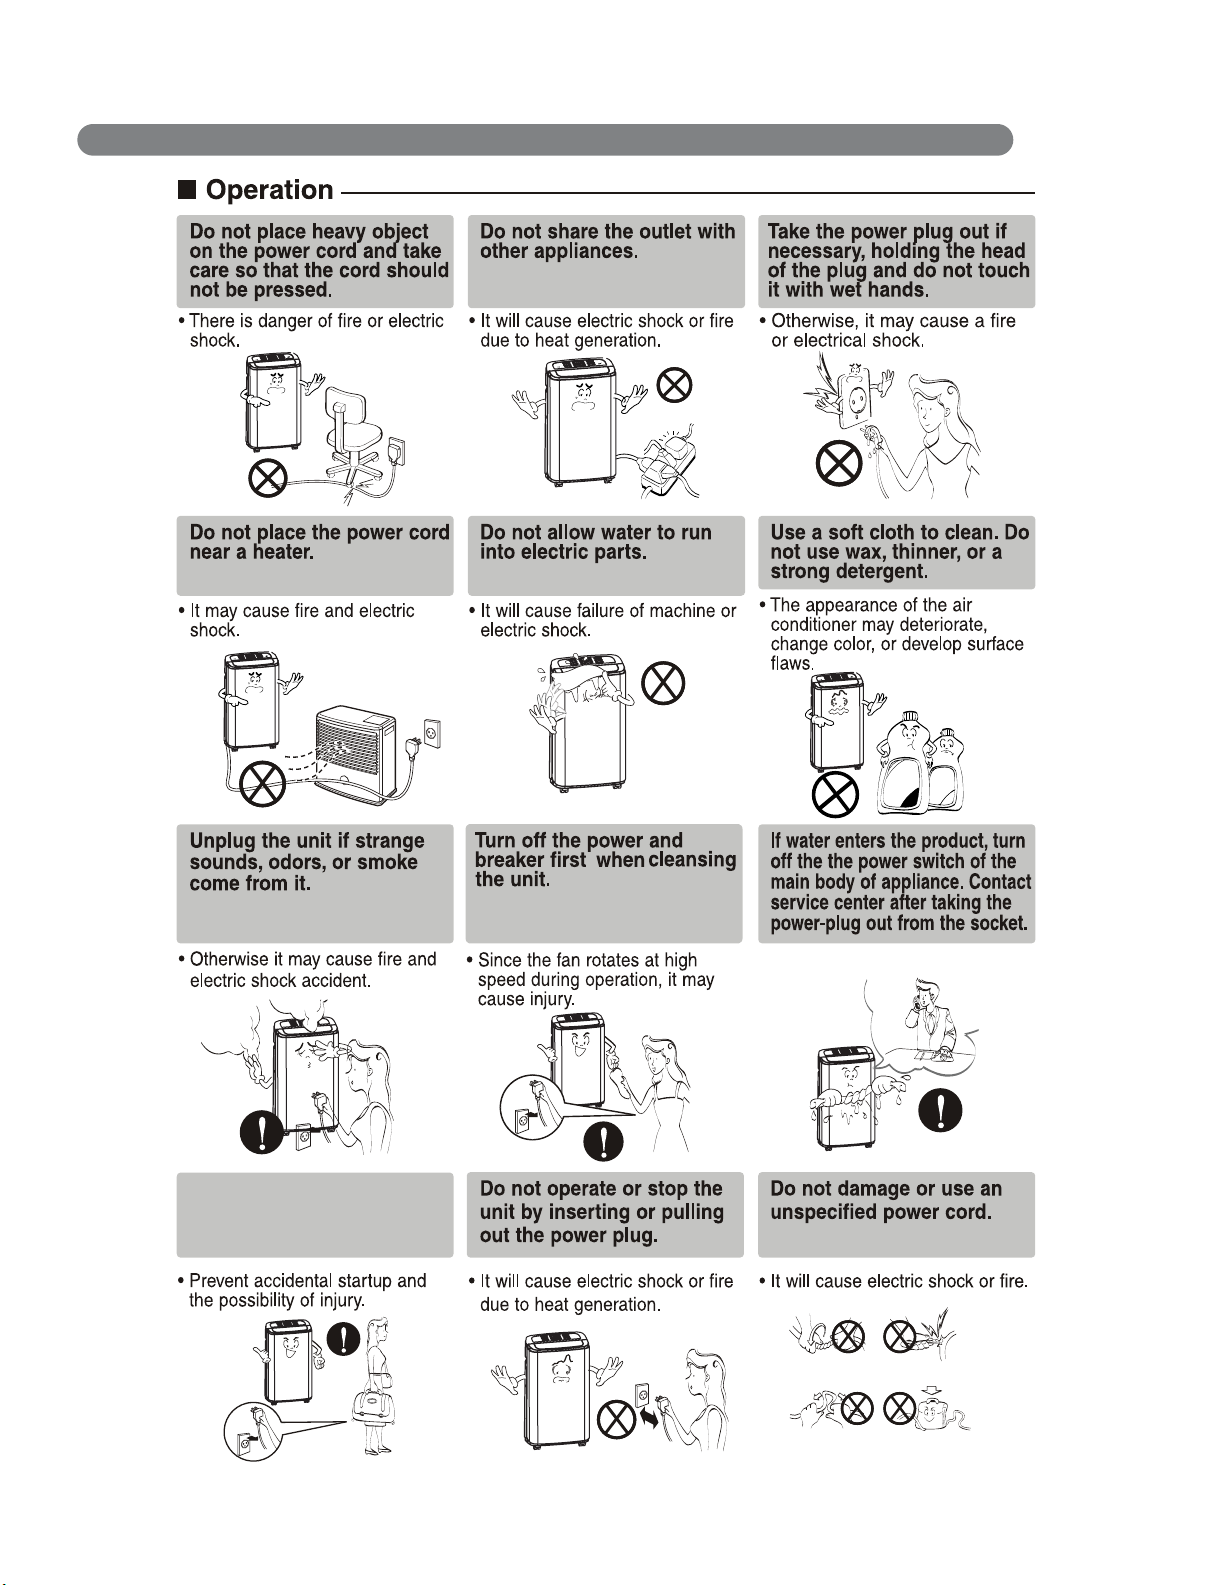
I MP OR TA NT S AF E TY I NS TR UC TI O NS
Unplug the unit when not
using it for a long time.
Wax
Thinner
4
I MP OR TA NT S AF E TY I NS TR UC TI O NS
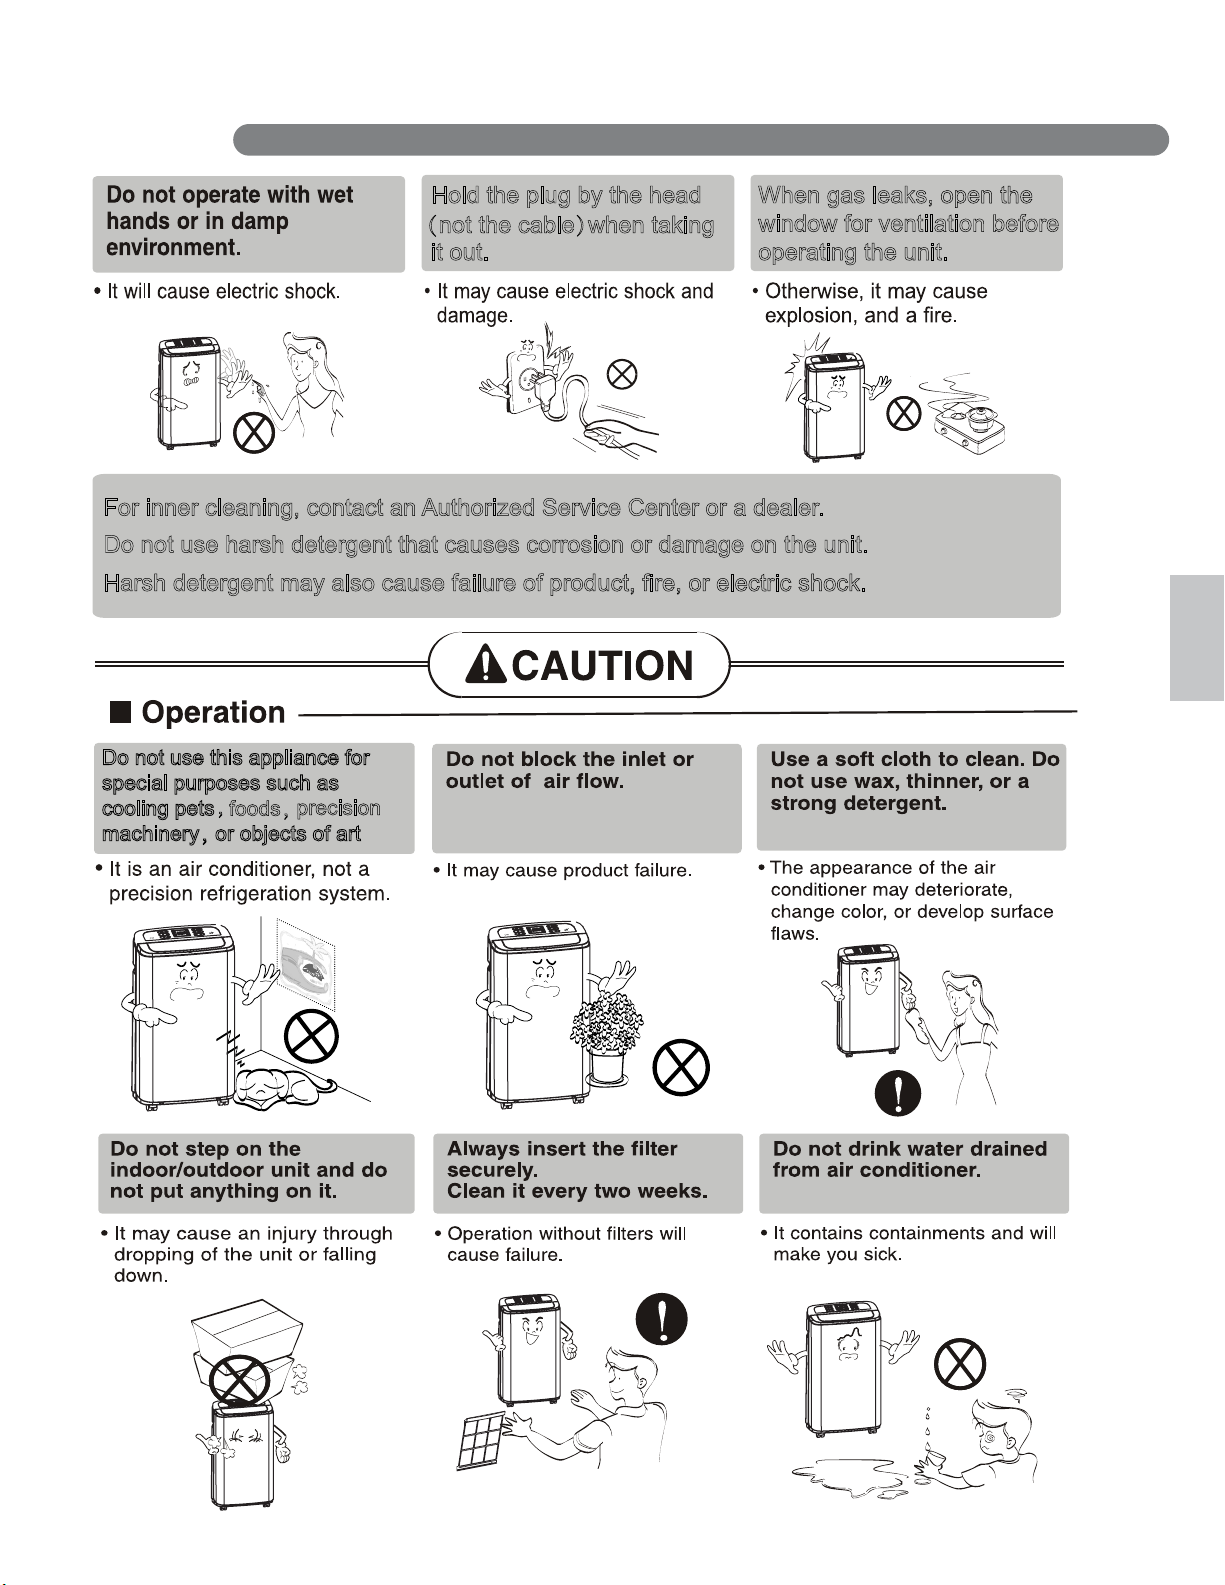
Hold the plug by the head
(not the cable)when taking
it out.
For inner cleaning, contact an Authorized Service Center or a dealer.
Do not use harsh detergent that causes corrosion or damage on the unit.
Harsh detergent may also cause failure of prod
Do not use this appliance for
special purposes such as
cooling pets
machinery,or objects of art
,
foods,
precision
uct, fire, or electric shock.
When gas leaks, open the
window for ventilation before
operating the unit.
EnglishEnglish
5
I MP OR TA NT S AF E TY I NS TR UC TI O NS
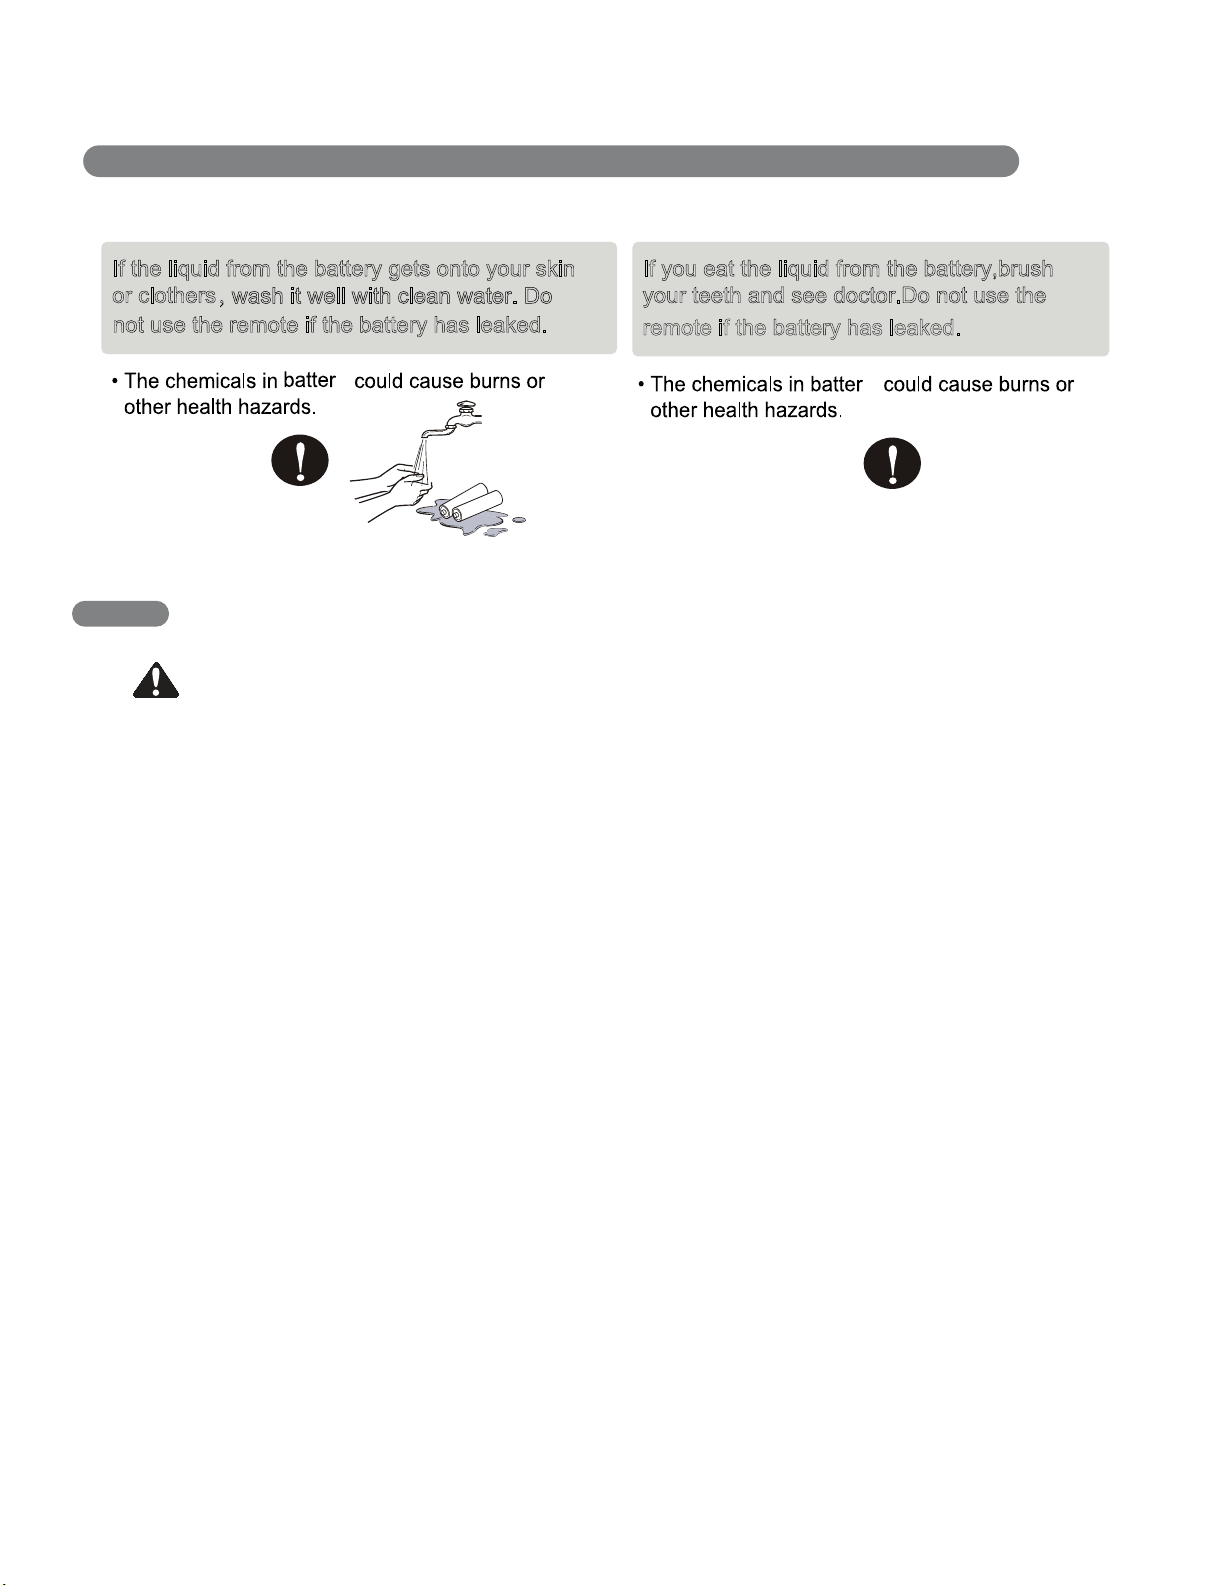
If the liquid from the battery gets onto your skin
or clothers,
not use the remote if the battery has leaked.
wash it well with clean water. Do
y
ELECTRICAL SAFETY
WARNING
Electrical Shock Hazard
Failure to follow these instructions can result
in death, fire, or electrical shock.
• This unit must be properly grounded.
• Do not, under any circumstances, cut or
remove the ground prong.
• If you do not have a properly grounded
outlet, or if there is any doubt that the outlet
is not properly grounded, a qualified
electrician should check the outlet and
circuit, and, if necessary, install a properly
grounded outlet.
If you eat the liquid from the battery,brush
your teeth and see doctor.Do not use the
remote if the battery has leaked.
y
• This air conditioner must be plugged
into a grounded 60 Hz, 120 VAC outlet
protected by a 15 amp time delay fuse
or circuit breaker.
• This air conditioner must be installed in
accordance with national wiring codes.
• Do not alter or modify the plug or cord
of this air conditioner. If the power cord
becomes worn or damaged, the cord should
only be replaced by a qualified service
technician using genuine replacement parts.
• Do not use an extension cord.
6
I MP OR TA NT S AF E TY I NS TR UC TI O NS
READ ALL INSTRUCTIONS BEFORE USE
ELECTRICAL SAFETY
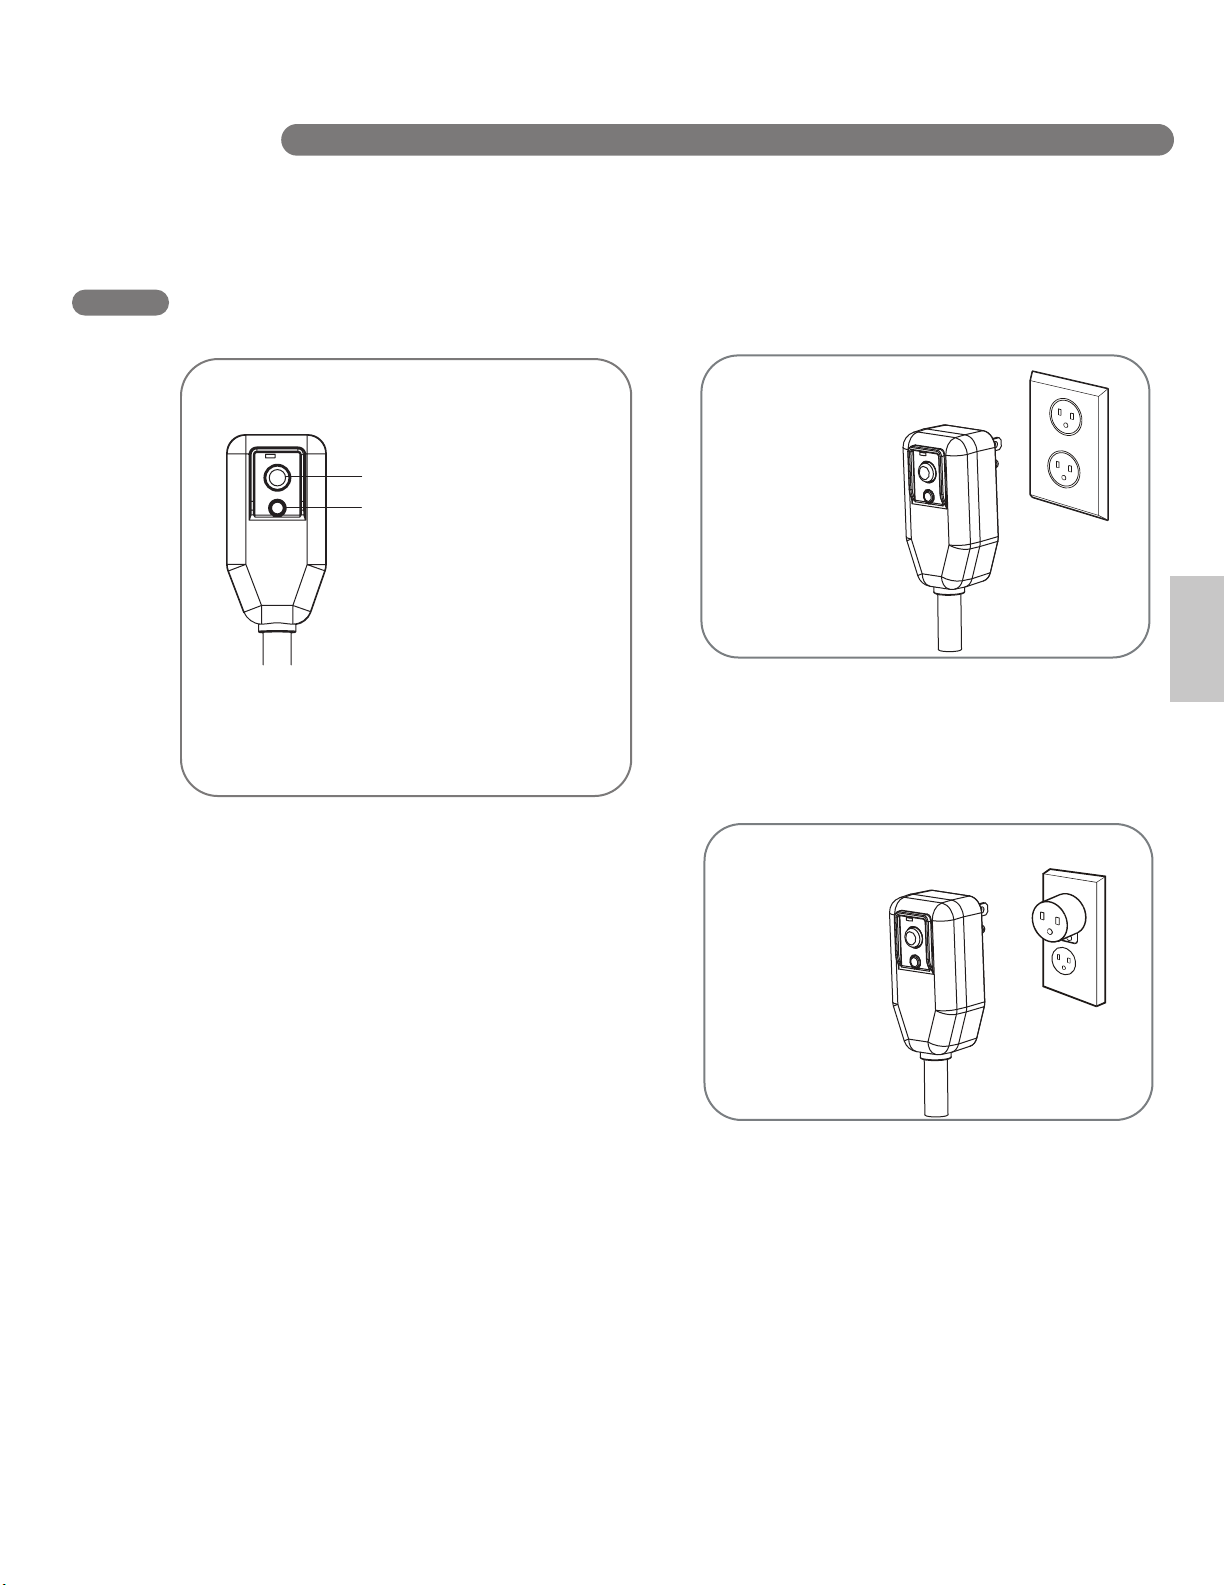
INTEGRATED CIRCUIT BREAKER
For additional safety,
the power cord
Reset
Test
button then the RESET button. If the TEST
button does not cause the circuit breaker to trip,
or if the RESET button will not stay engaged,
unplug the air conditioner immediately and
contact your LG service technician.
Due to potential safety hazards, the use of
an adapter plug is strongly discouraged.
For temporary connections, use only a
UL-listed adapter. Ensure that the large slot
in the adapter is aligned with the large slot
in the outlet.
features an integrated
circuit breaker. Test
and reset buttons are
provided on the plug
case.
The circuit breaker
should be tested
periodically by
pressing the TEST
PREFERRED
GROUNDING METHOD
Ensure proper
ground exists
before use.
English
TEMPORARY GROUNDING
METHOD
To prevent damage to the adapter’s ground
terminal, hold the adapter in place while
plugging in or unplugging the air conditioner.
• Attaching the adapter ground terminal to
the wall receptacle cover screw does not
ground the appliance unless the cover
screw is metal and not insulated, and the
wall receptacle is grounded through the
house wiring.
SAVE THESE INSTRUCTIONS
Ensure proper
ground exists
before use.
• Frequent connection and disconnection
can damage the ground terminal on the
adapter. Never use a broken or damaged
adapter.
7
P AR TS A ND F EA TU RE S
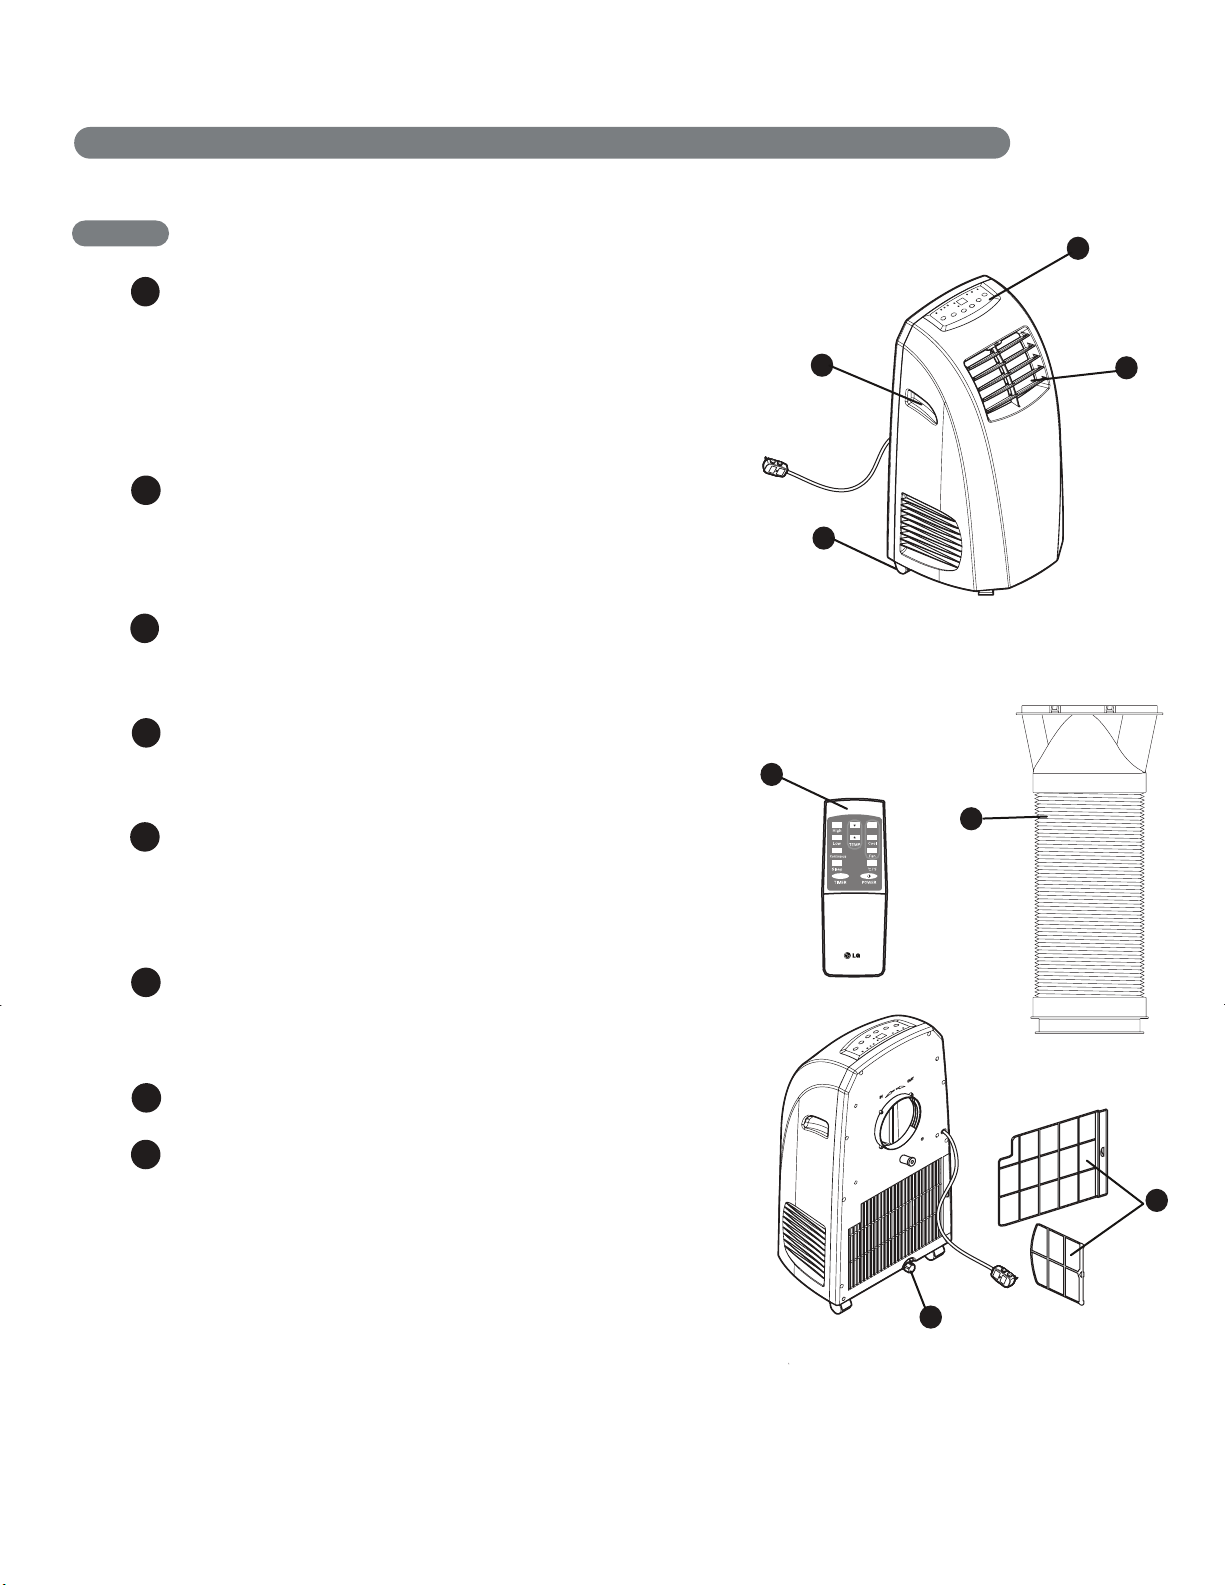
KEY PARTS AND COMPONENTS
1
AIR DISCHARGE
The direction of air can be controlled wherever you want to cool
by adjusting the horizontal louver.
The horizontal direction is adjusted by moving the lever to the left
or right.
Touching the horizontal louvers adjusts the air direction up or
down.
2
CONTROL PANEL AND DISPLAY
Easy-to-read digital display shows the set temperature and
indicator lights show the operating mode. Simple push buttons
make changing settings quick and easy.
3
SWIVELING CASTERS
Swiveling casters allow you to move the air conditioner easily
on most floor surfaces.
4
INTEGRATED HANDLES
Integrated handles provide a convenient grip when lifting the
air conditioner.
5
INFRARED REMOTE CONTROLLER
2
4
3
5
Dry
8
1
The remote controller allows you to adjust the temperature
and operate most functions of the air conditioner
from across the room.
6
BOTTOM DRAIN PORT
Before moving the air conditioner, drain the internal water
in the collection tank completely by using bottom drain port.
7
AIR FILTER
8
HOSE
Use the di
Use the diffuser and hose to connect the air conditioner to the
window installation kit to vent exhaust air outside.
AND DIFFUSER
7
6
8
 Loading...