

Page 1
Installing the SIM and Battery
Installing the SIM and Battery Installing the SIM and Battery
LG 910G
• Depending on the software installed or your service provider or
country, some of the descriptions in this guide may not match your
phone exactly.
• Depending on your country, your phone and accessories may
appear different from the picture in this guide.
Bluetooth QD ID B000000 P/N: MMBB0000000 (1.0) H
Quick Start Guide
*Many of the features and services described are network dependent and may require
additional subscription and/or usage charges. Not all features are available for purchase
or use in all areas. Other conditions and restrictions may apply. See carrier for more
information.
© 2010 LG Electronics, Inc.
Installing the SIM card
Slide the SIM card into the SIM card holder. Make sure that the gold
contact area on the card is facing downwards (as shown below). To
remove the SIM card, pull it gently in the reverse direction.
Installing the Battery
To install the battery, align the battery contacts (1) with those in
1.
the battery compartment. Press the battery down until it clicks into
place (2).
With the battery in position in the phone, replace the battery cover
2.
on the back of your phone.
Removing the Battery
With your phone turned o , push the button above the battery
1.
cover in (1) and lift o the battery cover to remove it.
Lift the battery up (1) and away (2) from the phone, as shown.
2.
WARNING: Do not remove the battery when the phone is switched on, as this may
damage the phone.
Charging your phone
Pull out the cover of the charger slot on the top left side of your
LG910G. Plug in the charger, making sure that the 'B' side is facing you
(as displayed below), and plug the other end into a wall socket. Your
LG910G will need to be charged until a message reading “Battery full”
appears on screen.
Phone Components & Features Phone Components & Features
Easy-to-read LCD screen with status icons.
•
•
Messaging, voicemail, and caller ID.
Speakerphone feature.
•
Menu-driven interface with prompts for easy operation and
Earpiece
Left soft key
Send key
Alphanumeric keys
Microphone
Display screen
Navigation key
Right soft key
PWR/END key
Vibrate Mode
key
•
configuration.
Any Key answer, Auto Redial and Speed Dials (with 9 locations).
•
Bilingual (English and Spanish) capabilities.
•
Internal Antenna.
•
Display
Standby mode is when you are not on a call or using a menu.
You must be in Standby mode to enter a phone number to dial.
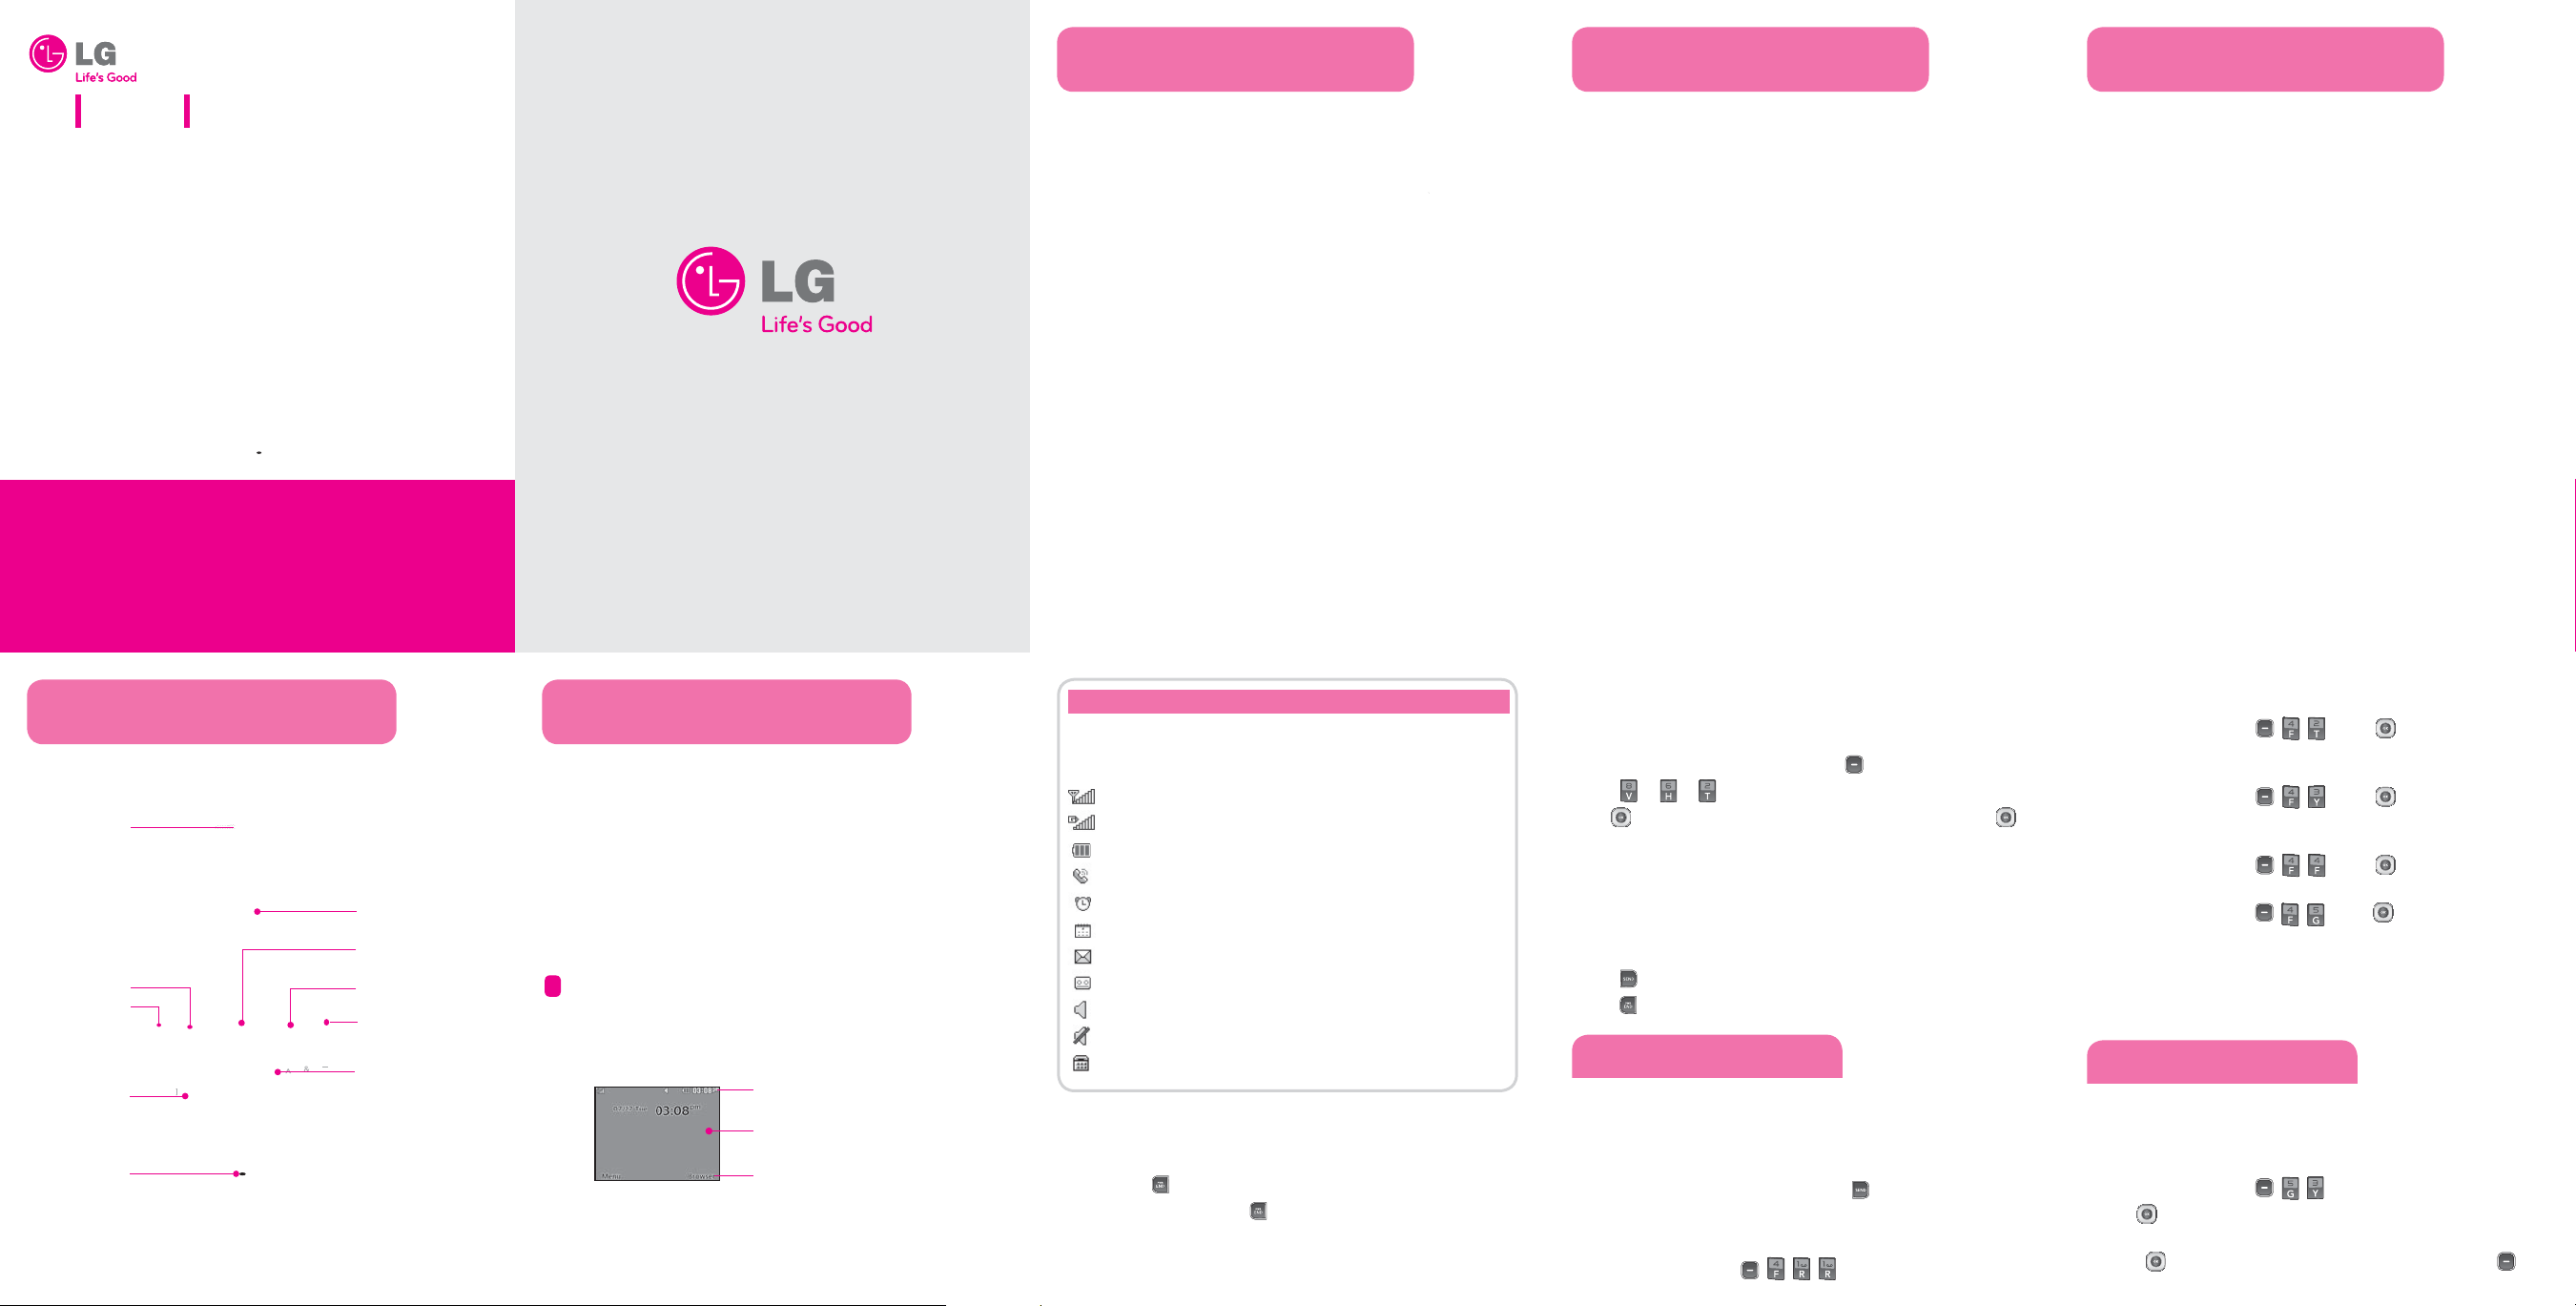
Status icons
Main display area
Soft key options
Icon Description
Your phone displays the following status indicators at the top of the
screen:
Indicates the strength of the network signal.
Indicates that GPRS service is available.
Indicates the status of the battery charge.
Indicates a call is in progress.
Indicates the alarm has been set and is on.
Indicates a Calendar event for the day.
Indicates a new message.
Indicates a new voicemail message.
Indicates that the Normal Profile has been set.
Indicates that the Silent Profile has been set.
Indicates the TTY has been set and is on.
Turning the Phone On or O
Make sure a charged battery is installed.
1.
Then press
2.
3.
To turn o , press and hold
until the LCD screen lights up.
until the display turns o .
Changing the display language
Allows you to use the bilingual feature according to your preference.
Choose between English and Spanish.
In Standby mode, press the Left soft key Menu.
1.
Press
2.
3.
J J .
Use to highlight Automatic, English or, Español, then press
Select.
Making Callsx
1.
Make sure the phone is turned on.
2.
Enter the phone number (include the area code if needed).
3.
Press
to dial.
4.
Press
to end the call.
Recent Calls
The Recent Calls menu displays a list of the last phone numbers or
Contacts entries for calls missed, received, or dialed. It is continually
updated as new numbers are added to the beginning of the list and
the oldest entries are removed from the bottom of the list.
Note: To view a quick list of all your recent calls, press
All Calls : Allows you to view the list of the most recent missed,
1.
received and dialed calls.
Press the Left Soft Key , , , .
Key while in standby mode.
Missed Calls : Allows you to view a list of the most recent missed
2.
calls.
Press the Left Soft Key , , J Use
Received Calls : Allows you to view a list of the most recent received
3.
calls.
Press the Left Soft Key , , J Use
Dialed Numbers : Allows you to view a list of the most recent dialed
4.
calls.
Press the Left Soft Key , ,
Call Duration : Allows you to view the duration of the calls, by type.
5.
Press the Left Soft Key
call types (below).
All Calls/ Dialed Calls/ Received Calls/ Last Call
, , J Use
to highlight an entry.
to highlight an entry.
J Use
to highlight an entry.
to highlight one of the
Sound
Options to customize your phone's sounds:
Ringers
Press the Left Soft Key , , .
1.
Use
2.
3.
to highlight the ringtone among Ringtone, Voice Record-
ings or Default Sounds folder.
Press
Options and select Use As to set the ringtone to your phone.
Play to play the ringtone, or press the Left soft key
Page 2

Sound Menu map
1. Prepaid
For more information
, ,
1.
Use
2.
to highlight Normal/Silent/Outdoor/ Flight Mode/ Meet-
.
ing Mode/Customise 1/Customise 2/Customise 3, press the Left
Soft Key
Use
3.
volume, then press the Right soft key
Options, and choose Edit.
to highlight the volume function and use to adjust the
Done to save the setting.
Using the menus
Selecting or Modifying a Menu or Feature :
Press the Left soft key Menu to access the Main menu.
1.
Use the Navigation keys
2.
press the
3.
If the menu contains any submenus, locate the one you want
key.
by using the Navigation keys
submenu.
If the selected menu contains additional submenus, repeat this
step.
to reach a desired menu and then
. Press the key to enter the
about the Prepaid
menu, please refer to
the Quick Activation
Guide.
2. Messages
2.1 Write Messages
2.2 Inbox
2.3 Conversation View
2.4 Drafts
2.5 Outbox
2.6 Sent
2.7 Saved Items
2.8 Template
2.9 Settings
2.10
Multimedia Message
2.11 Voicemail
2.12 Service Message
2.13 Save Sent Messages
2.14 Message Counter
3. Recent Calls
3.1 All Logs
3.2 Calls Only
3.3 Messages Logs
3.4 Missed Logs
3.5 Outgoing Logs
3.6 Incoming Logs
3.7 Call Duration
3.8 Data Voulume
5. Contacts
6. Games & Apps
6.1 Games
6.2 Applications
7. Music
7.1 MP3 Player
7.2 FM Radio
8. Organiser
8.1 Calendar
8.2 Tasks
8.3 Memo
8.4 Date Finder
9. Camera
9.1 Camera
9.2 Video Camera
9.3 Album
10. My Folder
9.1 All
9.2 Handset memory
9.3 External memory
11. Tools
11.1 Quick Menu
11.2 Alarm Clock
11.3 Calculator
11.4 Voice Recorder
11.5 Stopwatch
11.6 Unit Converter
11.7 World Clock
11.8 STK (SIM service)
11. Browser
11.1 Home
11.2 Enter Address
11.3 Bookmarks
11.4 Saved Pages
11.5 History
11.6 Settings
12. Settings
12.1 Profiles
12.2 Device
12.3 Display
12.4 Call
12.5 Connectivity
Entering text
In a text input field, press the key to toggle between capitalization.
To switch between
Symbols, press
123
and
Abc
modes, press the key. To access
and select the desired symbols.
Using ABC mode
Press the keys labeled with the letter you want.
Using 123 mode
Press the keys that correspond with the digits you want to enter.
Tips for entering text
•
To move the cursor, use the navigation keys
To delete characters one by one, press the Clear key
•
of the characters, press and hold the Clear key
To insert a space between characters, press
•
.
. To delete all
.
.
Sending an SMS message
Allows you to send text and email messages.
Press the Left soft key , and .
1.
Search for and enter a recipient.
2.
Press
Contact List.
Enter your message.
3.
Press
4.
Add to enter a phone number or email address not in your
Send to send the message.
Quick feature reference
This section provides instructions on how to access some of your
phone's features (Not all options are listed below).
Menu Description
,
, ,
, ,
, ,
, ,
, ,
, ,
, ,
, ,
, ,
, ,
, ,
For more information about the Prepaid menu, please refer to the Quick
Activation Guide.
Add New allows you to add a new contact to your Contact List.
Settings allows you to configure settings for Contacts.
Groups allows you to view your grouped Contacts, add new group, change
the name of a group, or delete a whole group.
Speed Dials allows you to view your Speed Dials list, designate new Speed
Dials, or remove Speed Dial designations entered in your Contacts.
Allows you to check your own number.
My Business Card allows you to view, enter and edit more of your personal
Contact information, including name and phone numbers. You can also send
this Business Card via Text or Multimedia message, or Bluetooth.
Create New Message allows you to send text and e-mail messages.
Inbox allows you to view your received messages.
Drafts allows you to view your saved (message) Drafts.
Outbox allows you to view your sending or failed essages.
Sent Items allows you to view your sent messages. Access to view contents of sent
messages and verify whether the transmission was successful.
Menu Description
, ,
, ,
, ,
, ,
, ,
, ,
, ,
, ,
, ,
, ,
, ,
, ,
, ,
, ,
, ,
, ,
, ,
Saved Items allows you to view saved message, text templates or multimedia templates.
Emoticons allows you to edit, delete, and add emoticons to your emoticons list.
Settings allows you to configure settings for Messaging.
All Calls allows you to view the list of the most recent missed, dialed, and received calls.
Missed Calls allows you to view the list of the most recent missed calls.
Received Calls allows you to view the list of the most recent received calls.
Dialed Calls allows you to view the list of the most recent dialed calls.
Call Duration allows you to view the duration of calls by call type.
Allows you to check packet data counter.
Allows you to check my memory card.
Allows you to buy graphics, check default images and taken pictures.
Allows you to buy ringtones, check default ringtone, voice recordings or default sounds.
Allows you to check videos saved in phone.
Allows you to check other files save in phone.
Allows you to take pictures.
Allows you to take videos.
Allows you to play music.
Menu Description
, ,
, ,
, ,
, ,
, ,
, ,
, ,
, ,
, ,
, ,
, ,
, ,
, ,
, ,
, ,
Allows you to record voice.
Allows you to buy games, play preloaded games.
Alarms allows you to set up to five alarms. At the alarm time, any set alarm will
sound (depending on your Master Volume settings) the tone of your choice, and
an alarm message will be displayed on the LCD screen.
Calendar allows you to access your Calendar appointments. Simply enter your
appointments in the Calendar, and your phone can alert you with a reminder.
Allows you to add to do list as a schedule.
Allows you to add, read, edit and erase notes.
Allows you to check secret notes. Default code is 0000.
Calculator allows you to perform simple mathematical calculations.
Stopwatch allows you to use your phone as a stopwatch.
Allows you to find date.
Converter allows you to convert units of Currency, Surface, Length, Weight,
Temperature, Volume and Velocity.
World Time allows you to determine the current time in nother time zone or city.
Allows you quick access to your favorite menus.
Settings allows you to configure settings for Calendar.
Allow you to configure profiles settings.
Menu Description
, ,
, ,
, ,
, ,
, ,
, ,
, ,
, ,
, ,
, ,
, ,
, ,
, ,
, ,
, ,
, ,
, ,
Allows you to configure display settings.
Allows you to configure date & time.
Allows you to configure connectivity.
Allows you to configure call settings.
Allows you to configure phone settings.
Allows you to configure security settings.
Allows you to configure memory info.
Allows you to configure restore factory settings.
Allows you to connect home browser.
Allows you to check bookmarks.
Allows you to use facebook.
Allows you to use twitter.
Allows you to connect with friends and family using scraps and instant messaging.
Allows you to check last web address.
Allows you to configure web settings.
Allows you to enter url and connect new web address.
Allows you to check saved web pages.
Page 3

Part 15.21 statement
" Change or Modifications that are not expressly approved by the manufacturer could void
the user's authority to operate the equipment. “
Part 15.105 statement
This equipment has been tested and found to comply with the limits for a class B digital device, pursuant to
Part 15 of the FCC Rules. These limits are designed to provide reasonable protection against harmful interference
in a residential installation. This equipment generates uses and can radiate radio frequency energy and, if not installed
and used in accordance with the instructions, may cause harmful interference to radio communications. However, there
is no guarantee that interference will not occur in a particular installation. if this equipment does cause harmful
interference or television reception, which can be determined by turning the equipment off and on, the user is
encouraged to try to correct the interference by one or more of the following measures:
- Reorient or relocate the receiving antenna.
- Increase the separation between the equipment and receiver.
- Connect the equipment into an outlet on a circuit different from that to which the receiver is connected.
- Consult the dealer or an experienced radio/TV technician for help.
Page 4

Part 15 Class B Compliance
This device and its accessories comply with part15 of FCC rules.
Operation is subject to the following two conditions:
(1) This device & its accessories may not cause harmful interference.
(2) This device & its accessories must accept any interference received,
including interference that may cause undesired operation.
Body-worn Operation
This USB modem has been tested for typical body-worn operations
with the distance of 0.79inches (2.0cm) from the user’s body.
To comply with FCC RF exposure requirements, a minimum separation distance
of 0.79inches(2.0cm) must be maintained from the user's body.
For example, this device must be maintained from the user's body
with an appropriatebelt-clip accessory.[More than 0.79inches(2.0cm)]
Additionally, Belt clips, holsters & other body-worn accessories
may not contain metallic components.
Page 5

Safety
280
FCC Hearing-Aid Compatibility (HAC)
Regulations for Wireless Devices
On July 10, 2003, the U.S. Federal Communications Commission
(FCC) Report and Order in WT Docket 01-309 modified the
exception of wireless phones under the Hearing Aid Compatibility
Act of 1988 (HAC Act) to require digital wireless phones be
compatible with hearing-aids. The intent of the HAC Act is to
ensure reasonable access to telecommunications services for
persons with hearing disabilities.
While some wireless phones are used near some hearing devices
(hearing aids and cochlear implants), users may detect a buzzing,
humming, or whining noise. Some hearing devices are more
immune than others to this interference noise, and phones also
vary in the amount of interference they generate.
The wireless telephone industry has developed a rating system for
wireless phones, to assist hearing device users to find phones that
may be compatible with their hearing devices. Not all phones have
been rated. Phones that are rated have the rating on their box or a
label located on the box.
The ratings are not guarantees. Results will vary depending on the
user's hearing device and hearing loss. If your hearing device
happens to be vulnerable to interference, you may not be able to
use a rated phone successfully. Trying out the phone with your
hearing device is the best way to evaluate it for your personal
needs.
M-Ratings: Phones rated M3 or M4 meet FCC requirements and
are likely to generate less interference to hearing devices than
phones that are not labeled. M4 is the better/higher of the two
ratings.
T-Ratings: Phones rated T3 or T4 meet FCC requirements and are
likely to generate less interference to hearing devices than phones
that are not labeled. T4 is the better/ higher of the two ratings.
Page 6

Safety
Hearing devices may also be rated. Your hearing device
manufacturer or hearing health professional may help you find this
rating. Higher ratings mean that the hearing device is relatively
immune to interference noise. The hearing aid and wireless phone
rating values are then added together. A sum of 5 is considered
acceptable for normal use. A sum of 6 is considered for best use.
In the example to the left, if a hearing aid meets
the M2 level rating and the wireless phone meets
the M3 level rating, the sum of the two values
equal M5. This should provide the hearing aid user
with “normal usage” while using their hearing aid
with the particular wireless phone. “Normal usage” in this context
is defined as a signal quality that’s acceptable for normal
operation.
The M mark is intended to be synonymous with the U mark. The T
mark is intended to be synonymous with the UT mark. The M and T
marks are recommended by the Alliance for Telecommunications
Industries Solutions (ATIS). The U and UT marks are referenced in
Section 20.19 of the FCC Rules. The HAC rating and measurement
procedure are described in the American National Standards
Institute (ANSI) C63.19 standard.
When you're talking on a cell phone, it's recommended that you
turn the BT (Bluetooth) mode off for HAC.
For information about hearing aids and digital wireless phones
Wireless Phones and Hearing Aid Accessibility
http://www.accesswireless.org/hearingaid/
281
FCC Hearing Aid Compatibility and Volume Control
http://www.fcc.gov/cgb/consumerfacts/hac_wireless.html
Page 7

322
※ HAC statement regarding Multiband
This phone has been tested and rated for use with
hearing aids for some of the wireless technologies
that it uses.
However, there may be some newer wireless
technologies used in this phone that have not been
tested yet for use with hearing aids.
It is important to try the different features of this phone
thoroughly and in different locations, using your hearing
aid or cochlear implant, to determine if you hear any
interfering noise.
Consult your service provider or the manufacturer of this
phone for information on hearing aid compatibility.
If you have questions about return or exchange policies,
consult your service provider or phone retailer.
 Loading...