

LG LG325G Users manual
LG 325G
• Depending on the software installed or your service provider or
country, some of the descriptions in this guide may not match your
phone exactly.
• Depending on your country, your phone and accessories may appear
different from the picture in this guide.
Quick Start Guide
P/N: MHK63465601(1.0) H
Printed in China
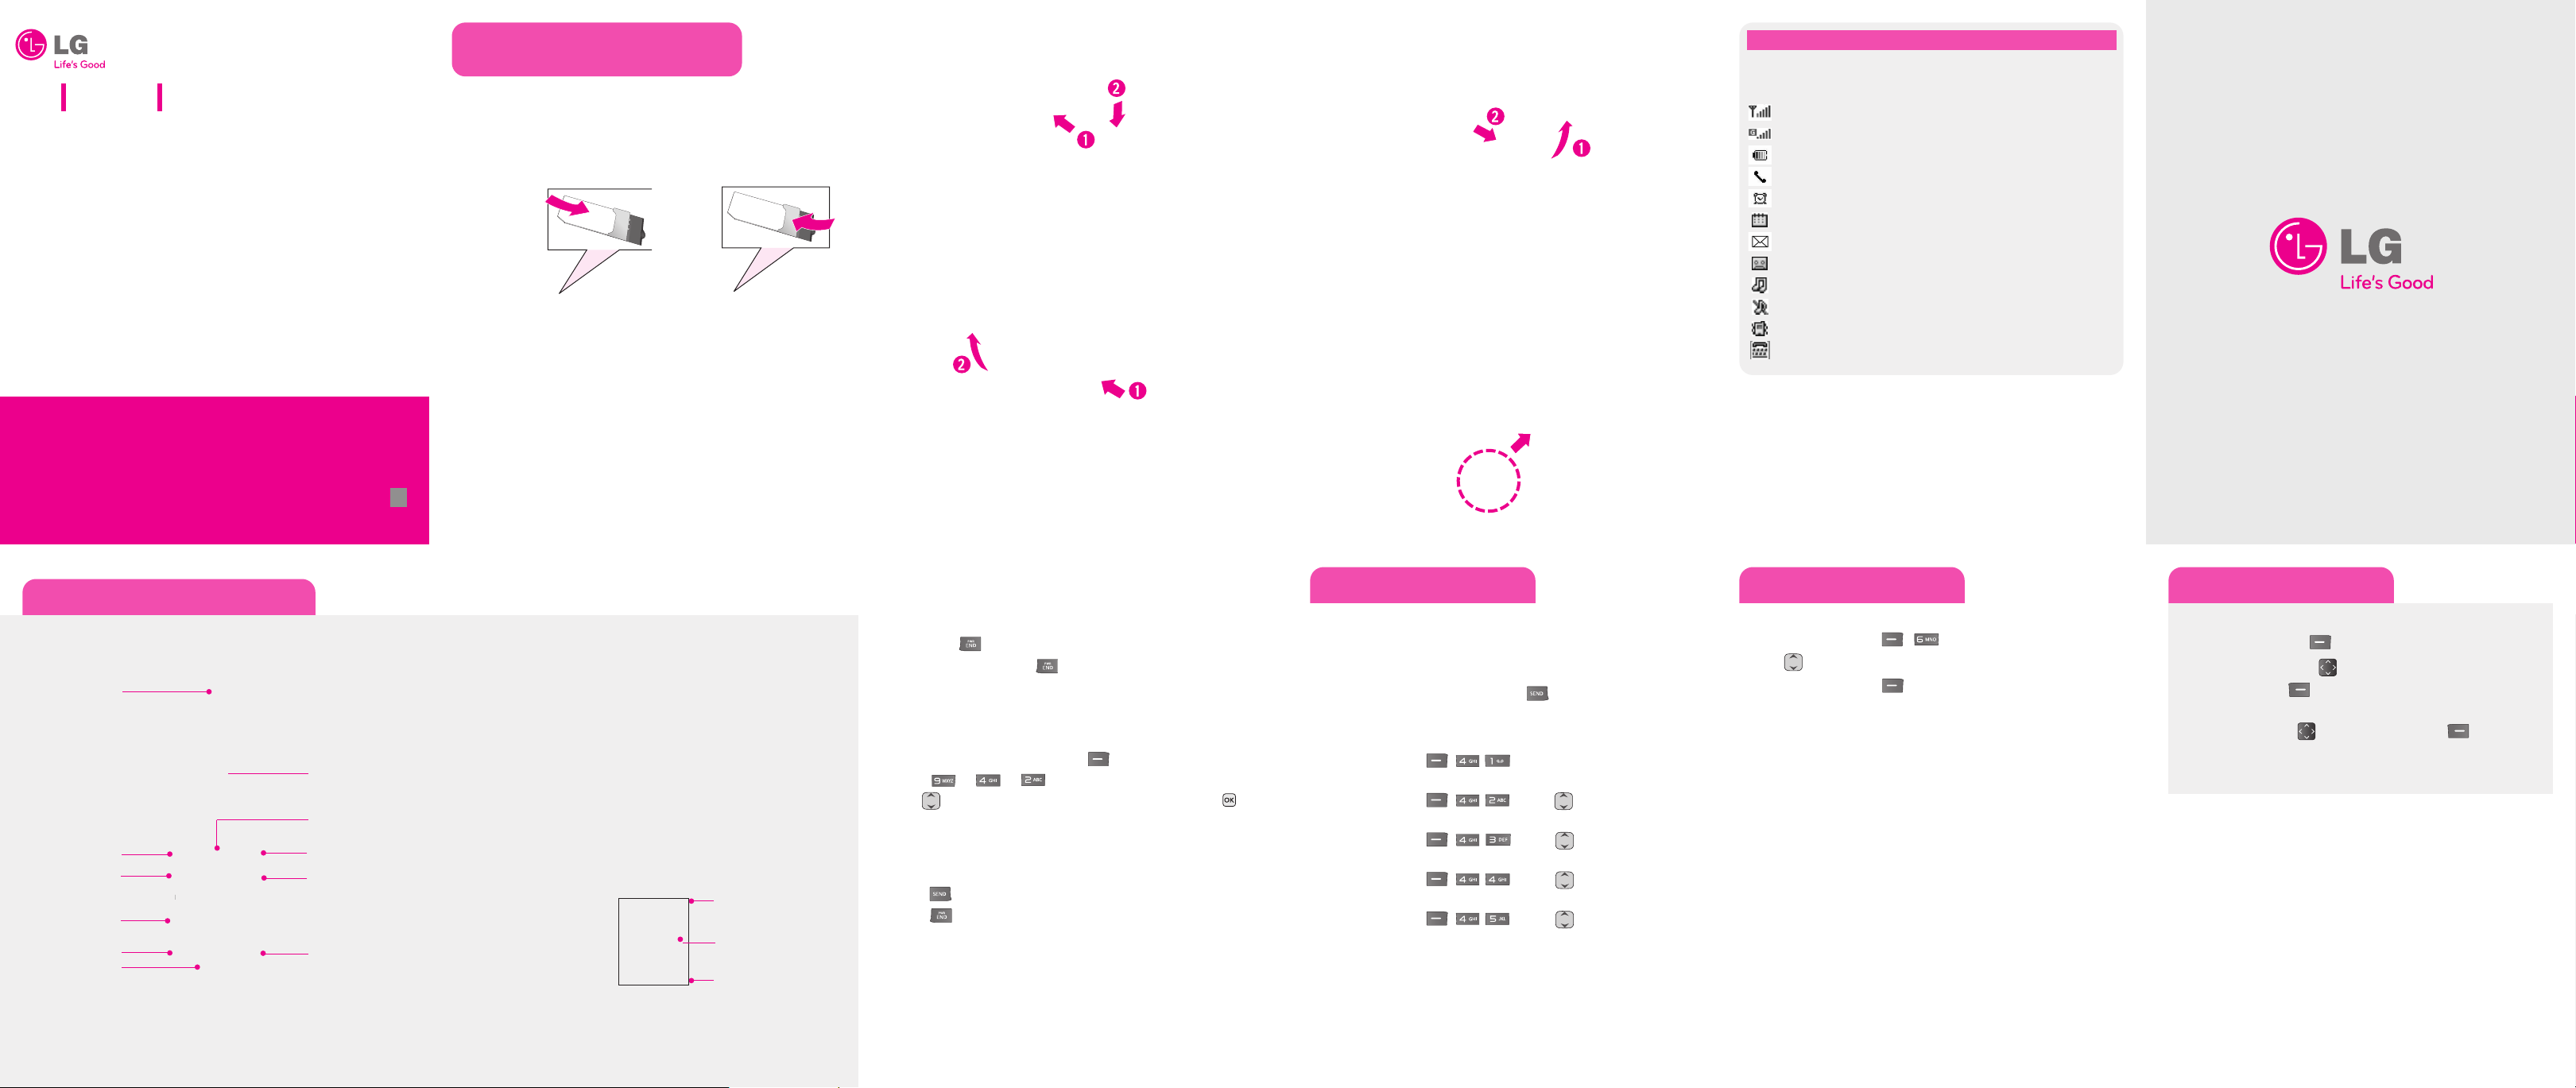
Installing the SIM and battery
Install the SIM card
Slide the SIM card into the SIM card holder. Make sure that the gold contact
area on the card is facing downwards. To remove the SIM card, pull it gently
in the reverse direction.
WARNING: Do not replace or remove the SIM card while your phone is being used or
turned on.
Installing the Battery
1. To install the battery, align the battery contacts (1) with those in the
battery compartment. Press the battery down until it clicks into place (2).
2. With the battery in position in the phone, replace the battery cover on the
back of your phone."
Removing the Battery
1. With your phone turned off, push forward from the bottom of the
battery cover (1) on the back of your phone, slide the battery cover
up and lift off (2).
2. Lift the battery up (1) and away (2) from the phone, as shown.
WARNING: Do not remove the battery when the phone is switched on, as this may damage
the phone.
Charging your phone
Pull out the cover of the charger socket on the left side of your LG320G.
Plug in the charger and plug the other end into a wall socket. Your LG320G
will need to be charged until a message reading “Battery full” appears on
screen.
IIccoonn DDeessccrriippttiioon
Your phone displays the following status indicators on the top of the
screen:
Indicates the strength of the network signal.
Indicates that GPRS service is available.
Indicates the status of the battery charge.
Indicates a call is in progress.
Indicates the alarm has been set and is on.
Indicates a Calendar event for the day.
Indicates the receipt of a message.
Indicates the receipt of a voicemail message.
Indicates Ring has been set as the Ringtone volume.
Indicates Silent has been set as the Ringtone volume.
Indicates Vibration has been set as the Ringtone volume.
Indicates the TTY has been set and is on.
n
*Many of the features and services described are network dependent and may require
additional subscription and/or usage charges. Not all features are available for purchase or
use in all areas. Other conditions and restrictions may apply. See carrier for more
information.
© 2010 LG Electronics, Inc.
Phone layout and key functions
Earpiece
Display screen
Navigation key
Left soft key
Send key
Alphanumeric keys
Lock/Unlock key
Microphone
Right soft key
PWR/END key
Vibrate Mode
key
Phone features include:
• Easy-to-read, LCD with status icons.
• Messaging, voice mail, and caller ID.
• 17-key keypad.
• Speakerphone feature.
• Menu-driven interface with prompts for easy operation and configuration.
• Any Key answer, Auto Redial, One-Touch dial and Speed Dial (with 9
locations).
• Bilingual (English and Spanish) capabilities.
• Internal Antenna.
Display
Idle mode is when you are
not on a call or using a
menu. You must be in Idle
mode to enter a phone
number to dial.
Status icons
Main display area
Soft key options
Turning the Phone On or Off
1. To turn on, install a charged battery.
2. Then press until the LCD screen lights up.
3. To turn off, press and hold until the display turns off.
Changing the display language
Allows you to use the bilingual feature according to your preference.
Choose between English and Spanish.
1. In Idle mode, press the Left soft key Menu.
2. Select gg.
3. Use to select Automatic, English or Español, then press .
Making Calls
1. Make sure the phone is turned on.
2. Enter the phone number (include the area code if needed).
3. Press to dial.
4. Press to end the call.
Recent Calls
The Recent Calls Menu is a list of the last phone numbers or Contacts entries
for calls missed, received, or dialed. It is continually updated as new numbers are
added to the beginning of the list and the oldest entries are removed from the
bottom of the list.
Note: To view a quick list of all your recent calls, press Key while in standby mode.
1. Call Logs : Allows you to view the list of the most recent missed, received
and dialed calls.
Press Left Soft Key
2. Missed Calls : Allows you to view a list of the most recent missed calls.
Press Left Soft Key
3. Received Calls : Allows you to view a list of the most recent received calls.
Press Left Soft Key
4. Dialed Numbers : Allows you to view a list of the most recent dialed calls.
Press Left Soft Key
5. Call duration : Allows you to view the duration of the calls, by type.
Press Left Soft Key
the call types (below).
Last Call/ Dialled Calls/Received Calls/ All Calls
, ,
, , g Use to highlight an entry.
, , g Use to highlight an entry.
, , g Use to highlight an entry.
, , g Use to highlight one of
Profiles
Options to customize your phone's sounds:
1. Press the Left Soft Key , .
2. Use to highlight the profile type.
3. Press the Left Soft Key Options.
Select to set the ringtone to your phone.
Edit to set Voice ringtone, Ring volume, Message tone, Message
v
olume, Message alert, Vibrate alert, Key tone, Key tone volume,
Confirmation tone, Start-up sound, Select start-up sound, or Select
shut down sound.
View to check the customized settings.
Using the menus
Selecting or Modifying a Menu or Feature :
1. Press the Left soft key
2. Use the Navigation keys to reach a desired menu and then press
the Right soft key OK.
3. If the menu contains any submenus, locate the one you want by using
the Navigation keys . Press the Right soft key OK to enter
the submenu.
If the selected menu contains additional submenus, repeat this step.
Menu
to access Main menu.
Menu map
Part 15.21 statement
"Change or Modifications that are not expressly approved by the manufacturer
could void the user's authority to operate the equipment."
.
Part 15.105 statement
This equipment has been tested and found to comply with the limits
for a class B digital device, pursuant to Part 15 of the FCC Rules.
These limits are designed to provide reasonable protection
against harmful interference in a residential installation.
This equipment generates uses and can radiate radio frequency energy and,
if not installed and used in accordance with the instructions,
may cause harmful interference to radio communications.
However, there is no guarantee that interference will not occur
in a particular installation.
If this equipment does cause harmful interference or television reception,
which can be determined by turning the equipment off and on,
the user is encouraged to try to correct the interference
by one or more of the following measures:
- Reorient or relocate the receiving antenna.
- Increase the separation between the equipment and receiver.
- Connect the equipment into an outlet on a circuit different
from that to which the receiver is connected.
- Consult the dealer or an experienced radio/TV technician for help.
Part 15 Class B Compliance
This device and its accessories comply with part15 of FCC rules.
Operation is subject to the following two conditions:
(1) This device & its accessories may not cause harmful interference.
(2) This device & its accessories must accept any interference received,
including interference that may cause undesired operation.
.
Body-worn Operation
This device has been tested for typical body-worn operations with the distance
of 0.79inches (2.0cm) from the user's body. To comply with FCC RF exposure requirements,
a minimum separation distance of 0.79inches(2.0cm) must be maintained from the user's body.
For example, this device must be maintained from the user's body with an appropriate belt-clip accessory.
Additionally, Belt clips, holsters & other body-worn accessories may not contain metallic components.
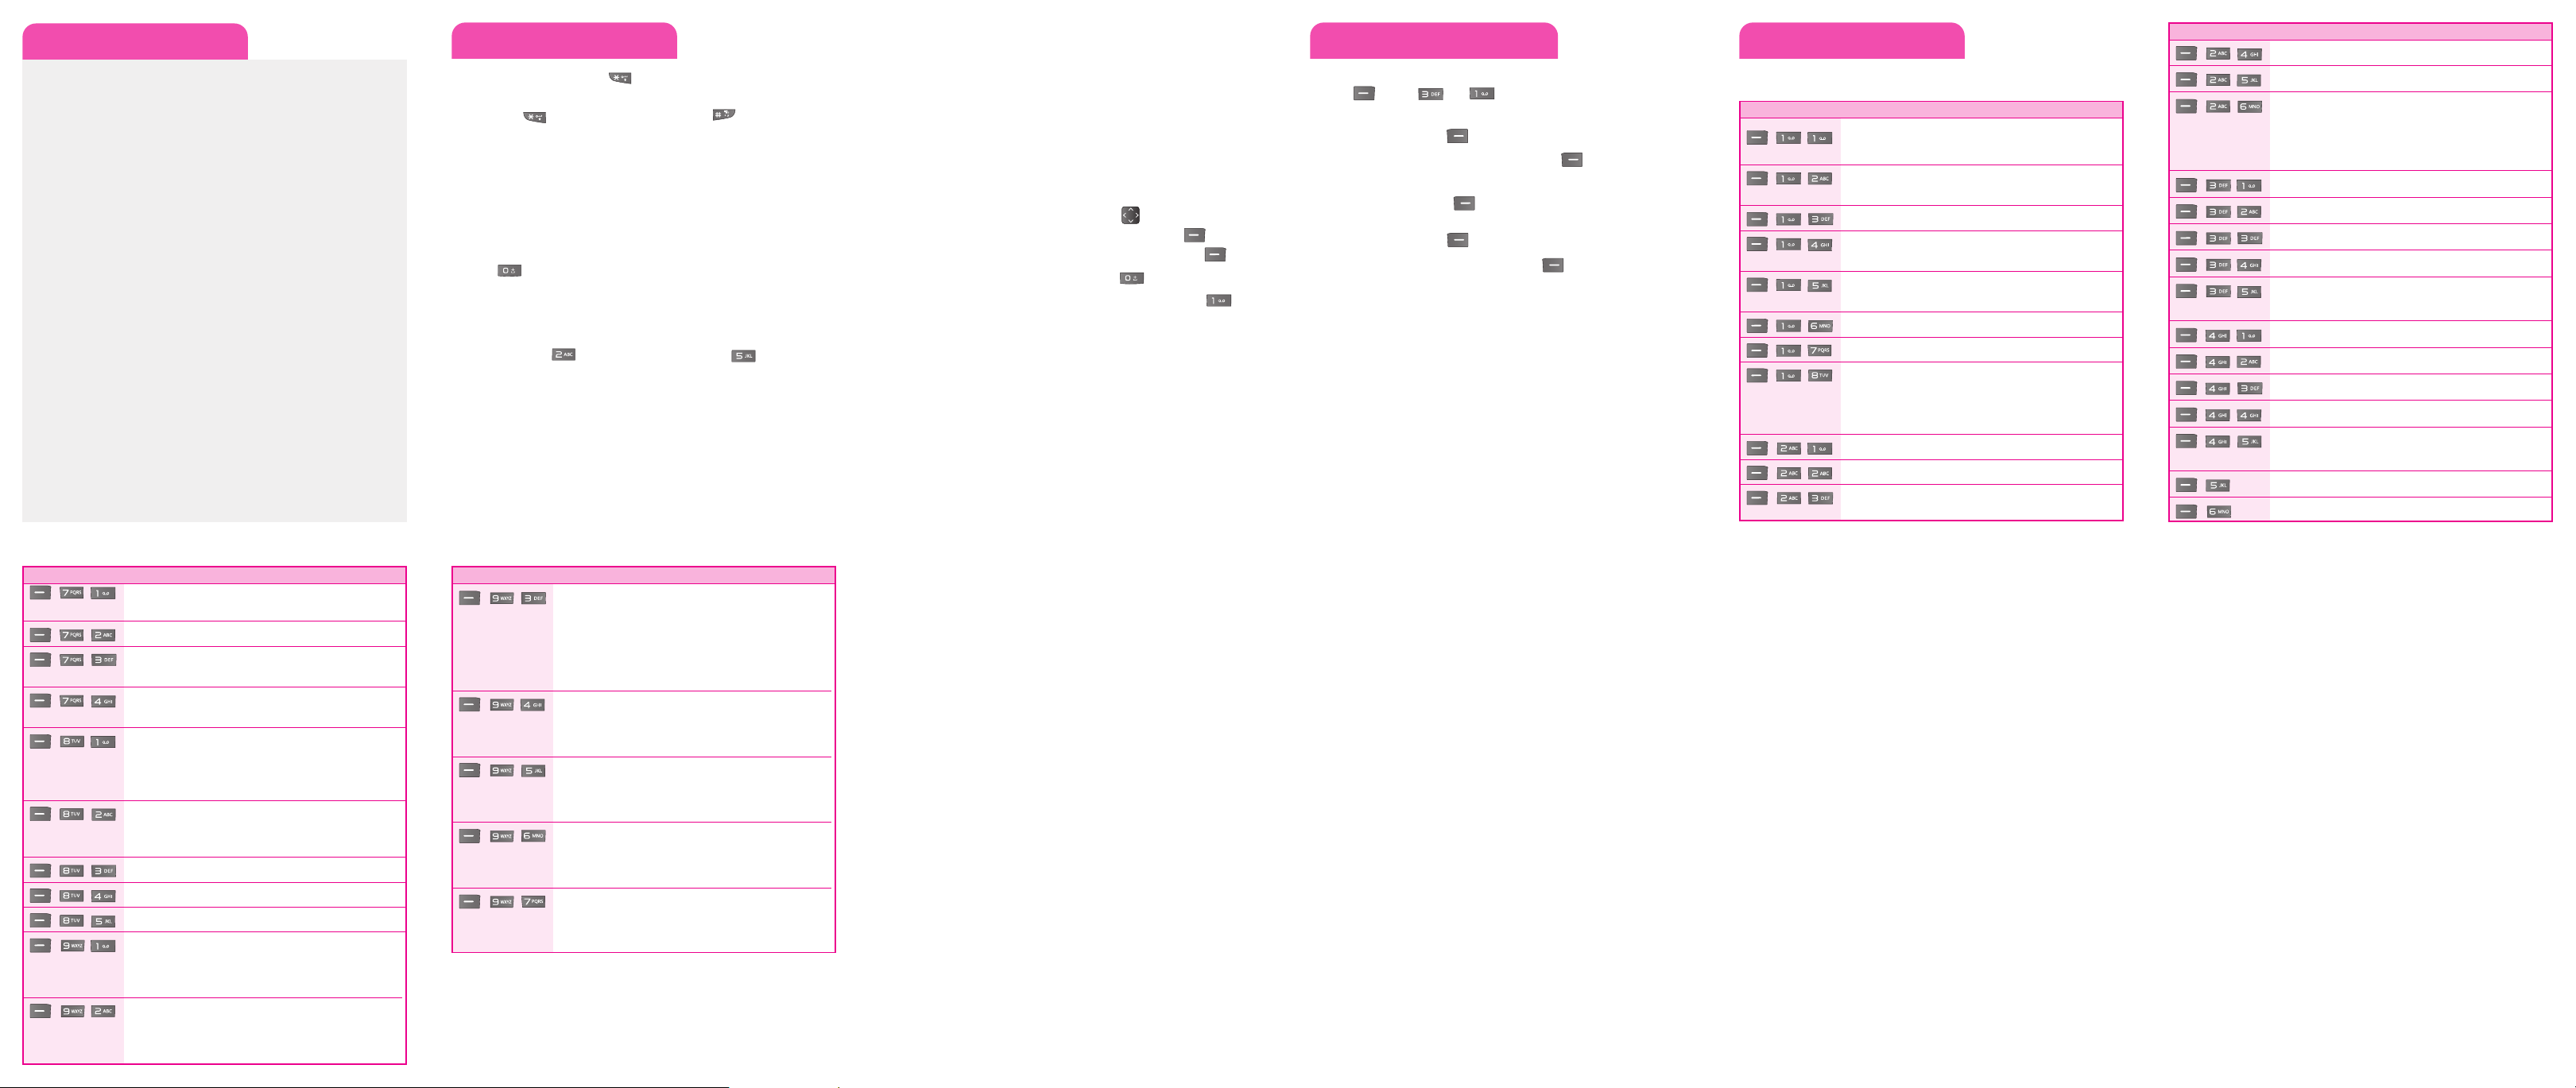
1. Prepaid
1.1 Add Airtime
1.2 Buy Airtime
1.3 My Phone Number
1.4 Airtime Info.
1.5 Airtime Display
1.6 Serial Number
1.7 SIM Number
1.8 Code Entry Mode
2. Contacts
2.1 Names
2.2 Settings
2.3 Speed dials
2.4 Service dial number
2.5 Own Number
2.6 My Business Card
3. Messages
3.1 Create message
3.2 Inbox
3.3 Drafts
3.4 Outbox
5.5 Message settings
4. Recent Calls
4.1 Call Logs
4.2 Missed Calls
4.3 Received Calls
4.4 Dialed Number
4.5 Call Duration
5. Games
5.1 Sudoku
5.2 ZooZooClub
6. Profiles
6.1 Normal
6.2 Silent
6.3 Outdoor
6.4 Flight mode
6.5 Customised1
6.6 Customised2
6.7 Customised3
7. Tools
7. 1 Calculator
7. 2 Stop Watch
7. 3 Converter
7. 4 World time
8. Organiser
8.1 Alarm clock
8.2 Calendar
8.3 Notes
8.4 Secret Notes
8.5 Date Finder
9. Settings
9.1 Display
9.2 Date & Time
9.3 Call
9.4 Phone
9.5 Security
9.6 Memory Info.
9.7 Restore factory
settings
Entering text
In a text input field, press the key to toggle between capitalization
and 123 mode
and hold the key. To access Symbols, press and select
Symbols.
Using T9Word mode
1. Press 2 to 9 to start entering a word. Press each key once for one
le
tter. The word you are entering appears on the display. Options may
change with each keypress.
For example: To enter “Hello” in T9Word mode, press 4, 3, 5, 5, and
6.
2. Pr
ess to insert a space and enter the next word.
Using ABC mode
Press the keys labeled with the letter you want once for the first letter,
twice for the second le
For example, press three times to enter “C” and two times to
enter “K”.
s. To switch between T9word mode and ABC mode, press
tter, and so on.
Using 123 mode
Pr
ess the keys that correspond with the digits you want to enter.
Using Symbols mode
Use the navigation keys to find the symbol you want and press OK. Only
some of the s
ymbols available can be displayed at one time, scroll down
to display more symbols.
Tips for entering text
• To move the cursor, use the navigation keys .
•
To delete characters one by one, press the Left soft key Clear. To
delete all of the characters, press and hold the Left soft key Clear.
• T
o insert a space between characters, press .
• To enter punctuation in T9Word mode or ABC mode, press .
Sending an SMS message
Allows you to send text and email messages.
1. Press Menu, and New Message.
2.
Enter your message.
3. Press the Right soft key Options.
4. Highlight Send T
5. Enter the number or address.
- Press the Right soft key Options to import a Contact already
sa
ved in your Contacts List.
6. Press the Right soft key Options.
7.
Highlight Send and press the Right soft key OK to send the
m
essage.
o and press the Right soft key OK.
Quick feature reference
This section provides instructions on how to access some of your phone's features
(Not all options are listed below).
Menu Description
, , Add Airtime allows you to start an over-the-air request for
additional airtime.
, , Buy Airtime allows you to start an over-the-air request to
purchase additional airtime.
, , My Phone Number displays the phone's phone number.
, , Airtime Info. displays the airtime balance and due date
information.
, , Airtime Display allows you to disable/enable the display of
Balance and Due Date info on the idle screen.
, , Serial Number simply displays the phone's serial number.
, , SIM Number
, , Code Entry Mode will allow the phone to accept Tracfone-
related codes in order to add units, modify specific data and
troubleshoot the phone. In using the Code Entry Mode, you
can't receive incoming calls or use events alert.
, , Names
, , Settings
, , Speed dials
Menu Description
, ,
, , Own Number
, , My Business Card allows you to view, enter and edit more of
, ,
, , Inbox allows you to view your received messages.
, , Drafts allows you to view the saved (message) Drafts.
, , Outbox
, , Message Settings allows you to configure settings for
, , Call Logs
, , Missed Calls allows you to view the list of missed calls.
, , Received Calls allows you to view the list of received calls.
, , Dialed Number
, , Call Duration allows you to view the duration of calls by call
, Games
, Profiles
Service dial number
your personal Contact information, including name and phone
numbers. You can also send this Business Card via Text
Message.
Create message
Messaging.
type.
Menu Description
, , Calculator allows you to perform simple mathematical
calculations.
, , Stop Watch allows you to use your phone as a stopwatch.
, , Converter allows you to convert units of Currency, Area,
, , World Clock allows you to determine the current time in
, , Alarm Clock allows you to set up to five alarms. At the alarm time,
, , Calendar allows you to access your Calendar appointments.
, , Notes
, , Secret Notes
, , Date Finder
, , Options
, , Date & Time allows you to select your display preferences.
Length, Weight, Temperature, Volume and Velocity.
another time zone or city.
any set alarm will sound (depending on your Master Volume
settings) the tone of your choice, and an alarm message will be
displayed on the LCD screen.
Simply enter your appointments in the Calendar, and your
phone can alert you with a reminder.
to customize your phone's display.
1.1 Wallpapers 1.2 Dialing
1.3 Backlight
2.1 Time 2.2 Date
2.3 Auto update date/time 2.4 Daylight saving
Menu Description
, , Call allows you to select your display preferences.
3.1 Call divert 3.2 Fixed Dial Numbers
3.3 Call waiting 3.4 Send My Number
3.5 Auto Redial 3.6 Answer mode
3.7 Minute Minder 3.8 Save new number
, , Phone allows you to select your display preferences.
4.1 Auto keylock 4.2 Language
4.3 Power Save 4.4 Handset Information
, , Security allows you the electronically secure your phone.
5.1 PIN Code Request 5.2 Handset lock
5.4 FLock If SIM is Changed 5.4 Change Codes
, , Memory Info. allows you to select your display preferences.
6.1 Handset reserved memory
6.2 SIM memory
, , Restore factory settings allows you to select your display
preferences.
7.1 Settings only 7.2 Date & settings
 Loading...