How it Works
Log In / Sign Up
Buy Points
How it Works
FAQ
Contact Us
Questions and Suggestions
Users
LG
Loading...
L
LG231C
LG235
LG235C
LG235M1C
LG236C
LG240
LG240M1C
LG245
3
LG24KB2K59
4
LG260
7
LG265
3
LG270N1C(W)-G3
LG272
LG275N1C(W)-G3
LG280
LG280N1C-G4
LG280N1C(W)-G3
LG280N1W-G4
LG280S1C-A5
LG280S1W-A5
LG285N1C-G4
2
LG285N1C(W)-G3
LG285N1CW-G4
LG285N1W-G4
LG285S1C-A5
LG285S1W-A5
LG290N1C-G4
2
LG290N1C(W)-G3
LG290N1CW-G4
LG290N1W-G4
LG290S1C-A5
LG290S1W-A5
LG295N1C-G4
2
LG295N1C(W)-G3
LG295N1CW-G4
LG295N1W-G4
LG295S1C-A5
LG295S1W-A5
LG29V95
LG2ZMSS02
5
LG2ZMSS05
3
LG300
3
LG300G
3
LG300N1C-G4
2
LG300N1CW-G4
LG300N1W-G4
LG300S1C-A5
LG300S1W-A5
LG302S1C-A5
LG302S1W-A5
LG305C
LG305N1C-G4
2
LG305N1CW-G4
LG305N1W-G4
LG305S1C-A5
LG305S1W-A5
LG306G
LG310N1C-G4
2
LG310N1CW-G4
LG310N1W-G4
LG310S1C-A5
LG310S1W-A5
LG315N1C-G4
2
LG315N1CW-G4
LG315N1K-V5
LG315N1W-G4
LG315Q1K-A5
LG315S1C-A5
LG315S1W-A5
LG3200
2
LG320G
LG320N1C-G4
2
LG320N1CW-G4
LG320N1K-V5
LG320N1W-G4
LG320Q1K-A5
LG320S1C-A5
LG320S1W-A5
LG325G
3
LG325N1C-G4
2
LG325N1C-V5
LG325N1CW-G4
LG325N1K-V5
LG325N1W-G4
LG325Q1K-A5
LG3280
3
LG330N1C-G4
2
LG330N1C-V5
LG330N1CW-G4
LG330N1CW-V5
LG330N1W-G4
LG330Q1K-A5
LG335N1C-G4
2
LG335N1C-V
LG335N1CW-G4
LG335N1CW-V
LG335N1W-G4
LG335Q1K-A5
LG335S2W-A5
LG340N1C-V5
Loading...
Loading...
Nothing found
LG305C
Users manual
96 pgs
2.31 Mb
0
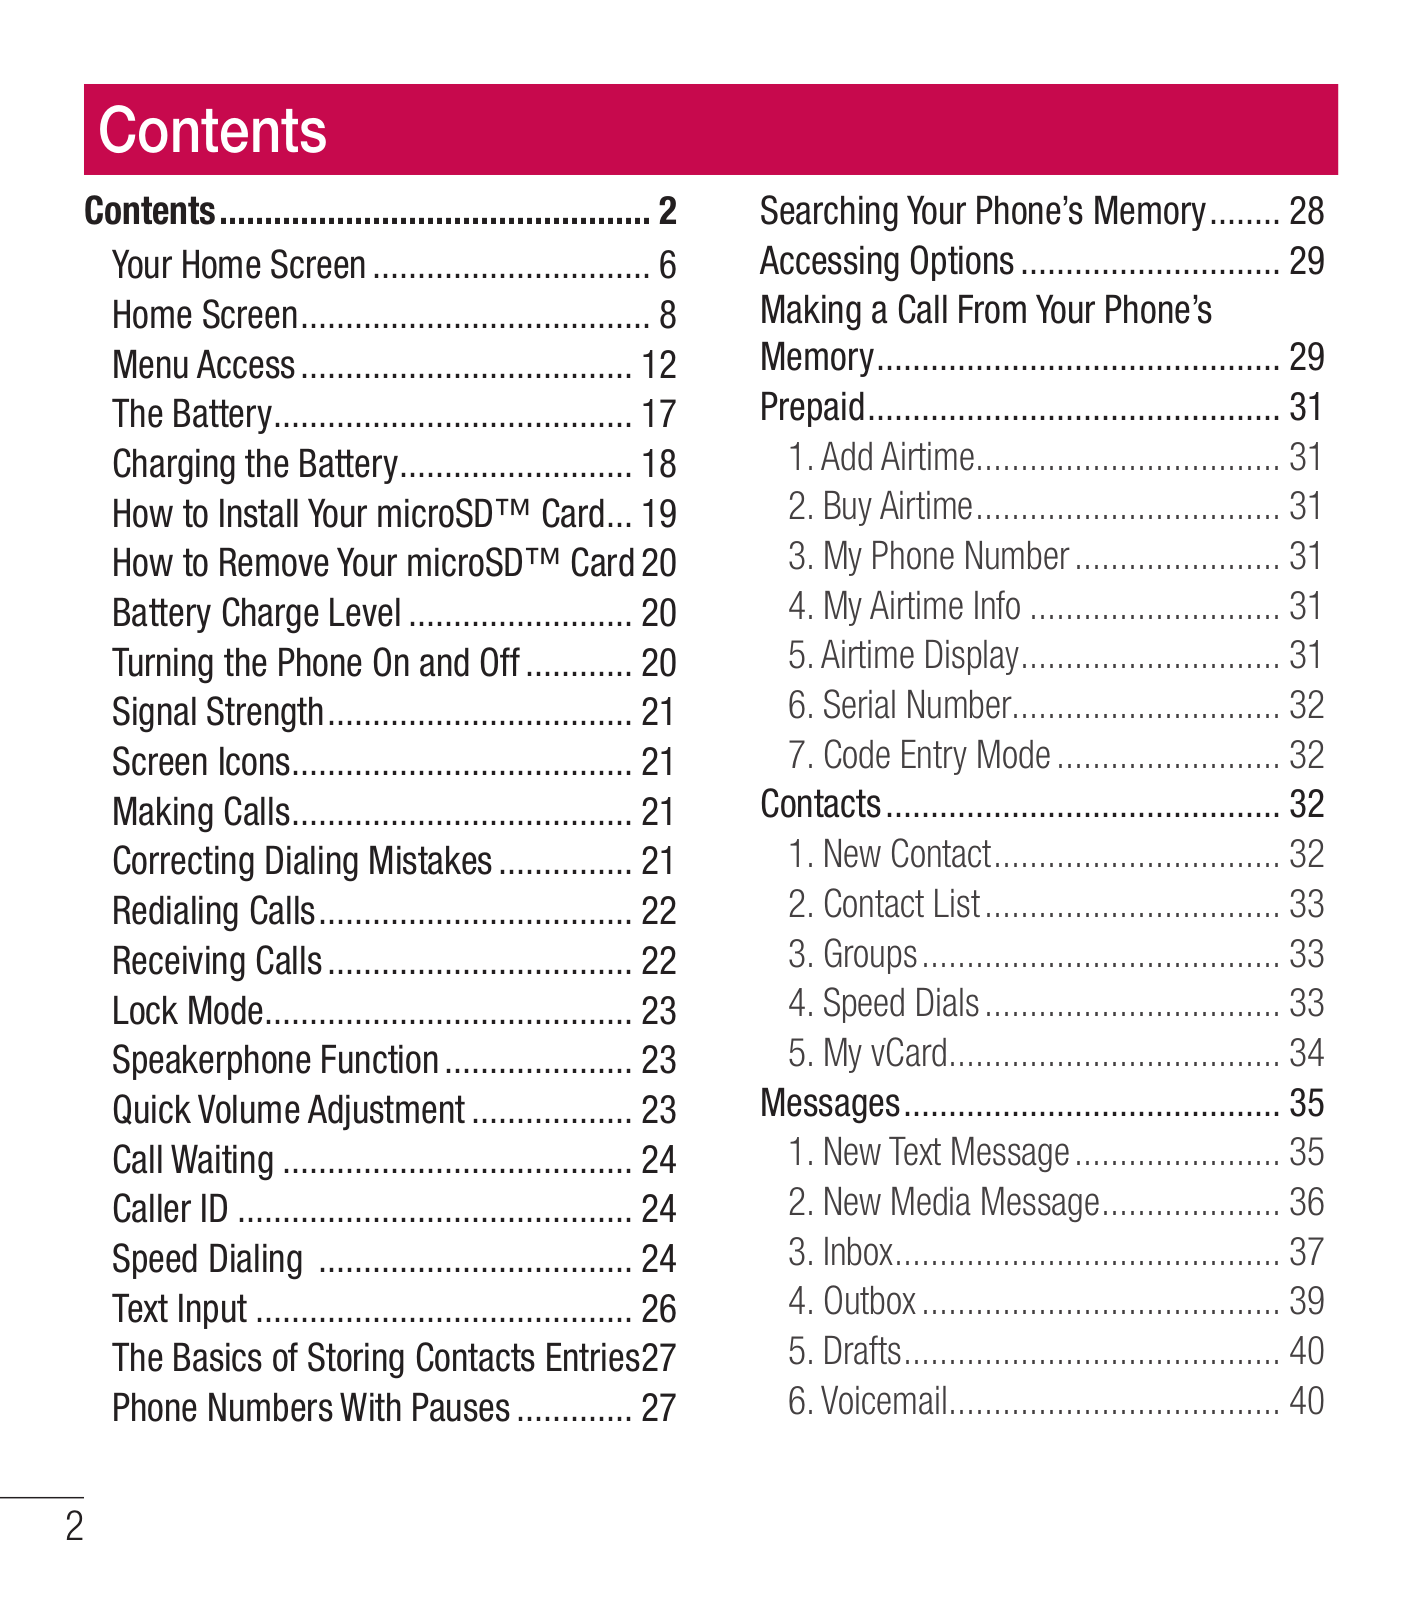
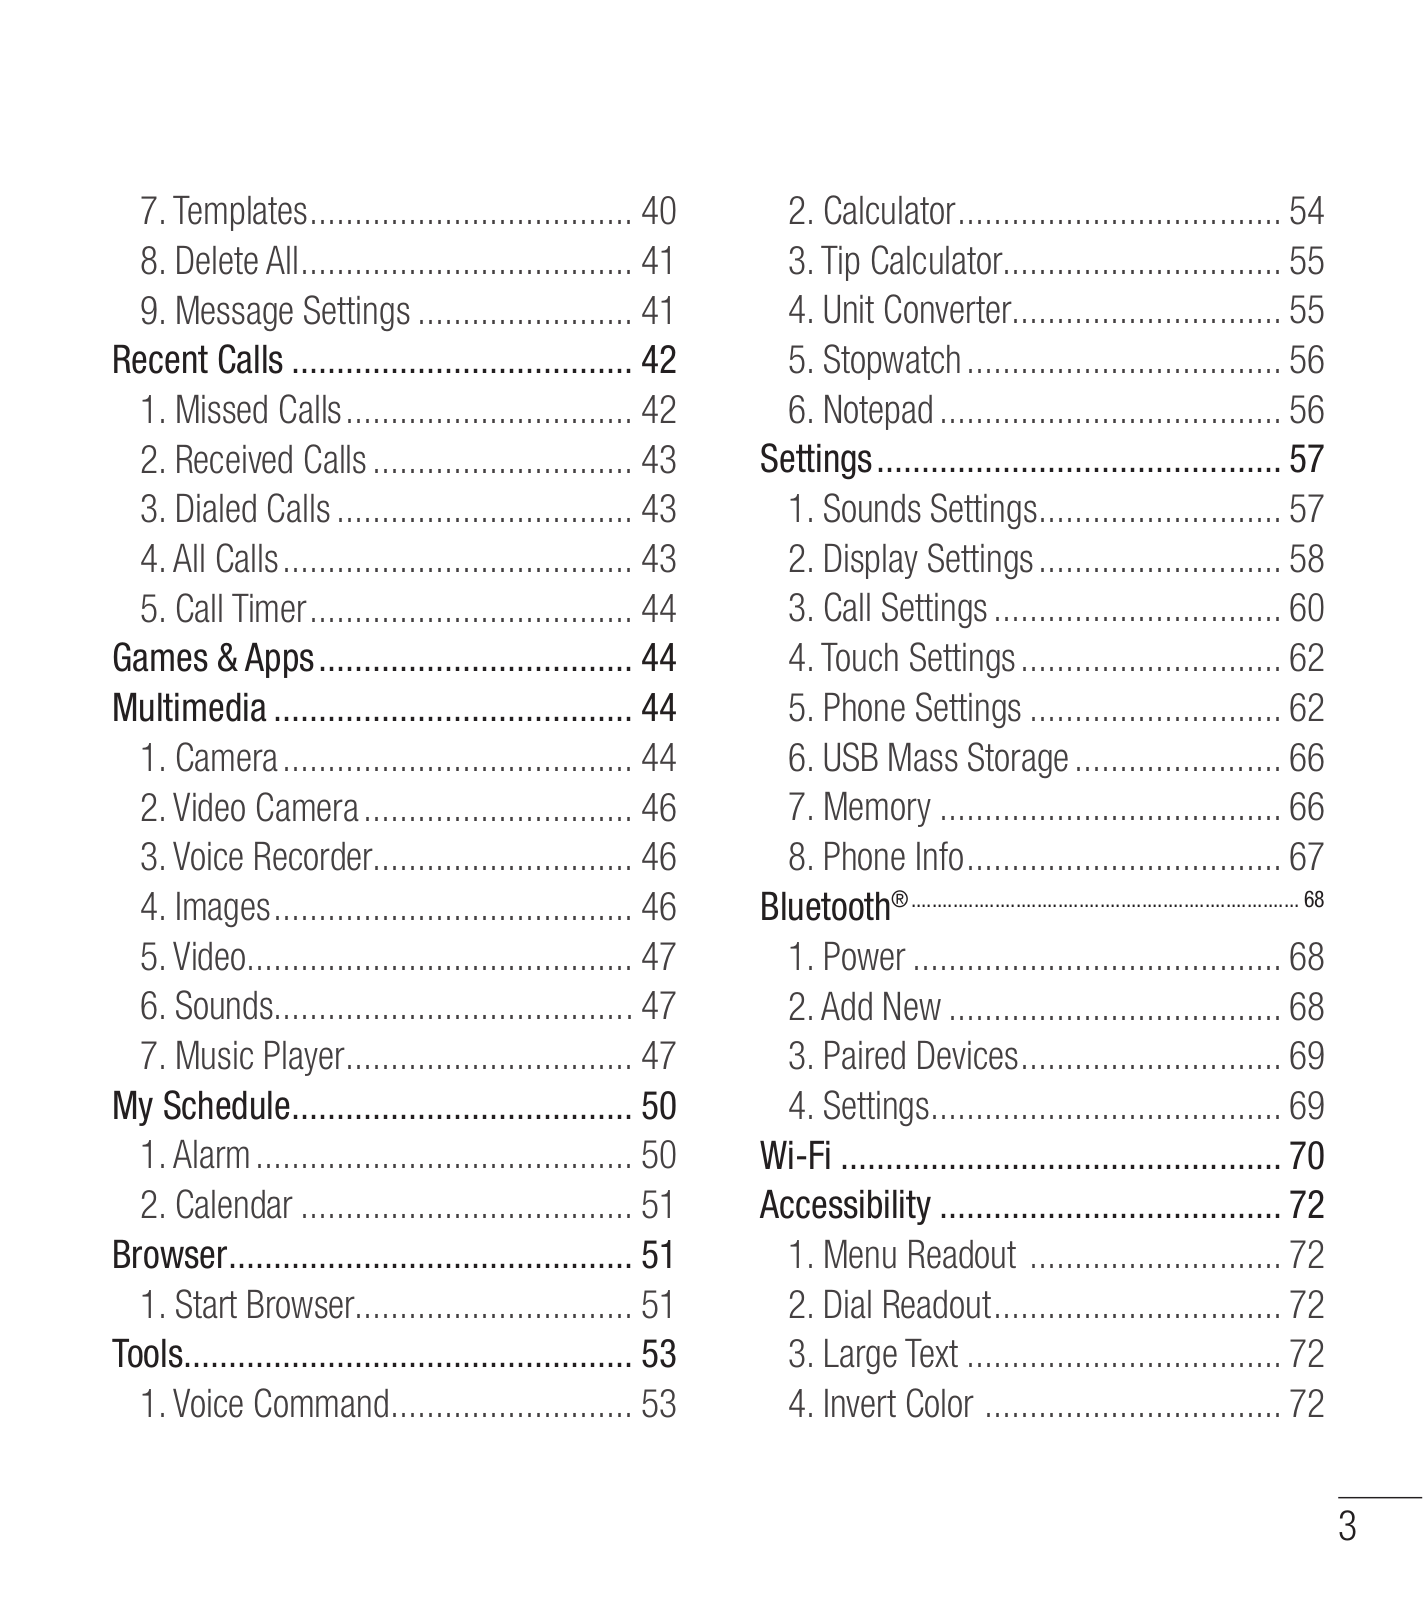
Table of contents
Loading...
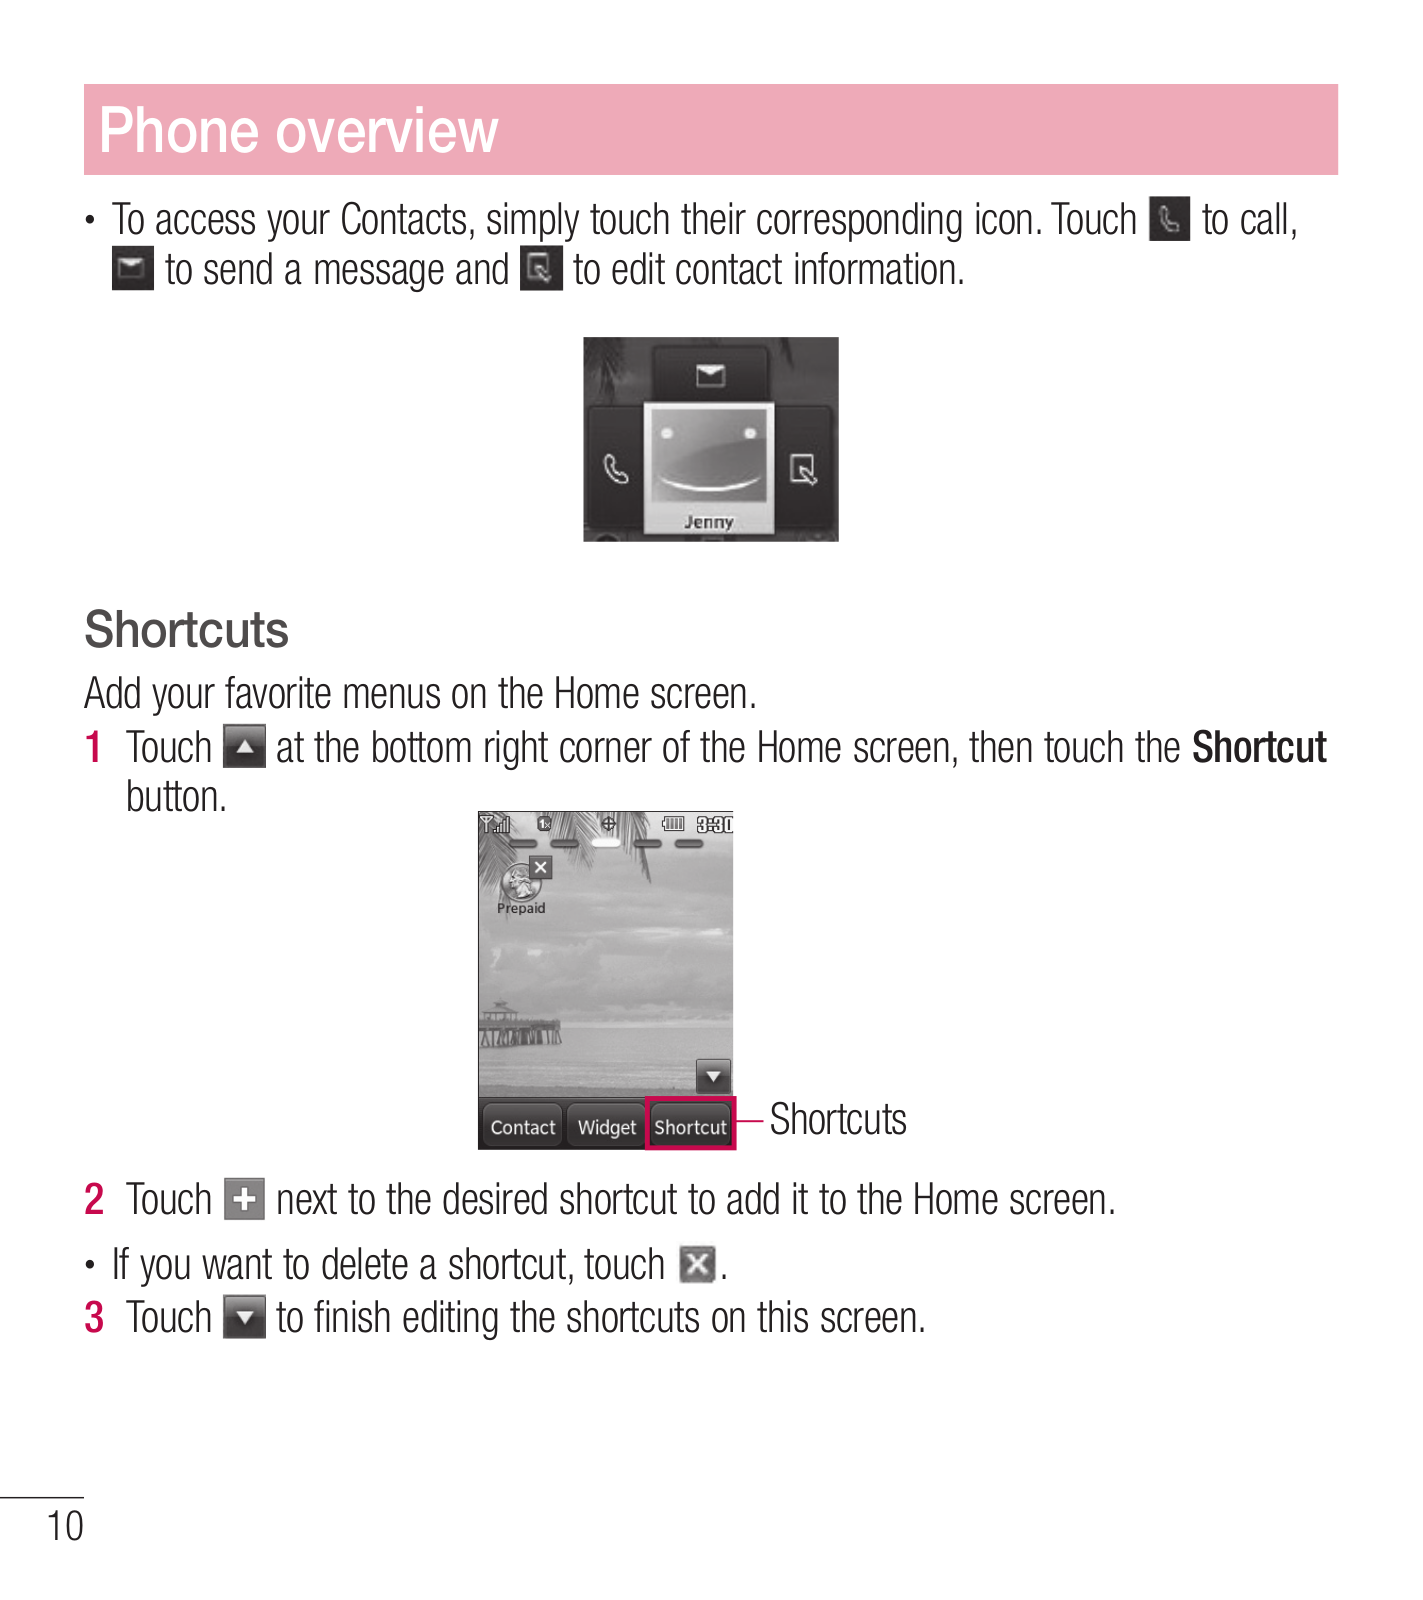
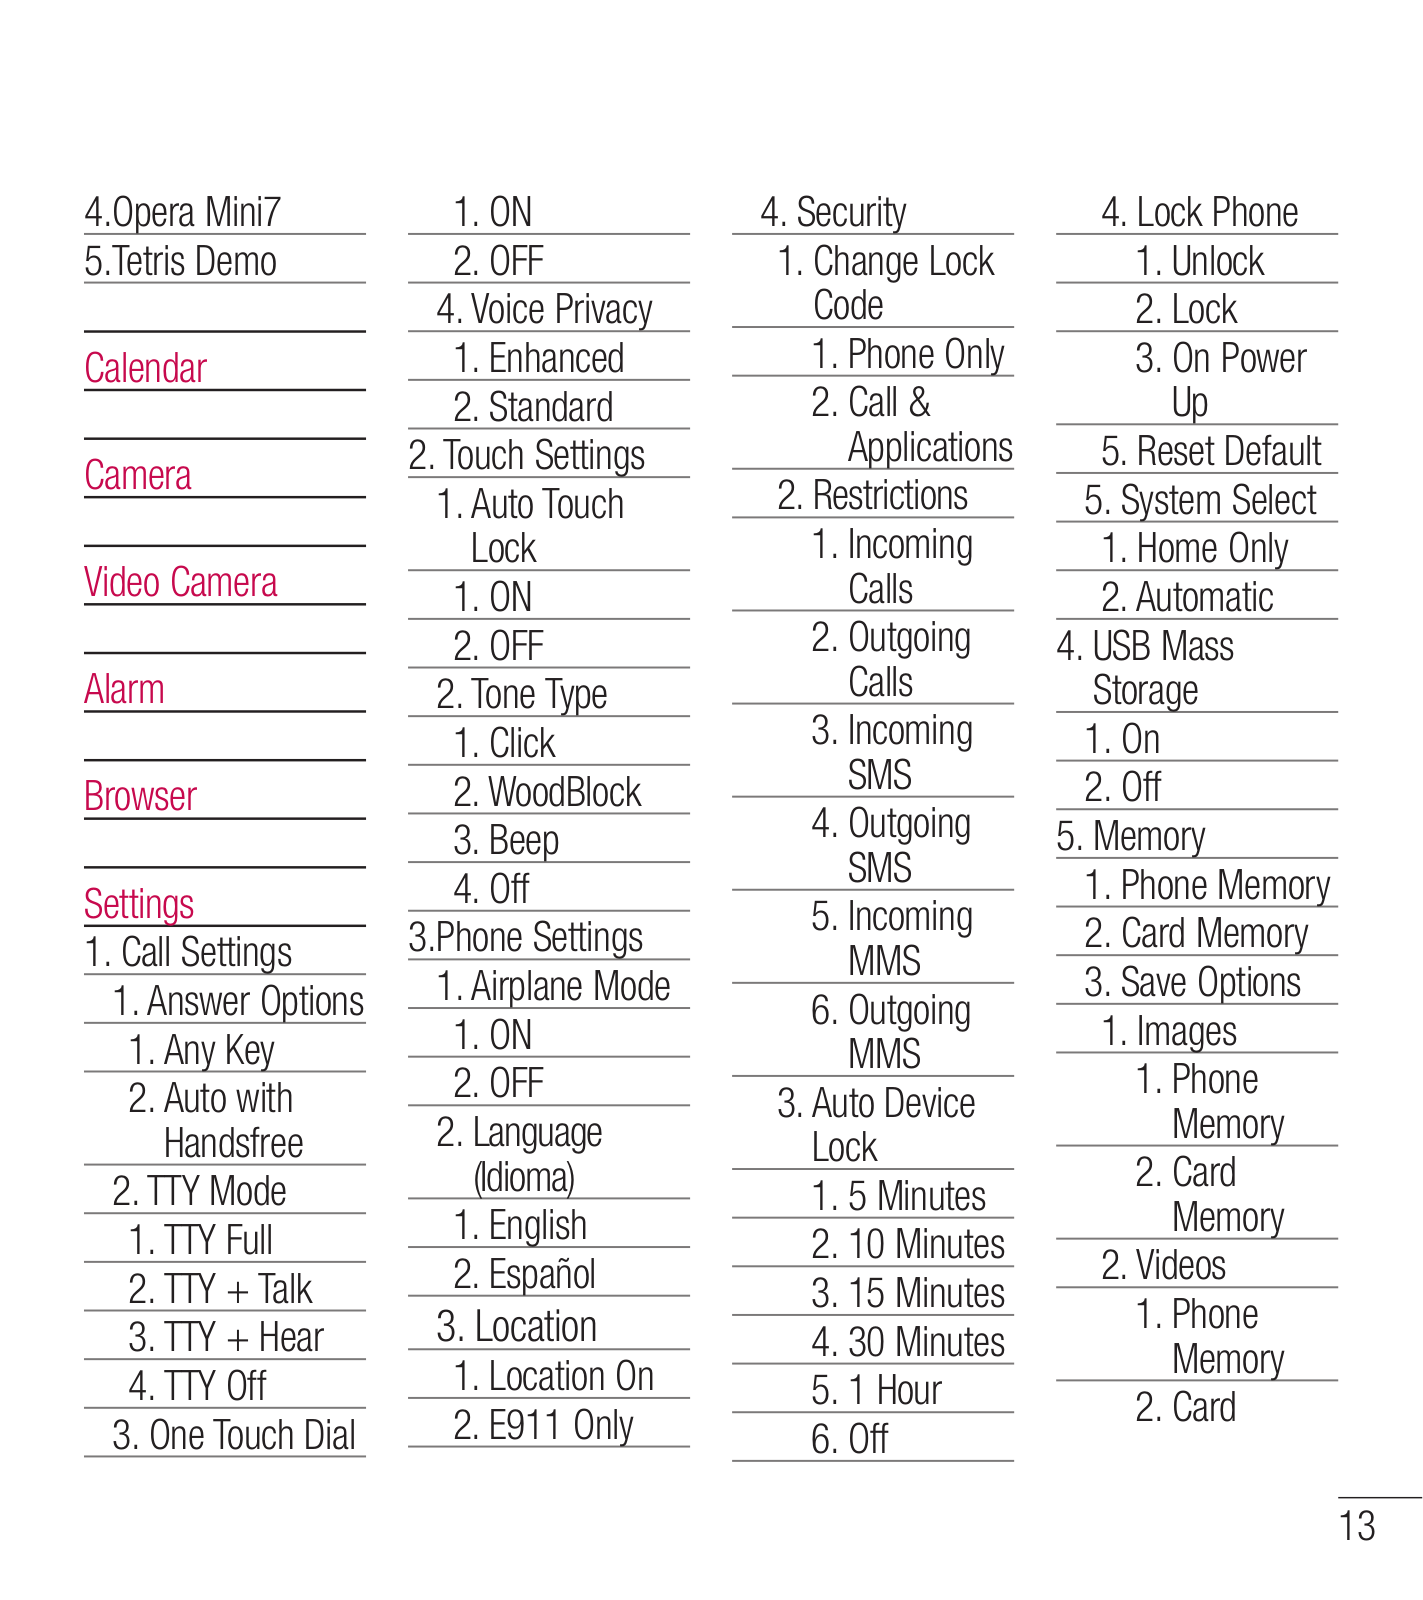
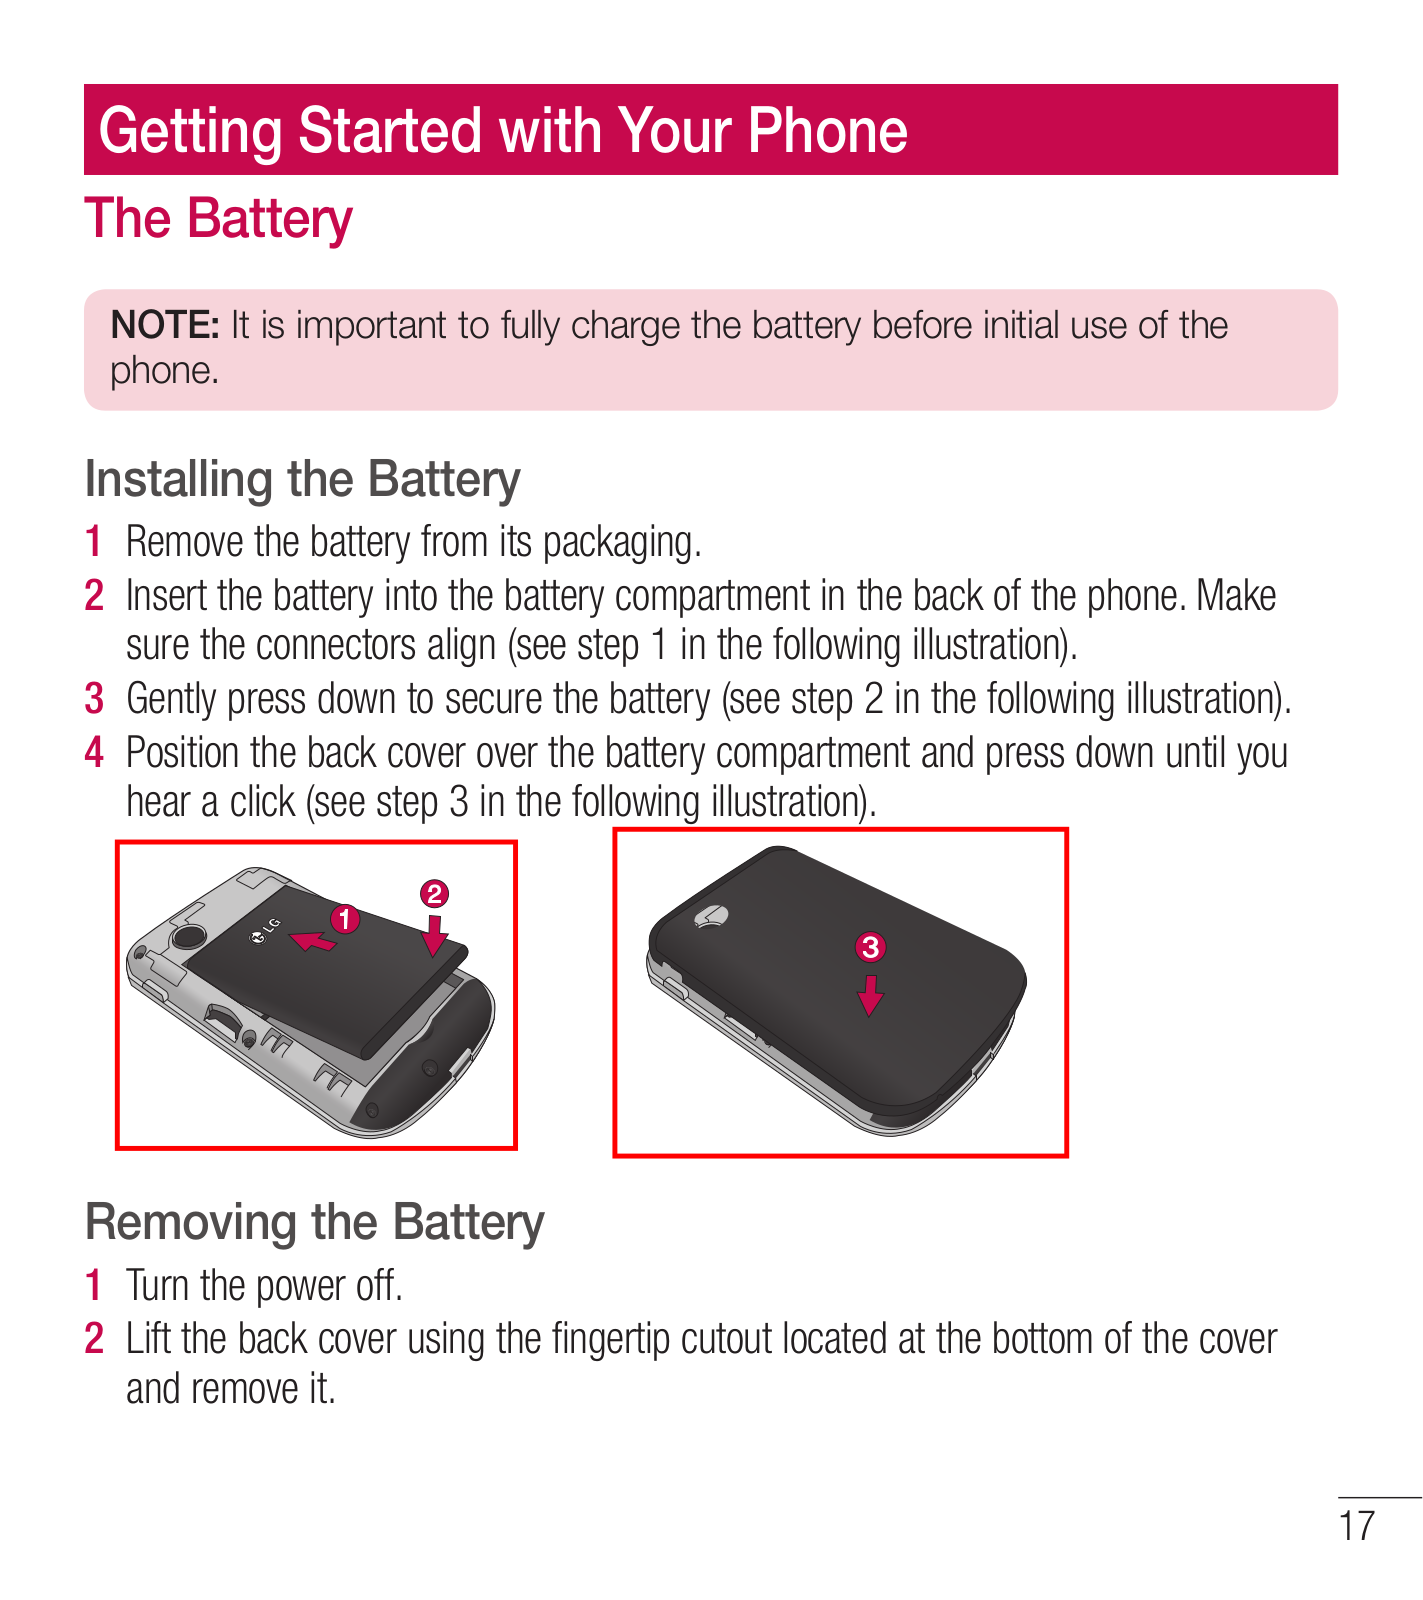
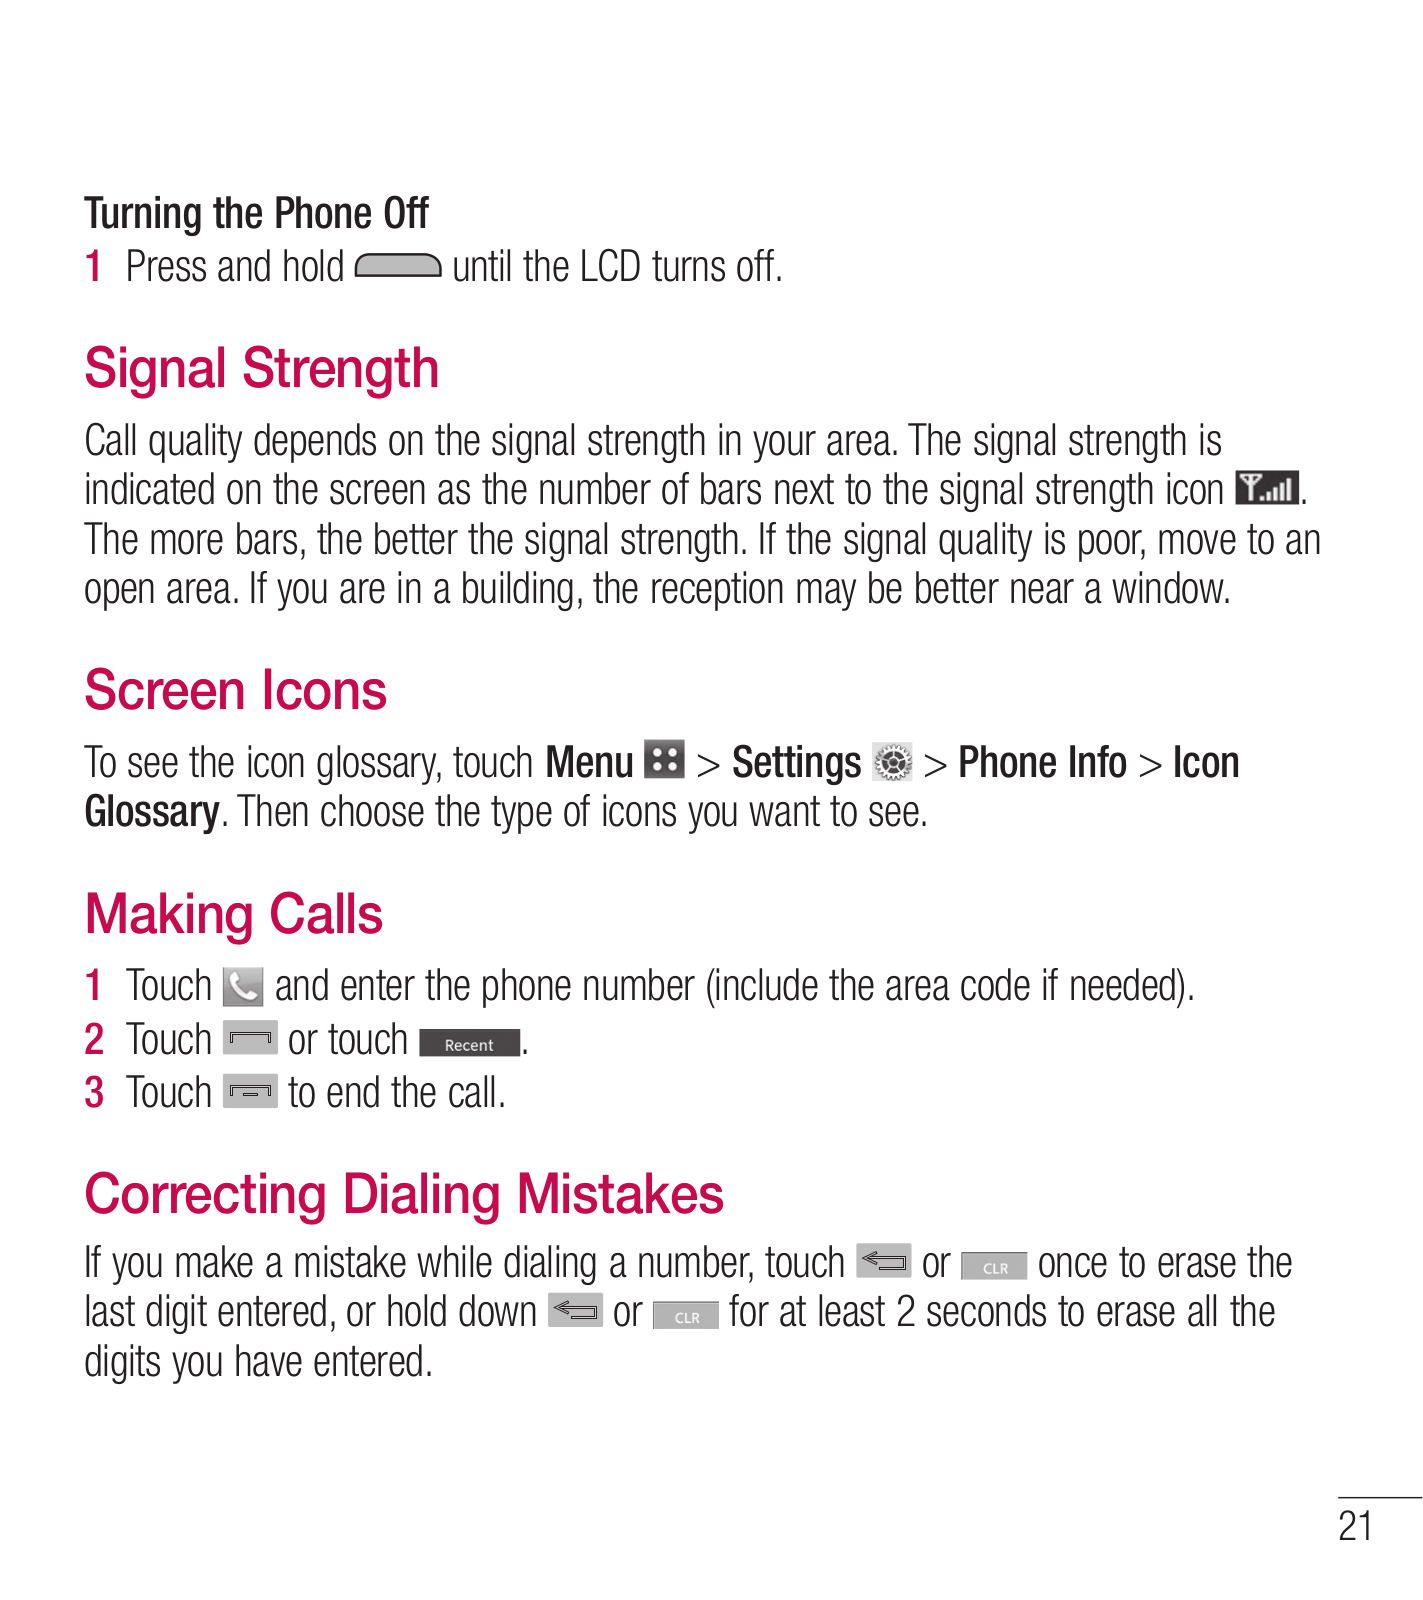
LG LG305C Users manual
...
LG Users manual
Download
Specifications and Main Features
Frequently Asked Questions
User Manual
Download
Loading...
+
67
hidden pages
Unhide
You need points to download manuals.
1 point = 1 manual.
You can buy points or you can get point for every manual you upload.
Buy points
Upload your manuals
 Loading...