

LG LD61105SS Owner’s Manual

Built In Oven
Installation and Operating Instructions
LD61105SS
To avoid the risk of accidents or damage to the oven,
it is essential to read these operating instructions
before it is installed or used for the first time.
And please keep this manual for later reference.
P/No.: MFL62060307
http://au.lge.com (Australia)
http://nz.lge.com (New Zealand)

Contents
Instructions for proper user ...................................................... 3
1. Instructions proper use ........................................................... 3
User Instructions ........................................................................ 4
Safety instruction ....................................................................... 5
2. Safety instruction .................................................................... 5
Instructions for the user ............................................................ 7
3. Know your oven ..................................................................... 7
4. Before first use ....................................................................... 7
5. Electronic programmer ........................................................... 8
6. Oven cavity............................................................................ 11
7. Available accessories ........................................................... 12
8. Description of control ............................................................ 13
9. Cooking function .................................................................. 16
10. Oven temperature conversion chart ................................... 21
11. Cooking chart ..................................................................... 22
12. Cleaning and maintenance ................................................ 24
13. Something wrong? .............................................................. 29
Instructions for the installer .................................................... 30
14. Installation .......................................................................... 30
INSTRUCTIONS FOR THE USER: these contain user advice,
description of the commands and the correct procedures for
cleaning and maintenance of the appliance.
INSTRUCTIONS FOR THE INSTALLER: these are intended for the
authorised person who must install the appliance, set it functioning
and carry out an inspection test.
2

1. Instructions proper use
Electrical connection: Please refer to installation instruction for the
gas & electrical safety regulations and the ventilation requirements.
In your own interest, and that of safety, it is the law that all gas
appliances be installed by a licenced gasfitter, who will comply with
the relevant standards and regulations.
Disconnection of gas and electric appliances should always be
carried out by a licenced gasfitter.
This manual is an integral part of the appliance and therefore must
be kept in its entirety and in an accessible place for the whole
working life of the oven. We advise careful reading of this manual
and all the instructions therein before using the oven. installation
must be carried out by qualified personnel in accordance with the
regulations in force. This appliance is intended for domestic uses
and conforms to current regulations in force. The appliance has
been built to carry out the following functions: Cooking and
heating-up of food in a domestic application. All other uses are
considered improper.
The manufacturer declines all responsibility for improper use.
Never use this appliance for heating rooms.
Do not leave the packing in the home environment. Separate the
various waste materials and take them to the nearest special
garbage collection centre.
This appliance is designed for cooking food and it shall not be used
as a space heater.
Do not spray aerosols in the vicinity of this appliance while it is in
operation.
3
Instructions for proper user
User Instructions
Do not obstruct ventilation openings and heat dispersal slits.
The I.D plate with technical data, registration number and brand
name is positioned visibly on the oven door frame.
The plate must not be removed.
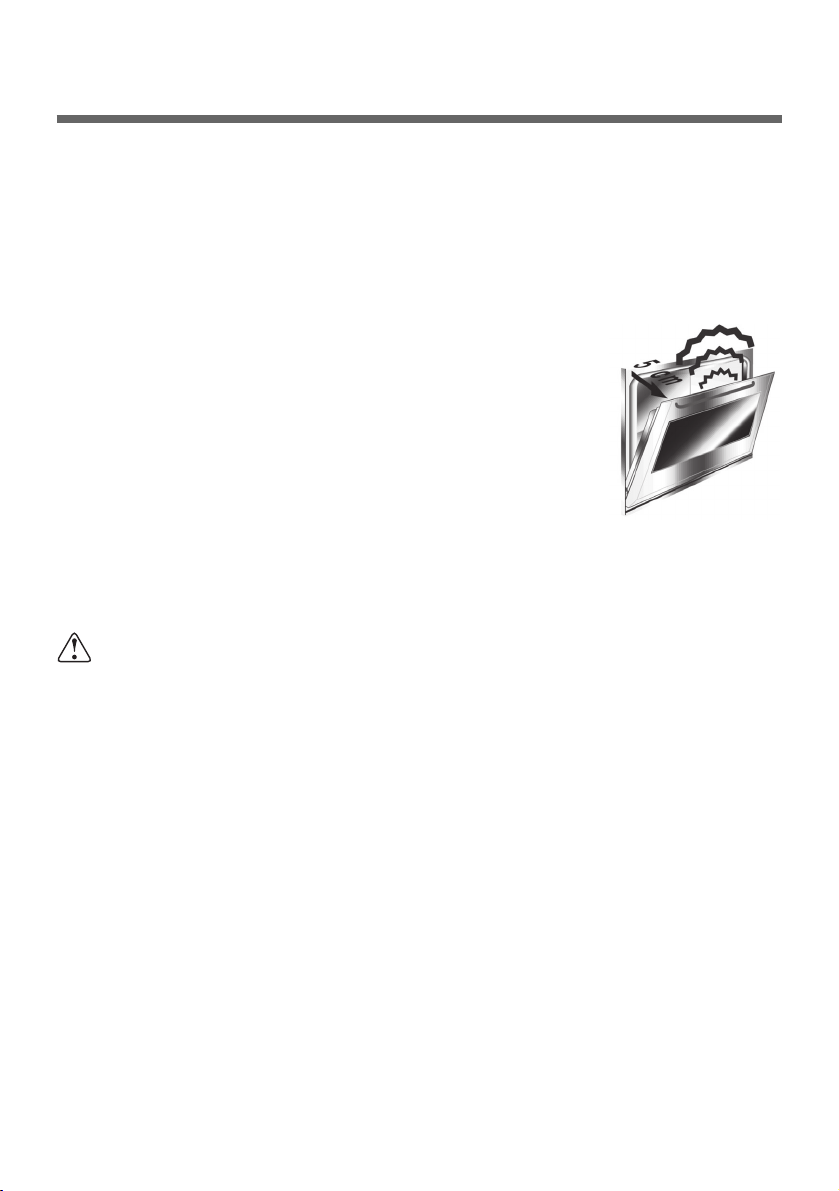
To prevent any steam in the oven creating
problems, open the door in two stages: Half open
(5 cm approx.) for 4-5 seconds and then fully
open. To access food, always leave the door
open as short a time as possible to prevent the
temperature in the oven from falling and ruining
the food.
The oven door must not be used as
resting table for food awaiting placing into the oven or foods being
removed from the oven.
The manufacturer declines all responsibility for damage to
persons or things caused by non-observance of the above
guidelines or by interference with any part of the appliance or
by the use of non-original spares.
4

2. Safety instruction
Instructions for the installer: These are intended for the qualified
technician who must install the appliance, set it functioning and
carry out an inspection test.
Do not attemp to move the appliance by pulling on the door
handles. Open the door and grasp the frame of the oven taking
care that the door does not shut on your fingers.
It is obligatory for the electrical system to be earthed according to
the methods required by safety rules.
When linking up to mains by hard wiring, connect by means of a
power cable complying with applicable regulations.
The socket or power isolation switch must be accessible after the
appliance has been built in.
Always check that the control knobs are in the “ZERO” (OFF)
position when you finish using the oven.
Never put flammable objects in the oven: They could be
accidentally lit causing fire or an explosion.
Parts of the appliance may be hot during or immediately after use.
Care should be taken to avoid touching heating elements inside the
oven. Allow sufficient time for the appliance to cool after switching off.
The oven is designed for use by adults. Do not allow children to
go near or play with it.
The appliance becomes very hot during use. Suitable heat-proof
gloves should be worn for all operations
5
Safety instruction

Safety instruction
During cooking, do not cover the bottom of the oven with
aluminium, tin foil or greaseproof paper and do not place pans
or oven trays on it as this may damage the enamel coating.
Before the appliance is put into operation, all the labels and
protective films applied inside or outside must be removed. This
does not include the Rating label which must not be removed.
Do not place plastic products or products with plastic parts inside
the oven. If accidentally left inside they may be a source of serious
danger to the user and put the appliance’s operation at risk.
Before closing the oven door, make sure that all the shelves and
trays provided have been pushed fully into place so that they do
not touch the glass when the door is closed.
Immediately after installation carry out a brief inspection test of
the oven, following the instructions. Should the appliance not
function, disconnect it from the supply and call the nearest
technical assistance centre.
Never attempt to repair the appliance. All repairs must be carried
out by an authorised engineer or at an authorised service centre.
6
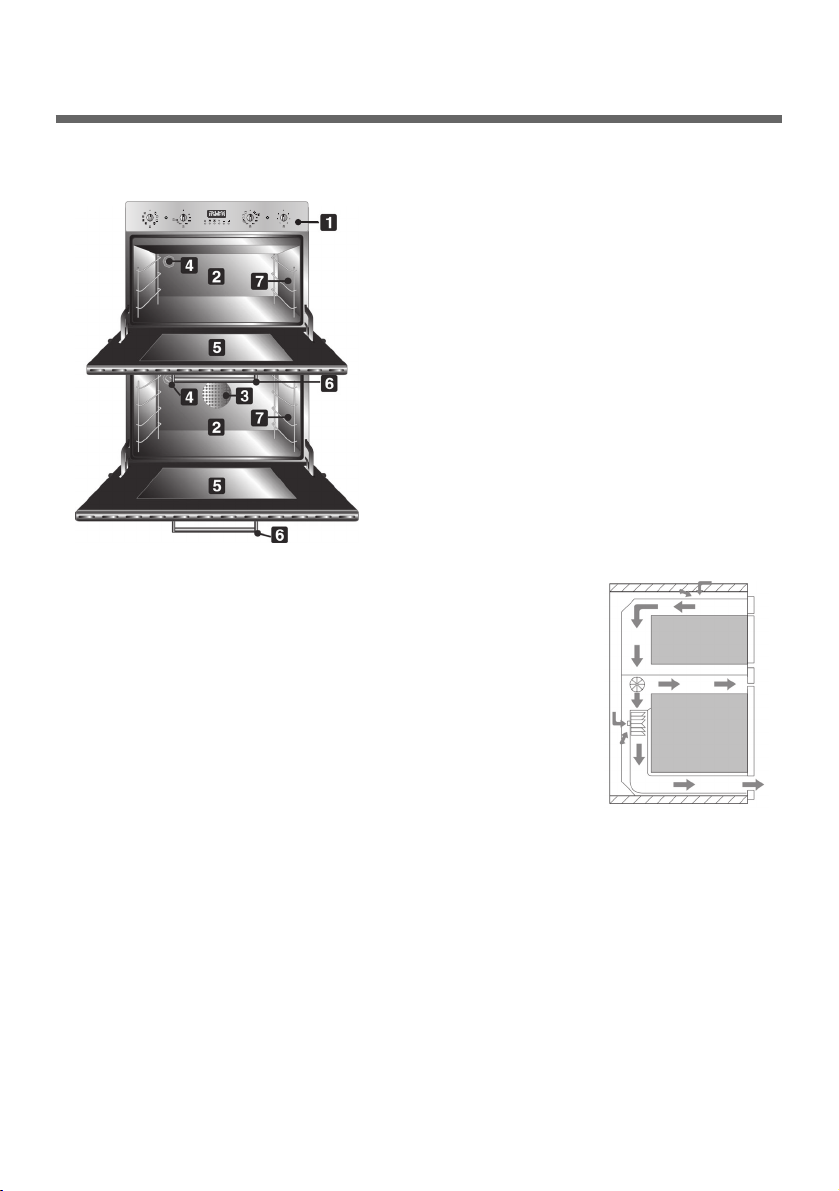
3. Know your oven
COOLING SYSTEM
The appliance is equipped with 2 cooling fans
which come into operation when the oven is
switched on. Operation of the fan generates a
normal flow of air which comes out at the bottom,
in the centre of the front of the oven, and may
continue for a short time even after the oven is
switched off.
4. Before first use
Do not leave the packing in the home environment. Separate the
various waste materials and take them to the nearest special
garbage collection centre.
Before using the oven for the first time, pre-heat it to maximum
temperature long enough to burn any manufacturing oily residues
which could give the food a bad taste Wipe down the oven with a
damp cloth after it has cooled down.
7
Instructions for the user
Front control panel
Oven cavity
Oven fan
Oven light
Oven door
Door handle
Oven guide for shelf and pan
8
Instructions for the user
HOW TO PROCEED
Remove all the accessories from the inside of the oven.
Remove all the removable label and any protective foils from the
outside and the inside of the oven, excluding the rating label.
To switch on the oven at first use or after a power black-out, simply
press the programmer central key for 1 to 2 seconds to enable
cooking in the large oven. The small oven does not require any
specific switch-on procedures: simply turn the thermostat knob to
any setting.
Set the function knobs on the symbol and the thermostat knob to
250°C. For the small oven simply turn the thermostat knob on the
symbol
250
.
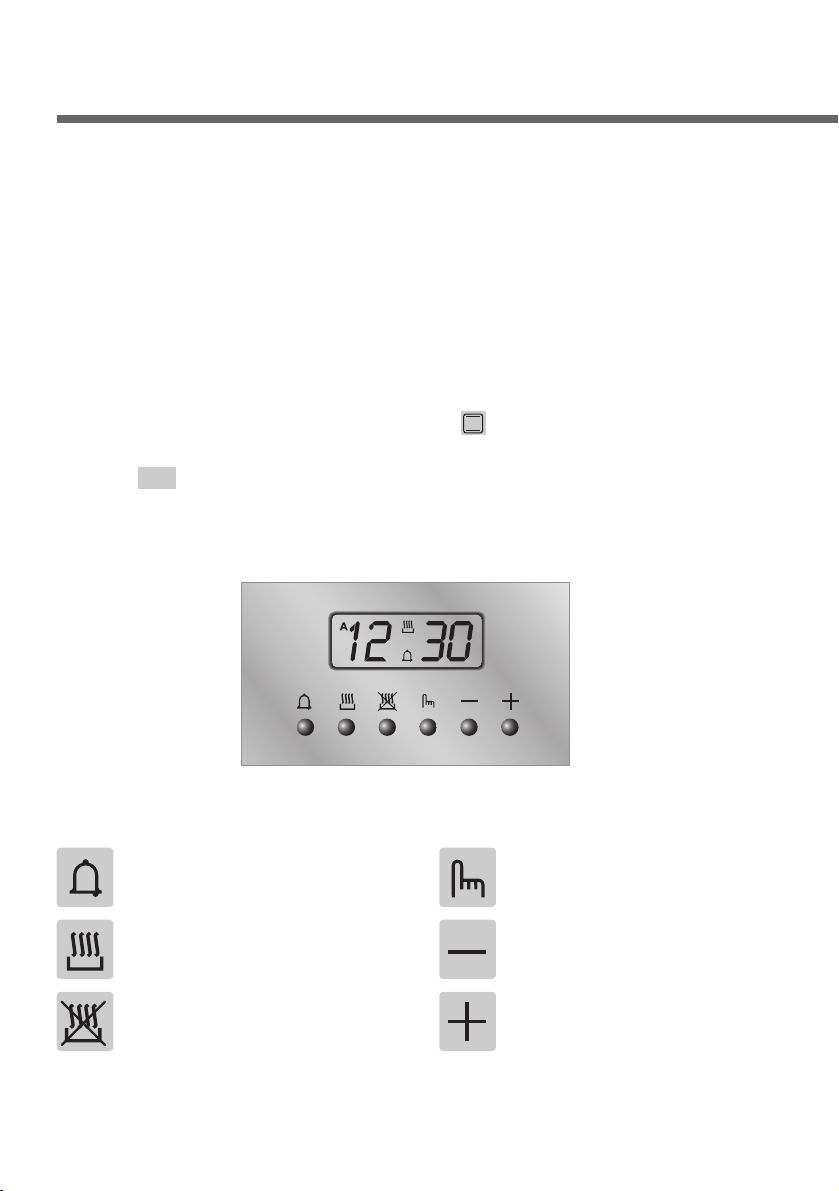
5. Electronic programmer
LIST OF FUNCTIONS
Minute-Counter key
Cooking time key
End-of-Cooking key
Manual operation key
Time back key
Time forward key
9
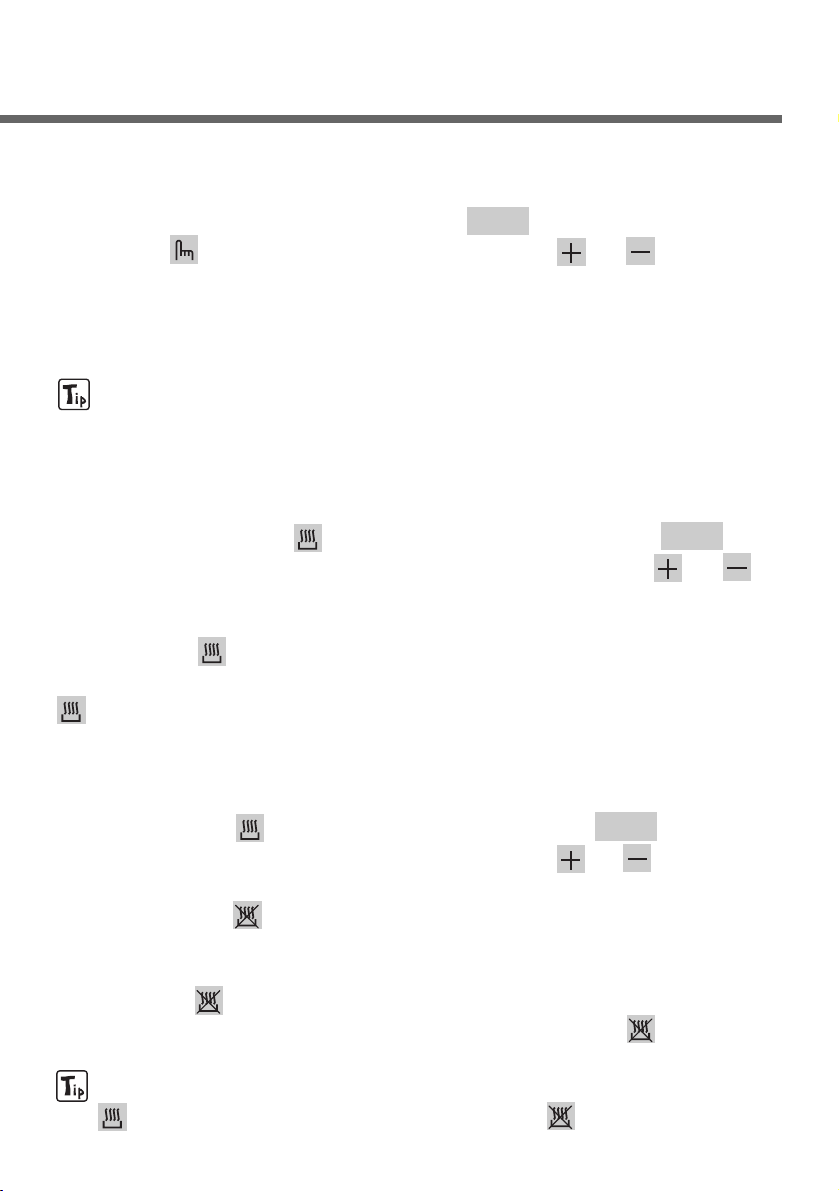
5.1 Clock adjustment
When using the oven for the first time, or after a power failure, the
display flashes regularly and indicates . To stop flashing,
press key on the display. By pressing keys or each
single press changes the time by 1 minute either up or down.
Press one of the two keys until the right time appears. The time will
be set if no other button is pressed for 10 seconds.
Before setting the programmer activate the desired function and
temperature.
5.2 Semiautomatic cooking
Use this setting for automatic oven switch-off at the end of cooking
time. By pressing key , the display lights up, showing ;
keep the key pressed and at the same time, press keys or
to set the cooking time.
Release key to start the programmed cooking time count. The
display will now show the right time together with symbols A and
.
5.3 Automatic cooking
Use this setting to automatically start and stop the oven.
By pressing key , the display lights up showing ; keep the
key pressed and at the same time, press keys or to set the
cooking time.
By pressing key the sum of the right time + cooking time will
appear; keep the key pressed and at the same time, press keys or
to regulate the end of cooking time.
Release key to start the programmed count and the display will
show the right time together with symbols AUTO and .
After setting, to see how much cooking time is left, press key
; to see end of cooking time, press key .
0:00
0:00
0:00
10
5.4 End of cooking
When cooking is over, the oven will automatically switch off and, at
the same time, an intermittent alarm will sound. After switching off
the alarm, the display will once again show the right time together
with the symbol , indicating that the oven has returned to manual
operation mode.
5.5 Adjusting alarm volume
The acoustic alarm has three different settings. These can be
adjusted, while the alarm is off, by pressing key .
5.6 Switching off the alarm
The alarm switches off automatically after seven minutes. It can be
manually turned off by pressing key .
5.7 Minute-counter
The programmer can also be used as a simple minute counter.
The use of the minute-counter will not interrupt oven operation
at the end of the set time.
By pressing key , the display shows ; keep the key
pressed and at the same time press keys or By releasing
the key , the programmed count starts and the symbols and
appear on the monitor.
After programming the minute-counter, the display will show the
right time. to display remaining time, press key .
Wrong settings are prevented logically (e.g., any conflict
between end of cooking time and a longer time will not be
accepted by the programmer).
Instructions for the user
0:00
 Loading...