

LG LAC-M4510R User manual

Please read this instruction booklet carefully and completely
before connecting, operating or adjusting this product.
Car CD/MP3/WMA Receiver
OWNER’S MANUAL
MODEL : LAC-M4510R
LAC-M4510R_ENG
Table of Contents
2
INTRODUCTION
Table of Contents . . . . . . . . . . . . . . . . . . . . . . . . . . . . . . . . . . 2
Safety Precautions . . . . . . . . . . . . . . . . . . . . . . . . . . . . . . . . . 3
Before Use. . . . . . . . . . . . . . . . . . . . . . . . . . . . . . . . . . . . . . 4-5
Front Panel . . . . . . . . . . . . . . . . . . . . . . . . . . . . . . . . . . . . . . . 6
PREPARATION
Installation . . . . . . . . . . . . . . . . . . . . . . . . . . . . . . . . . . . . . . . 7
Connections. . . . . . . . . . . . . . . . . . . . . . . . . . . . . . . . . . . . . 8-9
OPERATION
Basic Operation . . . . . . . . . . . . . . . . . . . . . . . . . . . . . . . . 10-11
Turning the unit on. . . . . . . . . . . . . . . . . . . . . . . . . . . . . . 10
Turning the unit off. . . . . . . . . . . . . . . . . . . . . . . . . . . . . . 10
Selecting a source . . . . . . . . . . . . . . . . . . . . . . . . . . . . . . 10
Adjusting the volume . . . . . . . . . . . . . . . . . . . . . . . . . . . . 10
Checking the clock. . . . . . . . . . . . . . . . . . . . . . . . . . . . . . 10
SOUND Adjustment . . . . . . . . . . . . . . . . . . . . . . . . . . . . . 11
RDS Operation. . . . . . . . . . . . . . . . . . . . . . . . . . . . . . . . . 12-13
RDS Display Options . . . . . . . . . . . . . . . . . . . . . . . . . . . . 12
RDS AF/REG FUNCTION . . . . . . . . . . . . . . . . . . . . . . . . 12
LOCAL/DX selection in EON-TA mode . . . . . . . . . . . . . . . 12
PROGRAM TYPE FUNCTION . . . . . . . . . . . . . . . . . . . . . 12
RDS MODE Adjustment. . . . . . . . . . . . . . . . . . . . . . . . . . 13
Radio Operation . . . . . . . . . . . . . . . . . . . . . . . . . . . . . . . . . . 14
Listening to radio stations . . . . . . . . . . . . . . . . . . . . . . . . 14
Auto Search Memory . . . . . . . . . . . . . . . . . . . . . . . . . . . . 14
Storing and recalling broadcast frequencies . . . . . . . . . . . 14
Operation with Audio CD, MP3/WMA. . . . . . . . . . . . . . . . . . 15-16
Playing an Audio CD and MP3/WMA Disc . . . . . . . . . . . . 15
REFERENCE
Troubleshooting . . . . . . . . . . . . . . . . . . . . . . . . . . . . . . . . . . 17
Specifications
Disposal of your old appliance
1. When this crossed-out wheeled bin symbol is attached to
a product it means the product is covered by the
European Directive 2002/96/EC.
2. All electrical and electronic products should be disposed
of separately from the municipal waste stream via designated collection facilities appointed by the government or
the local authorities.
3. The correct disposal of your old appliance will help
prevent potential negative consequences for the
environment and human health.
4. For more detailed information about disposal of your old
appliance, please contact your city office, waste
disposal service or the shop where you purchased the
product.
3
Safety Precautions
INTRODUCTION
Warning: To reduce the risk of electric shock, do not remove the
cover or back of this product. There are no user-serviceable
parts inside. Refer servicing to qualified service personnel.
Warning: To reduce the risk of fire or electric shock, do not
expose this product to dripping or splashing water, rain, or
moisture.
Warning: Due to high temperature outside of the unit, please
use the unit only installed in a car.
Caution: Protect this product from moisture.
Caution: If the battery is disconnected or discharged, the preset
memory will be erased and must be reprogrammed.
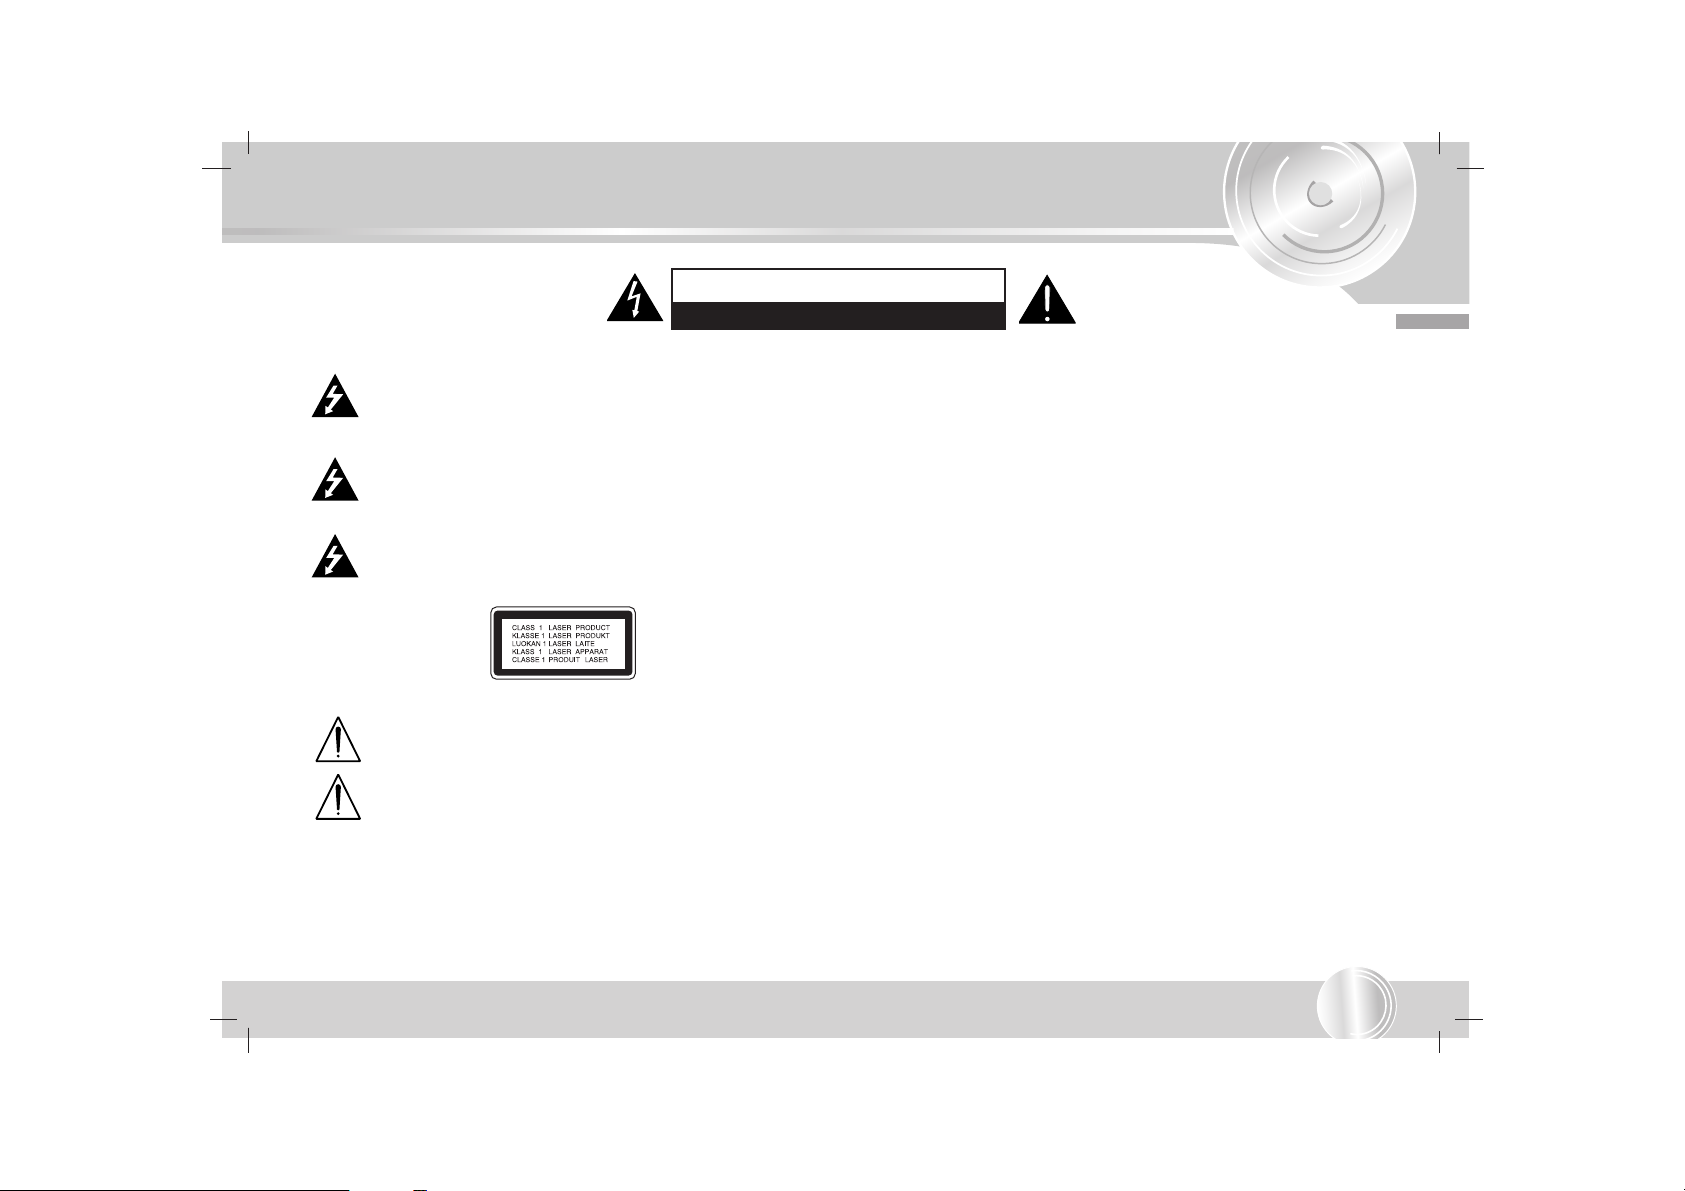
CAUTION:
This unit employs a Laser System.
To ensure proper use of this product, please read this owner’s manual
carefully and retain for future reference.
Should the unit require maintenance, contact an authorized service
location (see service procedure).
Use of controls, adjustments, or the performance of procedures other than
those specified herein may result in hazardous radiation exposure.
To prevent direct exposure to the laser beam, do not open the enclosure.
Visible laser radiation when open. DO NOT STARE INTO BEAM.
CAUTION
RISK OF ELECTRIC SHOCK DO NOT OPEN
Before Use
4
To ensure proper use of this product, please read this owner’s
manual carefully and retain for future reference.
Symbols Used in this Manual
The lightning flash symbol alerts you to the presence of
dangerous voltage within the product enclosure that may
constitute a risk of electric shock.
Indicates hazards likely to cause harm to the unit itself or
other material damage.
NOTE
Indicates special notes and operating features.
TIP
Indicates tips and hints for making the task easier.
Handling the Unit
• This unit is designed to be operated on a 12 volt DC negative
ground electrical system only.
• When replacing the fuse, be sure to use fuseone with an identically rated amperage. Use of a fuse with a higher amperage may
cause serious damage to the unit.
• Periodically wipe the contacts on the back of the front panel with
a cotton swap moistened with alcohol.
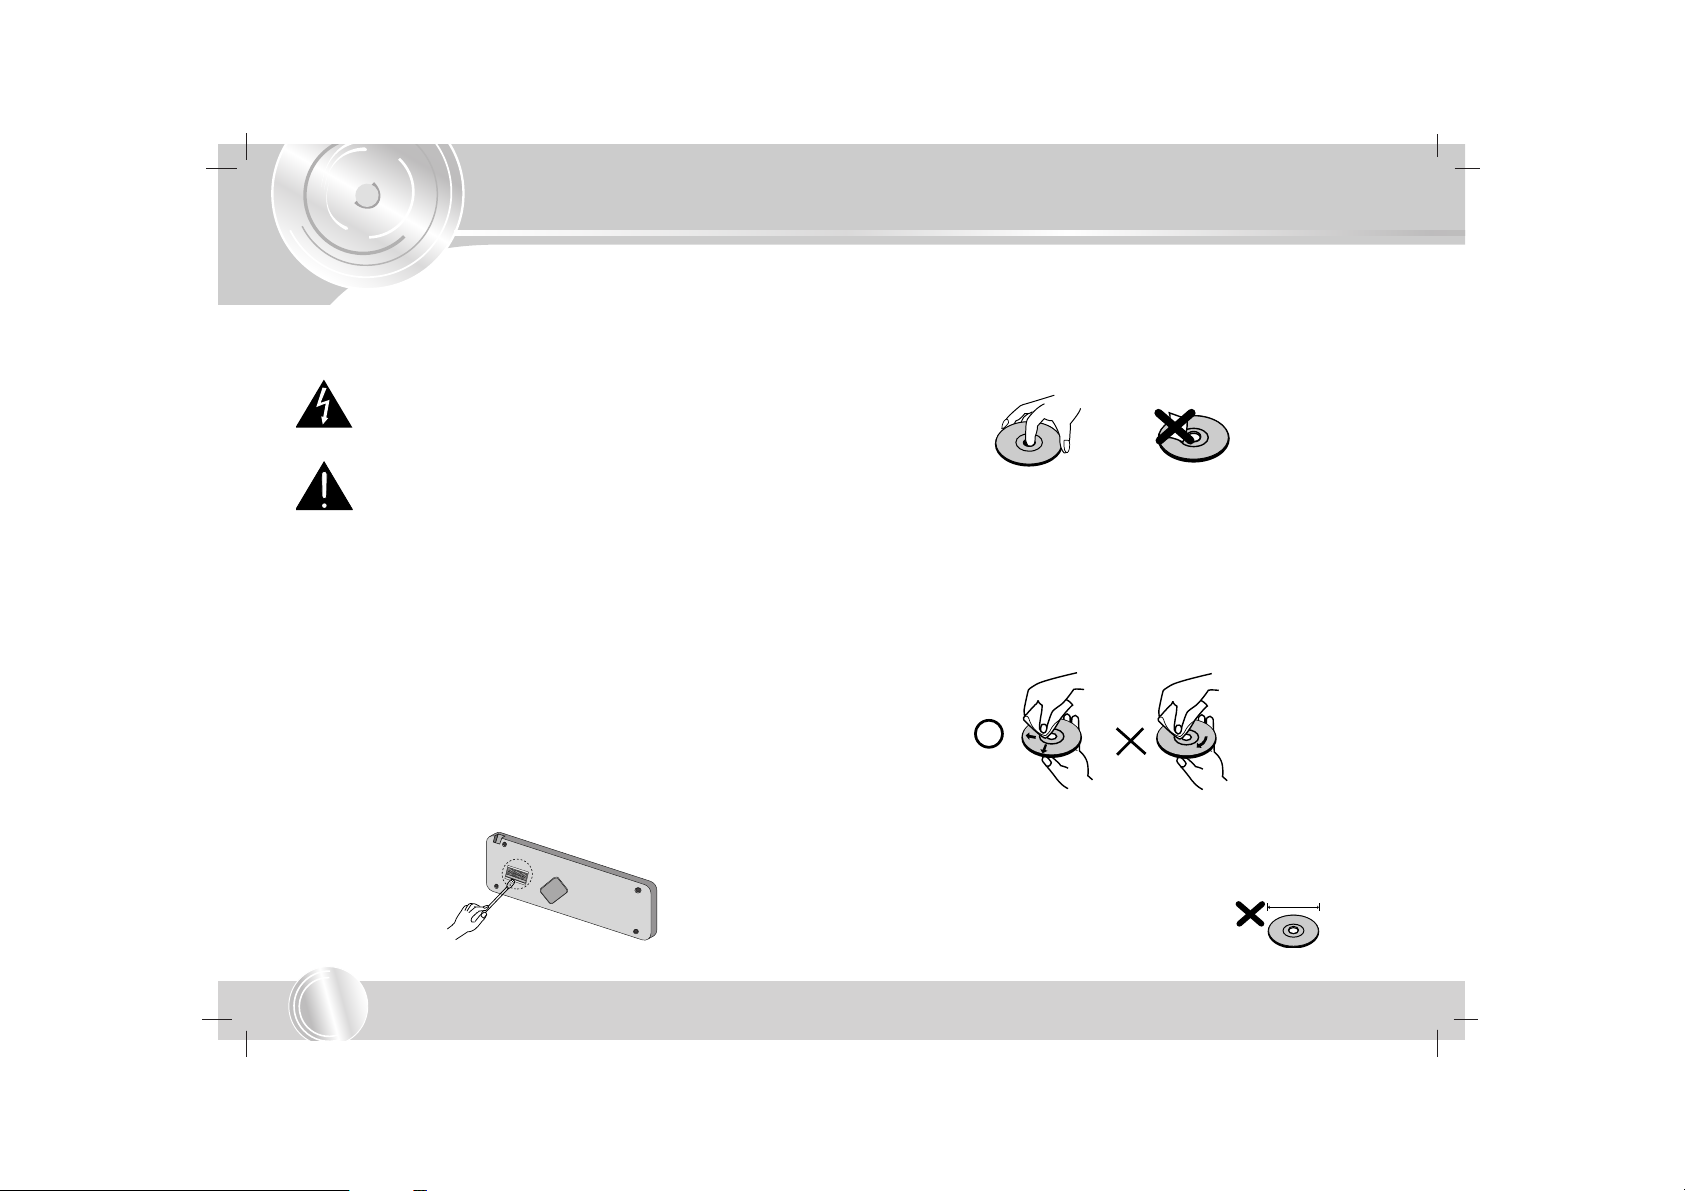
Notes on Discs
Handling Discs
Do not touch the playback side of the disc. Hold the disc by the
edges so that fingerprints do not get on the surface. Never stick
paper or tape on the disc.
Storing Discs
After playing, store the disc in its case. Do not expose the disc to
direct sunlight or sources of heat and never leave it in a parked
car exposed to direct sunlight.
Cleaning Discs
Fingerprints and dust on the disc can cause poor picture quality
and sound distortion. Before playing, clean the disc with a clean
cloth. Wipe the disc from the center out.
Do not use strong solvents such as alcohol, benzine, thinner, commercially available cleaners, or anti-static spray intended for older
vinyl records.
This unit cannot be operated with 8cm disc
(use 12cm discs only).
8 cm
5
Before Use
INTRODUCTION
Protecting your unit from theft
The front panel can be detached from the main body and stored in
the protective case provided to discourage theft.
1. Press RELEASE ( ) to open the front panel
.
2. Push the front panel to the right.
3. Pull the front panel.
4. Put the front panel into the protective case provided for safe
keeping.
Attaching the front panel
1. Place on the front panel to on the main unit.
2. Join the front panel to on the main unit by pushing it to
the right.
3. Close the front panel
NOTES
• When detaching or attaching the front panel, do not press the
display or control buttons.
• The control buttons may not work if the front panel is not
attached properly. If this occurs, gently press the front panel.
• Do not leave the front panel in any area exposed to high tem-
peratures or direct sunlight.
• Do not drop the front panel or otherwise subject it to severe
impacts.
• Do not allow volatile agents such as benzine, thinner, or insecti-
cides to come into contact with the surface of the front panel.
• Do not try to disassemble the front panel.
Protective case
Front panel
RELEASE ( )
B
D
C
A
C
B
D
A
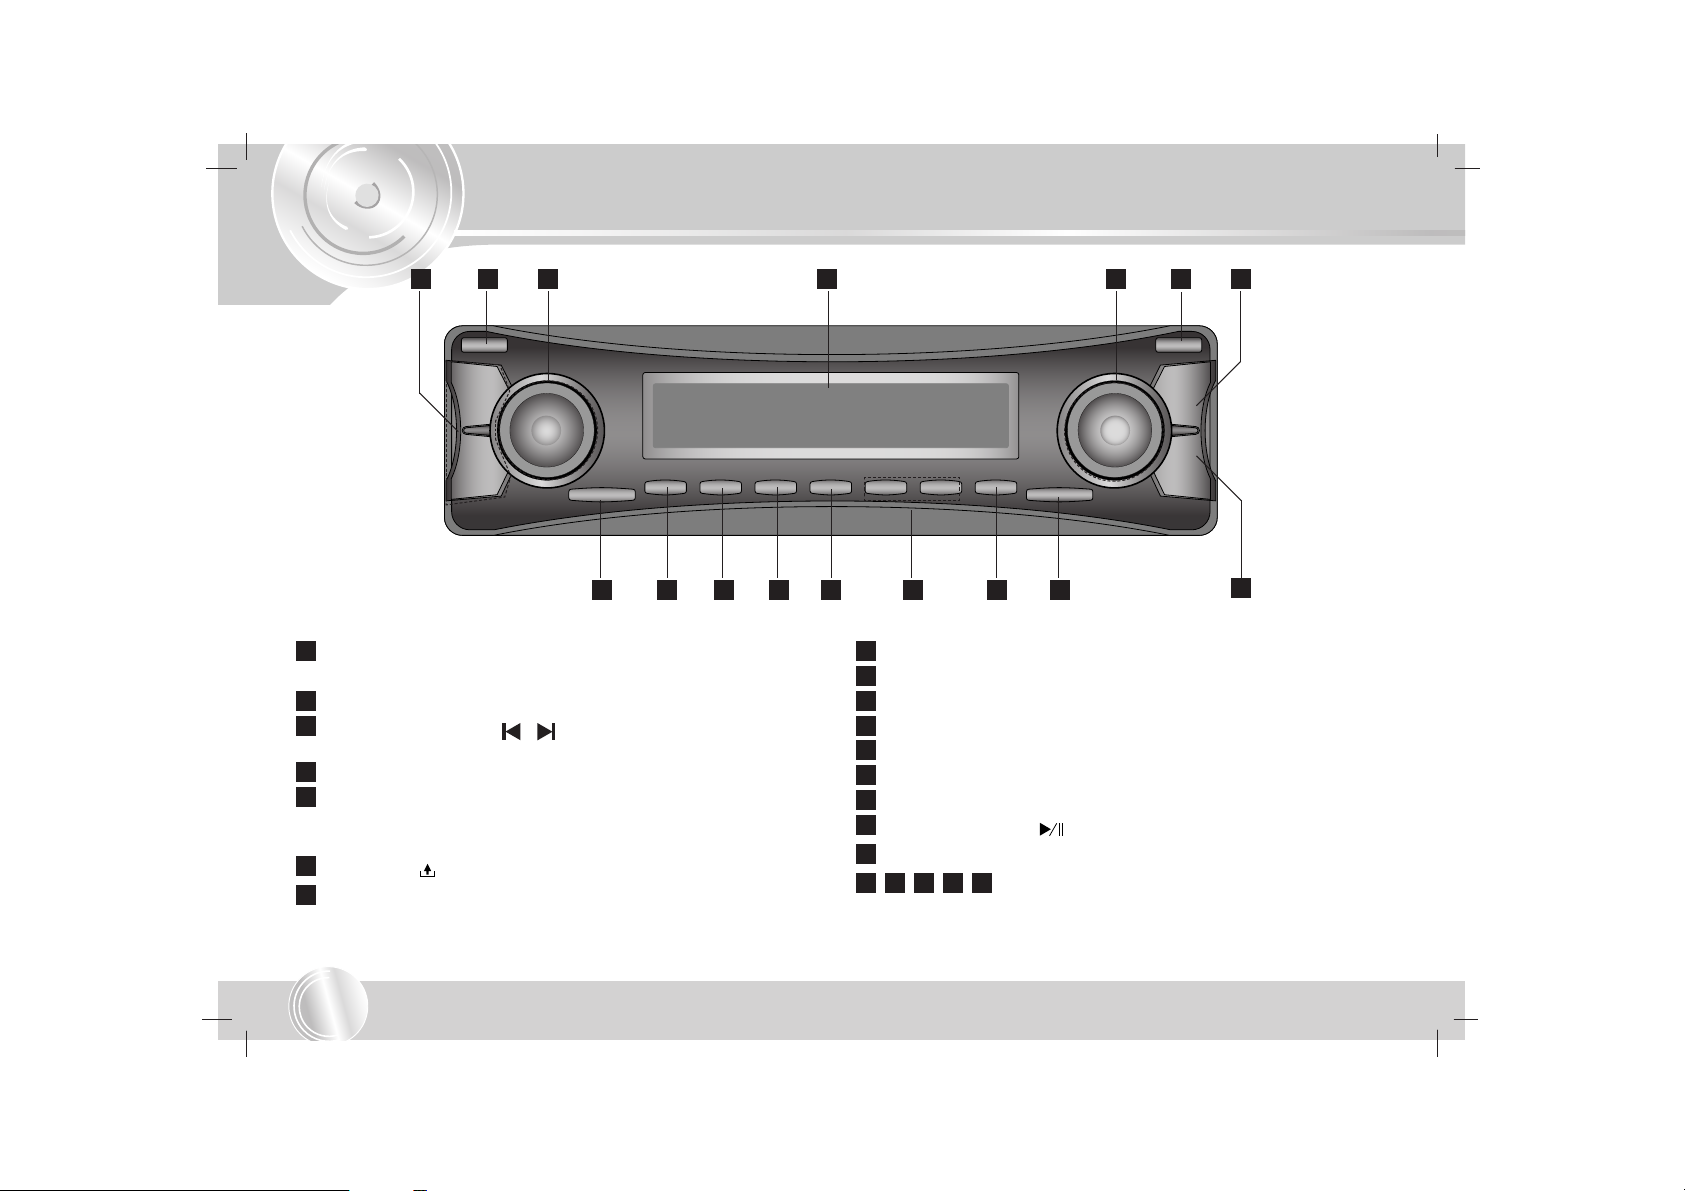
Front Panel
6
• VOLUME (VOL.-/+) button
• CONTROL UP/DOWN button
PWR/MUTE button
• CD SKIP/SEARCH (
/
) button
• SEEK/TUNE (
-/+
) button
DISPLAY WINDOW
• PTY/TA button
• ALTERNATIVE FREQUENCIES/REGIONAL (AF/REG) button
• DISPLAY (DISP) button
RELEASE ( ) button
FUNCTION (FUNC) button
EQUALIZER/XDSS (EQ/XDSS) button
SELECTION (SEL.) button
AUTO STORE/PRESET SCAN (AS/PS) button
MP3/WMA TRACK -/+10 button
SHUFFLE (SHF) button
REPEAT (RPT) button
INTRO SCAN (SCAN) button
CD PLAY/PAUSE ( ) button
BAND button
,,,, Preset Station buttons. (1-6)
1514131211
16
15
14
13
12
11
10
9
8
7
6
5
4
3
2
1
3
9
2
10
16
15 14
13
12 11
4 5 7
8
1
6
 Loading...