How it Works
Log In / Sign Up
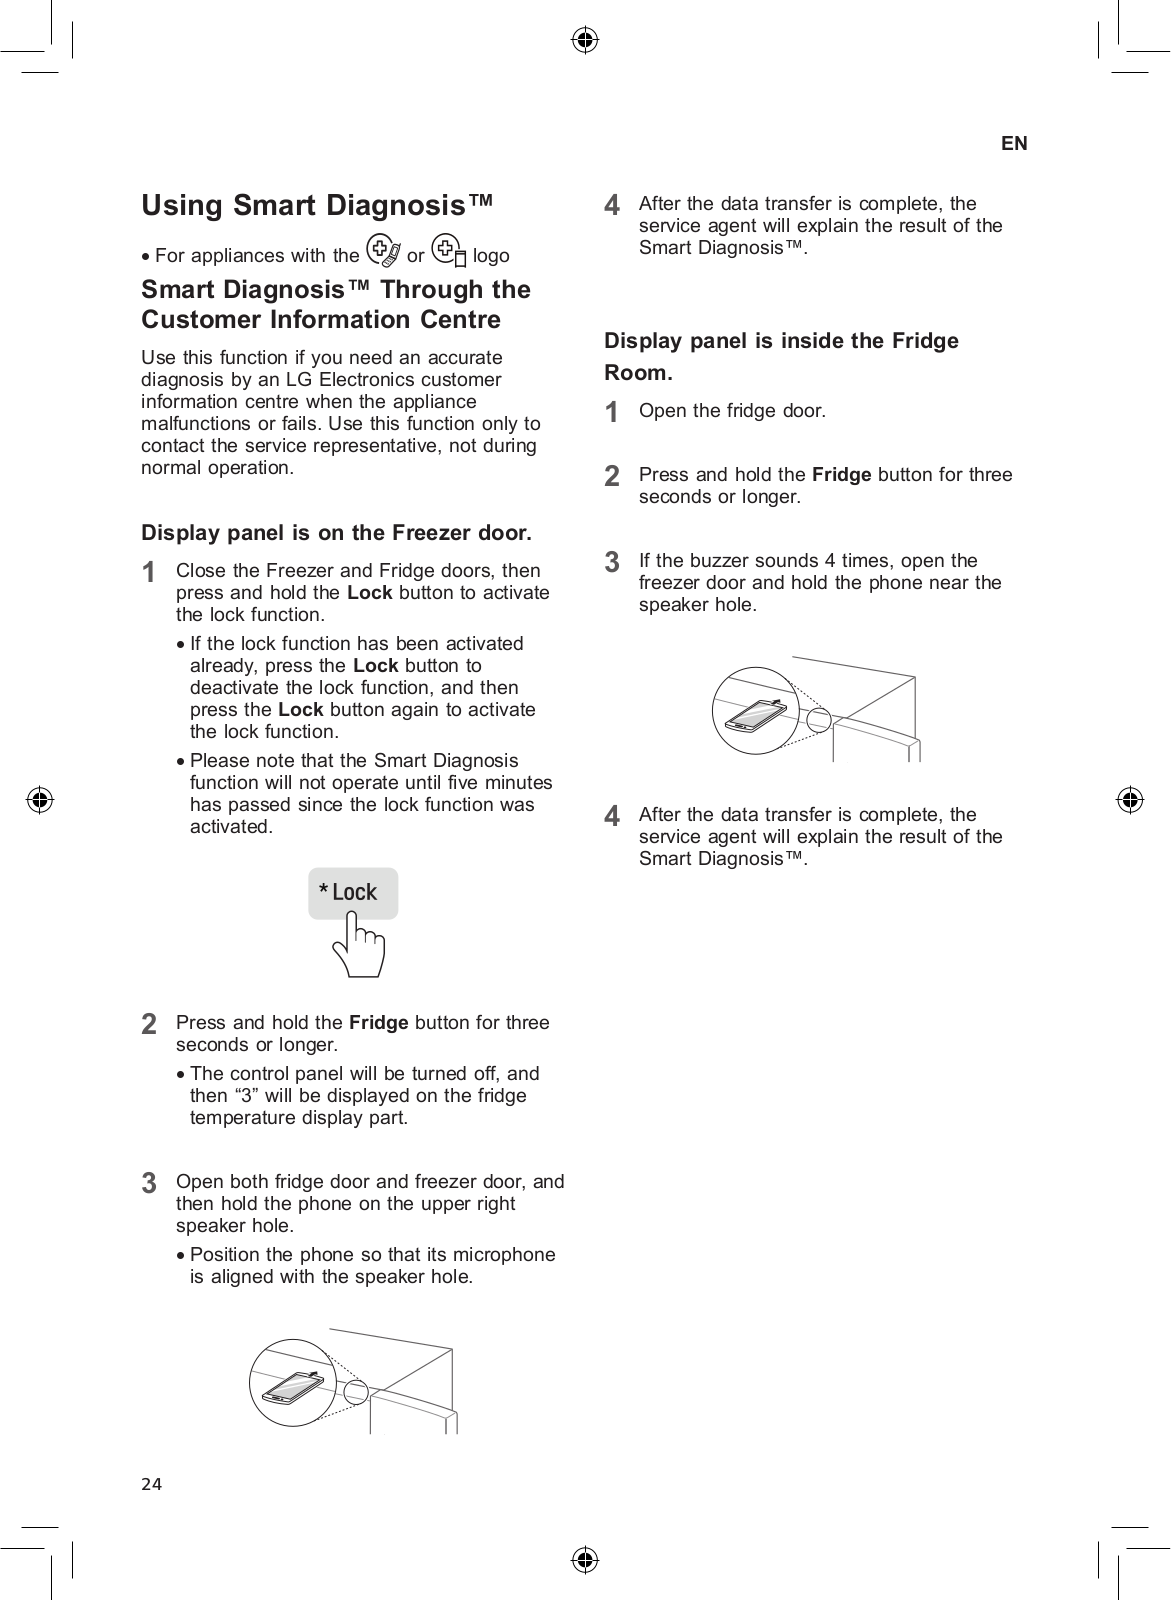
Buy Points
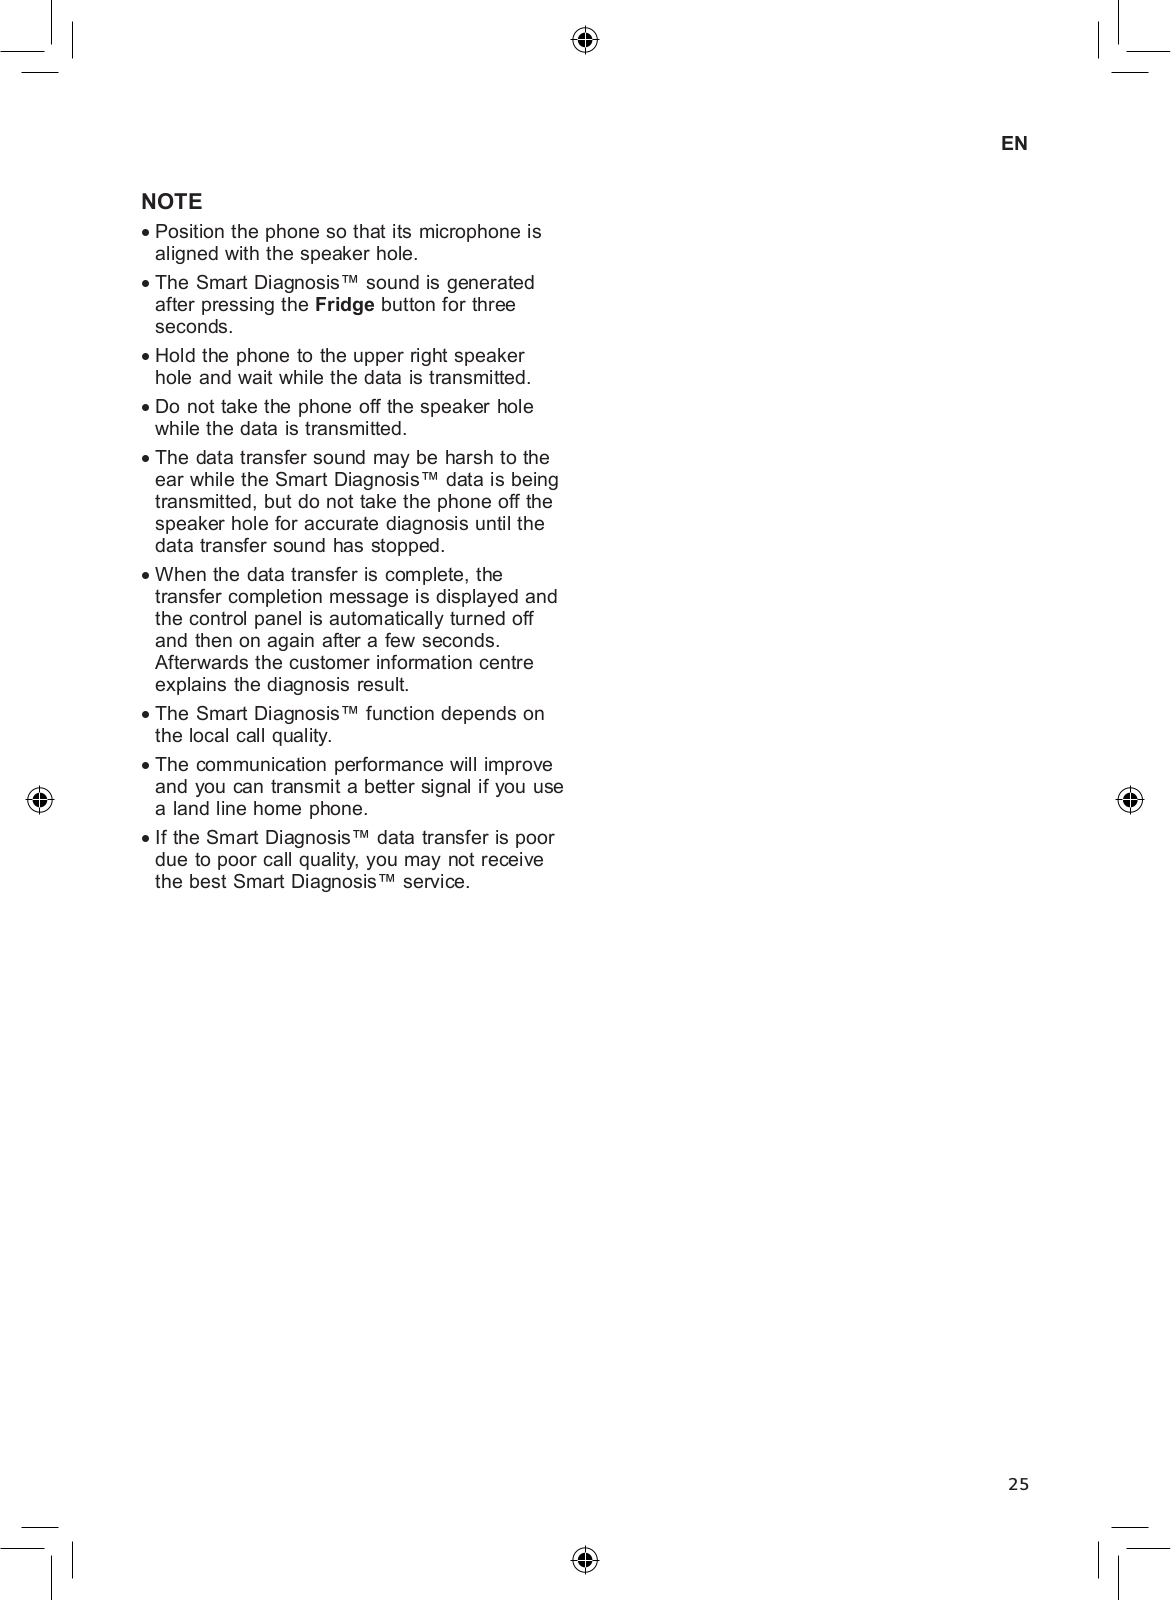
How it Works
FAQ
Contact Us
Questions and Suggestions
Users
LG
Loading...
G
GR-F409-BTQA
GR-F419-BTQA
GR-F419SLQK
2
GR-F419SVQK
GR-F4294BQA
2
GR-F429BLC
GR-F429BLCK
GR-F429BLQ
4
GR-F429BSCK
GR-F429BSQ
GR-F429BTJA
GR-F429-BTQA
5
GR-F429BVQN
GR-F429SLQZ
GR-F4399BSFW
GR-F439BTQA
2
GR-F439BVQA
GR-F449-BSQW
5
GR-F449-BTQA
2
GR-F449-BVQA
2
GR-F459BLQA
4
GR-F459-BLQW
3
GR-F459BSCA
2
GR-F459BSKA
GR-F459-BTJA
3
GR-F459BTRA
2
GR-F459-BUJA
GR-F459-BUJV
2
GR-F4699-BSFW
2
GR-F469BLGV
2
GR-F469-BNFW
2
GR-F469BSCA
GR-F469-BSJV
2
GR-F469-BTFA
2
GR-F469-BV
2
GR-F479-BKRW
8
GR-F479BLQA
GR-F479- BSQA
2
GR-F479-BSRW
7
GR-F499BNKZ
2
GR-F501ELDZ
2
GR-F559PLDZ
2
GR-F579ESDV
2
GR-F579ESDZ
2
GR-F589BLCZ
2
GR-F589HLHU
GR-F679HLHN
GR-F679HLHU
GR-F6810-WH
2
GR-F6823-AC
2
GR-F802HLHU
6
GR-F832HBHU
GR-F832HLHU
2
GR-F8612-NS
GR-F8620-WH
2
GR-F8622-NS
2
GR-F872HLHU
GR-F882HBHU
2
GR-G2171PEL
GR-G217BTBA
2
GR-G217BTJA
2
GR-G217PGA
GR-G217PGAA
10
GR-G217PGB
4
GR-G217 PIBA
GR-G217PTBA
GR-G2272CTB
GR-G227STAA
3
GR-G227STB
5
GR-G227STBA
5
GR-G227TVS
GR-G22GBM
GR-G267ATB
3
GR-G267ATBA
3
GR-G267AUB
2
GR-G267BTB
4
GR-G267BTBA
GR-G267TV
GR-G277STSA
2
GR-G277STW
6
GR-G287STW
2
GR-G302JM
GR-G307STW
GR-G332JM
GR-G332SQBB
GR-G382RLBB
GR-G452RLCB
GR-G4720
GR-G472JLC
3
GR-G 472 JUCA
2
GR-G472JVC
2
GR-G472JVCA
2
GR-G522JLC
2
GR-G522JQ
2
GR-G522JVC
2
GR-G5620
GR-G562JLC
3
GR-G562JUCA
2
GR-G562JUQW
GR-G562JVC
3
Loading...
Loading...
Nothing found
GR-F802HLHU
Owner’s Manual
36 pgs
2.91 Mb
0
User manual [en,fr]
108 pgs
7.38 Mb
0
Owner’s Manual [tr]
36 pgs
2.47 Mb
0
Owner’s Manual
34 pgs
2.32 Mb
0
Owner’s Manual [fr]
34 pgs
2.24 Mb
0
Owner’s Manual [ar]
34 pgs
2.3 Mb
0
Table of contents
Loading...
LG GR-F802HLHU User manual [en,fr]
...
LG User manual [en,fr]
Download
Specifications and Main Features
Frequently Asked Questions
User Manual
Download
Loading...
+
78
hidden pages
Unhide
You need points to download manuals.
1 point = 1 manual.
You can buy points or you can get point for every manual you upload.
Buy points
Upload your manuals
 Loading...