How it Works
Log In / Sign Up
Buy Points
How it Works
FAQ
Contact Us
Questions and Suggestions
Users
LG
Loading...
G
GR-B207CLC
GR-B207DBC
5
GR-B207DBCA
2
GR-B207DBZ
GR-B207DEC
4
GR-B207DLC
GR-B207DLZ
GR-B207DLZA
GR-B207DTC
GR-B207DTZA
5
GR-B207DVC
4
GR-B207DVZ
3
GR-B207DVZA
3
GR-B207EC
8
GR-B207FLC
6
GR-B207FLCA
2
GR-B207FTGA
3
GR-B207FVC
2
GR-B207FVCA
2
GR-B207GBCA
2
GR-B207GBK
GR-B207GLC
GR-B207GLQA
GR-B207GLQS
GR-B207GLQV
2
GR-B207GLZ
GR-B207GTG
GR-B207GTGA
5
GR-B207GTZA
2
GR-B207GUJ
GR-B207GUQA
GR-B207GVCA
2
GR-B207GVCK
GR-B207GVZ
2
GR-B207GVZA
2
GR-B207GXGA
GR-B207HBG
GR-B207HTG
GR-B207MGZ
GR-B207MSGA
4
GR-B207NGG
GR-B207NGZ
GR-B207NGZA
GR-B207NI
GR-B207NSZA
4
GR-B207NVGA
GR-B207PGG
2
GR-B207QLQ
GR-B207QVQA
GR-B207QXQA
GR-B207RDQ
2
GR-B207RDQA
3
GR-B207RGQ
2
GR-B207RMQA
2
GR-B207TBQ
3
GR-B207TC
GR-B207TLQ
3
GR-B207TQ
GR-B207TQA
GR-B207TTJ
3
GR-B207TTQ
4
GR-B207TTQA
GR-B207TUQA
GR-B207TVQ
6
GR-B207TVQA
2
GR-B207VC
GR-B207WBQA
GR-B207WLQ
2
GR-B207WPQ
GR-B207WQ
GR-B207WTQ
4
GR-B207WV
GR-B207WVQ
3
GR-B208BLQ
GR-B208BVQ
GR-B208DVC
GR-B208JQA
2
GR-B209GLQA
GR-B209GVQA
GR-B210FTGA
GR-B212DTC
GR-B213FTGA
GR-B214EPQC
2
GR-B217
GR-B2171PHG
GR-B217BPJ
2
GR-B217BTJ
2
GR-B217BUG
3
GR-B217BUGA
2
GR-B217CLC
GR-B217-JB
GR-B217LDJ
GR-B217-LDJB
GR-B217LGJ
GR-B217LGJV
GR-B217LGMR
2
GR-B217LQMR
GR-B217PGG
2
GR-B217PGGA
2
GR-B21-AUNAV
2
Loading...
Loading...
Nothing found
GR-B207RDQ
User Manual
21 pgs
726.13 Kb
0
Owner’s Manual [fr]
19 pgs
867.18 Kb
0
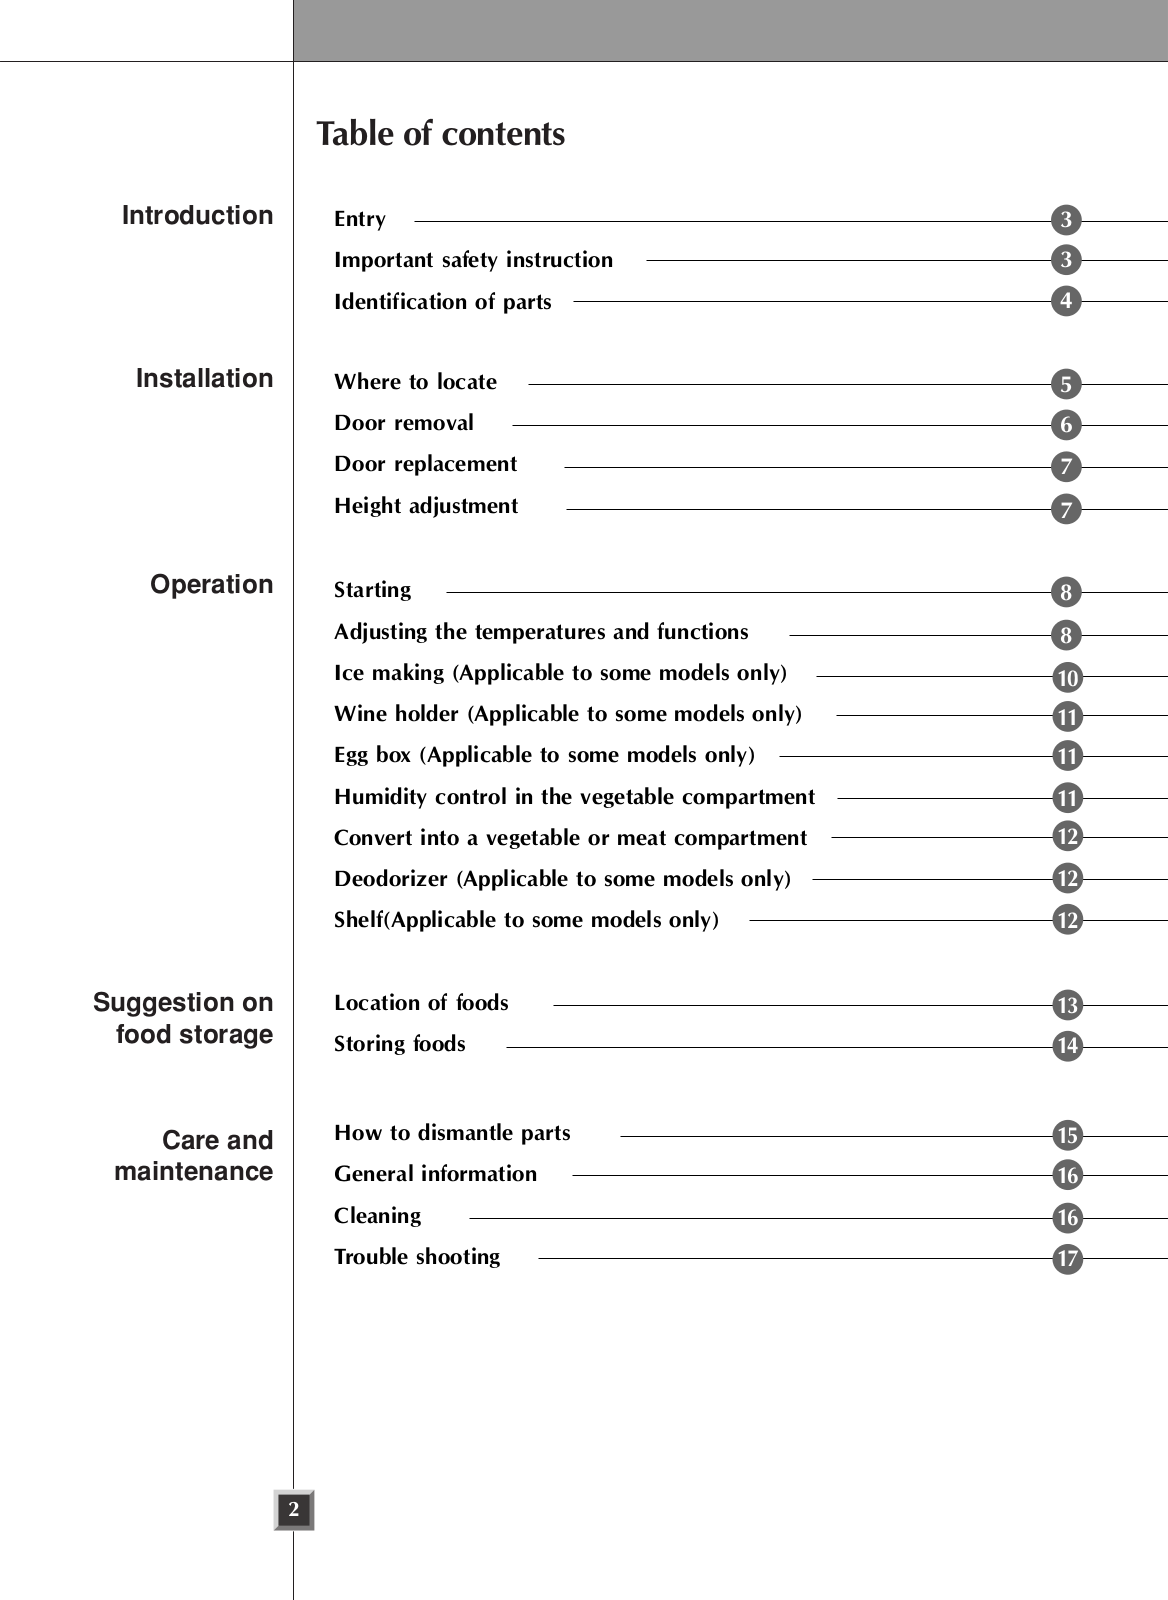
Table of contents
Loading...
LG GR-B207RDQ User Manual
...
LG User Manual
Download
Specifications and Main Features
Frequently Asked Questions
User Manual
Download
Loading...
+
14
hidden pages
Unhide
You need points to download manuals.
1 point = 1 manual.
You can buy points or you can get point for every manual you upload.
Buy points
Upload your manuals
 Loading...