How it Works
Log In / Sign Up
Buy Points
How it Works
FAQ
Contact Us
Questions and Suggestions
Users
LG
Loading...
F
F1961C
F1961E
F1961l
3
F1961SS
F1961w
3
F19JE
F1K2CH2T
2
F1K2CN4WC
2
F1K2CS2T
2
F1K2CS2W
3
F1ND1
F1ND2
F1ND3
F1ND4
F1ND5
F1ND6
F1ND7
F1ND8
F1ND9
F1P1CN4WC
2
F1P1CY2T
2
F1P1CY2W
4
F2004RDT
2
F2009VRD
F2010NDP1
2
F2011VRDS
F2100
25
F21K2
F2200
4
F220K
F2213VRDSTT
F2250
2
F2300
25
F23GDA07
F2400
40
F240L
F240S
F2410
8
F242CD
2
F24872WH
F24950WH
F24953WHS
F24962WH
F24963WHS
F24AHJ
F24AHJ-NT5
F24F93EWHS
2
F24G1GWHS
2
F24K2
F24K3
F2500
3
F2514DTGE
2
F2514DTGW
3
F2514NTGE
F2514NTGW
3
F2514STGE
F2515RTGE
F2515RTGV
3
F2515RTGW
F2515STGV
2
F2515STGW
3
F260S
F26V2WN3W
3
F270G6QDN
F2718HVBV
F2718RVTV
F2719RVTV
F2719SVBVB
F2720NVTW
F2720RVTV
F2720SVRW
F2720SVTV
F2721HTTV
2
F2721HTWV
2
F2721NVTV
F2721STWV
5
F2721STWV1
F27V3HY6W
F282G6TDN
F286513WRH
2
F28693WRH
F286F93EWRH
3
F286G1GWRH
2
F28K5XN3
2
F28V5GY0W
3
F28V9GW2W
F2DV5S7N0E
4
F2DV5S7S0
F2DV5S7S0E
3
F2DV5S7S1E
F2DV5S85S2W
2
F2DV5S8H0E
2
F2DV5S8S0
6
F2DV5S8S1
2
F2DV5S8S2E
3
F2DV5S8S2TE
F2DV707S2WS
4
F2DV9S8H2
F2DV9S8H2E
F2H5HS6W
Loading...
Loading...
Nothing found
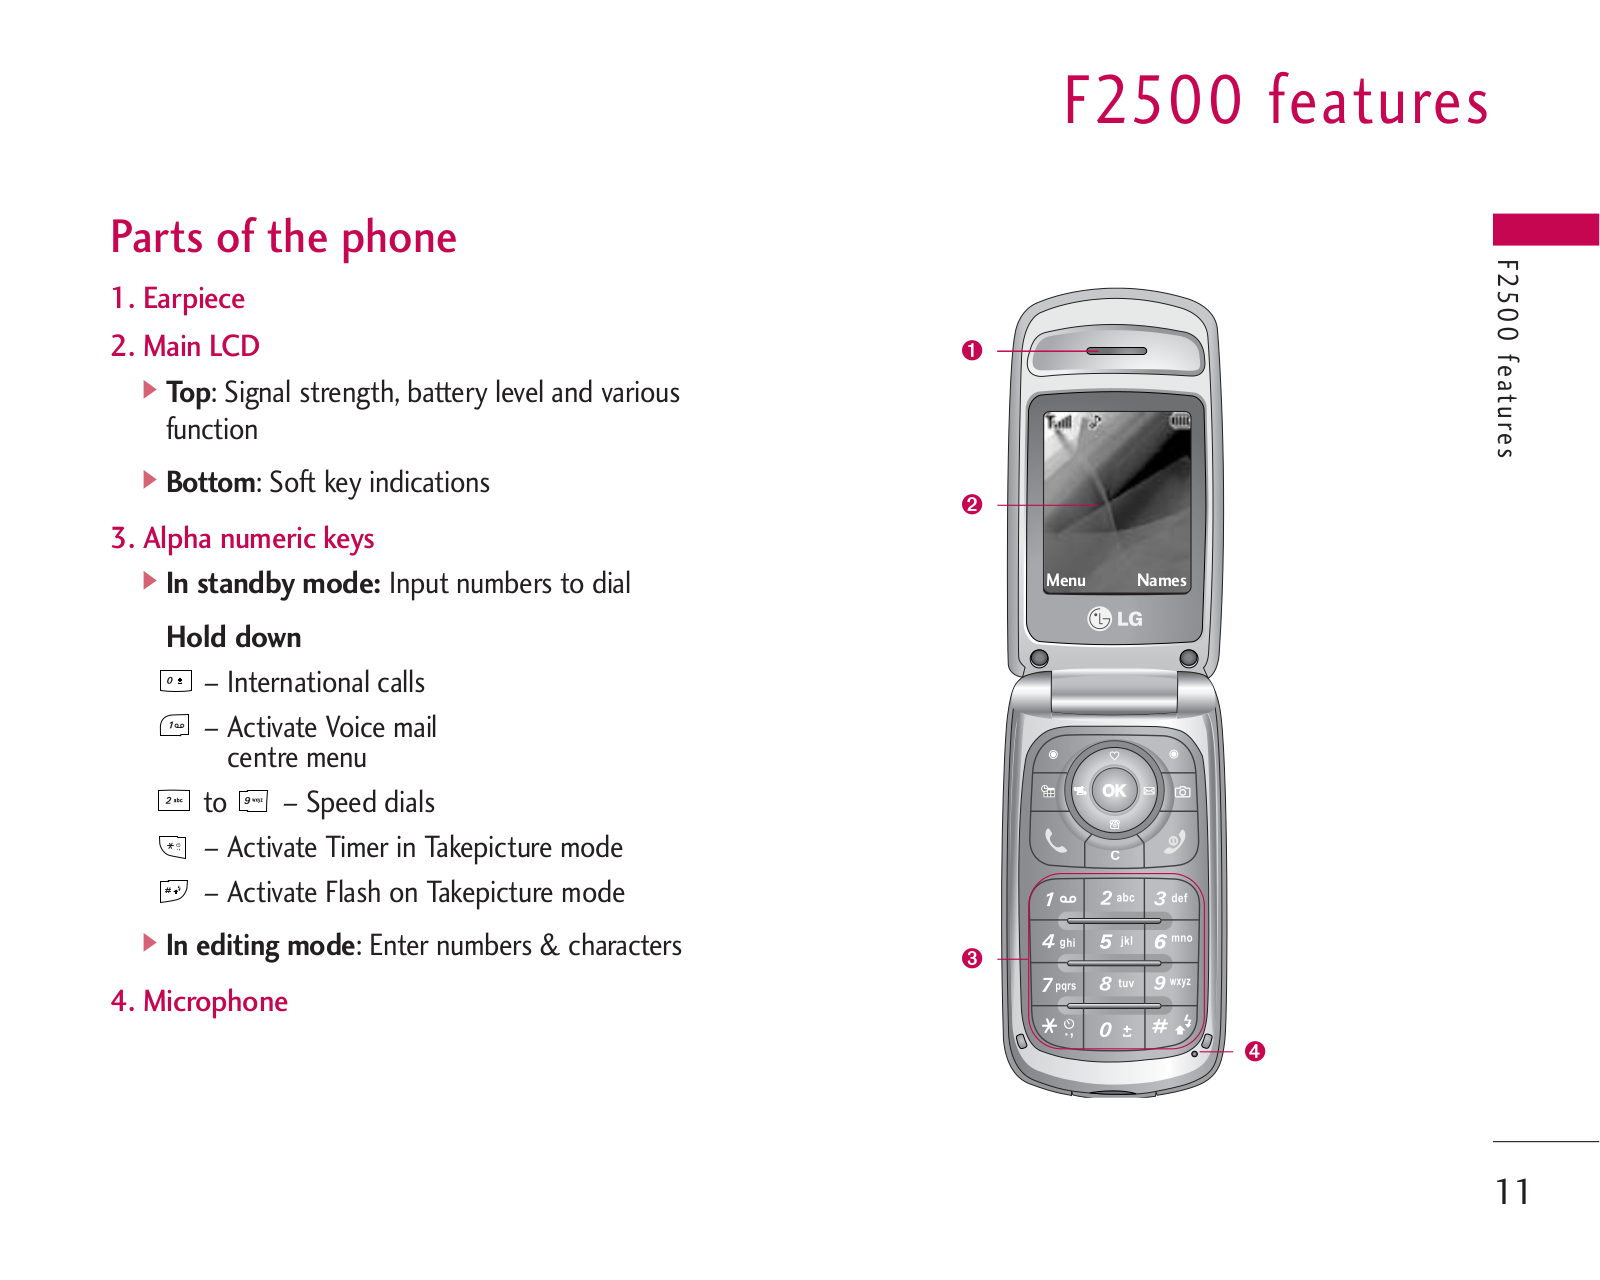
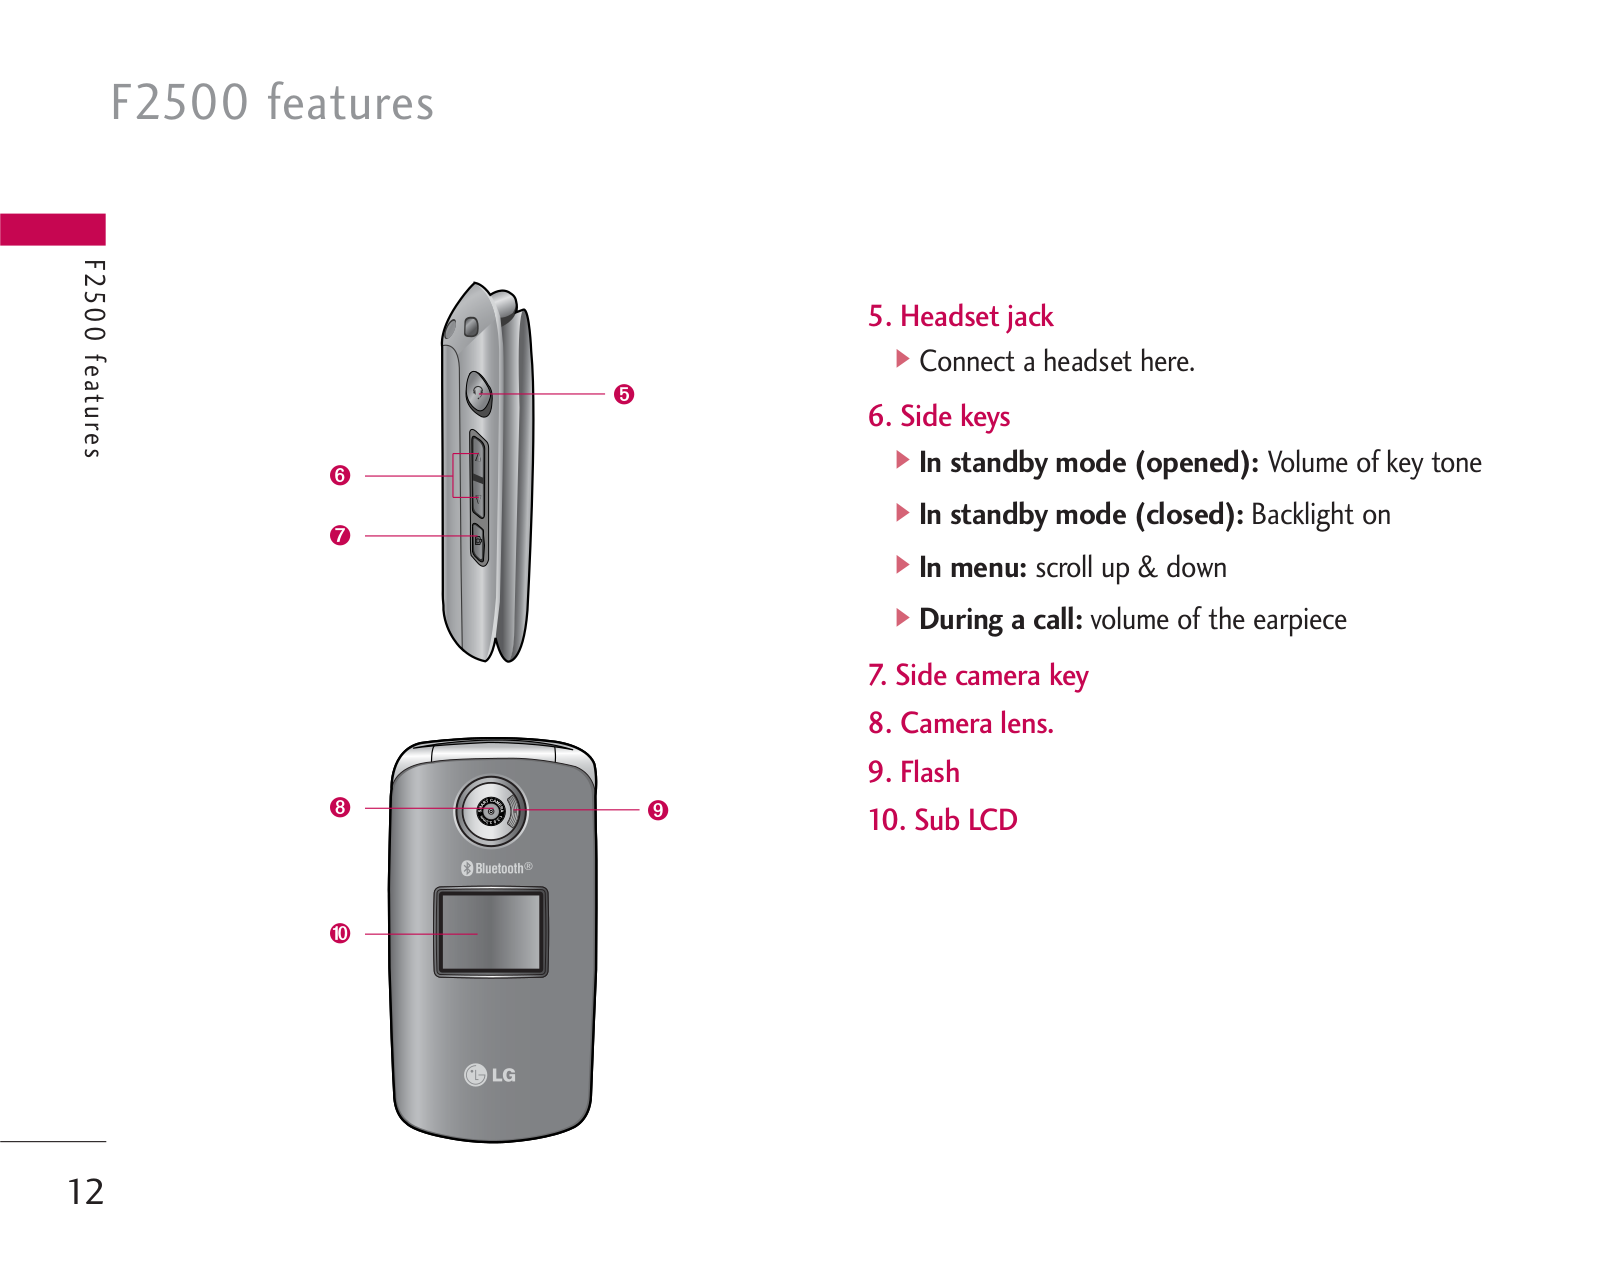
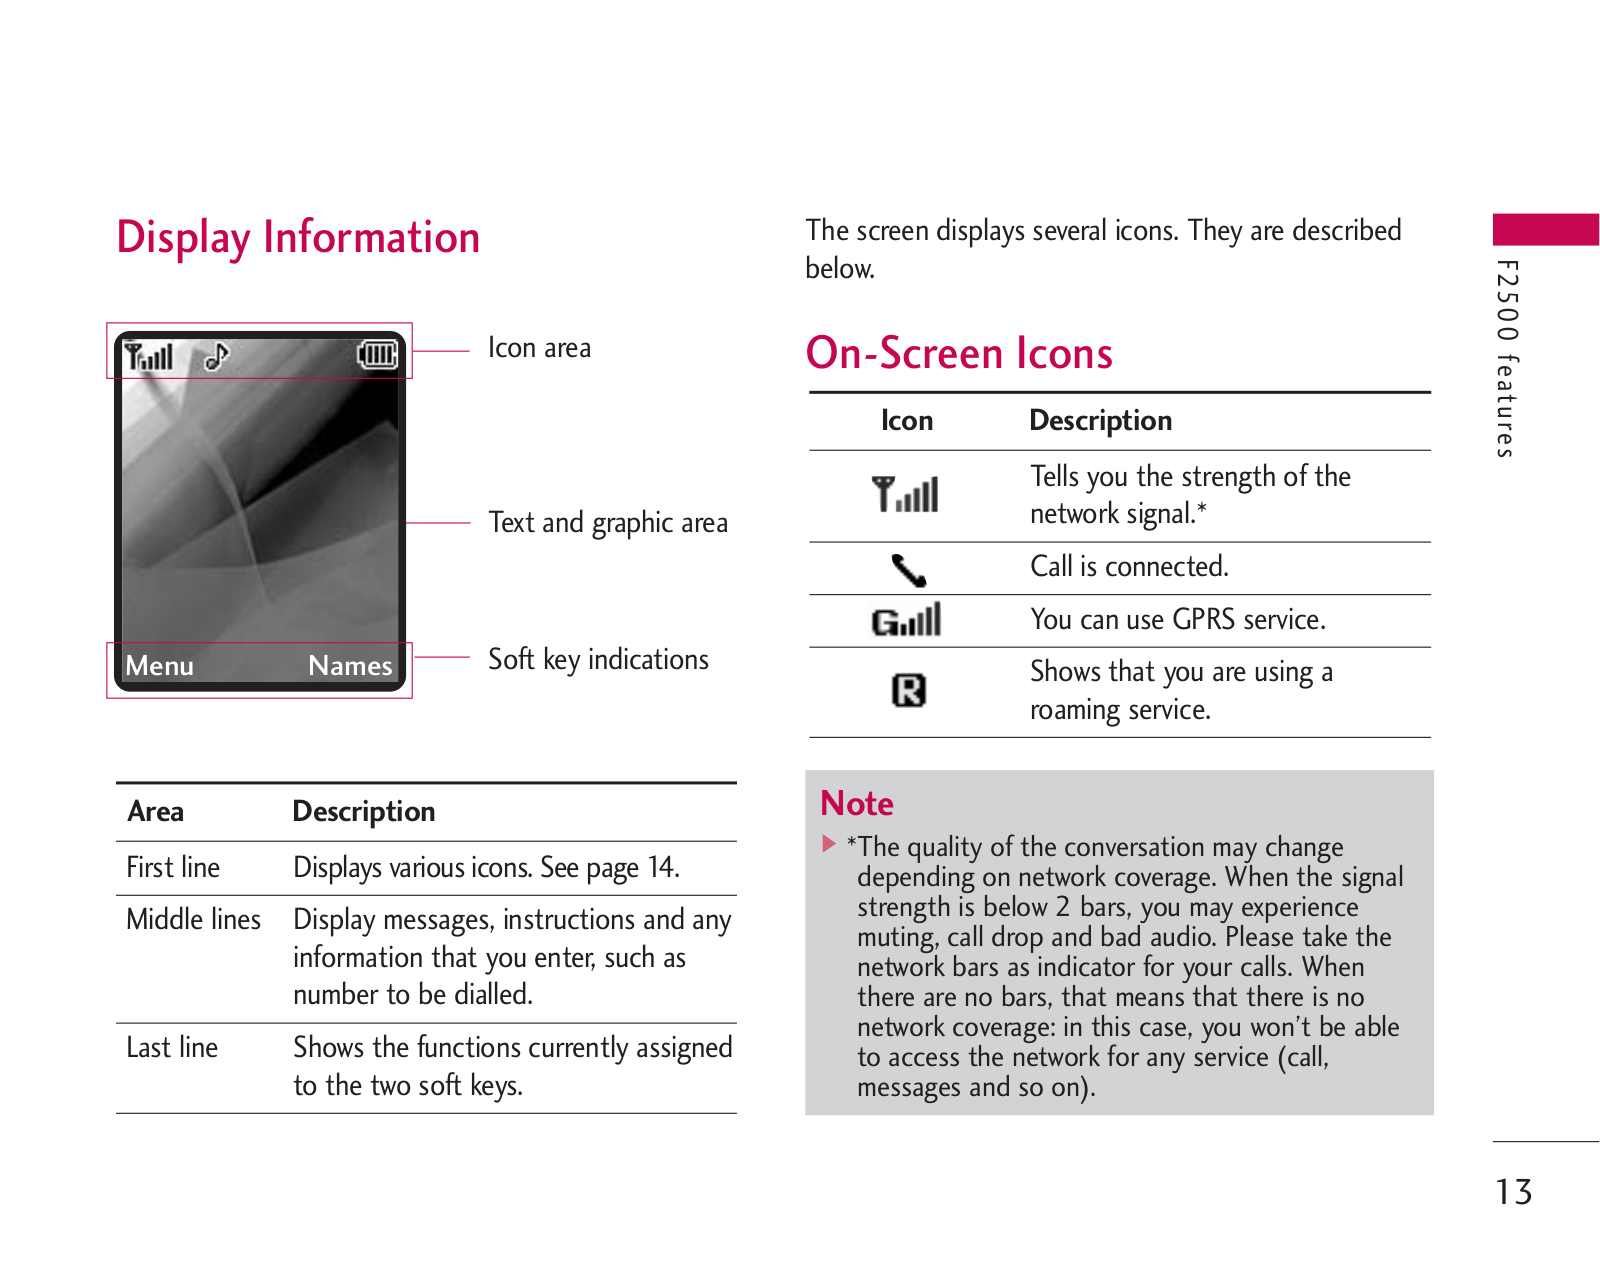
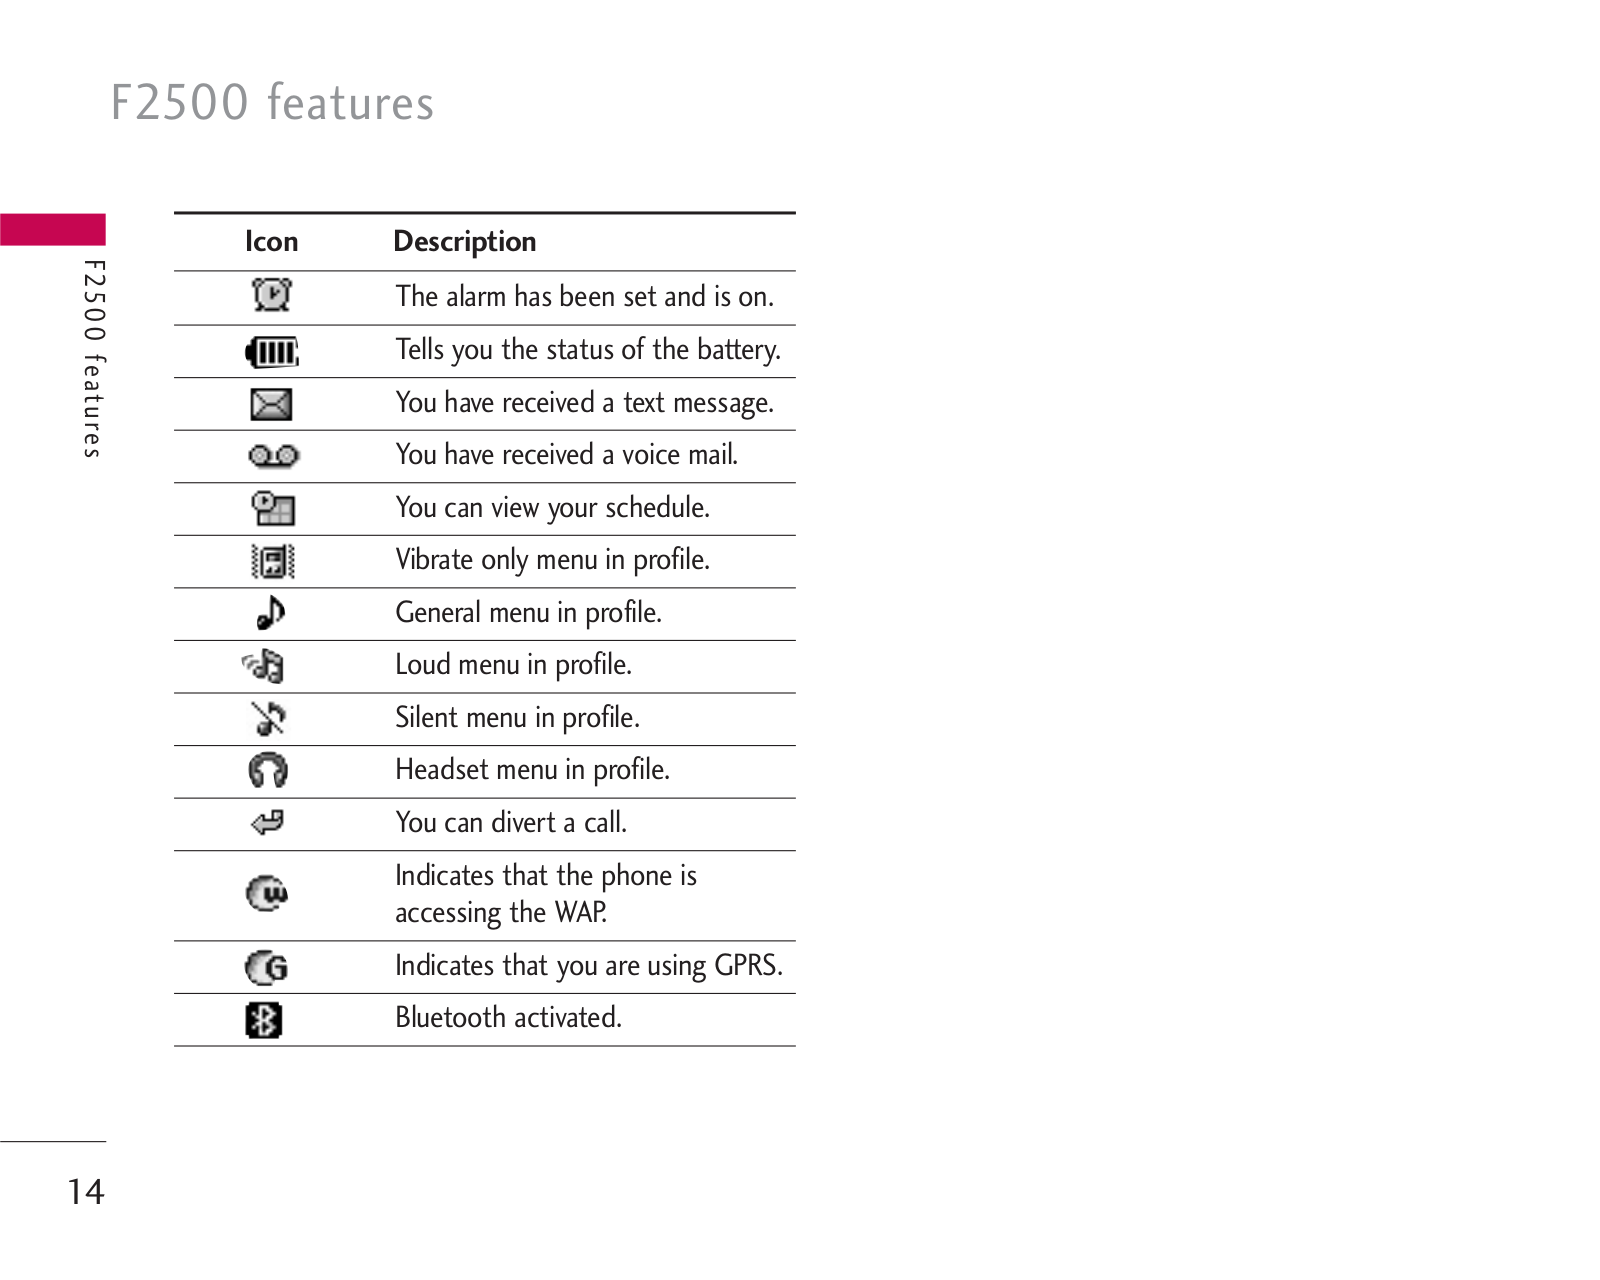
F2500
Owner’s Manual
257 pgs
4.67 Mb
0
Owner’s Manual
217 pgs
5.09 Mb
0
Owner’s Manual
73 pgs
1.97 Mb
0
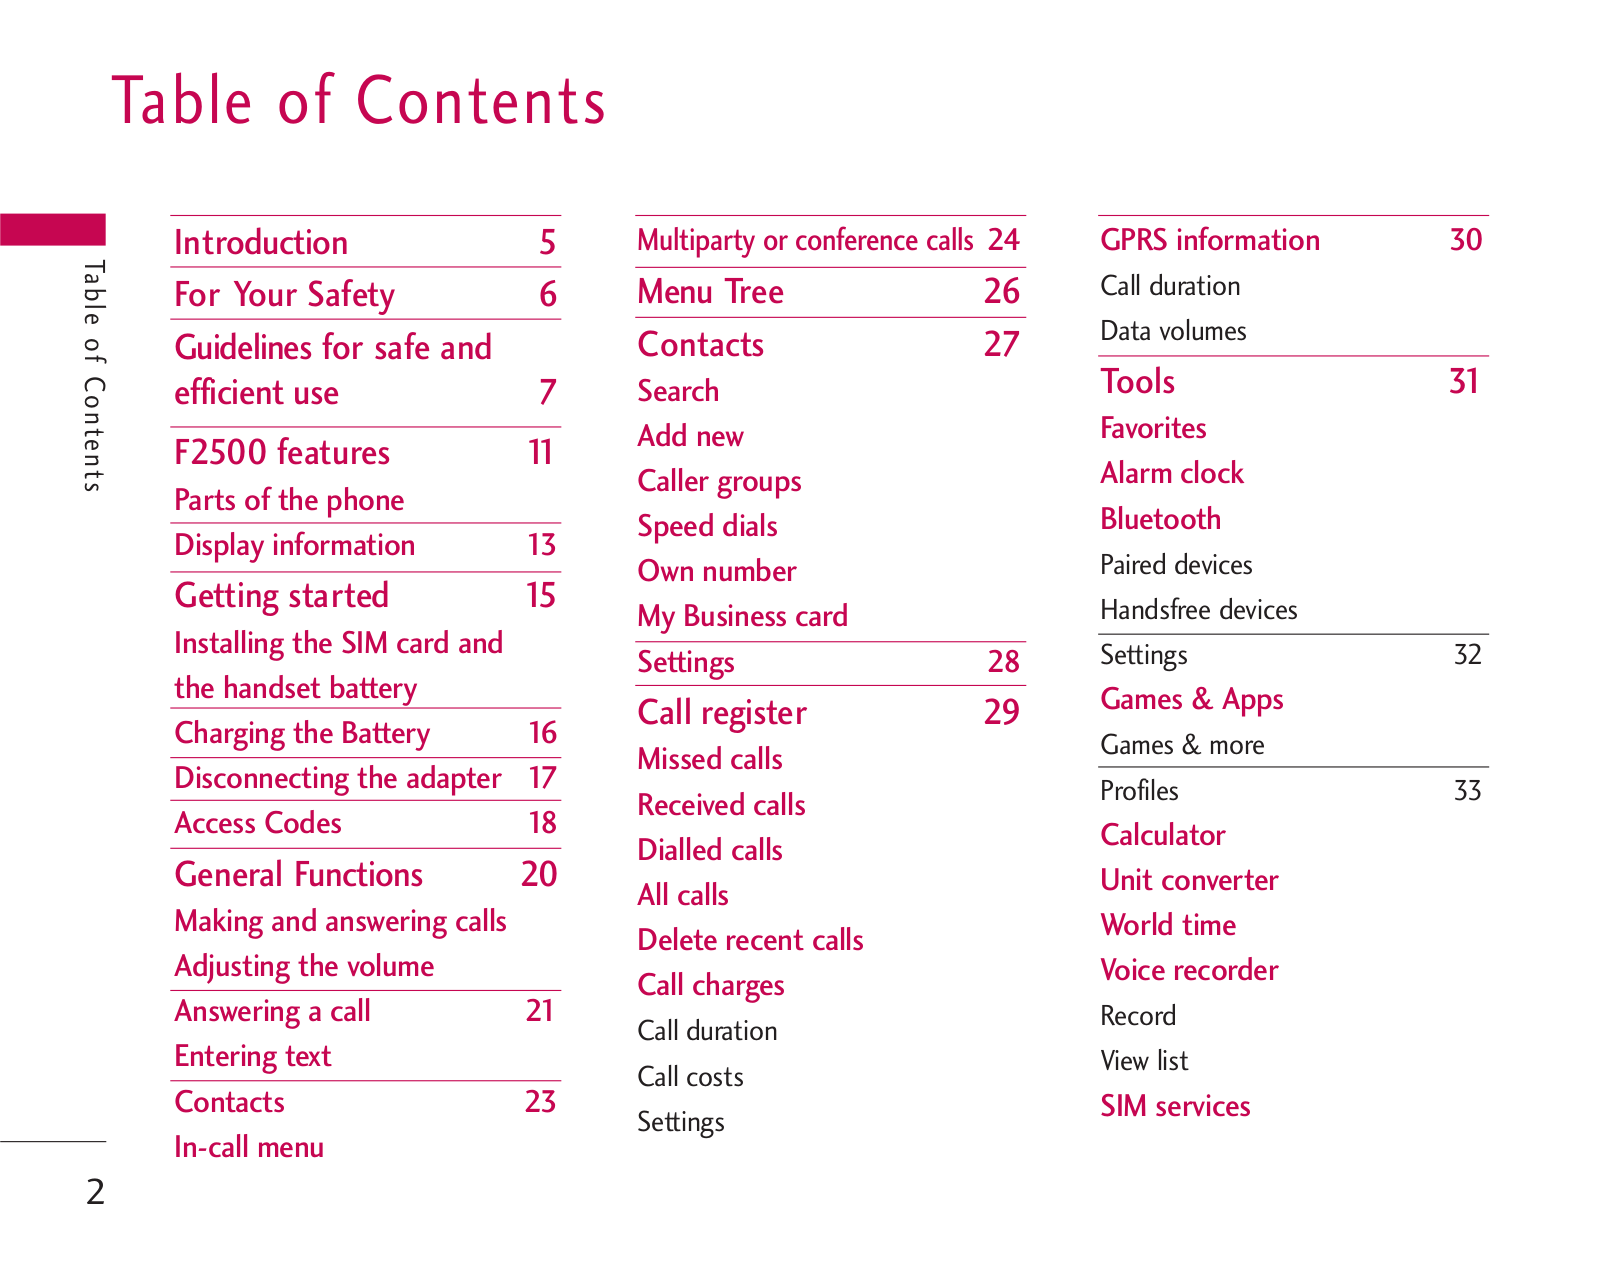
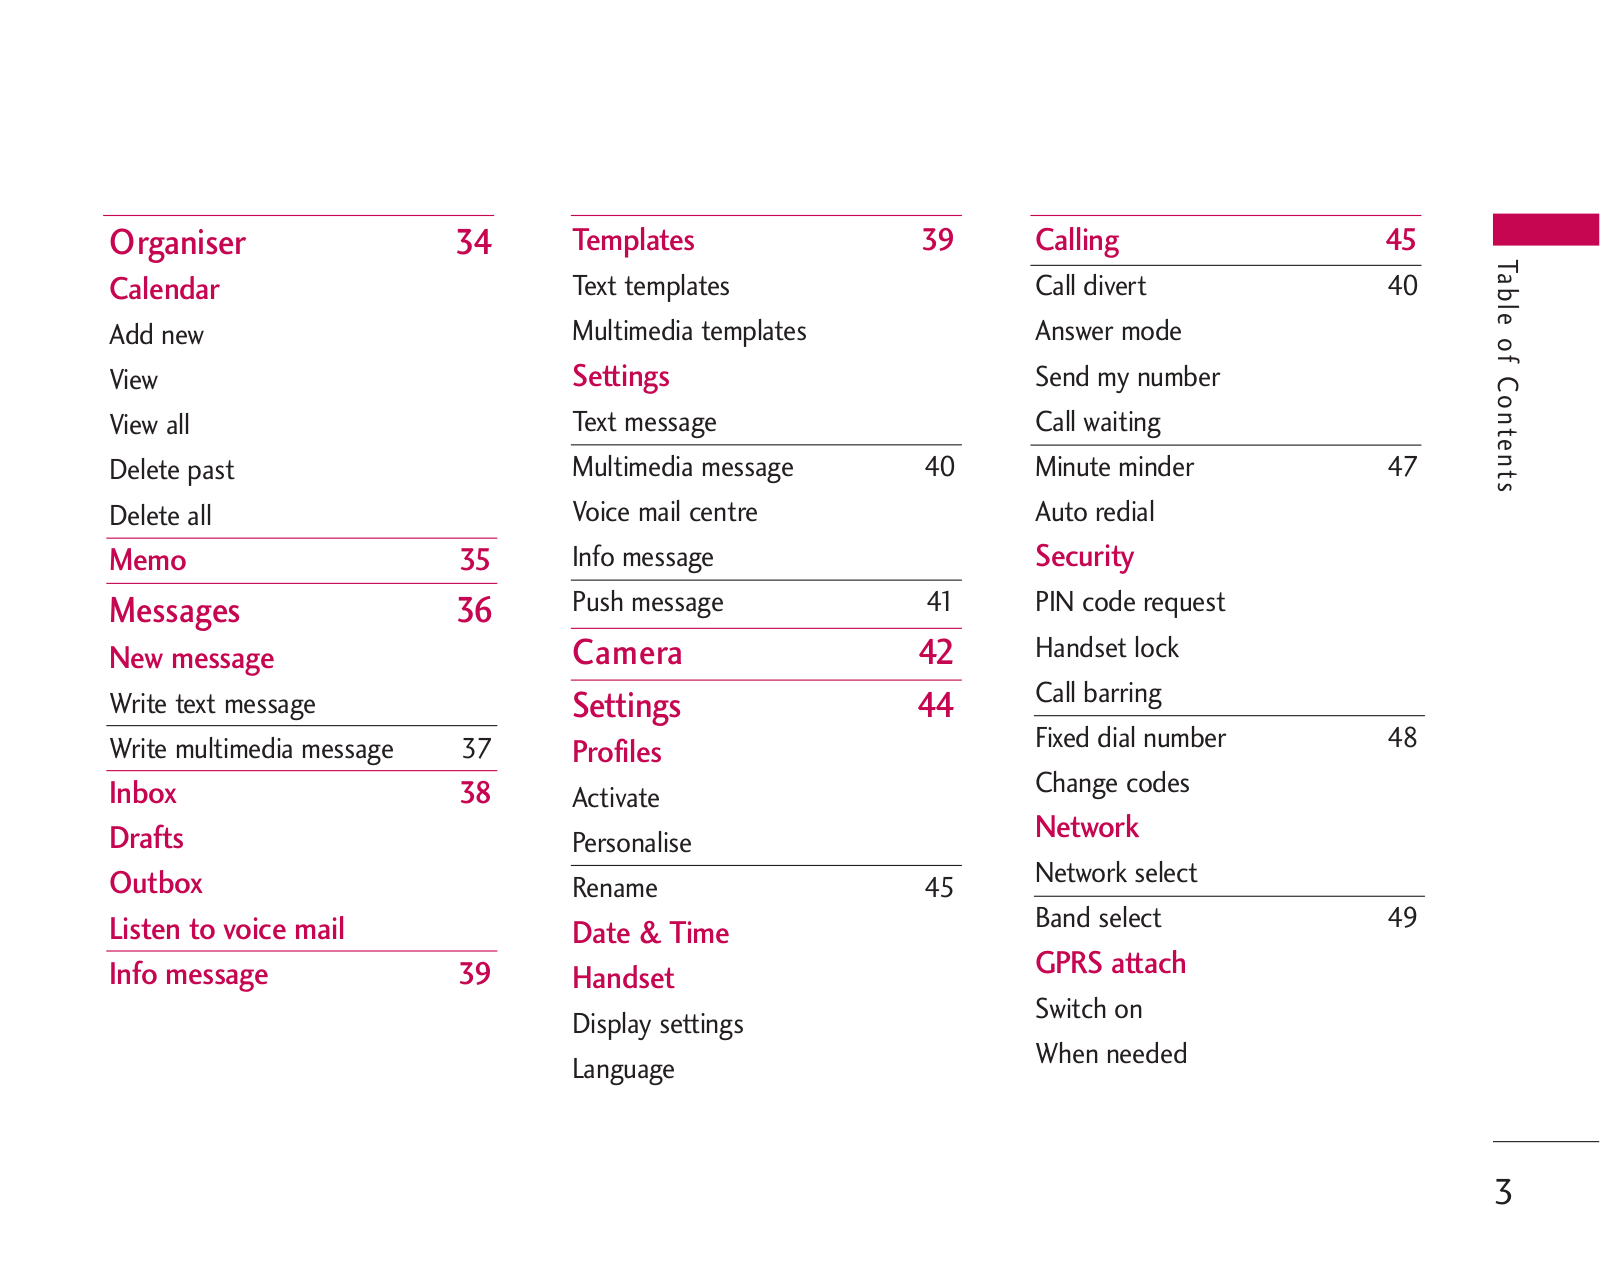
Table of contents
Loading...
LG F2500 Owner’s Manual
...
LG Owner’s Manual
Download
Specifications and Main Features
Frequently Asked Questions
User Manual
Download
Loading...
+
227
hidden pages
Unhide
You need points to download manuals.
1 point = 1 manual.
You can buy points or you can get point for every manual you upload.
Buy points
Upload your manuals
 Loading...