

LG 98UH1C User Manual

www.lg.com
Please read this manual carefully before operating your set and retain it
for future reference.
98UH1C
USER GUIDE
LG Digital
Signage
(MONITOR SIGNAGE)

ENGLISH
2
TABLE OF CONTENTS
USER SETTINGS ............................3
- Main Menu Settings ........................................................3
Picture Settings
Sound Settings
Network Settings
General Settings
ENTERTAINMENT ...................... 12
- Using Multimedia Features.......................................12
Connecting USB/SD Storage Devices
- Photo & Video ..................................................................14
Supported Photo & Video Files
Viewing Photos and Videos
Delete
- Music ....................................................................................18
Supported Music Files
Playing Music
Delete
- Information .......................................................................19
- PICTURE ID Settings ....................................................19
IR CODES .................................... 20
TO CONTROL MULTIPLE
PRODUCTS .................................. 22
- Connecting the Cable ..................................................22
- Communication Parameter ......................................23
- Command Reference List ..........................................24
- Transmission/Reception Protocol .........................26
To obtain the source code under GPL, LGPL, MPL,
and other open source licenses, that is contained
in this product, please visit
http://opensource.lge.com
.
In addition to the source code, all referred license
terms, warranty disclaimers and copyright notices
are available for download.
LG Electronics will also provide open source code
to you on CD-ROM for a charge covering the
cost of performing such distribution (such as the
cost of media, shipping, and handling) upon email
request to
opensource@lge.com
. This offer is valid
for three (3) years from the date on which you
purchased the product.
ENGLISH
3
NOTE
• The software-related contents may be changed without prior notice due to upgrade of the product functions.
• ‘ ( )’ marks in the following pages of this User Guide represent the button on the remote controller to start
the following UI commands.
USER SETTINGS
Main Menu Settings
Picture Settings
To Select Picture Mode
( ) Picture Picture Mode Settings Picture Mode
Select the picture mode that is best suited to the video type.
• Vivid: Adjusts the video image for a retail environment by enhancing the contrast, brightness, and sharpness.
• Standard: Adjusts the video image for a normal environment.
• APS: APS (Auto power saving) mode reduces power consumption by dimming control.
• Cinema: Optimizes the video image for watching movies.
• Sports: Optimizes the video image for watching sports. Even fast actions such as kicking or throwing a ball are
rendered clearly on the screen.
• Game: Optimizes the video image for playing videogames.
• Photo: Optimizes the screen for viewing photos.
• HDR Effect: This option lets you enjoy a more dynamic, intense image by correcting the light and dark areas of the
display. It provides a realistic image even when the source image’s gradation level is high.
- You can only set this option when using normal signals. When using HDR video signals, the mode changes
automatically to HDR Standard / Movie Dark.
- Certain video mode settings may not be available if the video mode is set to HDR Effect.
When you use HDR signals
[Except for the Dolby Vision signals]
• HDR Vivid: Sharpens the image by increasing the contrast, brightness and sharpness.
• HDR Bright: The screen appears as a bright and colourful screen than the HDR Standard.
• HDR Standard: Optimized the screen for HDR video signal.

ENGLISH
4
When you use the Dolby Vision signals
• Vivid: Sharpens the image by increasing the contrast, brightness and sharpness on the Dolby Vision video.
• Movie Bright: The screen appears as a bright and clear screen than the Movie Dark.
• Movie Dark: Optimized the screen for the Dolby Vision video signal.
NOTE
• Depending on the input signal, the available Picture modes may differ.
To Select Picture Mode
( ) Picture Picture Mode Settings Picture Mode
Select the picture mode that is best suited to the video type.
• Backlight/OLED LIGHT: Adjusts the brightness of the screen by controlling the LCD backlight. The closer the value is
to 100, the brighter the screen is.
• Contrast: Adjusts the difference between the light and dark areas of the picture. The closer the value is to 100, the
greater the difference is.
• Brightness: Adjusts the overall brightness of the screen. The closer the value is to 100, the brighter the screen is.
• Sharpness: Adjusts the sharpness of the edges of objects. The closer the value is 50, the clearer and the sharper the
edge becomes.
• Color: Softens or deepens the tints on the screen. The closer the value is 100, the deeper the colors become.
• Tint: Adjusts the balance between red and green levels displayed on the screen. The closer the value is to Red 50, the
deeper the color red becomes, and the closer the value is to Green 50, the deeper the color green becomes.
• Color Temperature: Adjusts the tints of the screen to evoke feelings of warmth or coolness.
• Advanced Controls/Expert Control: customizes the advanced options.
- Dynamic Contrast: Optimizes the difference between the light and dark parts of the screen according to the
brightness of the image.
- Super Resolution: Sharpens the blurry or indistinguishable parts of the picture.
- Color Gamut: Selects the range of colors to display.
- Bypass: Display the input by the panel native color gamut without transforming color gamut.
- Auto: Display the input after transforming to the color gamut according to the gamut information
of the input.
- Dynamic Color: Adjusts the tint and saturation of the image for a more vivid and lively display.
- Edge Enhancer: Provides much sharper and clearer edges to the picture.
- Color Filter: Accurately adjusts color and tint by filtering a specific color area of RGB space.
- Preferred Color: Adjusts the skin tint, grass tint, and sky tint to your preference.
- Gamma: Adjusts the medium brightness of the image. (Low: 1.9 / Medium: 2.2 / High1: 2.5 / High2: BT.1886)
- White Balance: Adjusts the overall tint of the picture to your preference. In Expert mode, you can fine-tune the
picture using the Method/Pattern options.
• Picture Options: Customizes the picture options.
- Noise Reduction: Removes irregularly generated tiny dots for a clear picture.
- MPEG Noise Reduction: Reduces the noise produced while creating digital video signals.
- Black Level: Adjusts the black level of the picture to correct the brightness and contrast of the picture.
- High: input video range 0~255 / Low: input video range 16~235
- Real Cinema: Optimizes the video image for a cinematic look.
- TruMotion: Reduces image shaking and image sticking that can occur with moving images.

ENGLISH
5
NOTE
• You can adjust advanced settings only in the User mode.
• Depending upon the input signal or the selected picture mode, the available options may differ.
To set the aspect ratio
( ) Picture Aspect Ratio
Changes the aspect ratio to view the image in its optimal size.
• 16:9: Displays the image with a 16:9 aspect ratio.
• Just Scan: Displays the image in the original size without cutting off the edges.
Original is available in HDMI (720p or higher) mode.
• Original: Automatically changes the aspect ratio to 4:3 or 16:9 depending on the input video signal.
• 4:3: Displays the image with a 4:3 aspect ratio.
• Vertical Zoom: Adjusts the height and vertical position of the displayed image.
• All-Direction Zoom: Adjusts the horizontal/vertical/diagonal dimensions and horizontal/vertical position of the
displayed image.
CAUTION
• If a fixed image is displayed on the screen for a long period of time, it will be imprinted and become a permanent
disfigurement on the screen. This image burn or burn-in is not covered by the warranty.
• If the aspect ratio is set to 4:3 for a long period of time, image burn may occur on the letterboxed area of the screen.
• Depending on the input signal, the available aspect ratio may differ.
• When you adjust Vertical Zoom or All-Direction Zoom, the screen may flicker for some input signals.
To use the Energy Saving function
( ) Picture Energy Saving
Reduces power consumption by adjusting peak screen brightness.
• Auto: Adjusts the brightness of the monitor according to ambient light.
• Off: Disables the Energy Saving mode.
• Minimum/Medium/Maximum:
Uses the Energy Saving according to the Energy Saving level specified for your monitor.
• Screen Off: Turns off the screen. You will only hear audio. You can turn on the screen again by pressing any button
on the remote control except the power button.
To use the Smart Energy Saving function
( ) Picture Smart Energy Saving
According to picture brightness, the brightness of the monitor will be adjusted automatically to save energy.
• Off: Disables the Smart Energy Saving function.
• On: Enables the Smart Energy Saving function.
ENGLISH
6
Sound Settings
To sync audio with video
( ) Sound AV Sync Adjustment
• External Audio Device (Optical Digital/HDMI ARC):
Adjusts the sync between video and audio coming from external speakers, such as those connected to the digital
audio output port, LG audio equipment, or headphones. From the default value, the closer the value is to -, the faster
the sound output becomes, and the closer the value is to +, the slower the sound output becomes.
• Bypass: Audio coming from external devices without delay. Audio may be outputted earlier than video due to the
processing time for video that is inputted into the monitor.
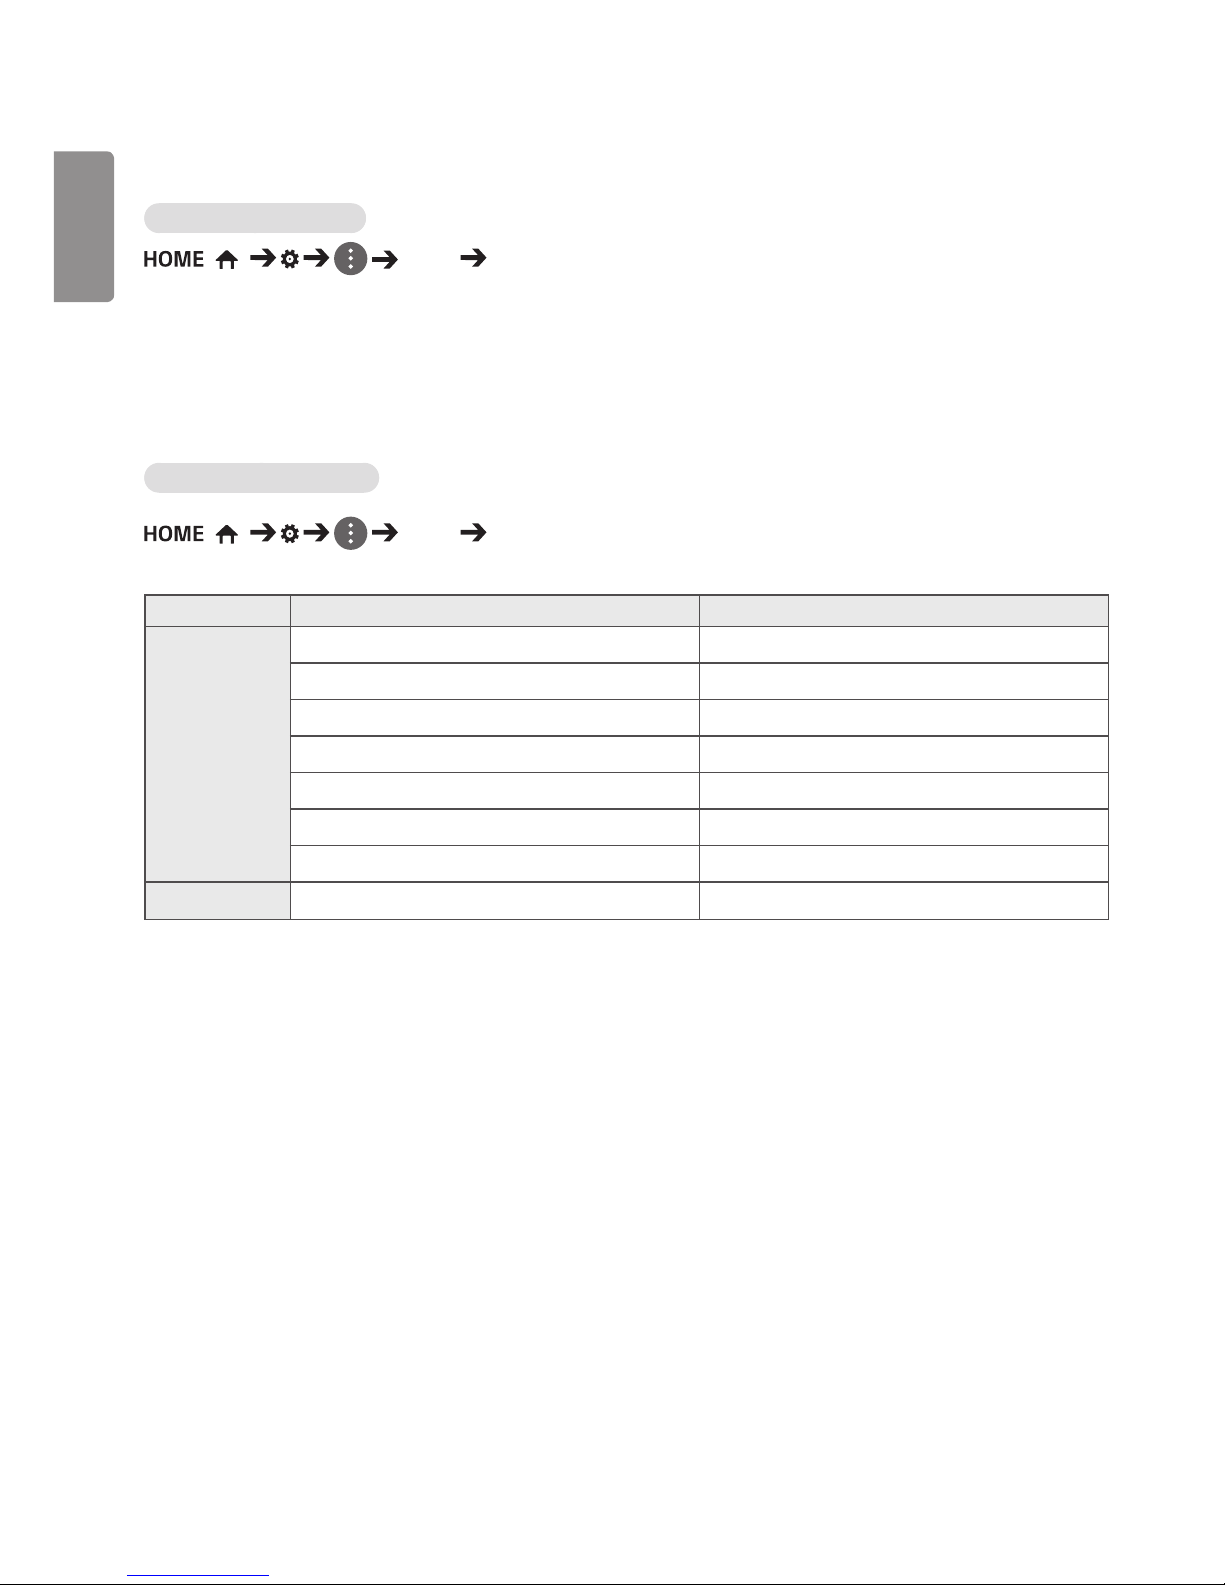
Setting Digital Sound Out
( ) Sound Digital Sound Out
• Digital Sound Out: Configures related settings for the Digital Sound Out.
Sound Input Digital Sound Out
Auto
MPEG PCM
Dolby Digital Dolby Digital
Dolby Digital Plus Dolby Digital
HE-AAC Dolby Digital
DTS DTS / PCM
DTS Express PCM
DTS-HD MA PCM / DTS
PCM
All PCM
ENGLISH
7
Network Settings
To Set a Signage Monitor Name
( ) Network Signage Name
You can set a name for Signage Monitor that will be used on the network by using the on-screen keyboard.
To Set Your Wired Network
( ) Network Wired Connection (Ethernet)
• Connecting to a wired network: Connect your monitor to a local area network (LAN) via the LAN port, and configure
the network settings. Only wired network connections are supported. After making
a physical connection, a small number of networks may require the display network
settings to be adjusted. For most networks, the display will automatically make a
connection without any adjustments. For detailed information, contact your Internet
provider or consult your router manual.
Tips for Network Setting
• Use a standard LAN cable (Cat5 or higher with a RJ45 connector) with this display.
• Many network connection problems during set-up can often be fixed by re-setting the router or modem. After
connecting the display to the home network, quickly power off and/or disconnect the power cable of the home
network router or cable modem, then power on and/or connect the power cable again.
• Depending on the Internet Service Provider (ISP), the number of devices that can receive Internet service may be
limited by the applicable terms of service. For details, contact your ISP.
• LG is not responsible for any malfunction of the display and/or the Internet connection feature due to communication
errors/malfunctions associated with your Internet connection, or other connected equipment.
• LG is not responsible for problems with your Internet connection.
• You may experience undesired results if the network connection speed does not meet the requirements of the
content being accessed.
• Some Internet connection operations may not be possible due to certain restrictions set by the Internet Service
Provider (ISP) supplying your Internet connection.
• Any fees charged by an ISP including, without limitation, connection charges are your responsibility.
NOTE
• If you want to access the Internet directly on your display, the Internet connection should always be on.
• If you cannot access the Internet, check the network conditions from a PC on your network.
• When you use Network Setting, check the LAN cable or check if DHCP in the router is turned on.
• If you do not complete the network settings, the network may not function correctly.
CAUTION
• Do not connect a modular telephone cable to the LAN port.
• Since there are various connection methods, please follow the specifications of your telecommunication carrier or
Internet Service Provider.
• Network Setting menu will not be available until the display is connected to a physical network.

ENGLISH
8
General Settings
Configuring Language Settings
( ) General Menu Language
You can select the menu language to be displayed on the screen.
• Menu Language: Sets the Signage language.
Configuring Keyboard Language
( ) General Keyboard Language
You can select the language to be displayed on the keyboard.
• Keyboard Language: Sets the keyboard language.
Configuring the Time and Date
( ) General Time & Date
You can view and change the time and date.
• Set Automatically: Sets the time and date.
• Daylight Savings Time (DST): Sets when daylight savings time will start and end. The DST start/end times function
only when set at least one day apart.
• Time Zone: Configures the continent, country/region and city.

ENGLISH
9
Turning the Monitor On or Off Automatically
( ) General Timers
You can set the times the monitor will turn itself on or off.
• On Timer: Sets the time the monitor will turn on.
• Off Timer: Sets the time the monitor will turn off.
• No Signal Power Off (15 Min): The monitor will automatically turn off after 15 minutes if there is no input source.
If you do not want the monitor to turn off automatically, set No Signal Power Off to
Off.
• Auto Off: The monitor will turn off automatically if there is no key input.
• DPM
- Configures the DPM (Display Power Management).
- You can set DPM to Off, 15 sec. (15 seconds), 1 min. (1 minute), 5 min. (5 minute), 10 min. (10 minute).
- If this feature is not set to Off, the monitor will enter Power Saving Mode when there is no input signal.
- If set to Off, the DPM feature is disabled.
NOTE
• Off/On Times can be saved in up to seven schedules, and the monitor will turn on or off at these preset times saved
in the schedule list. If multiple preset times are saved in the schedule list, the schedule nearest to the current time will
function first.
• The monitor will turn on or off at the On/Off Times every day once they are set.
• The scheduled power off function runs properly only when the correct current time is set for the device.
• When the scheduled power-on and power-off times are the same, the power-off feature has priority over the power-
on feature if the monitor is on, and vice versa if it is off.
ENGLISH
10
Configuring Overheating Prevention
( ) General Overheating Prevention
This feature prevents module overheating.
• If the module's current temperature is 85°C or above and less than 95°C, the brightness is lowered to as much as
20% of the normal level so the module can be cooled.
• If the module’s current temperature reaches 95°C or higher, it turns off.
• If the module’s current temperature lowers to 75°C or lower, the module turns on and the brightness is restored to
normal levels.
Configuring the Set ID
( ) General Set ID
• Set ID (1 to 1000): Assigns a unique Set ID number to each product when several products are connected for display.
Assign numbers ranging from 1 to 1000 and exit the option. You can control each product
separately by using the Set ID you assigned to each product.
• Reset Set ID: Resets the Set ID of the product to 1.
Using Input Priority
( ) General Input Priority
The input source with the highest priority will automatically be selected.
• The input mode changes according to the order specified by the user. When several input signals are detected, the
input source with the highest priority will be selected.
• You can set priorities from Priority1 to Priority3.
Using Input Switching Override
( ) Input Priority Input Switching Override
This feature allows the user-selected input to be maintained when there are multiple input signals.
• If the user-selected input signal stops transmitting, the input with the highest priority is selected.
• If a new signal is received, the input sending the signal is selected.
• When the set is turned on, it switches to the highest priority input among those with signals.
Changing the Password
( ) General Password Change
You can change the password to be used in the Installation menu.
You can change your password for security purposes. Enter a new 4-digit password. Then enter the same password
again in the Confirm Password window for confirmation.
ENGLISH
11
Using Wake On LAN
( ) General Wake On LAN
Set whether to use the Wake On LAN feature.
• You can set it to On or Off.
• Wired: When set to On, the Wake On LAN feature is enabled, letting you remotely turn on the product through a
wired network.
Using Crestron
( ) General Crestron
This function allows synchronization with an application provided by Crestron.
• Server: This menu sets the IP for the network connection with the server (equipment provided by Crestron).
• Port: This menu sets the port for the network connection with the server. The default port number is 41794.
• IP ID: This menu sets a unique ID for synchronizing with the application.
Using Lock Out Control
( ) General Lock Out Control
Set whether the password is required before changing the settings.
• On: Password required to change the settings.
• Off: Password not required to change the settings.
Setting No Signal Image
( ) General No Signal Image
You can set whether to display a previously saved image when there is no input signal.
Checking the product description
( ) General Help
You can download the manual from the specified website.
Resetting to Initial Information
( ) General Reset to Initial Information
Allows all settings to be reset.
 Loading...