

Page 1
Lex Lighting Safety Instructions
1. Please keep this User Manual for future reference and be sure to pass this manual on to
anyone using the xture.
2. Always make sure that you are connecting to the proper voltage as stated on the decal or rear
panel of the xture.
3. This product is intended for indoor use only! To prevent risk of re or shock, do not expose
xture to rain or moisture.
4. Make sure there are no ammable materials close to the unit while operating.
5. The unit must be installed in a location with adequate ventilation, atleast 20inches (50 cm)
from adjacent surfaces. Be sure that no ventilation slots are blocked.
6. Always disconnect from power source before servicing or replacing fuse and be sure to
replace with same fuse rating.
7. Secure xture to fastening device using a safety chain.
8. Maximum ambient temperature (Ta) is 104° F (40° C). Do not operate xture at temperatures
higher than this.
9. In the event of a serious operating problem, stop using the unit immediately. Never try to
repair the unit by yourself. Repairs carried out by unskilled people can lead to damage or
malfunction and will void your warranty. Please contact the nearest authorized technical
assistance center.
10. Never connect the device to a dimmer pack.
11. Make sure the power cord is never crimped or damaged.
12. Never disconnect the power cord by pulling or tugging on the cord.
13. Never carry the xture directly from the cord. Always use the hanging/mounting bracket.
14. Avoid direct eye exposure to the light source while it is on.
Page 2
Congratulations on purchasing your new lighting effect
from Lexlighting. Reading through this manual will ensure
trouble free and long life operation of the unit.
Features:
- 256 LED’s (Red, Green, Blue & White)
- Sound To Light (Inbuilt Microphone)
- Full DMX (2 or 8 Channels) *selectable*
- Master/Slave Mode
- Digital Settings Display
Contents:
- Light Unit LexIcon
- IEC Mains Cable UK Plug
- User Manual
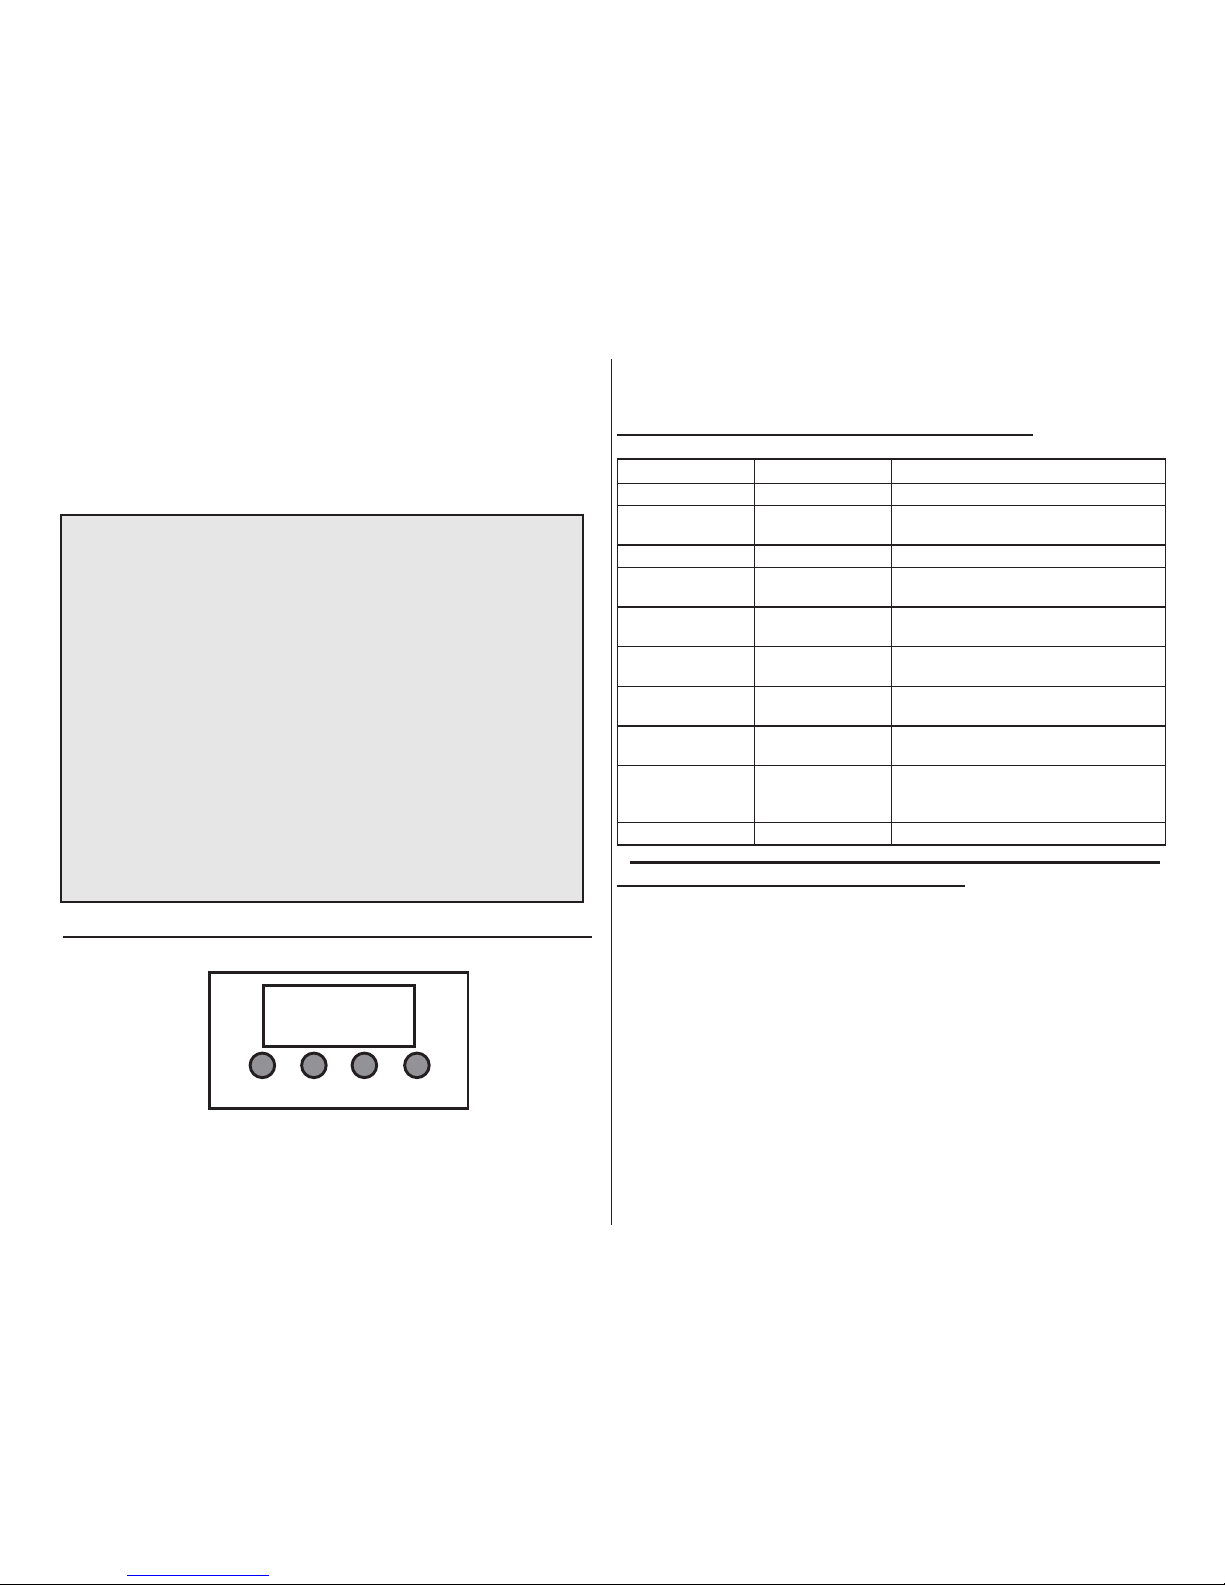
MODE
ENTER
UP DOWN
MENU Conguration Chart - Digital Display
Menu Sub Menu Function
Addr A001-A512 Sets the xture DMX Address
SPEE SP00 - SP99 Sets the speed of the Auto Run Patterns
(SP00 = Slow / SP99 = Fast
COLO C001 - C015 Sets the LED Colours
FLSH FL00 - FL51 Sets the Flash/Strobe Speed. (FL00 =
Slow / FL51 = Fast
CHND 2CH or 8CH Sets the xture to have 2 DMX channels
or 8 DMX Channels
AUTO SH00 - SH12 Selects 1 of the Auto Run Patterns
pre-programmed to the xture.
SOUN none This simply puts the unit into Sound-
Light Mode using the inbuilt-Microphone
BLND YES or NO Turns off all LED’s. YES = All Off / NO
= ON
dISP YES or NO Allows you to alter which way the Digital
Display is displayed. NO = Normal / Yes
= Upside down
SLA none Simply makes your ICON a slave
Sound to Light / Sound Active Mode
To put your icon into sound active mode simply follow the steps below:
1. Press MENU
2. Scroll through using UP and DOWN buttons until “SOUN” is
displayed
3. Press ENTER
4. Adjust the Sensitivity Dial as required.
Your xture is now in Sound Active mode and will go through all of its
internal patterns one by one activated by the sound from its in-built
microphone.
Page 3

Auto Run Mode & Pattern Selection & Speed
Auto mode is where the unit will go through it’s pre-programmed patterns one by one, regardless of any sound input. The user can choose
the pattern and the Pattern speed. First lets get your xture into AUTO
Play mode:
1. Press MENU
2. Scroll through using UP and DOWN buttons until AUTO is
displayed
3. Press ENTER
4. The display will now show “SH_ _” (number)
5. Using the UP and DOWN buttons choose between SH00 -
SH12 (these are different program/pattern modes.
6. Press ENTER.
You Icon will now go each steps of the selected Pattern.
It is possible to adjust the SPEED of the pattern steps. Follow the steps
below:
1. Put the xture in AUTO as shown above
2. Press MENU until “Addr” is displayed
3. Scroll through using the UP or DOWN buttons until “SPEE” is
displayed
4. Press ENTER
5. The Display will now show “SP_ _” (number)
6. Using the UP and DOWN buttons choose between SP00 -
SP99. (SP00=slowest / SP99=fastest)
Your Icon will now go through each steps of the selected Pattern at the
choosen speed.
- QUICK TIP: The Digital Display of your ICON will turn off after 30 seconds.
To change the speed again simply press any button. The display will turn
back on showing “SP_ _” (speed you chose before)....simply press the UP and
DOWN buttons to alter the speed.
Static Mode / Color Select & Strobe modes
Static mode is where the LED’s are Static whcih creates a oodlight
type effect. You can choose what colours or a combination of colours. Follow the steps below:
1. Press MENU until “Addr” is displayed
2. Scroll through using the UP and DOWN buttons until
“COLO” is displayed
3. Press ENTER
4. The Display will now show “C0_ _” (number)
5. Using the UP and DOWN buttons choose between
C001 - C015
6. Press ENTER.
Your icon will now display you choosen colour or combination of colours in a STATIC ood effect. Below are the values of each colour
effect:
C001=WHITE
C002=BLUE
C003=BLUE+WHITE
C004=GREEN
C005=GREEN+WHITE
C006=GREEN+BLUE
C007=GREEN+BLUE=WHITE
C008=RED
C009=RED+WHITE
C010=RED+BLUE
C011=RED+WHITE+BLUE
C012=RED+GREEN
CO13=RED+GREEN+WHITE
C014=RED+GREEN+BLUE
C015=RED+GREEN+BLUE+WHITE (ALL LEDS ON)
When you have selected your desired colour(s), you can either
leave it static as shown above or you can have them ash/strobe.
1. Put the xture in Static as shown above
2. Press MENU until “Addr” is displayed
3. Scroll through using the UP or DOWN buttons until “FLSH”
is displayed
4. Press ENTER
5. The Display will now show “FL_ _” (number)
6. Using the UP or DOWN buttons choose between FL00 -
FL51. (FL00 Slowest / FL51 Fastest (strobe speed)
Page 4

DMX Mode
DMX (Digital Multiplex) is a universal protocol used as a form of
communication between intelligent xtures and controllers. A DMX
controller sends DMX data instructions from the controller to the
xture. DMX data is sent as serial data that travels from xture to
xture via the DATA “IN” and DATA “OUT” XLR terminals located on
all DMX xtures.
The ICON is a DMX enabled xture and the DMX mode and DMX
address settings are controlled via the Digital control panel. It also
carries the standard 3-pin XLR connections for DMX use.
To set your xture for use with a universal DMX controller:
1. Press MENU until "Addr" is displayed
2. Press ENTER
3. Display will show "A_ _ _ " (number)
4. Choose between A001 - A512
5. Press ENTER to conrm your choice
Your icon is now set at the DMX value you chose on the DMX uni-
verse.
Please consult the manual of your DMX controller for more information on addressing xtures. See Channel Cong table at the rear of
the manual
Master/Slave Mode
Master/Slave is where one ICON will be set to the master and any
other ICONS will copy it. This is achieved by linking each ICON together using 3 PIN XLR cables and the DMX ports found at the rear.
MASTER ICON
1. Put master into Sound/Auto/Static/Strobe Mode
2. Connect XLR to the DMX OUT port
SLAVE ICON
1. Connect XLR cable to the DMX IN port
2.Press MENU until “Addr” is displayed
3.Scroll through until “SLA” is displayed
4. Press ENTER
Simply add another slave by copying above. Up to 24 Slaves can be
used per one master.
Blackout Mode
Blackout mode lets you turn off ALL light output regardless of what operating mode it is set in.
1. Press MENU until “Addr” is displayed
2. Scroll through using the UP and DOWN buttons until “BLND” is displayed.
3. Press ENTER
4. The Display will now show “YES” or “NO”
5. Choose YES for Blackout. Choose NO for LED’s on
6. Press ENTER to Conrm your choice.
Display Settings
If you mount the xture upside down it will make it awkward to set the
modes so this feature lets you turn the display upside down too.
1. Press MENU until “Addr” is displayed
2. Scroll through using the UP or DOWN buttons until “dISP” is displayed.
3. Press ENTER
4. The Display will now show “YES” or “NO”
5. Choose “YES” for upside down, “NO” for normal view
6. Press ENTER to conrm your choice
NOTE: when the display is upside down, the MODE button becomes the ENTER button and the ENTER BUTTON becomes the
MODE button.
DMX Mode, Channels, Addressing
The icon can be set to operate with 2 DMX Channels or 8 DMX Chan-
nels.
1. Press MENU until “Addr” is displayed
2. Scroll through using the UP or DOWN buttons until “CHnd” is displayed.
3. Press ENTER
4. Choose between 8CH or 2CH
5. Press ENTER to conrm your choice
 Loading...