

Page 1
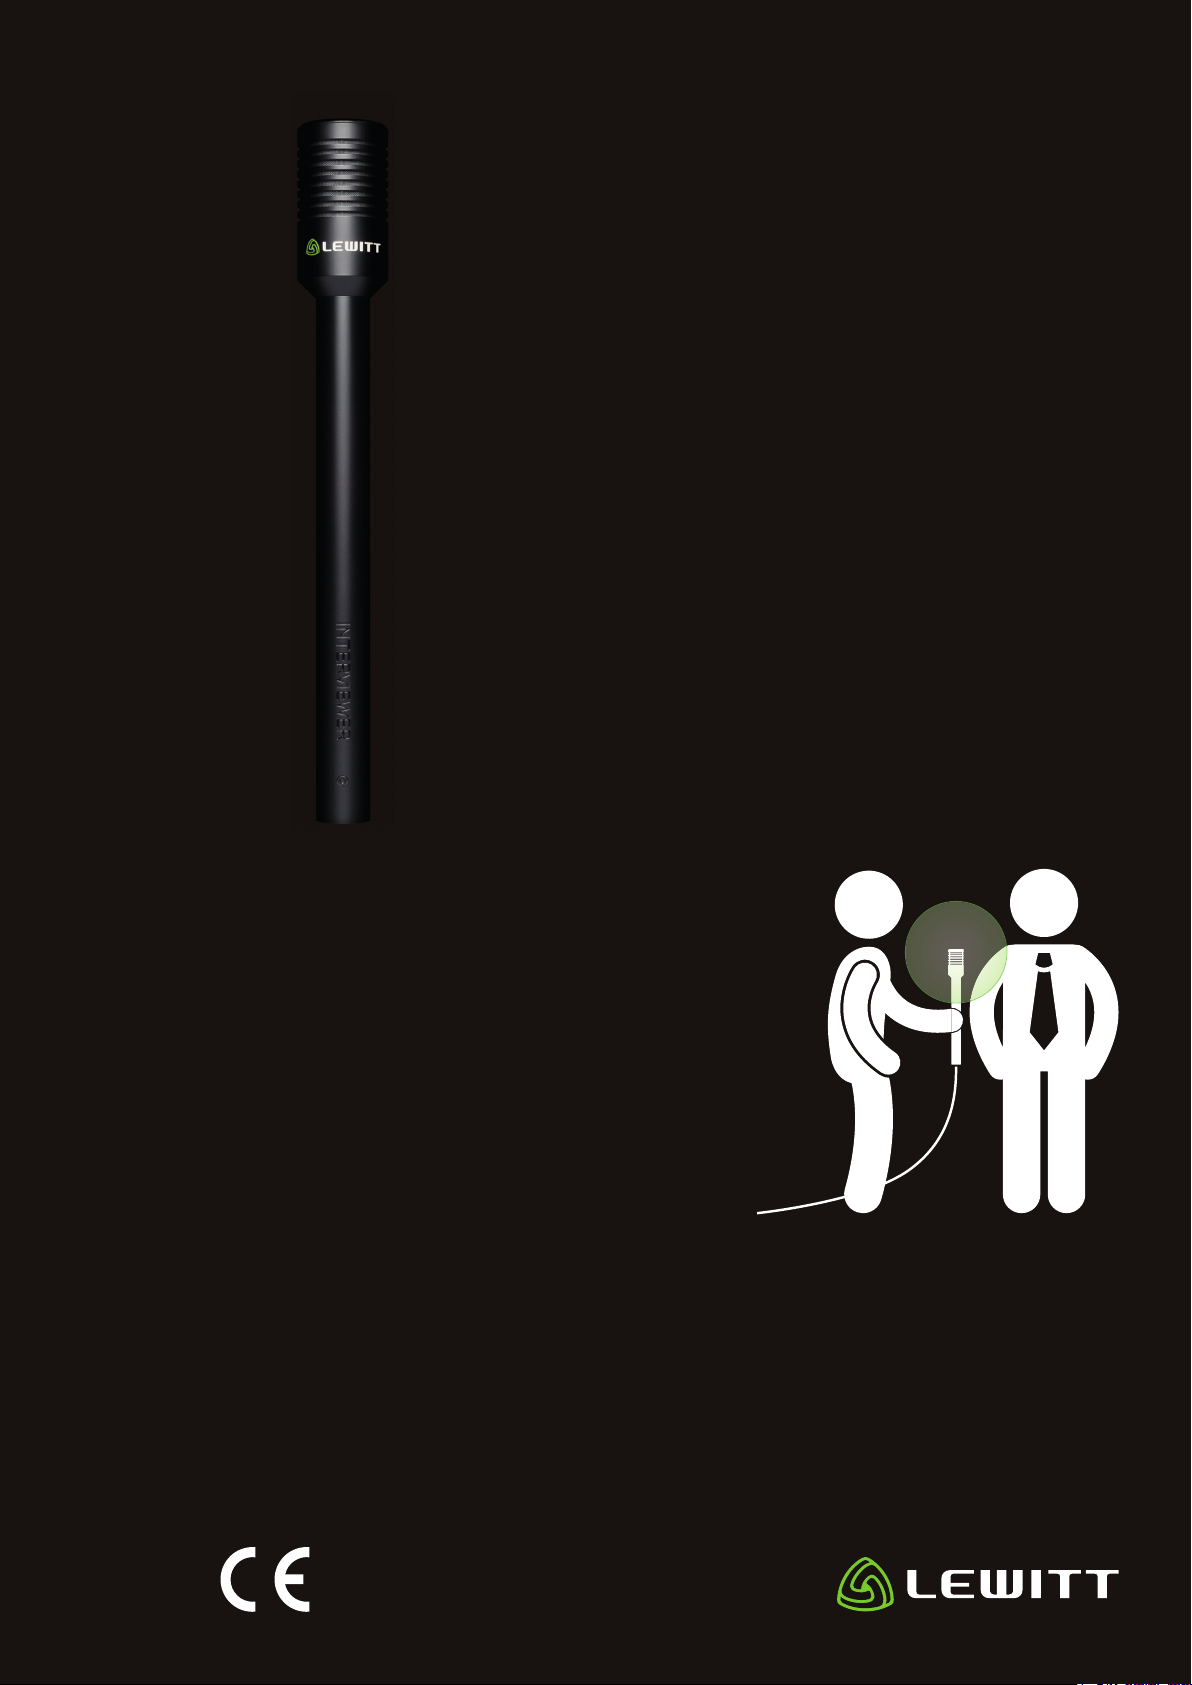
// INTERVIEWER
QUICKSTART GUIDE
// Overview
// Dynamic microphone for reports, podcasts and interviews
// High clarity and best in class speech intelligibility
// Omnidirectional polar pattern picks up sound from every direction equally
// Whisper Coating to reduce handling noise to a minimum
// Integrated acoustic pop and windshield
// No irritating microphone in the face area while fi lming
// Direct connectivity to your camera using the supplied adapter
// Gold plated & corrosion-resistant 3-pin XLR output connector
// Solid full-metal, die-cast body
// Scope of Supply
// INTERVIEWER, reporter microphone with omnidirectional capsule
// Camera adapter (XLR-Female to 3.5mm phone connector)
// Windshield
// Microphone fl ag - customizable
STURDY
AND STYLISH
WIRED HANDHELD DYNAMIC MICROPHONE
WITH OMNIDIRECTIONAL POLAR PATTERN
// DTP 50 Lb, transport bag
// Getting started
1 Connect your INTERVIEWER to your mobile recorder, wireless transmitter,
camera with XLR input or audio interface.
2 To connect the microphone directly to your 3.5mm camera audio input, use the
supplied adapter.
3 Set the input gain on your recording device/camera.
4 Use the supplied windshield if necessary.
5 If branding is required, use the supplied microphone fl ag.
6 Please note: The microphone does not need to be moved back and forth during
the interview (omni pattern). Just hold the microphone still around chest height
(Fig.1). This way, you have no microphone in the face area without loss in sound
quality. Speaking into the microphone from a closer distance might be
necessary in very loud and noisy environments.
Fig. 1 - Microphone placement
// Microphone Flag
The microphone fl ag can be screen printed with your logo or graphic. You can also apply a weatherproof label with the following
dimensions: 66x39mm. You can download a template here: www.lewitt-audio.com/download/interviewer-microphone-fl ag
// Please Note
// If your INTERVIEWER is not in use, store it in a dry place preferably the supplied DTP 50 Lb transport bag.
// When disconnecting the microphone cable, grasp the connector and do not pull the cable.
// Do not attempt to modify or fix the microphone, as it would void your product warranty.
// The casing of the microphone can be cleaned easily using a wet cloth, never use alcohol or another solvent for cleaning.
®
LEWITT
Burggasse 79
1070 Vienna
Austria
www.lewitt-audio.com
This device complies with Part 15 of the FCC Rules.
Operation is subject to the following two conditions:
(1) This device may not cause harmful interference, and
(2) This device must accept any interference received,
including interference that may cause undesired operation.
Page 2
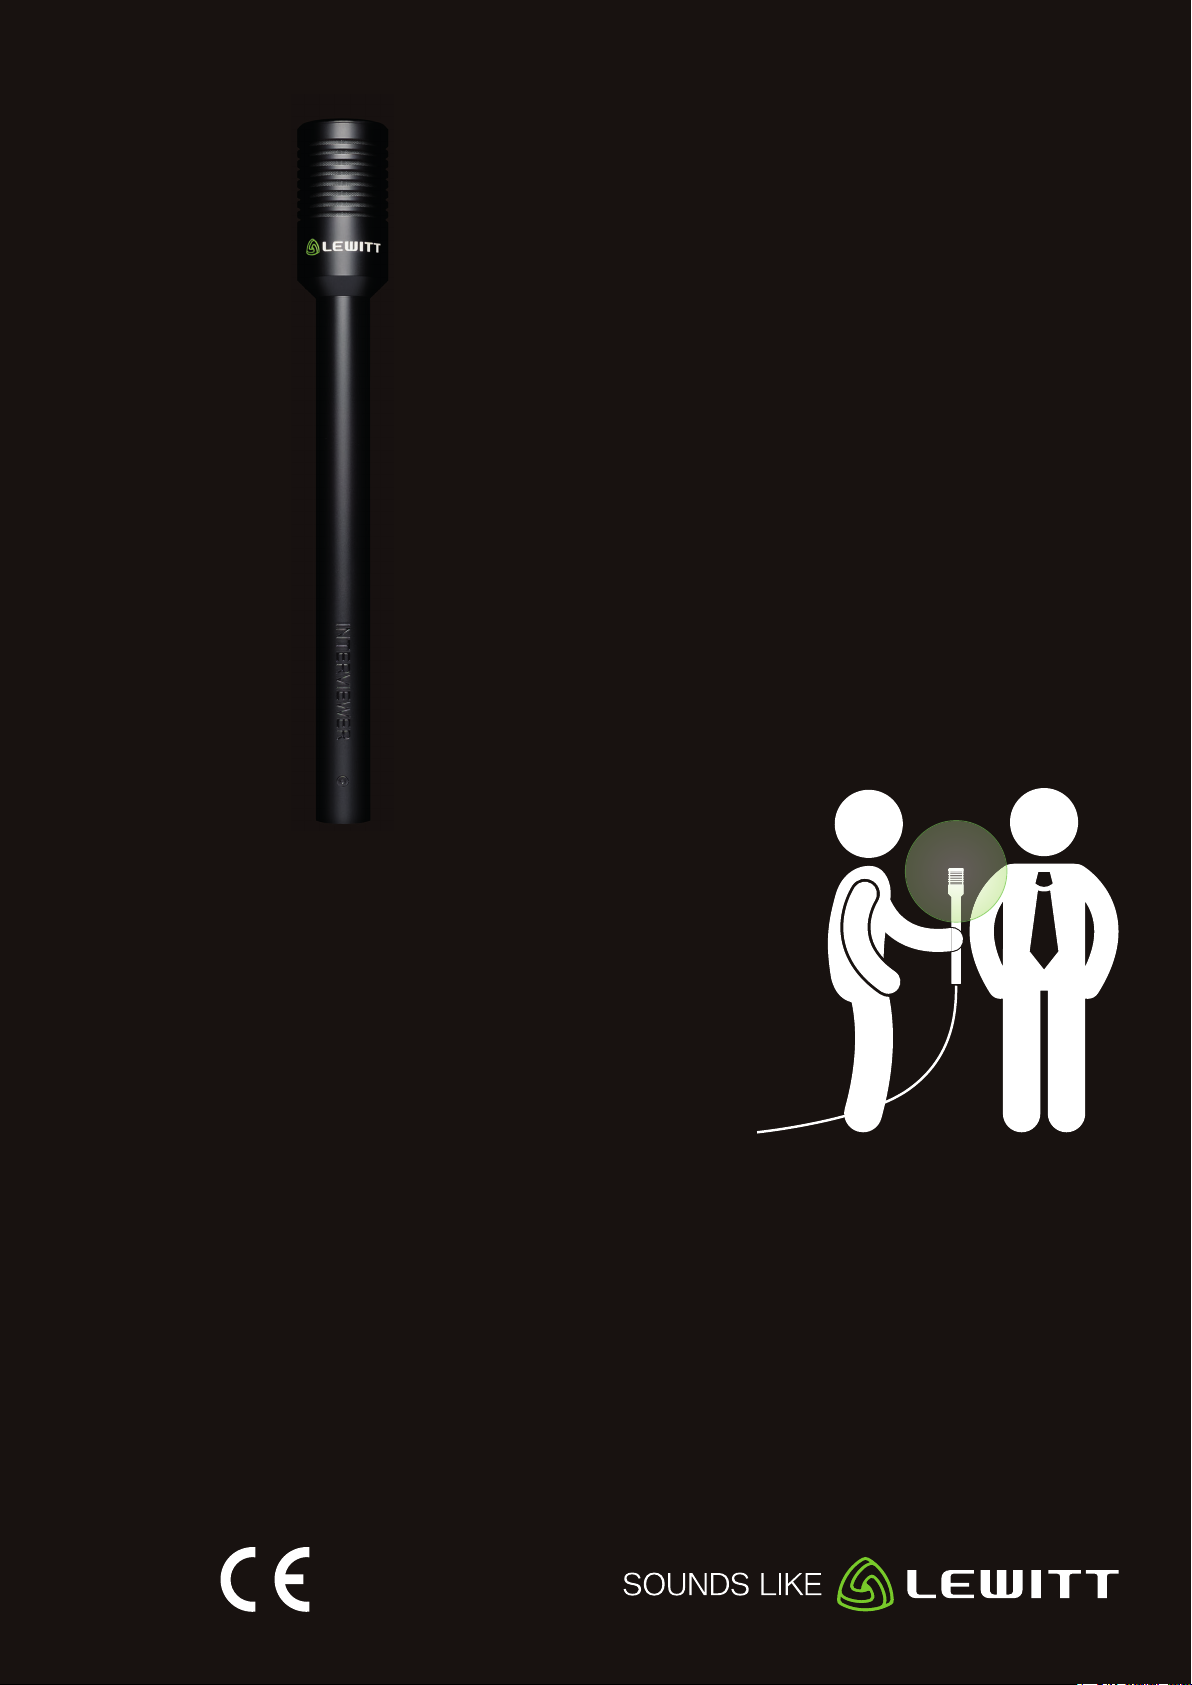
// INTERVIEWER
QUICKSTART GUIDE
// Übersicht
// Dynamisches Mikrofon für Berichterstattung, Podcasts und Interviews
// Größtmögliche Sprachverständlichkeit mit klarem Klang
// Kugelcharakteristik für gleichmäßige Klangabbildung - unabhängig
vom Einfallswinkel
// Whisper Coating reduziert Griffgeräusche auf ein Minimum
// Integrierter Pop- und Windschutz
// Kein störendes Mikrofon im Gesichtsbereich während der Aufnahme
// Direktanschluss an deine Kamera mit dem mitgelieferten Adapter
// Vergoldeter & korrosionsbeständiger 3-pin XLR Stecker
// Robustes Metallgehäuse
// Lieferumfang
// INTERVIEWER, dynamisches Mikrofon mit Kugelcharakteristik
// Kamera-Adapterkabel (XLR-Female auf 3.5mm Klinke)
// Windschutz
// Mikrofonwürfel
ROBUST
UND STILVOLL
KABELGEBUNDENES DYNAMISCHES MIKROFON
MIT KUGEL-RICHTWIRKUNG
// DTP 50 Lb, Kunstlederetui
// Erste Schritte
1 Verbinde das Mikrofon mit einem Recorder, Drahtlossender, einer Kamera
mit XLR Anschluss oder einem Audio Interface.
2 Nutze den mitgelieferten Adapter, um den INTERVIEWER direkt an den
3.5 mm Audioeingang deiner Kamera anzuschließen.
3 Passe die Eingangsverstärkung an deinem Aufnahmegerät entsprechend an.
4 Nutze den Windschutz, falls notwendig.
5 Verwende den mitgelieferten Mikrofonwürfel, um ein Logo zu präsentieren.
6 Bitte beachte: Das Mikrofon muss während dem Interview nicht hin und her
gereicht werden (Kugelcharakteristik). Halte das Mikrofon stattdessen
in Brusthöhe still (Abb.1). Dadurch ist kein störendes Mikrofon im Gesichtsfeld,
ohne dabei Klangqualität einzubüßen. In lauten Umgebungen ist die Einsprechdistanz kurz zu halten.
Abb. 1 - Halteposition
// Mikrofonwürfel
Der Mikrofonwürfel kann mit einer Grafi k oder Logo bedruckt werden kann. Alternativ können wetterfeste Sticker benutzt
werden. Dimensionen: 66x39mm. Hier fi ndest du eine Druckvorlage: www.lewitt-audio.com/download/interviewer-microphone-fl ag
// Bitte beachten
// Solange der INTERVIEWER nicht verwendet wird, sollte er in der mitgelieferten DTP 50 Lb Transporttasche, oder einem anderen
trockenen Ort gelagert werden.
// Beim Entfernen des Kabels bitte nicht am Kabel, sondern am Stecker ziehen.
// Jeder Versuch das Mikrofon zu modifi zieren oder selbst zu reparieren, lässt den Garantieanspruch verfallen.
// Das Gehäuse kann leicht mit einem feuchten Tuch gereinigt werden, verwenden Sie dazu keinen Alkohol oder andere Lösungsmittel.
®
LEWITT
Burggasse 79
1070 Wien
Österreich
www.lewitt-audio.com
 Loading...