

Page 1
INDUSTRIAL
FINEST
STYLES
'2800
2800
2800
®
QUALITY
A-6
A-12
AZ-12
ZVni<m~
SEWING
L E W I
S®
• C 0 L U M B I
A®
MACHINES
AUTOMATED
CATALOG
No.
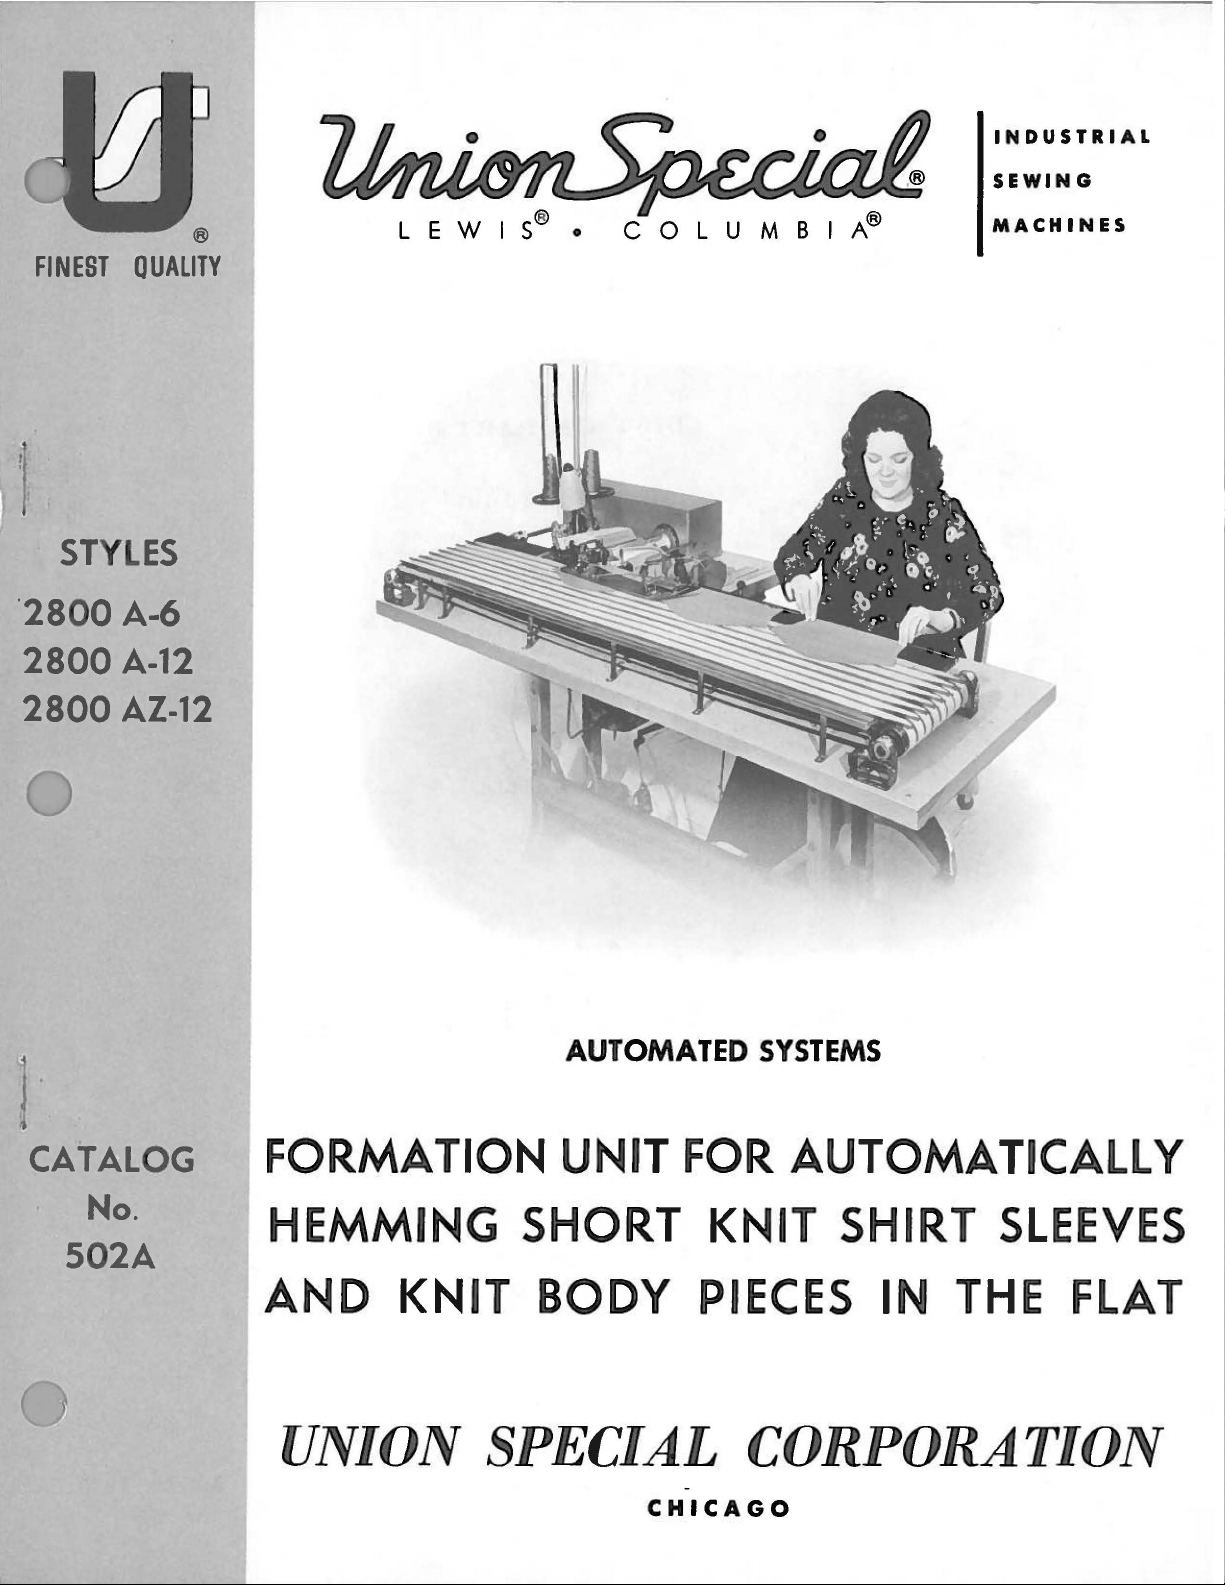
FORMATION UNIT
FOR
HEMMING SHORT KNIT SHIRT
502A
AND
KNIT
BODY
PIECES
UNION SPECIAL
-
CHICAGO
SYSTEMS
AUTOMATICALLY
SLEEVES
IN
THE
FLAT
CORPORATION
Page 2
Catalog
INSTRUCTIONS
No.
AND
502A
2800
A-6
Union
Rights
LIST
CLASS
2800
First
Special
Reserved
OF
Styles
A-12
@
1975
By
PARTS
2800
Edition
Corporation
in
All
2800
Countries
AZ-12
UNION
SPECIAL
INDUSTRIAL
Printed
CORPORATION
SEWING
CHICAGO
in
U.S.
MACHINES
A.
March,
1978
Page 3
CONTENTS
SECTION
I.
II.
III.
IV.
V.
GENERAL
A.
B.
INFORMATION
UNIT
DESCRIPTION
SPECIFICATIONS
INSTALLATION
OPERATOR
A.
CARE
B.
ADJUSTMENTS
1.
2.
C.
MAINTENANCE
INSTRUCTIONS
AND
CONVEYOR
STITCH
DESCRIPTION
A.
CONVEYOR
B.
HEMMING
C.
AIR
BLOWERS
TECHNICAL
A.
WIRING
B.
UNIT
c.
ACCESSORIES
1.
2.
3.
DATA
DIAGRAM
OPERATING
"AIR-KLIPP"®
TRIM-MASTER
FOLDERS
.
HANDLING
FOR
• • .
OF
VARIOUS
..
PENETRATION
• • • . • .
AND
ADJUSTMENT
FOLDER
. . . .
SEQUENCE
. . . . . . • . .
CHAIN
KUT-VAC
WORK
WEIGHTS
.
OF
. . . . .
CUTTER
OF
CONTROLS
MATERIAL
PAGE
2
3
3
4
5
.
5
5
6
7
9
10
11
12
VI.
VII.
VIII.
PARTS
LIST
TROUBLE
A.
BITE
B.
BITE
C.
MATERIAL
FOOT
D.
FOLDING
SEWING
HEAD
SHOOTING
TOO
DEEP
IS
UNEVEN
REFUSES
NORMALLY
OF
CLOTH
• • . . . .
. . . .
OR
MISSES
TO
START
•.••••••
UNDER
PRESSER
. . . • • . • • .
. . . .
13
16
18
- 1 -
Page 4

Page 5
SECTION
I
GENERAL
INFORMATION
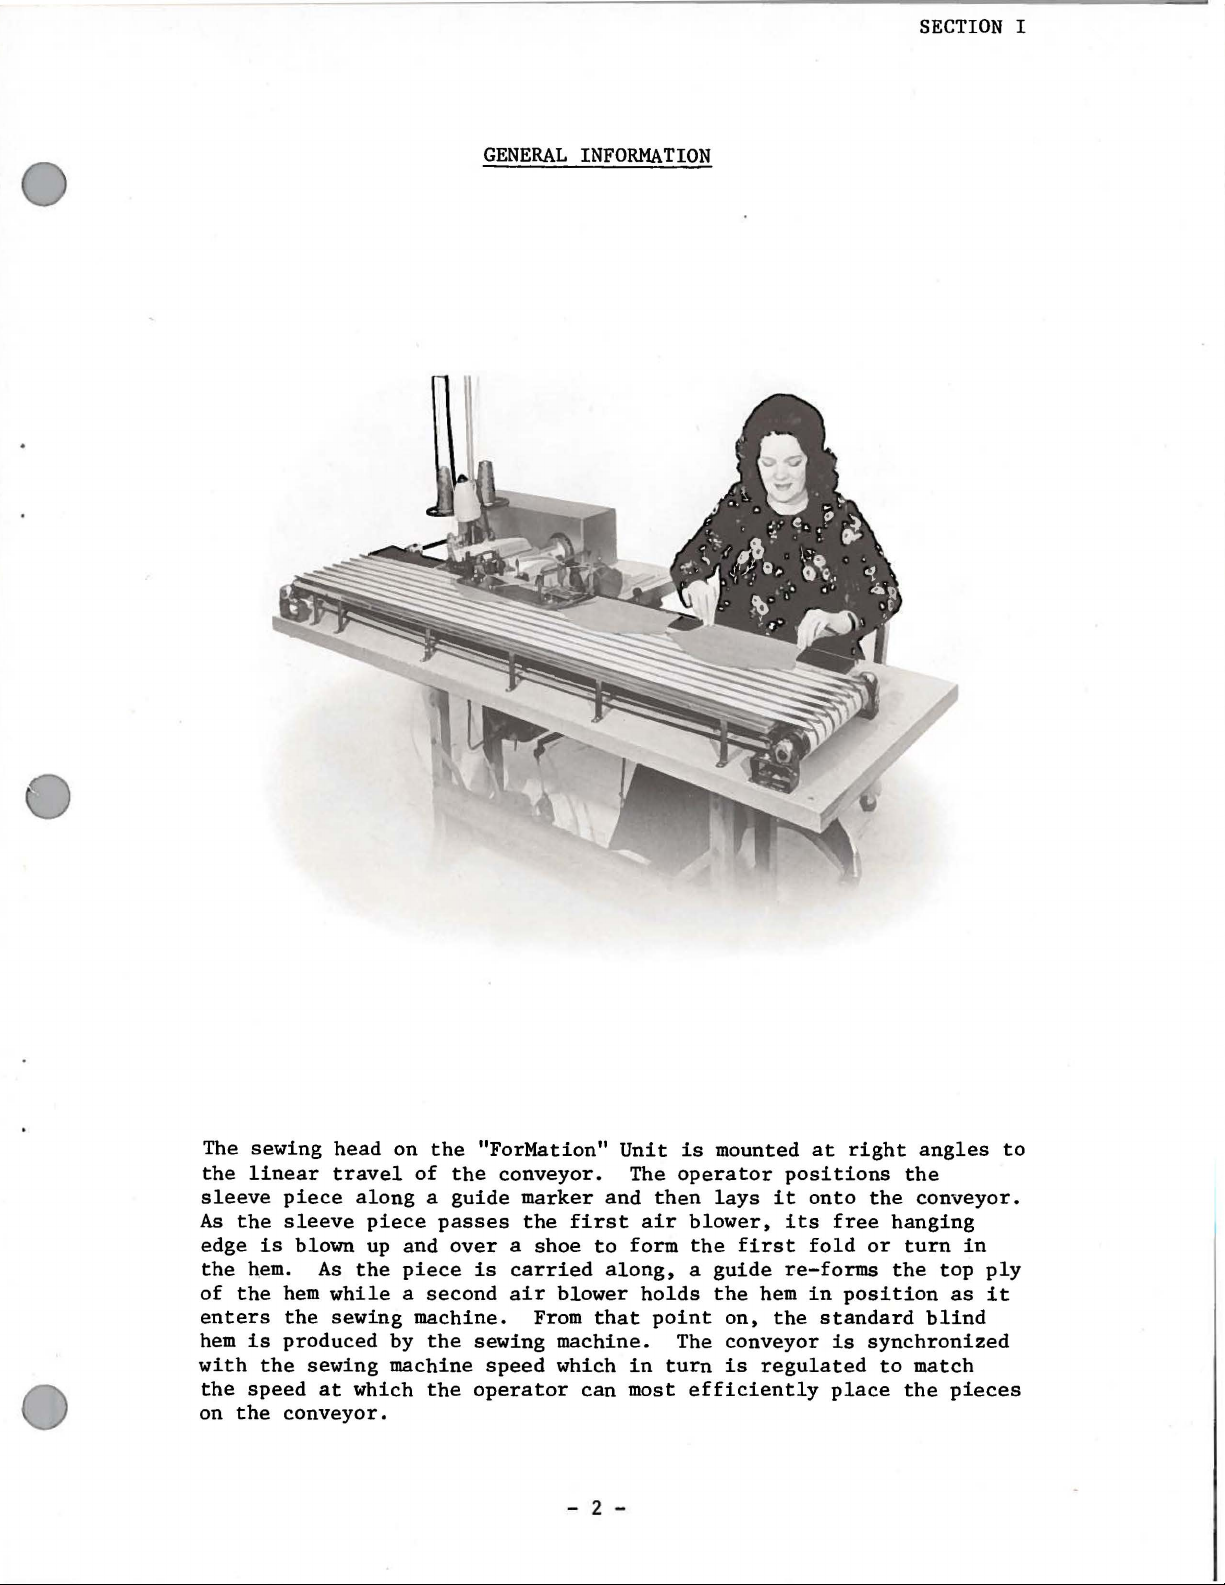
The
sewing
the
linear
sleeve
As
the
edge
is
the h.em.
of
the
enters
hem
is
with
the
the
speed
on
the
head
travel
piece
sleeve
blown up and
As
hem
while a second
the
sewing
produced
sewing
at
conveyor.
on
along a guide
piece
the
piece
by
machine
which
the
"ForMation"
of
the
passes
over a shoe
is
machine.
the
sewing
speed
the
operator
conveyor.
marker
the
first
carried
air
blower
From
machine.
which
can
- 2 -
Unit
and
to
along, a guide
that
The
then
air
form
holds
point
in
turn
most
is
mounted
operator
lays
blower,
the
the
on,
The
conveyor
is
efficiently
positions
it
its
first
re-forms
hem
the
regulated
at
right
onto
fold
in
the
free
or
position
standard
is
synchronized
place
angles
the
conveyor.
hanging
turn
the
top
blind
to
match
the
to
in
ply
as
it
pieces
Page 6

Page 7
SECTION
I
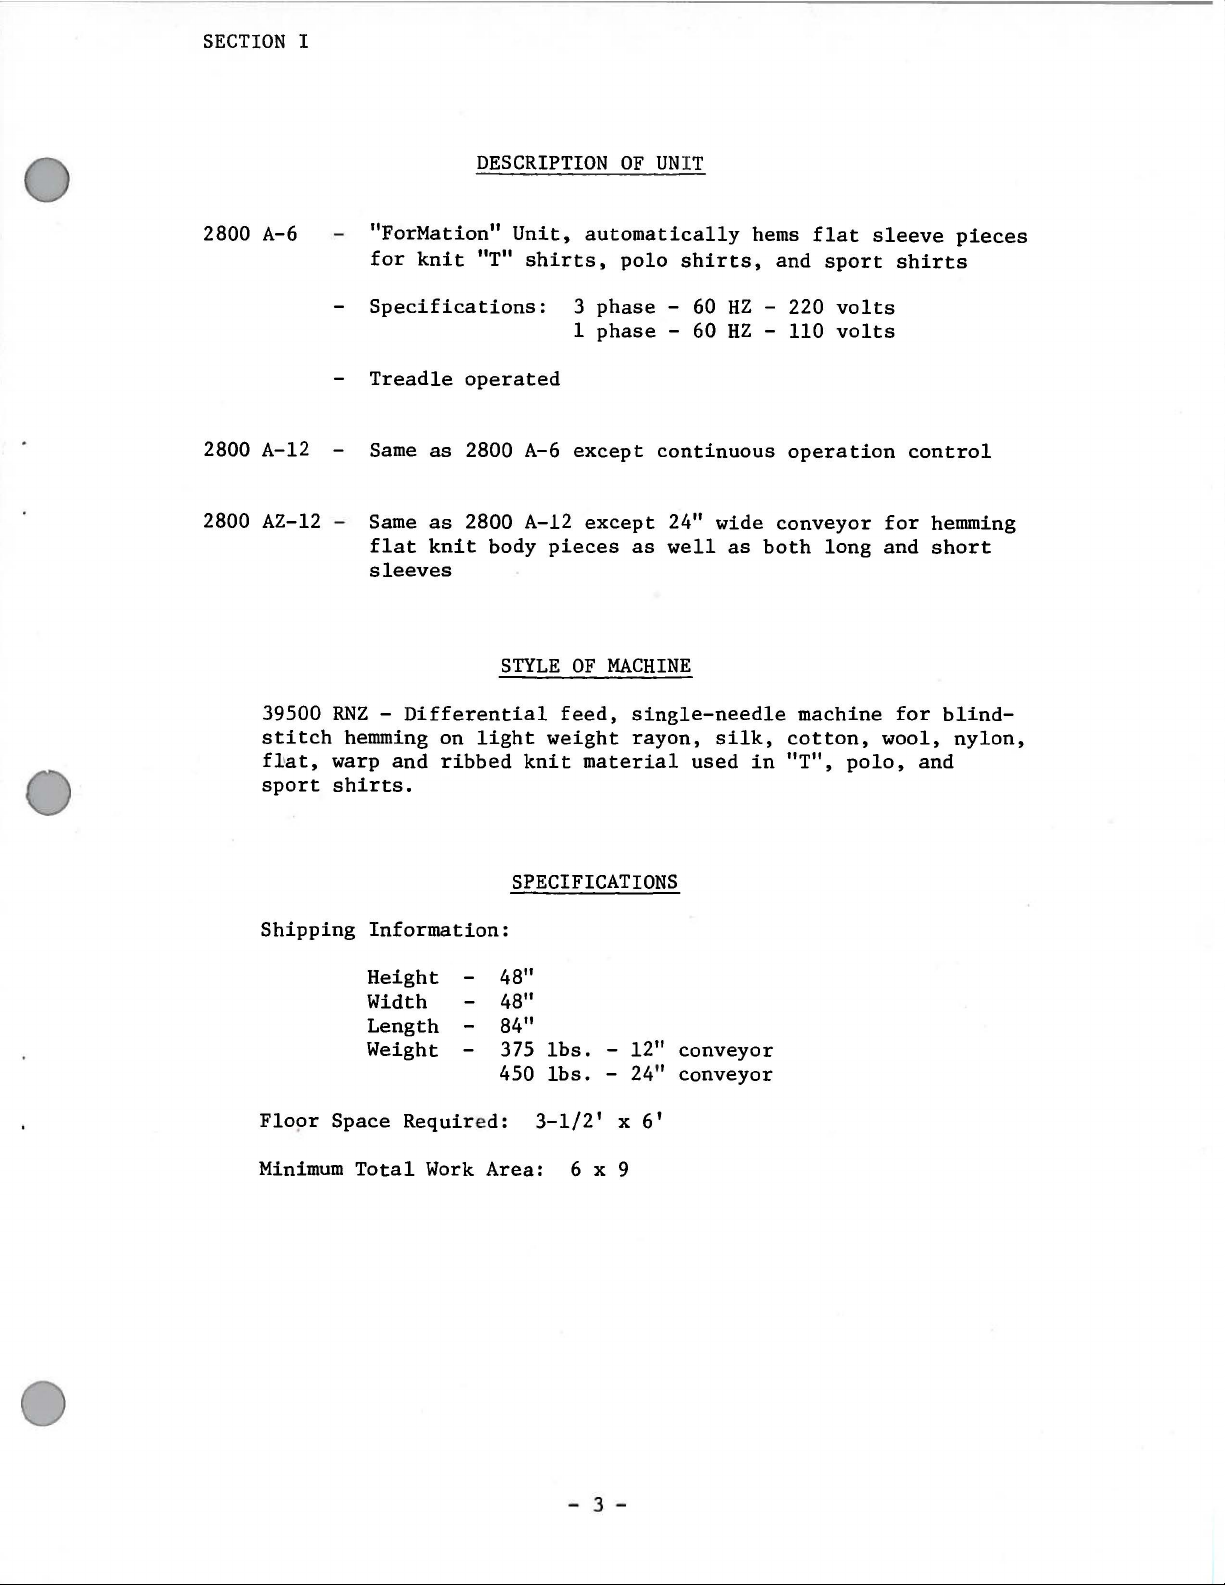
2800 A-6
2800 A-12
2800 AZ-12 -
39500
stitch
fl•at,
sport
DESCRIPTION
"ForMation"
for
knit
Specifications:
Treadle
Same
Same
flat
sleeves
RNZ -Differential
hemming on
warp
shirts.
and
"T"
operated
as
2800 A-6
as
2800 A-12
knit
body
light
ribbed
STYLE
Unit,
shirts,
pieces
weight
knit
OF UNIT
automatically
polo
3
phase
1
phase
except
except
OF
feed,
material
continuous
as
MACHINE
single-needle
rayon,
shirts,
- 60
- 60
24"
well
used
hems
HZ
HZ
wide
as
silk,
in
flat
and
sport
- 220
- 110
operation
conveyor
both
long
machine
cotton,
"T",
sleeve
volts
volts
polo,
shirts
control
for
and
for
wool,
and
pieces
hemming
short
blind-
nylon,
Shipping
Flopr
Minimum
Space
Information:
Height
Width
Length
Weight
Required:
Total
Work
SPECIFICATIONS
48"
48"
84"
lbs.
lbs.
6 x 9
- 12"
- 24"
375
450
3-1/2'
Area:
x
conveyor
conveyor
6'
- 3 -
Page 8

Page 9
SECTION
II
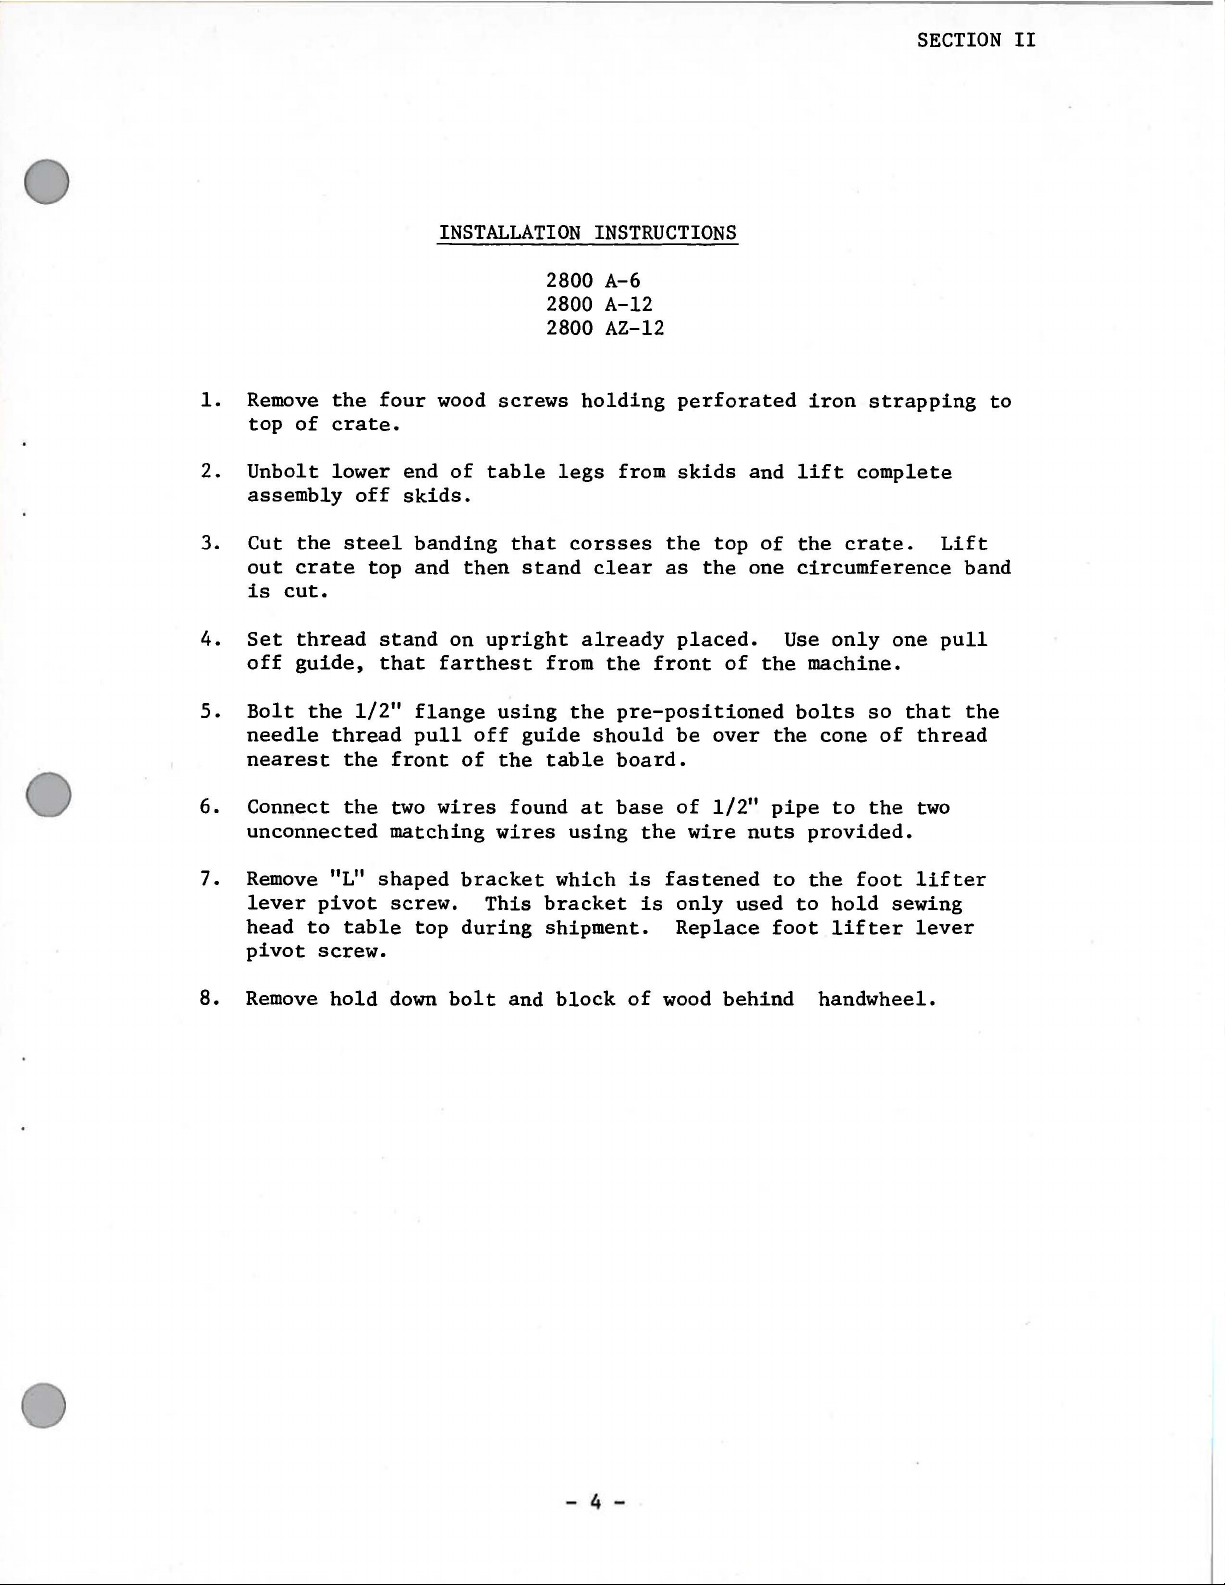
1.
Remove
top
2.
Unbolt
assembly
3.
Cut
out
is
4.
Set
off
5.
Bolt
needle
nearest
6.
Connect
unconnected
of
the
crate
cut.
thread
guide,
the
the
four
crate.
lower
off
steel
top
stand
that
1/2"
thread
the
the
INSTALLATION
wood
end
of
skids.
banding
and
then
on
farthest
flange
pull
front
two
matching
off
of
wires
2800 A-6
2800 A-12
2800 AZ-12
screws
table
that
stand
upright
from
using
guide
the
table
found
wires
INSTRUCTIONS
holding
legs
from
corsses
clear
already
the
front
the
pre-positioned
should
board.
at
base
using
the
perforated
skids
the
top
as
the
placed.
of
be
over
of
1/2"
wire
nuts
iron
and
lift
of
the
one
circumference
Use
only
the
machine.
bolts
the
cone
pipe
to
provided.
strapping
complete
crate.
one
so
that
of
the
to
Lift
band
pull
the
thread
two
7.
8.
Remove
lever
head
pivot
Remove
"L"
pivot
to
table
screw.
hold
shaped
screw.
top
down
bracket
This
during
bolt
which
bracket
shipment.
and
block
is
fastened
is
of
wood
only
Replace
used
behind
to
the
to
foot
handwheel.
foot
hold
lifter
lifter
sewing
lever
- 4 -
Page 10

Page 11
SECTION
III
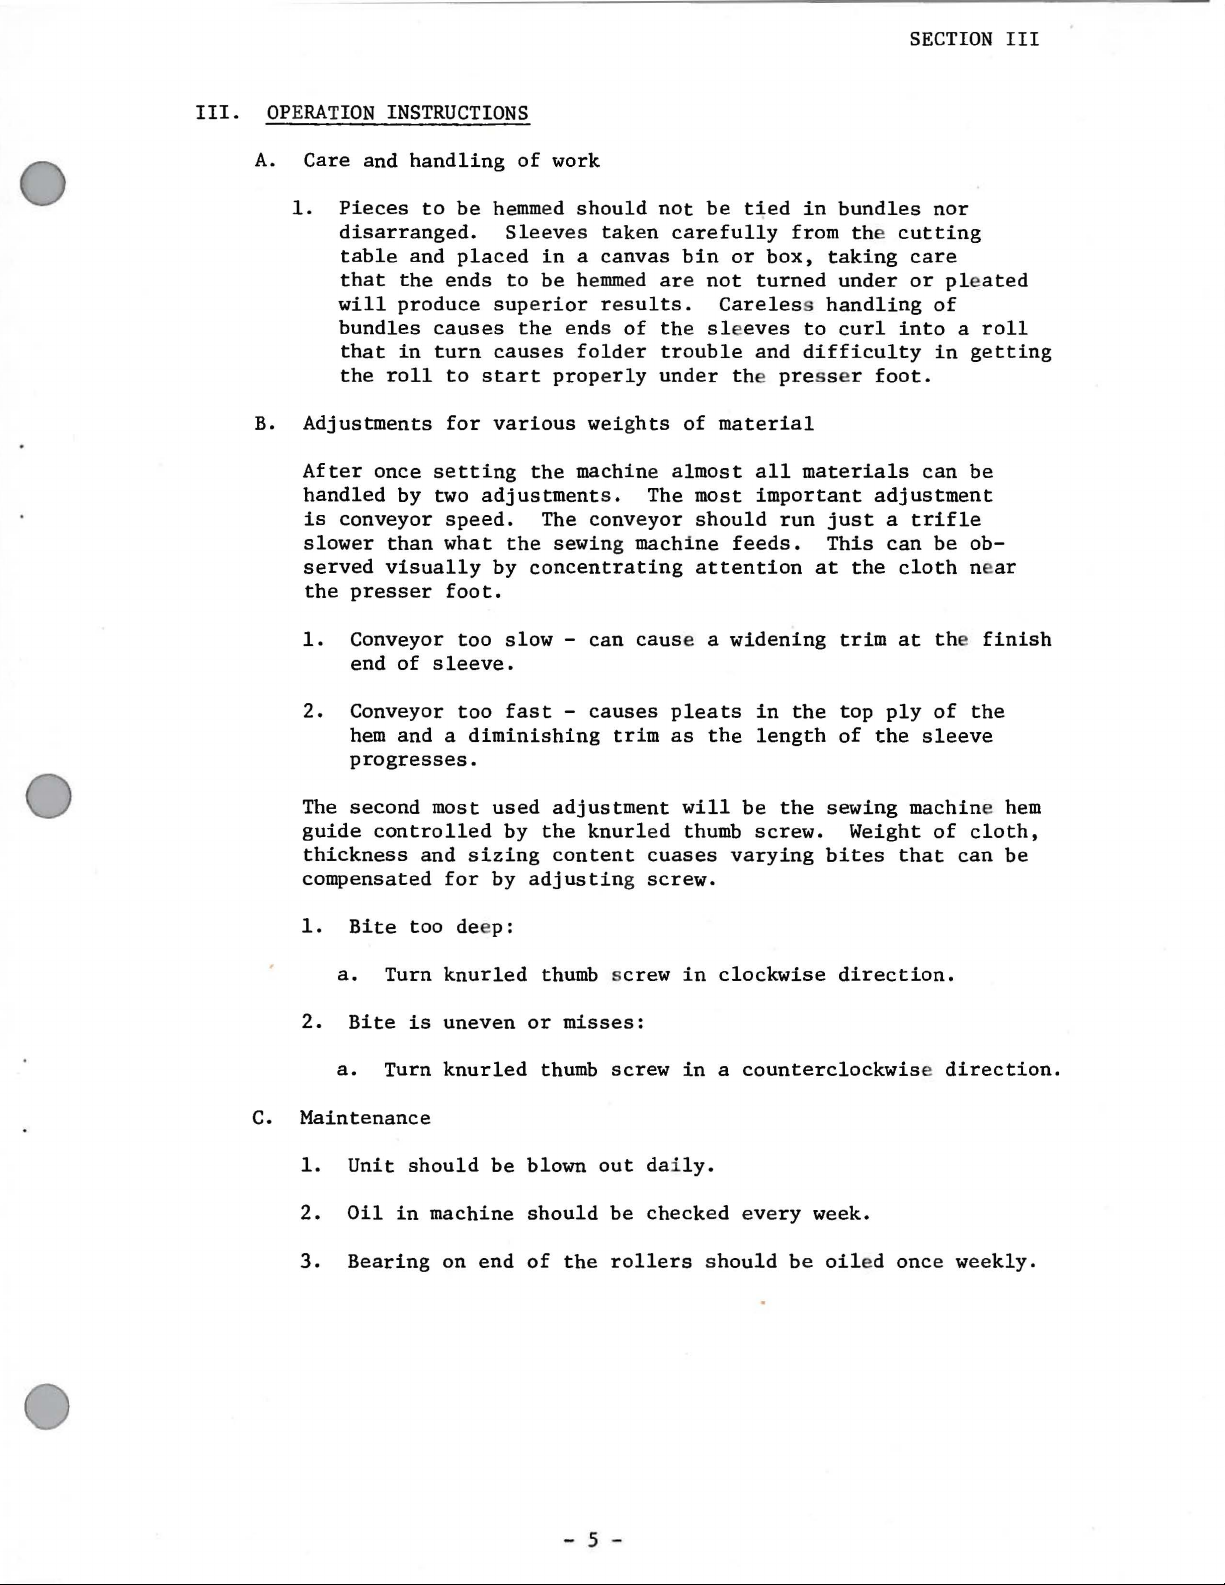
III.
OPERATION
A.
Care
1.
Pieces
disarranged.
table
that
will
bundles
that
the
B.
Adjustments
After
handled
is
conveyor
slower
served
the
1.
INSTRUCTIONS
and
handling
to
and
the
ends
produce
causes
in
turn
roll
to
for
once
setting
by two
speed.
than
what
visually
presser
Conveyor
end
of
foot.
sleeve.
of
be
hemmed
Sleeves
placed
too
in a canvas
to
be
superior
the
causes
start
various
the
adjustments.
The
the
by
concentrating
slow -can
work
should
taken
hemmed
results.
ends
of
folder
properly
weights
machine
conveyor
sewing
not
be
tied
in
carefully
bin
or
are
not
Careless handling
the sle
trouble
under the
of
material
almost
The
most
should
machine
cause a widening
feeds.
attention
from the
box,
turned
eves
to
and
difficulty
pre
all
materials
important
run
bundles
taking
under
curl
sser
just
This
at
the
trim
nor
cutting
care
or ple
of
into a roll
in
getting
foot.
can
be
adjustment
a
trifle
can
be
ob-
cloth near
at the
ated
finish
2.
The
guide
thickness
compensated
1.
2.
C.
Maintenance
1.
2.
3.
Conveyor
hem
and a diminishing
progresses.
second
controlled
and
Bite
too
a.
Turn
Bite
a.
Unit
Oil
Bearing
is
Turn
should
in
too
most
machine
used
sizing
for
by
dee
p:
knurled
uneven
knurled
be
on
end
fast
adjustment
by
the
content
adjusting
thumb s
or
thumb
blown
should
of
-
causes
trim
knurled
crew
misses:
screw
out dai
be
the
rollers
pleats
as
will
thumb
cuases
screw.
in
in a counterclockwis
ly.
checked
in
the
length
be
the
screw.
varying
clockwise
every
should
the
week.
be
top
ply
of
the
sewing
Weight
bites
direction.
oil
ed
that
once
of
the
sleeve
machine hem
of
cloth,
can
be
e
direction.
weekly.
- 5 -
Page 12

Page 13

SECTION
IV
1.
Adjust
the
loosening
2. The
the
rotate
slower,
Note:
is
3.
For
slower
are
speed.
Note:
Check
4.
The
This
leakage,
conveyor
table
conveyor
end
running.
best
semi-stiff,
gear
oil
top.
the
of
the
adjusting
rotate
Do
not
results,
than
The
conveyor
the
sewing
reduction
is
it
CONVEYOR
belts
Make
wing
nuts
speed
force
the
obtainable
should
is
gear
knob
adjusting
the
machine
it
is
must
machine
drive
last
INSTRUCTIONS
so
that
this
and
adjusted
reduction
counterclockwise;
knot
adjusting
conveyor
feeds.
possible
never
bite
requires
at
almost
they
adjustment
moving
by
box.
clockwise.
knot.
should
For
to
run
after
any
garage.
indefinitely.
are
with
the
turning
To
Turn
always
certain
have
both
faster
changing
#90
oil
Unless
approximately
the
idler
pillow
adjust
block
the
black
conveyor
to
adjust
only
run a little
materials
run
than
the
to
the
there
while
at
the
conveyor
plug
1/2"
roller
base.
knob on
faster,
conveyor
conveyor
that
the
same
machine
so
marked.
is
oil
above
by
feeds.
speed.
5.
Oil
every
the
week.
self
aligning
bearing
- 6 -
with
a few
drops
of
machine
oil
Page 14

0
Page 15

SECTION
IV
1.
2.
TO
A.
B.
C.
TO
A.
B.
C.
PLACE
SET
FOLDER
Place
notch
the
At
left
notch
folder.
This
the
positioned
FOLDER
Swing
Sighting
note
hem
The
the
material
Loosen
IN
folder
on
folder
sewing
strip
slight
clearance
guide
clearance
of
in
same
EDGE
out
at
screws
machine
folder
acts
spring
by
sewing
"B".
FOLDER
OPERATING
on
conveyor
engages
hem
gently
until
to
position
in
keeping
GUIDE
machine
conveyor
between
should
being
"C"
hemmed
and
ADJUSTMENTS
POSITION
and
slide
the
small
guide.
spring
it
engages
the
same
keeps
the
"V"
CLEARANCE
presser
level
equal
"D"
from
folder
three
but
to
adjust
upright
the
the
left
the
notch
FROM
foot.
discharge
edge
times
in
no
to
right
steel
upright
end
right
engaged.
THE
MACHINE
guide
the
case
same.
till
pin
strip
pin
of
the
end
end
"A"
to
thickness
less
the
screw
with
on
the
folder
of
the
HEM
of
conveyor
machine
than
"V"
on
the
and
folder
GUIDE
of
1/16".
3.
•
D.
TO
A .
Too
much
of
SET
Loosen
for
after
little
clearance
bite.
WIDTH
hem
adjusting.,
clearance
OF
HEM
screws
width
and
and
the
sleeves
"E" and "F"
desired.
the
sleeves
and
Check
E F
will
then
set
interior
will
have
folder
"jam"
varying
folder
and
too
depths
center
clearance
piece
- 7 -
Page 16

Page 17

SECTION
IV
FOLDER
4.
DEPTH
A.
5.
PROPER
A.
B.
C.
6.
WIRE
ADJUSTMENTS,
OF
BITE
This
hem
bracket
POSITIONING
Place
the
sleeve
for
and
cut
off
Adjust
toward
The
width
of
the
on
the
it
results
UNCURLER
(Needle
adjustment
sleeve
noting
the
white
operator
sleeve
line.
CONTD.
adjusting
OF
edge
through
sleeve.
line
of
the
edge
Too
in
open hems
thread
is
SLEEVES
to
the
away from
to
trim
narrow a trim
showing on
made
using
screw.
be
hemmed
the
sewing
amount
trim
more.
is
and
the
that
the
ON
THE
on
machine
of
or
operator
governed
care
require
outside
regular
CONVEYOR
the
white
while
width
in
is a poor
of
to
by
the
which
repairing.
trim
of
sleeve)
sewing
the
straightness
it
economy
machine
line.
watching
trimming
less
and
is
placed
as
Run
A.
B.
C.
The
wire's
material
the
folder
beginning
Its
work must
In
principle,
whose
prevents
The
and
and
shape,
first
remove any
serves
purpose
from
to
of
a
pleat
blower
the
doubling
cause
the
hem.
be
coordinated
the
material
as
the
or
should
"end"
same
is
to
or
either
sleeve
double
bend
curl;
purpose
prevent
pleating
a
"jam"
with
is
blown
progresses
thickness
the
the
as
the
while
or a pleat
the
cloth
second
the
material
natural
first
back
through
from
back
blower
curl
going
over
through
at
air
blower.
the
the
developing.
over
keeps
progresses.
in
the
wire
folder,
the
wire
out
the
- 8 -
Page 18

Page 19

1.
Blowers
requirements.
loosening
2.
The
air
folder
end
3.
The
of
4.
Clean
loosen
the
can
first
to
firmly
wire
of
the
second
the
first.
lint
same
loosened
be
their
blower
and
and
sleeve.
blower
from
and
lint.
moved
Their
brackets.
has
definitely
enough
takes
fan
vanes
then
AIR
and
relocated
air
streams
an
adjustable
air
over
with a very
starting
BLOWERS
can
blow
to
as
the
blow
the
them
as
required
be
intake
material
out
the
sleeve
small
for
a moment
raised
cover.
curl
passes
stiff
for
individual
or
lowered
Allow enough
back
in
the
out
over
of
brush
to
clear
I
SECTION
by
the
leading
range
to
IV
5.
Oil
the
machine
Note:
work
as
motor
oil
Some
well
bearings
every
stiffer
or
better
three
materiaB
without
on
the
months.
blowers
that
using
do
with
not
the
regular
tend
to
blowers.
sewing
curl
will
- 9 -
Page 20

Page 21

......
0
I
L-
- - - -
---
B.C.
- _j
r
-----------
I I ? I I I
I
I
I
I
I
,,
"
'
'
'
'
M.S. I
'
'
'
'
'
'
/
/
/
/
/
/
/
/
/
v
,
r:
I
I
._
_I
~
B - Blow
BC
- Blow
lA M RC -Run
MS
M
M
T F -
l - N
S2
SB
- Knot
- M
Fuse 1 Am
Unit
eedle
ain
Transformer
Fuse
er
er
Drive
Contr
Sensor
Switch
(3
'
•I' m I
I = I
'-----
Units
Control
p
Motor
ol
& Looper
Box
Step
2/10 Amp)
Junction
_______
Thread
Down
Box
Sensor
(24
Volts)
J
M.S. B.
3
PHASE
60
CYCLE
220
VOLTS
Cll
~
(")
~
H
0
z
<
Page 22

Page 23

V.
I.
II.
SEQUENCE
Turn
1.
Supplies
2.
Supplies
3.
Supplies
Turn
1.
Energize
OF
OPERATION
main
blower
control
power
power
power
switch
blowers.
switch
to
motor.
to
blower
to
automatic
to
on
to
on
position.
control
run
position.
box.
control
box.
SECTION
V
III.
Press
1.
2.
3.
4.
handle
Coil
Clutch
in
automatic
engages
on
automatic
linkage.
Knot
A.
sensor
Sequence
catching
1)
Switch
mercury
of
blades.
tilts
2) Mercury becomes
3) Power
4)
Coil
flows
de-energizes
shutting
Needle
A.
and
Sequence
looper
of
run
and
is
switch
operation
to
through
off
unit.
thread
operation
run
control
control
locked
when
horizontal
conducto~
and
sensor
when
box
into
is
normally
knot
switch
unlocks
thread
position.
circuit
to
micro-switch
box
to
becomes
run
position
open.
is
caught
is
coil.
mechanical
breaks.
down
position.
energized.
through
in
the
now
closed.
linkage
is
normally
mechanical
knot
open.
1)
Arm
on
side
of
2)
Circuit
3) Power
4)
Coil
shutting
is
now
flows
through
de-energizes
unit
off.
micro-switch
closed.
switch
and
unlocks
goes
to
coil.
mechanical
- 11 -
up.
linkage
Page 24

Page 25

SECTION
V
29480
The
available.
The
chain
Functionally,
start
system,
tube.
tinuous
by a
is
2899 A-14
Trim-Master
the
and
GZ
"Air-Klipp"
"Air-Klipp"
is
assured
and
finish
the
The
operation
treadle
depressed,
chain
disposes
between
chain
Compact
chain
at
the
of
chain
knife
mechanism
mounted
thus
Air
automatic
of
the
ACCESSORIES
cutter
design
cutter
the
start
material
the
seam.
is
sucked
when
machine
switch
conserving
Requirements:
chain
the
pieces
cloth
is
the
makes
is
air
and
carries
At
into
an
is
driven
is
which
the
cutter,
into
trimming
AVAILABLE
simplest,
it
easy
powered,
finish
the
that
opening
by
running.
turns
air
supply.
4
CFM
10-20
stationary
blades
from
to
on a
chain
point
the
the
PSI
and
the
most
install,
and
wide
to
through
at
main
The
air
automatically
sewing
efficient
adjust,
neat
variety
the
knife
the
the
front
feed
air
supply
on when
mounted
machine
close
mechanism
use
of
bar
and
the
trimmer
chain
and
severing
of
operations.
of a venturi
the
is
is
activated
sewing
trims
trim
cutter
maintain.
chain
in
treadle
draws
both
knife.
of
at
inlet
con-
off
ends
the
the
Folders
There
due
to
be
enclosed
are
the
several
wide
with
Electrical
folders
ranges
order.
available
of
material
Spec:
60
220
now
3
phase
cycle
volts
upon
request.
being
used.
These
Material
vary
in
capacity
samples
must
- 12 -
Page 26

SECTION
VI
FRONT
REAR
ROLLER
ROLLERASSEMBLY
ASSEMBLY
BEARING
ASSEMBLY
-
13
-
Page 27

SECTION
VI
Ref.
No.
1
2
3
4
5
Ref.
No.
Part
FU
FU
FU
FU
FU
Part
No.
1008
1009
1010
1011
1012
No.
FRONT
Front
Lower
Collar
Front
Roller
Belt
(Screw
Roller
Conveyor
REAR
PARTS
ROLLER
LIST
ASSEMBLY
Description
(Screw
for
Roller
FU
1008A)--------------
Separator--------------------------------
FU
1010A)---------------------------
Shaft-----------------------------------
Table-------------------------------------
ROLLER
ASSEMBLY
Description
Amt.
Req.
1
1
--1
1
1
Amt.
Req.
1
*2
3
4
I
5
Ref.
No.
1
2
3
4
FU
FU
FU
FU
FU
Part
FU
FU
FU
FU
1004
1005
1006
1007
1008
No.
1001
1002
1002A
1002B
Bearing
Conveyor
Belt
Separator
Rear
Rear
Self
Aligning
Bearing
Washer
.
Screw
Shield------------·-------------------------
Belt
(1"
width)------------------------------
Roller
Roller
BEARING
Track
Shaft-----------------------------------(Screw
(Screw
for
Roller
ASSEMBLY
for
FU
Tracks
1008A)--------------
Description
Bearing--------------------------------
Casing-------------------------------------
(For
(For
attachment
attachment
Bearing
Bearing
to
to
Mounting
FU
Mounting
1006A)-----
Bracket)--
Bracket)----
1 ,
8
8
1
1
Amt.
Req.
4
4
8
8
FU
FU
1002C
1003
Please
Nut
Mounting
specify
(For
width
attachment
Bracket
of
belt.
-
Bearing
for
Bearll1g-------------------------
to
13A-
5
6
*NOTE:
Mounting
Bracket)-------8
4
Page 28

SECTION
VI
MOTOR
CONVEYOR
SPEED
8
\
DRIVE
CONTROL
1
('
10
ASSEMBLY
REAR
DRIVE
-
14
PULLEY
-
Page 29

SECTION
VI
Ref.
No.
1
2
3
4
5
6
7
8
9
10
Part
FU
FU
FU
FU
FU
FU
FU
FU
FU
FU
No.
1024
1025
1026
1027
1028
1029
1030
1031
1032
1033
PARTS
MOTOR
Motor
Pitman
Rocker--------------------------------------------Rocker
Collar
Knock
Sew
Mowtting
Control
Spring----------------------------------------------1
Speed
Rod-----------------------------------------
Bolt-----------------------------------------1
(Screw
Off
Cam--------------------------------------
Rod--------------------------------------------
Bracket-----------------------------------
Handle--------------------------------------
CONVEYOR
SPEED
Control
FU
LIST
CONTROL
Description
Box-----------------------------
1028A)-----------------------------
DRIVE
ASSEMBLY
Amt.
Req.
1
1
1
1
1
1
-1
1
Ref.
No.
1
2
3
4
5
6
7
8
9
10
Ref.
No.
1
Part
FU
FU
FU
FU
FU
FU
FU
FU
FU
FU
Part
FU
No.
1013
1014
1015
1016
1017
1018
1018A
1018B
1019
1020
No.
1021
Description
Coupling
Handwheel
Gear
Gear
Belt------------------------------------------------1
Adjustment
Nut
(Outside)----------------------------------------1
Nut
(Inside)----------------------------------------Screws
Speed
Rear
Shield--------------------------------------1
Coupling----------------------------------1
Box------------------------------------------Box
Adjustable
Control----------------------------------
for
Speed
Control
REAR
Adjustable
Locking
DRIVE
Pulley---------------------------1
Control
Pulley-------------------------------1
Locking
Arm---------------------------1
PULLEY
Description
Arm----------------
Amt.
Req.
1
1
1
2
Amt.
Req.
-
2
3
FU
FU
1022
1023
Drive
Coupling
Shaft------------------------------------------1
(Screws
for
-
14A-
Coupling
FU
1023A)---------------1
Page 30

SECTION
VI
FOLDER
AND
BLOWER
UNITS
2
MICRO
SWITCH
-
15
-
Page 31

SECTION
VI
Ref.
No.
1
2
3
4
5
Ref.
No.
Part
FU
FU
FU
FU
FU
No.
1034
1035
1036
1037
1038
Part
No.
FOLDER
PARTS
AND
LIST
BLOWER
UNITS
Description
Folder---------------------------------------------
Blower--------------------------------------------Blower
Unit
Control
Box----------------------------Fuse 1 Amp---------------------------------------Folder
Positioning
KNOT
CATCHING
Bracket---------------------------
SWITCH
Description
Am
Req.
1
2
1
2
1
Amt.
Req.
t.
1
2
3
4
5
6
Ref.
FU
FU
FU
FU
FU
FU
Part
No. No.
1
2
3
FU
FU
FU
1044
1045
1045A
1045B
1046
1047
1039
1040
1040A
~ercury
Knot
Catching
Nuts
(For
Screws
Thread
Collar
~icro
Thread
Screws
(For
Guide---------------------------------------
Screw
Switch----------------------------------------
Guide--------------------------------------for
Switch-------------------------------------
Blades--------------------------------
Attaching
Attaching
(FU
MICRO
Thread
Knot
Catching
Knot
Catching
Blades)-------------
Blades)-----------
1047A)------------------------------4
SWITCH
De
scription
Guide-----------------------------
1
2
4
4
3
Amt.
Re
q.
2
1
2
4
5
6
FU
FU
1041
1042
1043
Tension
Tension
Tension
Assembly
Assembly
Assembly
~ountin
g
Plate--------------------(Needle)--------------------------(Looper)---------------------------1
-
15A-
FU
1
1
Page 32

Page 33

SECTION
VII
TROUBLE
This
degrees
or
adjustments
this
speed.
veyor
A.
B.
unit
stretch
area
runs
IF
THE
1.
2.
3.
IF
THE
1.
SHOOTING
of
This
Adjust
Folder
cloth
1/16"
tabletop
Too
hem
Adjust
is
designed
stretch
material
to
compensate
is
the
setting
just
BITE
sewing
base
goes
clearance
little
guide.
BITE
sewing
to
handle a wide
and
thickness.
to
another,
for
synchronization
is
most
slightly
IS
TOO
over
or
clearance
IS
UNEVEN
slower
DEEP
machine
shoe
shimming
Clearance
too
machine
over
OR
machine
it
this.
of
critical,
than
hem
edge
high
above
hem
throat
sewing
between
should
MISSES
hem
edge
variety
When
is
often
The most
the
and
the
guide
edge
plate
machine
folder
be
guide
of
changing
necessary
important
conveyor
should
sewing
with
sewing
guide.
1/16"
by
rubber
base
machine
raising
to
with
materials
from
speed
be
head.
knurled
Set
isolators.
shoe
1/8".
knurled
one
type
to
make two
adjustment
to
the
adjusted
thumb
throat
folder
or
lowering
edge
thumb
with
base
and
varying
of
weight
or
in
sewing
so
the
screw.
plate
shoe
conveyor
machine
screw.
more
head
con-
and
2.
3.
4.
5.
6.
7. Trimming
8.
C.
IF
1.
2. Sewing
Too
much
guide.
Is
the
Is
guide
Wide
Presser
THE
at
Trimming
slow.
too
fast.
shoe
and
same
in
MATERIAL
Sewing
tilt
clearance
Should
work
wire
beginning.
widens
Check
starts
folder
foot
contact
machine
(high
machine
be
cut
straight?
properly
as
sleeve
okay
Try
increasing
center
should
with
REFUSES
feed
in
front).
feed
between
1/16"
positioned?
Check
sleeve
for
and
piece.
have
the
TO
START
dog
dog worn
folder
to
1/8".
for
sideward
progresses.
sideward
then
diminishes
angle
as
little
cloth
UNDER
tilt
adjustment
or
base
show and
movement
Check
movement on
made by
pressure
at
all
times.
PRESSER
set
too
machine
of
conveyor
conveyor.
or
runs
intersection
as
possible
FOOT
PROPERLY
not
set
for
low.
cloth
off.
hem
for
Conveyor
of
folder
to
almost
edge
on
conveyor.
being
keep
maximum
too
is
base
the
- 16 -
Page 34

Page 35

3.
Folder
presser
too
foot.
far
from
presser
foot.
Folder
should
almost
SECTION
touch
VII
D.
4. Too
hem
5.
Presser
move
6.
Presser
instead
foot
7. Ends
before
8.
Leading
with
unit).
FOLDING
1.
Sleeves
wire
length.
2.
Blower
the
adjustable.
the
little
edge
guide
foot
of
own
foot
of
sideways
of
sleeves
operator
edge
a new
OF
CLOTH
must
must
Bend
turbines
cloth
leading
clearance
causing
hinge
weight.
bottom
alongside.
for
curled
sews
of
presser
unit
as
blow
help
being
the
The
end
remove
should
sewn
of
between
pinching.
tight.
coming down
Loosen
1/32"
from
same.
these
over
brass
second
the
(not
any
be
over
sleeve.
edge
Should
presser
clearance.
rought
foot
wire
blower
are
curl
kept
the
uncurler
properly
under)
as
to
clean.
brass
is
of
be
on
sewing
handling
the
the
suit
to
folder
perfectly
foot
not
rounded
brass
cloth
the
material
Use
wire.
blow
base
loose
machine
hinge
of
the
rounded
when
wire
progresses
just
The
air
out
any
shoe
so
hem
screw
cut
(only
shipped
and
being
enough
cut
small
and
machine
foot
edge
guide
and move
work
if
replaced
with
the
brass
along
sewn.
air
to
off
is
curl
can
a
its
blow
in
3.
Sleeves
folder
bottom
folder
clearance.
base
contacts
to
moving
shoe
discharge
sideways
makes
canvas
end
under
with
conveyor,
at
the
sewing
folder.
conveyor's
especially
machine.
Lessen
edge.
the
from
Check
angle
Make
centerpoint
interior
that
sure
the
folder
of
folder
-
17
-
Page 36

Page 37

SECTION
VIII
Sewing Head - 39500
Standard
39500
RN
except
Presser
Carbide
Edge Guide - 39503 J
STANDARD
RNZ -List
fitted
Foot
Lower
923
with:
- 39520 H
Knife
- 39503 J
modified
(see
MODIFIED
drawing)
Seam
Stitch
Needle
Needle
Looper
Specification
Eccentrics
Standard
- 154
Thread -70/2
Thread -70/2
Setting
GAS
Machine Speed up
Unit
Sewn
I
Off
at
- 503 EFc-1
Available
(Ecc.
- 8
39540
027
Soft
Soft
to
- 8000 R.P.M.
- 4200 R.P.M.
to
30
B-10-12)
S.P.I.
- 12
S.P.I.
- 18 -
Page 38

Page 39

Helpful,
cient
types
machine
Promotion
Sales
esting,
obligation
illustrated
authoritative
of
sewed
equipment
article
Department. Among
are the
bulletins
following
information
for
is
available
that
:
on
the
making
are available
from
virtually
Union
the
many inter-
most
Special's
without
effi-
any
HERE
ARE
HELPFUL
No.
240,
No.
249,
No.
250,
No. 251,
No. 252,
No.
253,
No. 254,
No.
256,
No.
259,
No.
260,
No.
262,
No.
263,
No.
264,
No.
265,
No.
266,
No.
267,
No.
268,
No.
269,
No.
271,
No.
273,
No.
610,
No.
710,
No.
730,
No.
740,
No.
750,
No.
1100,
No.
1105,
"Columbia
ing
Machines"
No.
1500,
"Men's,
"Rainwear"
"Men's
"Service
"Men's
"Overalls, Coveralls,
"Men's
"Knit
"Men's
"Work
"Cotton,
Bags"
"Men's
"Men's
"Women's
"Women's
"Corsets, Girdles, Brassieres"
"Children's
"Mattresses,
Upholstery"
"Awnings,
"Curtains & Drapes"
"Kiipp-it"
"MCS
"MCS
Hemmer"
"MCS
"Fusing
"Lewis
stitch,
"Button
"Alteration
Women's,
Dress
Shirts
Shorts
Knit
Outerwear"
Sports
Gloves"
Burlap,
Clothing"
Women's,
Wear"
Wear
Canopies, Tents,
ForMation
Automatic
Automatic
Presses"
Blindstitch,
Machines"
Sewers-
Blindstitch,
Children's
Shirts"
and
Pants"
and Pajamas"
and
Underwear"
Shirts"
Jute,
Children's
And
Wear"
Slip
Covers,
Unit"
Dual
Rib-Knit
Chainstitch,
Ticket
Saddle
Stitch,
Department
Dungarees"
and
High
Fashion"
Furniture
Underfront Shi
Tackers"
Mach i
Footwear"
Multiwall
Jackets"
Tarps"
Cuff
Machine"
Lock·
and
Tie
nes"
Paper
rt
Clos-
BULLETINS
TO
SEWING
HELP
YOU
PROBLEMS
and
CATALOGS
SOLVE
UNION SPECIAL
fiNIS!
QUALITY
CORPORATION
Page 40

..
Q
..
...
'
0
WORLD'S
....
lf
FINEST
QUALITY
*
INDUSTRIAL
SEWING
MACHINES
UNION
SPECIAL
facilities throughout
aid
you
in
the selection of the right sewing
equipment for your
Special representatives
tory trained
promptly
tion, there
serve you.
ATLANTA, GA.
BOSTON, MASS.
CHICAGO,
DALLAS,
LOS ANGELES,
NEW YORK, N.
PHILADELPHIA, PA.
ILL.
TEXAS
and
and
is
Check with
CAL.
Y.
maintains sales
the
world. These offices
and
service
will
particular operation. Union
and
are
service men
able
to serve your needs
are
fac-
efficiently. Whatever your loca-
a Union Special Representative to
him
today.
MONTREAL,
TORONTO, CANADA
BRUSSELS,
LEICESnR, ENGLAND
LONDON, ENGLAND
PARIS,
STUnGART,
CANADA
BELGIUM
FRANCE
GERMANY
!t
I'
Representatives
Industrial
UNION SPECIAL
400
N.
FRANKLIN
and
distributors
cities
throughout
CORPORATION
ST., CHICAGO,
In
the
all
Important
world.
ILL.
60610
I
.
I
I
'
•
 Loading...