

Page 1
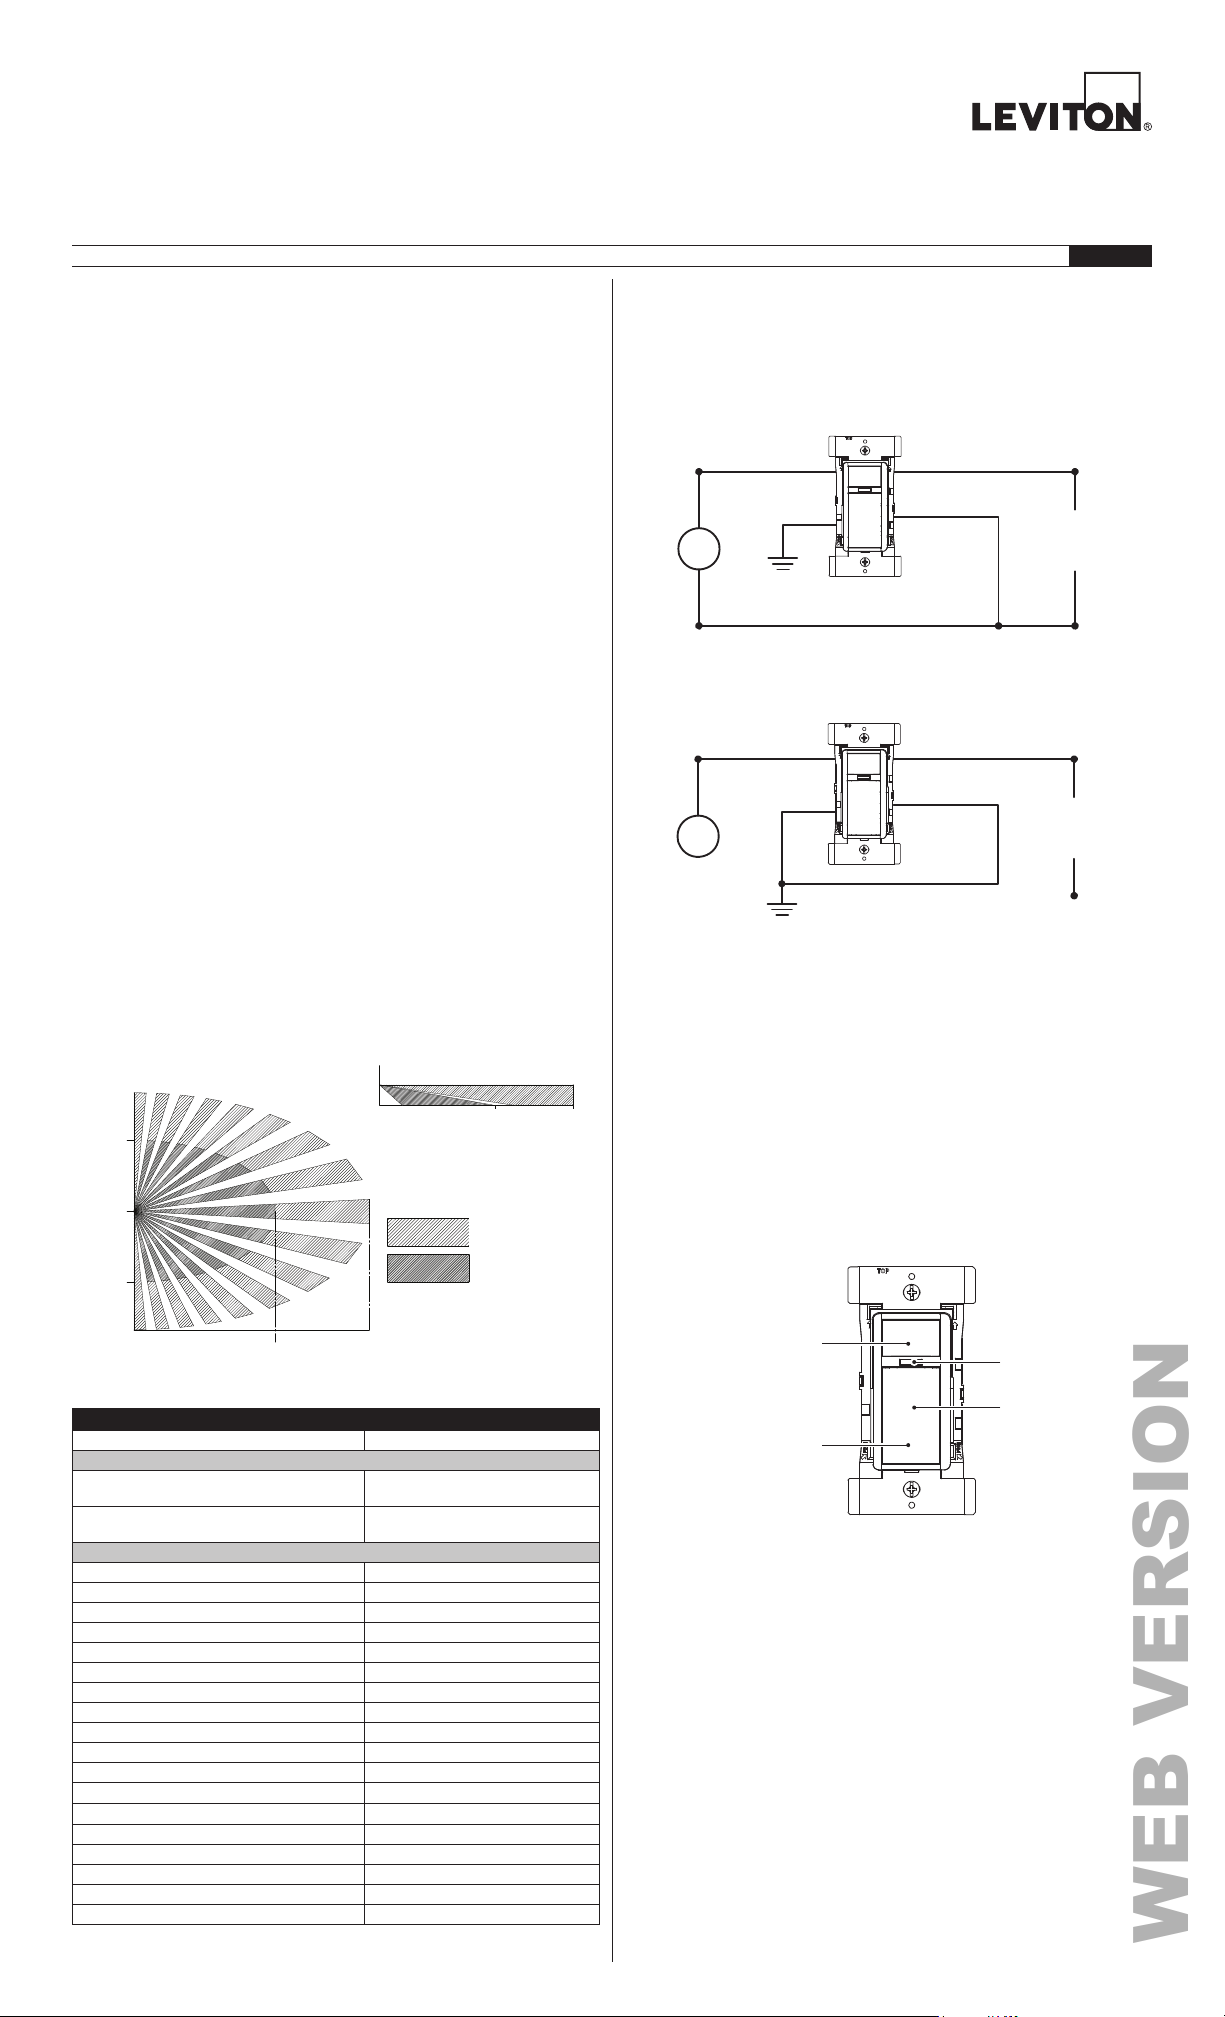
Smart Wallbox Sensors: 15A Switch – Universal Design
WEB VERSION
Cat. Nos. ODS15-GDW, ODS15-GDI
WARNINGS
• TO AVOID FIRE, SHOCK, OR DEATH; TURN OFF POWER AT CIRCUIT BREAKER OR
FUSE AND TEST THAT POWER IS OFF BEFORE WIRING!
• To be installed and/or used in accordance with appropriate electrical codes and regulations.
• If you are unsure about any part of these instructions, consult an electrician.
INSTALLATION INSTRUCTIONS
Product Description
Leviton® Cat. No. ODS15-GD, Wall Switch Occupancy Sensor, uses Passive Infrared
(PIR) detection technology to monitor a room for occupancy through a segmented
lens. This specialized lens divides the field-of-view into sensor zones. When a person
passes into or out of a sensor zone, the sensor detects motion and switches the
lights ON. The lights will remain ON as long as there is an occupant moving through
the sensor zones. ODS15-GD can also be programmed to vacancy mode (ManualON/Auto-OFF) for installations where manual-ON switching is required. The
ODS15-GD provides a 180° field-of-view with a maximum coverage area of
approximately 1100 square ft. The maximum sensing distance in front of the sensor
is 30-40 ft., and 15-20 ft. on either size. A “minor motion” zone detects small body
movements and allows the lights to stay ON even though a person may not be
moving or walking around the room. The remainder of the field-of-view, the “major
motion” zone, exhibits a lesser degree of sensitivity and requires larger movements.
Configuration is made using the Leviton Smart Sensor App from your smartphone or
other Bluetooth™ enabled Android™ or iOS device. Simple configuration can also be
applied using push-button setup for several popular pre-configured options.
ODS15-GD is also equipped with a photocell for daylighting hold-off which is
programmable using the Leviton Smart Sensor App. ODS15-GD can be used in
applications with or without a Neutral wire.
Before Installation
• Installs into standard single gang wall boxes.
• Supports multi-gang installations.
®
wallplate not included.
• Decora
• Controls lighting loads and plug load control up to 20A.
For Optimal Performance:
The ODS15-GD sensor lens establishes dozens of zones of detection. The sensor
is sensitive to the heat emitted by the human body. In order to trigger the sensor,
the source of heat must move from one zone of detection to another. The device is
most effective in sensing motion across its field-of-view, and less effective sensing
motion towards or away from its field-of-view. Keep this in mind when selecting
the installation location. Note that occupancy sensors respond to rapid changes in
temperature, so care should be taken not to mount the device near a climate control
source (i.e. radiators, air exchanges, and air conditioners). Hot or cold drafts will look
like body motion to the device and will trigger it if the unit is mounted too close. It
is recommended to mount the Occupancy Sensor at least 6 ft. away from a climate
control source. In addition, it is also recommended NOT to mount the Occupancy
Sensor directly under a large light source. Large wattage bulbs (greater than 100W
incandescent) give off a lot of heat and switching the bulb causes a temperature
change that can be detected by the device. Mount the Occupancy Sensor at least
6 ft. away from large bulbs. If it necessary to mount the device closer, lower the
wattage of the bulb directly overhead.
Horizontal
Beam Diagram
15 - 20 ft.
4.6 - 6.1 m.
10 ft.
3 m.
0
10 ft.
3 m.
15 - 20 ft.
4.6 - 6.1 m.
Input Voltage/Frequency 120-277VAC, 50/60Hz
General Purpose @ 277V 20A
LED, CFL, Electronic Ballast @ 120V 10A
LED, CFL, Electronic Ballast @ 277V 10A
Resistive, Tungsten @ 120V 6.67A
Resistive, Tungsten @ 277V 6.67A
* If product is installed in the environment above 25°C, building installation wire must
be rated 105°C
20 ft.
6.1 m.
SPECIFICATIONS
Input Current
Load Ratings
General Purpose @120V
Magnetic Ballast @ 120V 10A
Magnetic Ballast @ 277V 10A
Motor @ 120V 1/4Hp (FLA 5.8A)
Motor @ 277V 1/3Hp (FLA 3.0A)
IP Rating IP20
Network Connections BLE 4.2, BLE 5.0
Operating Temperature 0°C to 40°C (32°F to104°F)*
Storage Temperature -20°C to 85°C (-40°F to 185°F)
Purpose of Control Energy Management Equipment
Action Type 1
Pollution Degree 2
Impulse Voltage 4000V
Vertical
Beam Diagram
40 - 48 in.
1 - 1.2 m.
30 - 40 ft.
9.1 - 12.2 m.
Standby: 0.2W
120V
Max: 0.5W+Load Current
Standby: 0.3W
277V
Max: 0.6W+Load Current
20A
20 ft.
6.1 m.
Major motion coverage
1100 ft^2 (102m^2)
Minor motion coverage
400 ft^2 (37.2m^2)
30 - 40 ft.
9.1 - 12.2 m.
CAUTION
• For indoor applications only.
SAVE THESE INSTRUCTIONS.
PK-A3353-10-00-2A
ENGLISH
Installation
WARNING: TO AVOID FIRE, SHOCK, OR DEATH; TURN OFF POWER at circuit
breaker or fuse and test that power is off before wiring!
1.
Strip wires 3/4 in. and connect as per wiring diagram.
If Neutral Wire is Present:
Remove green-sleeve and connect WHITE to NEUTRAL.
Blue
Black
Load
White
Green
Ground
If No Neutral Wire is Present:
Connect both GREEN-SLEEVED wire and GROUND wire to GROUND. Ensure
wires are firmly attached and there is no exposed copper.
Blue
Black
Load
Green
Ground
Hot (Black)
Green-Sleeved/White
Neutral (White)
Hot (Black)
Green-Sleeved/White
Line
120/277 VAC,
50/60Hz
Line
120/277 VAC,
50/60Hz
2. Gently place the wires and your device into the wall box and attach with
screws provided.
3. If desired, change switch color (sold separately).
4. Restore power and test ON/OFF operation. Locator light should be ON when
switch power is turned OFF.
5. Install Decora wallplate (not included).
6. ODS15-GD is designed to work and be fully functional right out of the box.
Settings can be adjusted using the Leviton Smart Sensor App or simple push
button programming.
7. Using the Leviton Smart Sensor App or push button programming, you can
now configure the sensor to your preferred settings. (The Leviton Smart Sensor
App, is downloadable from Google Play™ or the Apple App Store
Bluetooth enabled Android or iOS device). Operating mode, sensor sensitivity,
and sensor timeout can be quickly adjusted. For more advanced settings such
as daylighting and nightlight configuration, the Leviton Smart Sensor App will
need to be used for setup and adjustments.
PIR Lens and
Nightlight
Programming:
can be performed
by pressing button
(per install instructions)
Configuration and Programming
®
, using any
Photocell and
Locator Light
ON/OFF
Button
1. The ODS15-GD Sensor is designed to work out of the box in default settings.
Changes to these settings and additional product configuration can be performed
using the Leviton Smart Sensor App, downloadable from Google Play or the
Apple App Store, using any Bluetooth enabled Android or iOS device.
a. To pair to device using the Leviton Smart Sensor App:
i. Press and hold the ON/OFF button for roughly 5 seconds; when the LED
behind the PIR lens blinks BLUE, release the button.
ii. Open the Leviton Smart Sensor App and connect to the device.
iii. The device can also be found by scanning for nearby devices. Devices can
be identified in the app to confirm you are connected to the right sensor.
b. Use the Leviton Smart Sensor App to:
i. Set operating mode to Auto ON / Auto OFF (default) or
Manual ON / Auto OFF.
ii. Adjust the sensitivity of the sensor to increase or decrease field-of-view
coverage area pending the room size (100% for larger spaces approaching
1100 sq ft.).
iii. Adjust timeouts (amount of time lights/load will turn OFF after occupancy is
no longer detected).
iv. Activate the night light and its operating mode; selection of custom night
light color.
v. Add daylighting and select target levels for daylighting.
vi. Set a security code to lock configuration.
vii. See Leviton Smart Sensor App for additional settings and other
programming options.
Page 2
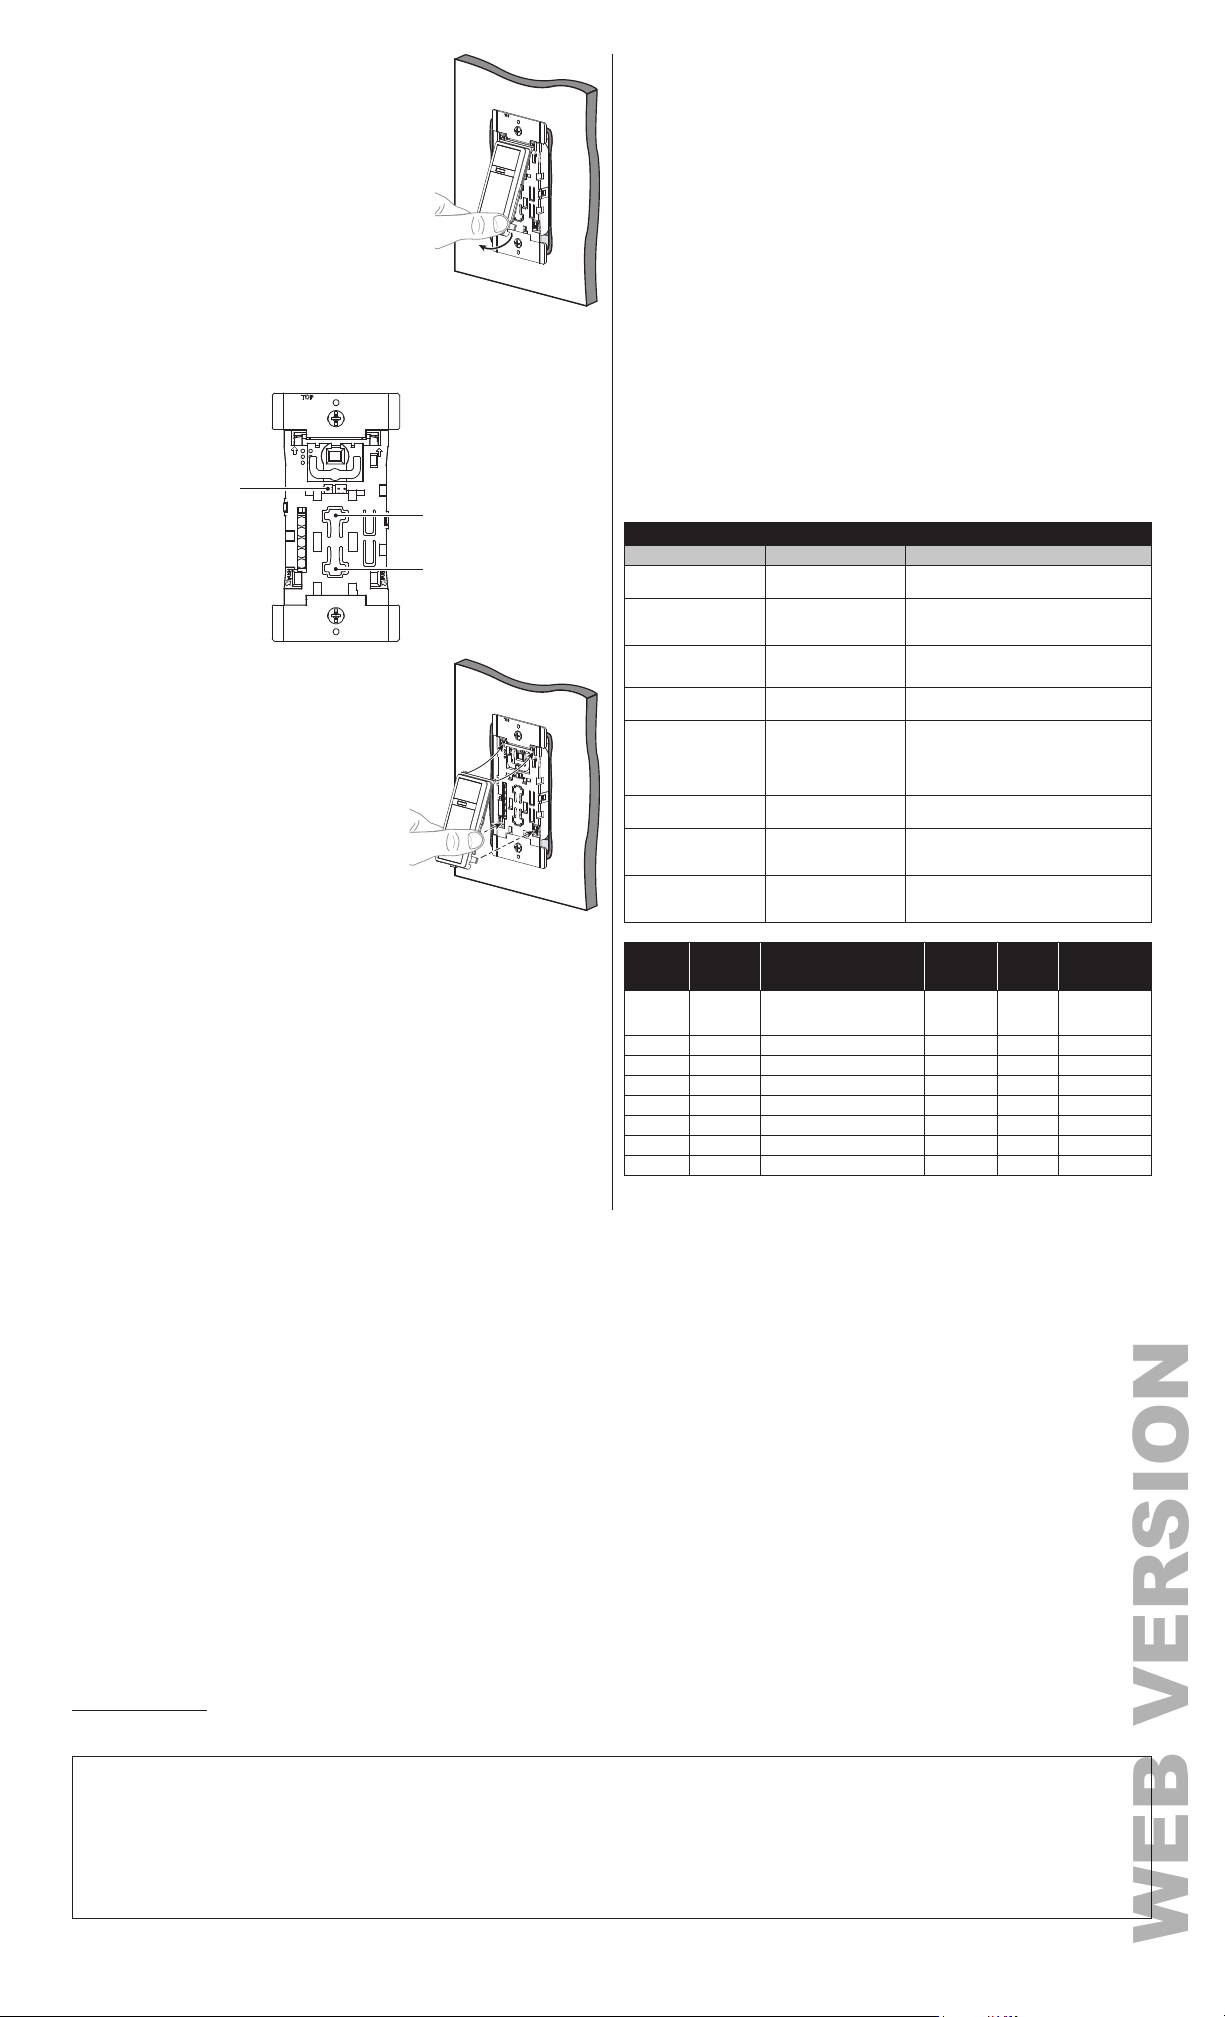
2. If the installer does not have access to a Bluetooth
WEB VERSION
enabled Android or iOS device, popular preset product
configuration can also be made using simple push
button commands:
a. If wall plate is attached, remove first. With the
wallplate removed, pinch sides of sensor near
bottom tabs to release front cover of sensor.
b. With the front faceplate of the sensor removed, push both buttons on front of
sensor simultaneously for 10-15 seconds (note: after 5 seconds, a light will
blink BLUE and then alternate between BLUE and RED) and release when the
Locator Light is blinking GREEN.
Locator Light
Top Button
Operation
PUSH-BUTTON: ODS15-GD has a push-button switch that will toggle the lights ON
or OFF. When mode is set to Auto ON / Auto OFF, the lights will automatically turn
ON when occupancy is detected and will turn OFF automatically after occupancy is
no longer detected and the timeout has expired. If mode is set to Manual ON / Auto
OFF, the lights will only turn ON when the push-button switch is pressed; the lights
will turn OFF automatically after occupancy is no longer detected and the timeout
has expired. If the lights are ON, the lights can be turned OFF when the button is
pressed. The lights will stay OFF (regardless of motion detected) until the timeout
expires. After the timeout expires, the lights will turn ON when the next motion is
detected. This is useful for slide or film presentations.
NOTES:
• The Motion Indicator light will blink RED for 1 second each time motion is detected.
• In Manual ON mode, the button must be pressed to turn the lights ON. In the
absence of motion, the unit will time out and turn the lights OFF.
Troubleshooting
• If sensor does not trigger when entering the room or space, increase the sensitivity
level of the sensor and/or check the daylighting settings (increase the
daylighting level).
• If the lights constantly stay ON even when room is unoccupied:
- Check the Time Out setting and confirm set to desired time.
- Try lowering the sensor sensitivity; if problem persists, try lowering again.
- Check for reflected heat/motion as sensor may be seeing motion through
a window.
- Check for adjacent HVAC and/or heater ducts.
INDICATOR LIGHT DESCRIPTIONS
Bottom Button
c. Push the bottom button to move to the next
automatic setting using the table below as
a guide.
d. When at the desired setting, press and hold
the bottom button again for 5 seconds (until
the GREEN Locator Light turns ON), when
the button is released, the light will flash the
number of times as the setting selected; the
sensor is now saved in that configuration.
e. The front cover can now be reattached. Insert
the top tabs and push in bottom tabs to attach.
NOTES:
• Use the number of LED blinks to determine which user mode the sensor is
set to. If pressed more than 8 times, it will cycle back to the start of the list.
• Auto ON/Auto OFF (10 min timeout and 1 button press) is the
DEFAULT MODE.
3. Daylighting and Night Light: The ODS15-GD is equipped with a Photocell for
Daylighting hold-off and also has a built in Night Light that can be turned ON and
configured using the Leviton Smart Sensor App.
4. Bluetooth Reset: Resets any security settings but preserves lighting and
mode settings.
a. Push button on switch for approximately 20-25 seconds until the light behind
PIR lens is flashing RED.
NOTE: Between 5-10 seconds the LED will alternate between BLUE and
RED; at 15 seconds the LED will blink YELLOW.
b. When the light flashes RED, release the button.
c. The device will reset and turn off when complete.
d. When device turns back on it will have no password set.
Statement Caution
Changes or modifications not expressly approved by Leviton Manufacturing Co., could void the user’s authority to operate the equipment.
FCC & IC COMPLIANCE STATEMENT:
This device complies with Part 15 of the FCC Rules and ISED License-exempt RSS standard(s).
This Class B digital apparatus complies with Canadian CAN ICES-3(B)/NMB-3(B)
Operation is subject to the following two conditions: (1) This device may not cause harmful interference, and (2) This device must accept any interference received, including
interference that may cause undesired operation. Changes or modifications not ex-pressly approved by Leviton could void the user’s authority to operate the equipment.
These limits are designed to provide reasonable protection against harmful interference in a commercial installation. This equipment generates, uses and can radiate radio frequency
energy and, if not installed and used in accordance with the instructions, may cause harmful interference to radio communications. However, there is no guarantee that interference
will not occur in a particular installation. If this equipment does cause harmful interference to radio or television reception, which can be determined by turning the equipment off and
on, the user is encouraged to try to correct the interference by one or more of the following measures:
- Reorient or relocate the receiving antenna.
- Increase the separation between the equipment and receiver.
- Connect the equipment into an outlet on a circuit different from that to which the receiver is connected.
- Consult the dealer or an experienced radio/TV technician for help.
Trademark Disclaimer
The Leviton logo and Decora are registered trademarks of Leviton Manufacturing Co., Inc. Google Play and Android are trademarks of Google, LLC. The Apple App Store is a
registered trademark of Apple, Inc. Bluetooth™ is a trademark of Bluetooth™ SIG, Inc. Use herein of other third party trademarks, service marks, trade names, brand names
and/or product names are for informational purposes only, are/may be the trademarks of their respective owners; such use is not meant to imply affiliation, sponsorship, or
endorsement. No part of this document may be reproduced, transmitted or transcribed without the express written permission of Leviton Manufacturing Co., Inc.
RF EXPOSURE AND CO-LOCATION:
To comply with FCC OET Bulletin 65 and ISED RF exposure limits for general population / uncontrolled exposure this device should be installed and operated with a minimum
distance of 7.9 inches (20 cm) between the radiator and your body. This transmitter must not be co-located or operated in conjunction with any other antenna or transmitter.
FCC SUPPLIERS DECLARATION OF CONFORMITY
Smart Wallbox Sensors manufactured by Leviton Manufacturing, Inc., 201 N Service Road, Melville, NY, http://www.Leviton.com. This device complies with part 15 of the FCC
Rules. Operation is subject to the following two conditions: (1) This device may not cause harmful interference, and (2) this device must accept any interference received,
including interference that may cause undesired operation.
FOR CANADA ONLY
For warranty information and/or product returns, residents of Canada should contact Leviton in writing at Leviton Manufacturing of Canada Ltd to the attention of the
Quality Assurance Department, 165 Hymus Blvd, Pointe-Claire (Quebec), Canada H9R 1E9 or by telephone at 1 800 405-5320.
LED Location Action / Definition
RED Behind PIR Lens
RED Behind PIR Lens
BLUE Behind PIR Lens
BLUE / RED Behind PIR Lens
1
Behind PIR Lens
and Locator
Operating Mode
Auto ON / Auto OFF 75% 10mins OFF & OFF
GREEN
GREEN ALL
GREEN / BLUE Behind PIR Lens
GREEN / BLUE Behind PIR Lens
Button
Press
*Default
Operation
Locator
Light
Blinks
1
2 2 Auto ON / Auto OFF 75% 20mins OFF & OFF
3 3 Auto ON / Auto OFF 100% 10mins OFF & OFF
4 4 Auto ON / Auto OFF 100% 20mins OFF & OFF
5 5 Manual ON / Auto OFF 75% 10mins OFF & OFF
6 6 Manual ON / Auto OFF 75% 20mins OFF & OFF
7 7 Manual ON / Auto OFF 100% 10mins OFF & OFF
8 8 Manual ON / Auto OFF 100% 20mins OFF & OFF
Blinks ON for 1 second upon
PIR detection
Blinking RED: Device in Bluetooth
reset; continues until reset is
complete then stops
Blinking BLUE LED: Device BLE in
Pairing Mode
Alternating BLUE/RED: Device in
Installation/Test Mode
GREEN light behind PIR lens /
Locator LED blinking according to
Menu Mode: Device is in Manual
Configuration mode, number of LED
blinks shows which mode device is in
Blinking GREEN LEDs indicates
device is in identify mode
Alternating GREEN/BLUE during
1 minute Daylighting Hold-Off
Calibration
GREEN/BLUE blinks for 2 seconds
every 30 seconds when Daylighting
is active
Sensor
Sensitivity
Timeout
Daylighting
Night Light
and
Leviton warrants to the original consumer purchaser and not for the benefit of anyone else that this product at the time of its sale by Leviton is free of defects in
materials and workmanship under normal and proper use for five years from the purchase date. Leviton’s only obligation is to correct such defects by repair or
replacement, at its option. For details visit www.leviton.com or call 1-800-824-3005. This warranty excludes and there is disclaimed liability for labor for removal of
this product or reinstallation. This warranty is void if this product is installed improperly or in an improper environment, overloaded, misused, opened, abused, or altered
in any manner, or is not used under normal operating conditions or not in accordance with any labels or instructions. There are no other or implied warranties of
any kind, including merchantability and fitness for a particular purpose, but if any implied warranty is required by the applicable jurisdiction, the duration of
any such implied warranty, including merchantability and fitness for a particular purpose, is limited to five years. Leviton is not liable for incidental, indirect,
special, or consequential damages, including without limitation, damage to, or loss of use of, any equipment, lost sales or profits or delay or failure to
perform this warranty obligation. The remedies provided herein are the exclusive remedies under this warranty, whether based on contract, tort or otherwise.
For Technical Assistance Call: 1-800-824-3005 (U.S. Only) or 1-800-405-5320 (Canada Only) www.leviton.com
© 2021 Leviton Mfg. Co., Inc.
LIMITED 5 YEAR WARRANTY AND EXCLUSIONS
 Loading...