

Page 1
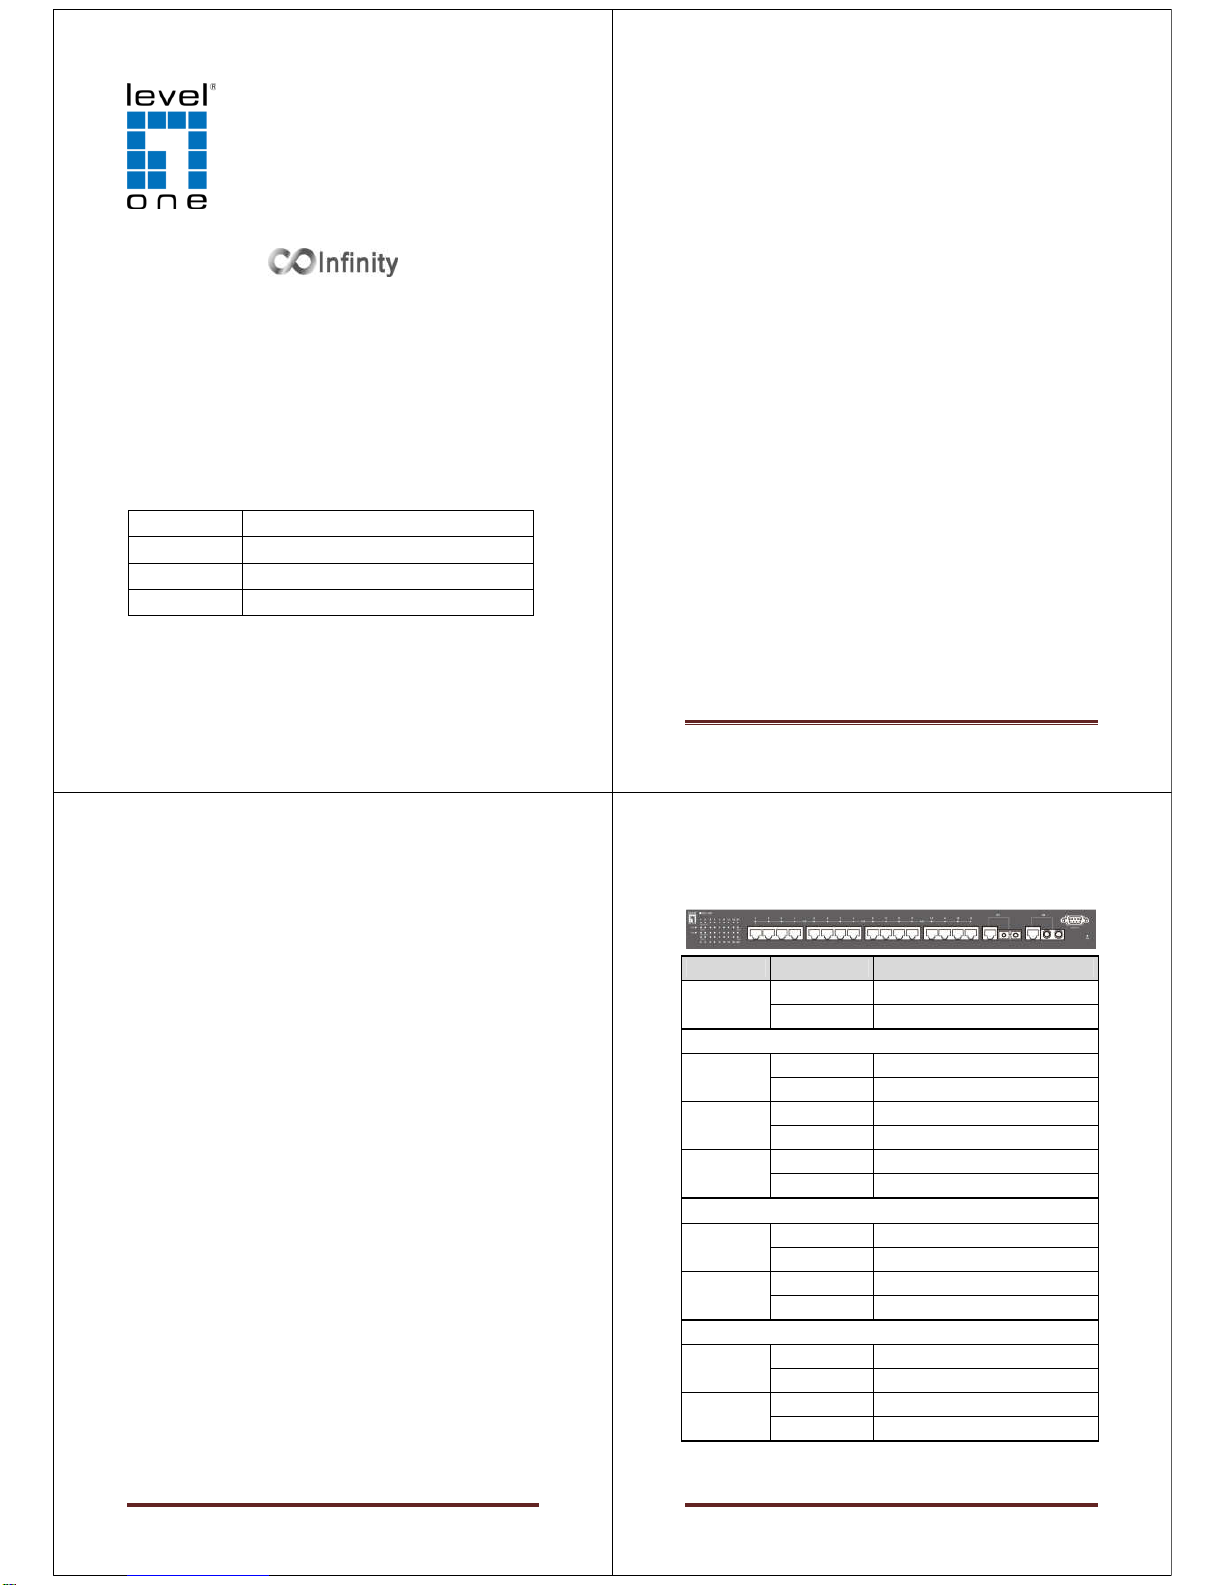
IES-1881
16 x 802.3at + 2 GE TX/1000LX Combo Managed Switch -40 to
75C
Quick Installation Guide
Default Setting
IP 192.168.1.10
Login root
Password [blank]
Console 115200, n, 8, 1
v1.00 - 0714
IES-1881 Page 1
Overview
LevelOne IES-1881 Industry Ethernet Switch provides 16 PoE
ports of 10/100Base-TX plus 2 Combo ports of 1000Base-T
Gigabit Ethernet and 1000Base-LX SM SC fiber to enable high
speed network at mission-critical environment. With the 1U
height rack-mountable size, this switch can be easily installed
in the cabinet, plus the clearly visible status LEDs provide
simple monitoring of port link activity.
High Reliability
All components are built to withstand harsh environment
applications without compromise where humidity, temperature
variation and even shock vibration are concerns, including
Electric & Utility, Critical Infrastructure, Transportation and
Surveillance Security. This device operates under -40 to 75
Celsius (-40 to 167 Fahrenheit) temperature.
Power over Ethernet
This switch is Power Sourcing Equipment (PSE), and it is fully
complied with IEEE 802.3at PoE standard at maximum 30W
power budget per port. It helps to save infrastructure wiring
costs dramatically by eliminating electric wiring and less UPS
needed.
Management
Supports a variety of management features including: CLI via
Console or Telnet; Graphic User Interface via Web Browser or
Simple Network Management Protocol via SNMP tools. It
provides better visibility and management of those critical
assets.
IES-1881 Page 2
Features
• Meets NEMA TS1/TS2 Environmental requirements such as temperature,
shock, and vibration for traffic control equipment.
• Meets EN61000-6-2 & EN61000-6-4 EMC Generic Standard Immunity for
industrial environment.
• RS-232 console, Telnet, SNMP v1 & v2c & v3, RMON, Web Browser, and
TFTP management.
• Supports Command Line Interface in RS-232 console.
• Supports 8192 MAC addresses. Provides 2M bits memory buffer.
• Supports IEEE802.3at Power over Ethernet (PoE) Power Sourcing
Equipment (PSE).
• Supports IEEE802.3/802.3u/802.3ab/802.3z/802.3x. Auto-negotiation:
1000Mbps-full-duplex; 10/100Mbps-full/half-duplex; Auto MDI/MDIX.
• 100Base-FX: Multi mode SC or ST type, Single mode SC or ST type;
100Base-BX: WDM Single mode SC type.
• 1000Base-SX/LX: Multi mode or Single mode SC type; 1000Base-BX:
WDM Single mode SC type.
• Provides up to two combo Gigabit ports.
• Store-and-forward mechanism. Full wire-speed forwarding rate.
• Alarms for port and power failure by relay output.
• Power Supply: Redundant 52~57VDC Terminal Block power inputs.
• Field Wiring Terminal: Use Copper Conductors Only, 60/75℃, 12-24 AWG
torque value 7 lb-in.
• Operating voltage and Max. current consumption: 0.25A @ 48VDC. Power
consumption: 480W Max. (Full load with PoE), 12W Max. (Without PoE).
• -40℃ to 75℃ (-40℉ to 167℉) operating temperature range. Tested for
functional operation @ -40℃ to 85℃ (-40℉ to 185℉). UL508 Industrial
Control Equipment certified Maximum Surrounding Air Temperature @ 75
℃ (167℉).
• For use in Pollution Degree 2 Environment.
• Hardened metal case.
• Supports Rack Mounting installation
Package Contents
IES-1881
Quick Installation Guide
IES-1881 Page 3
LED Status
LED Status Description
PW 1,2
Steady Power On
Off Power Off
10/100Base
-TX, 100Base
-FX
LNK/ACT
Steady Network connection is established
Flashing Transmitting or Receiving data
10/100
Steady Connection speed at 100Mbps
Off Connection speed at 10Mbps
PoE
Steady Power Device (PD) is connected
Off Power Device (PD) is disconnected
100Base-FX
LNK/ACT
Steady Network connection is established
Flashing Transmitting or Receiving data
10/100
Steady Connection speed at 100Mbps
Off No connection
10/100/1000Base
-
TX, 1000Base
-
SX/LX/BX
LNK/ACT
Steady Network connection is established
Flashing Transmitting or Receiving data
1000
Steady Connection speed at 100Mbps
Off No connection at 1000Mbps speed
Page 2
IES-1881 Page 4
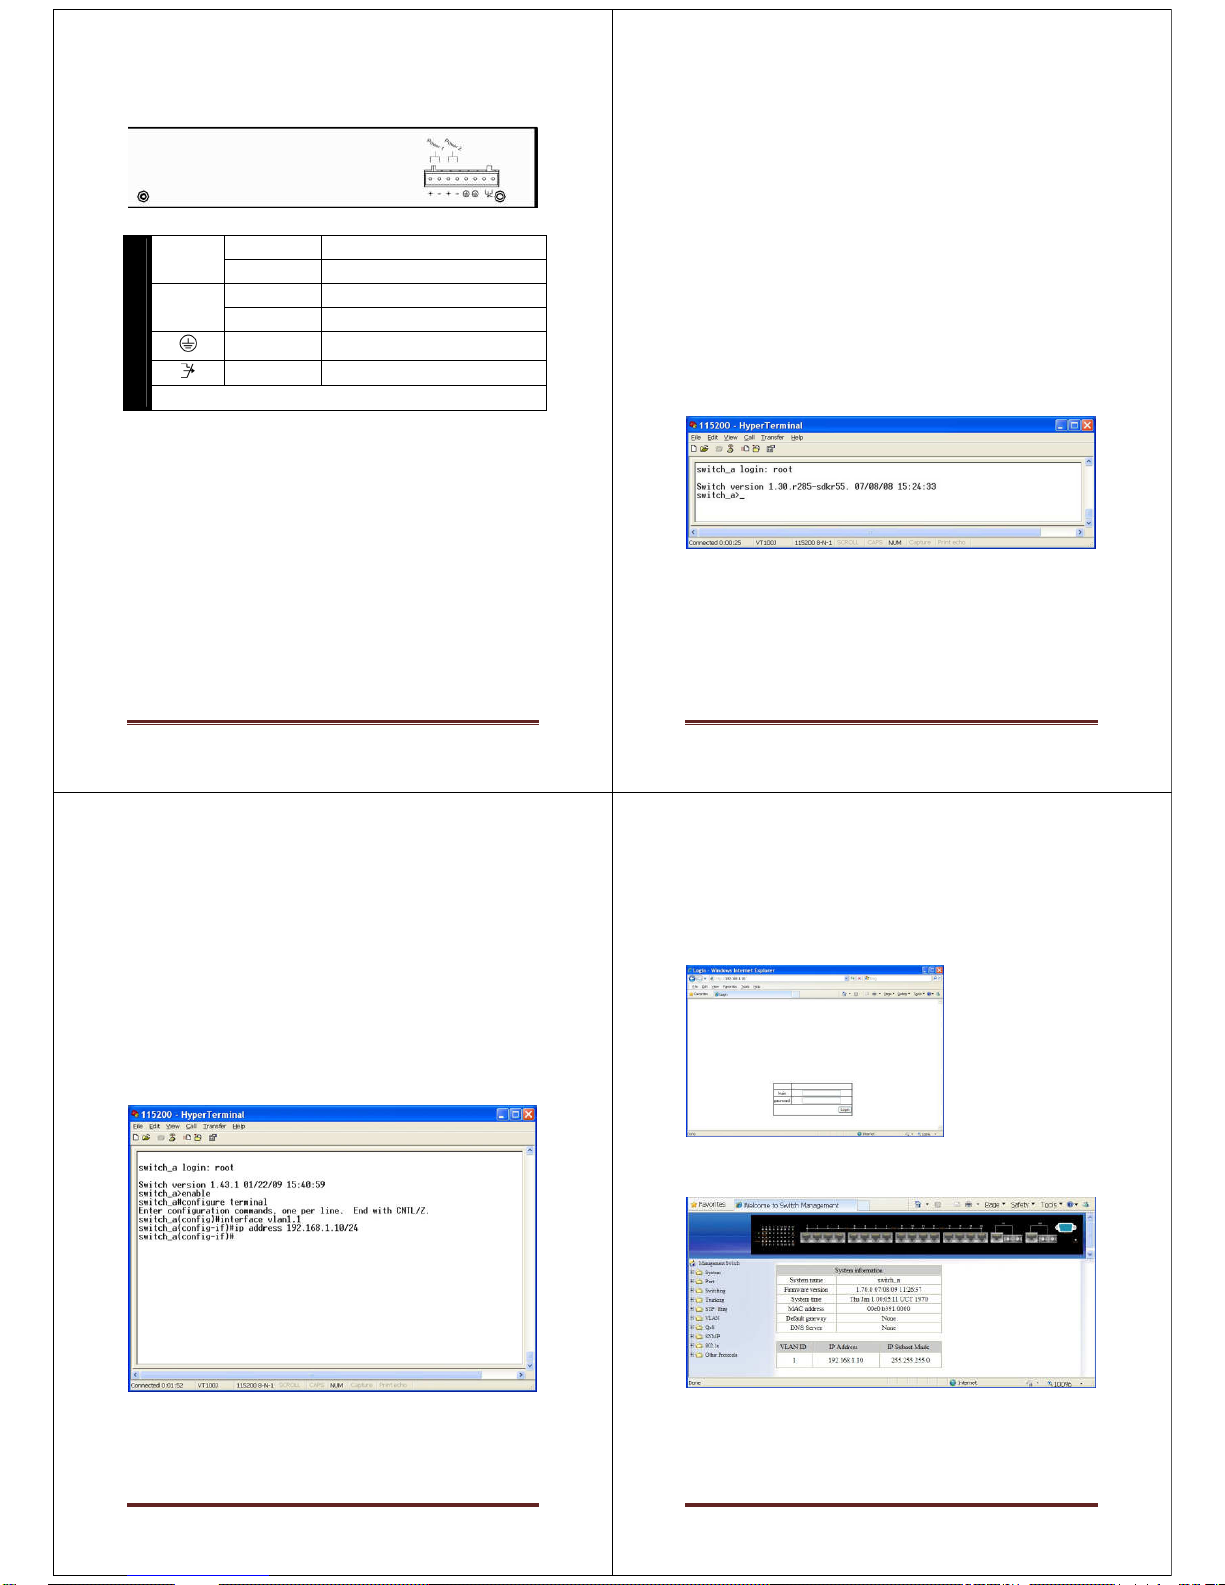
Power Input
Terminal Block
Power1
+
52 to 57VDC
–
Power Ground
Power2
+
52 to 57VDC
–
Power Ground
Earth Ground
Relay Output 1A @ 250VAC
1. The relay contact closes if Power1 or Power2 are both failed
IES-1881 Page 5
Console Configuration
1. Connect to the switch console:
2. Connect the DB9 straight cable to the RS-232 serial port of
the device and the RS-232 serial port of the terminal or
computer running the terminal emulation application. Direct
access to the administration console is achieved by directly
connecting a terminal or a PC equipped with a terminalemulation program (such as HyperTerminal) to the switch
console port.
3. Configuration settings of the terminal-emulation program:
4. Baud rate: 115,200bps, Data bits: 8, Parity: none, Stop bit: 1,
Flow control: none.
5. Press the “Enter” key. The Command Line Interface (CLI)
screen should appear as below:
6. Logon to Exec Mode (View Mode):
7. At the “switch_a login:” prompt just type in “root” and press
<Enter> to logon to Exec Mode (or View Mode). And the
“switch_a>” prompt will show on the screen.
8. Logon to Privileged Exec Mode (Enable Mode):
9. At the “switch_a>” prompt just type in “enable” and press
<Enter> to logon to Privileged Exec Mode (or Enable Mode).
And the “switch_a#” prompt will show on the screen.
10. Logon to Configure Mode (Configure Terminal Mode):
11. At the “switch_a#” prompt just type in “configure terminal”
and press <Enter> to logon to Configure Mode (or Configure
IES-1881 Page 6
Terminal Mode). And the “switch_a(config)#” prompt will
show on the screen.
12. Set new IP address and subnet mask for Switch:
13. At the “switch_a(config)#” prompt just type in “interface
vlan1.1” and press <Enter> to logon to vlan 1 (vlan1.1 means
vlan 1). And the “switch_a(config-if)#” prompt will show on
the screen.
14. Command Syntax: “ip address A.B.C.D/M”. “A.B.C.D”
specifies IP address. “M” specifies IP subnet mask. “M”= 8:
255.0.0.0, 16:255.255.0.0, or 24: 255.255.255.0.
15. For example, At the “switch_a(config-if)#” prompt just type
in “ip address 192.168.1.10/24” and press <Enter> to set
new IP address (192.168.1.10) and new IP subnet mask
(255.255.255.0) for Switch
IES-1881 Page 7
Web Configuration
1. Login the switch:
2. Specify the default IP address (192.168.1.10) of the switch in
the web browser. A login window will be shown as below:
3. Enter the factory default login ID: root.
4. Enter the factory default password (no password).
5. Then click on the “Login” button to log on to the switch.
Note: Please refer to User Manual for more detailed information
 Loading...