

Page 1
1
TX QUICK-START GUIDE
We want you to get the most from your time with TX, so this brief guide is designed
to help you familiarise yourself with some of the basic controls and functions, as well
provide answers to some of the most frequently asked questions about operating the
Electric Taxi.
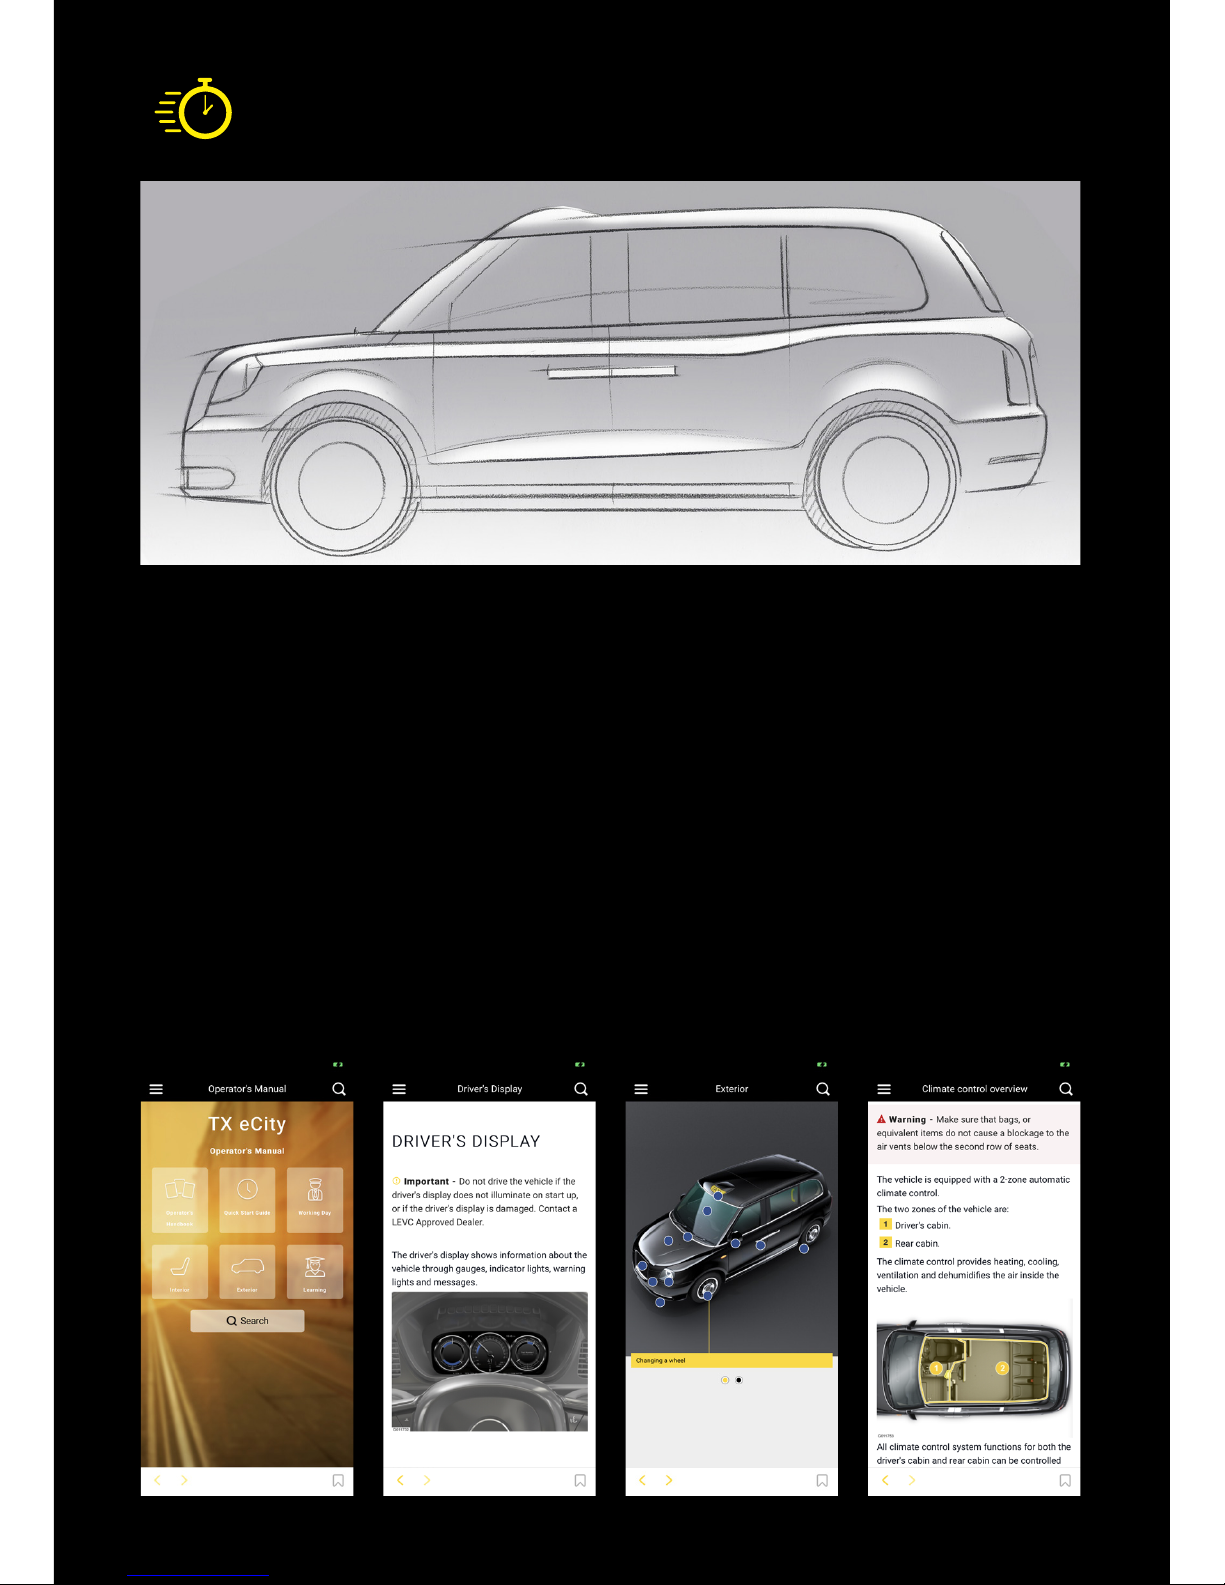
The instructions and images in this guide are taken from the LEVC Operator’s Manual
app, which contains full instructions on all the topics covered. To download the app
to your smart device, please visit Google Play or the App Store and search ‘LEVC’.
OFFICIAL LEVC OPERATORS
INFORMATION APP
Page 2
2
LOCKING AND UNLOCKING
GETTING COMFORTABLE
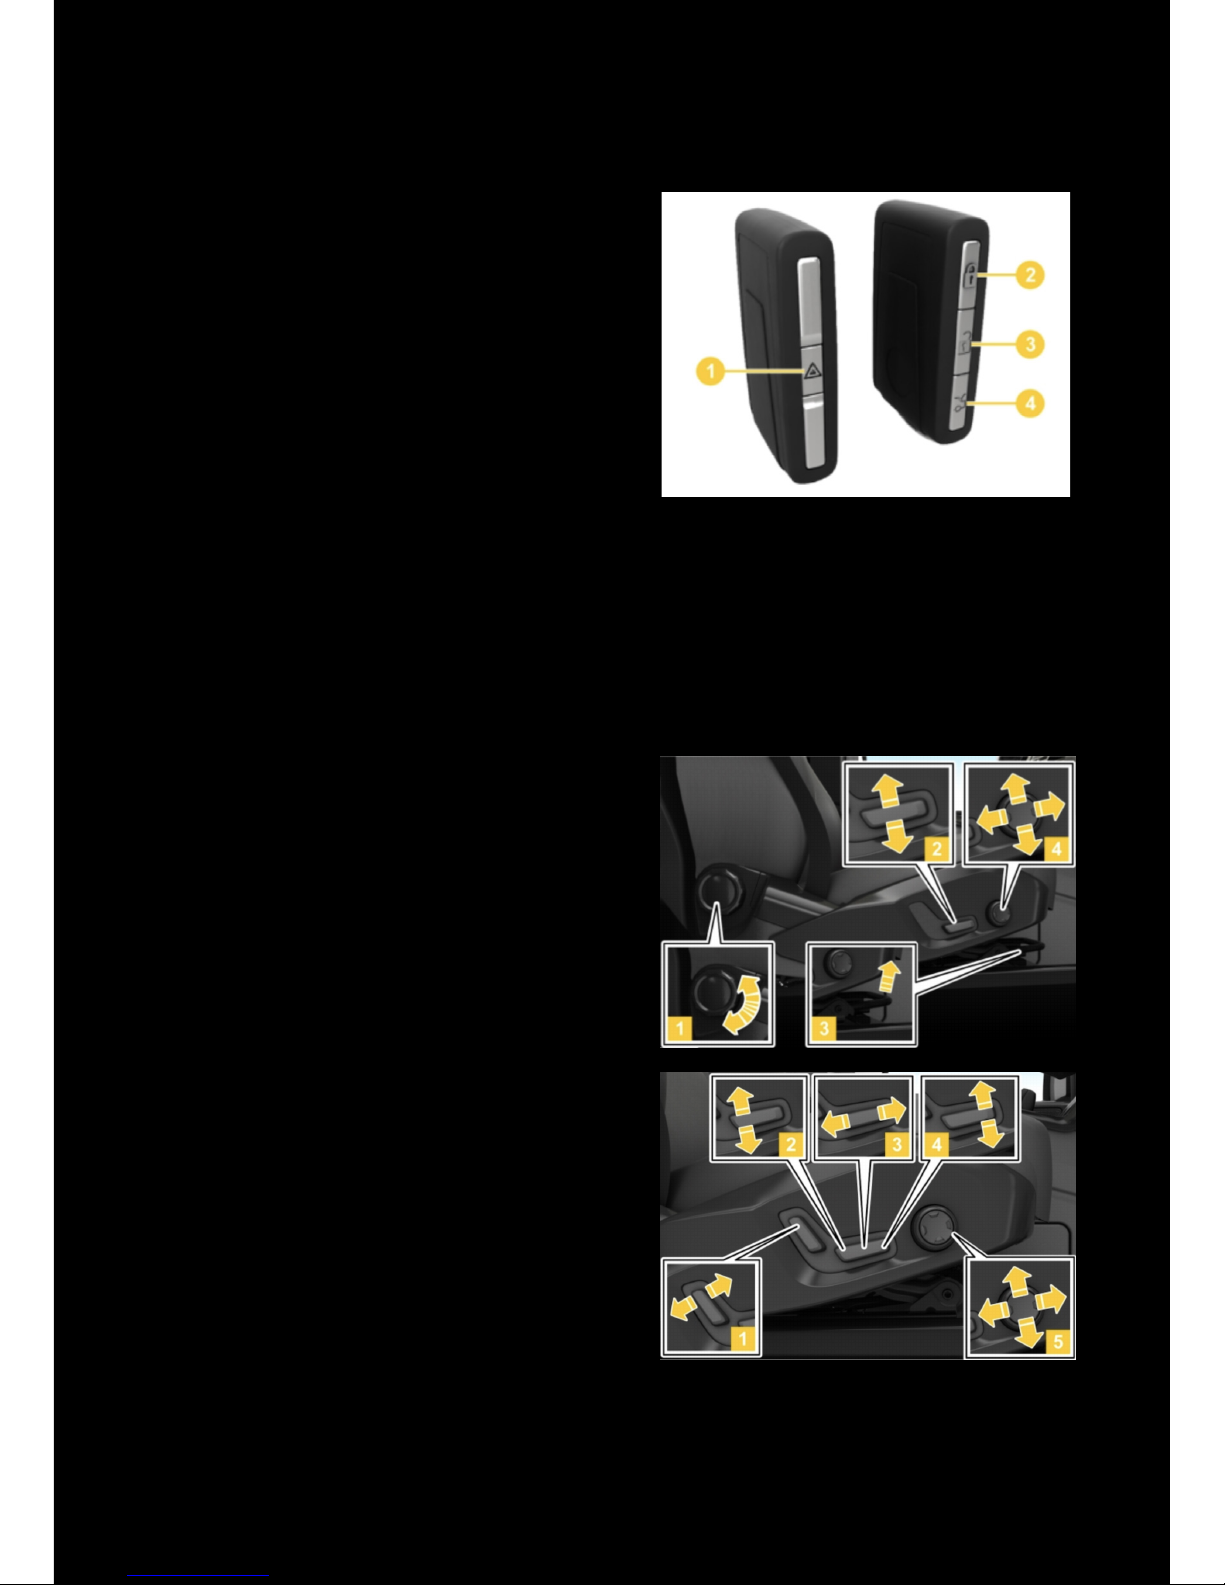
REMOTE KEY FOB
1 – Panic function (activates alarm)
2 – Lock
3 – Unlock
4 – Boot release (press and hold)
! A back up manual key blade is stored
inside the key fob in the event of a remote
key failure.
! The vehicle will not lock if the doors are
open, the vehicle is active or the handbrake
is not applied.
DRIVER’S SEAT
MANUAL SEAT
1 – Back rest angle
2 – Up / down
3 – Forwards / backwards slide
4 – Lumbar support
LUXURY SEAT
Press and hold to adjust the seat position:
1 – Back rest angle
2 – Up / down
3 – Forwards / backwards
4 – Cushion angle
5 – Lumbar support
If the seat has entered sleep mode, press
any control button one way and then the
other to activate the seat.
To learn more about taxi-locking,
download the guide at
levc.com/technology/faq_design_development/
Page 3
3
DRIVING
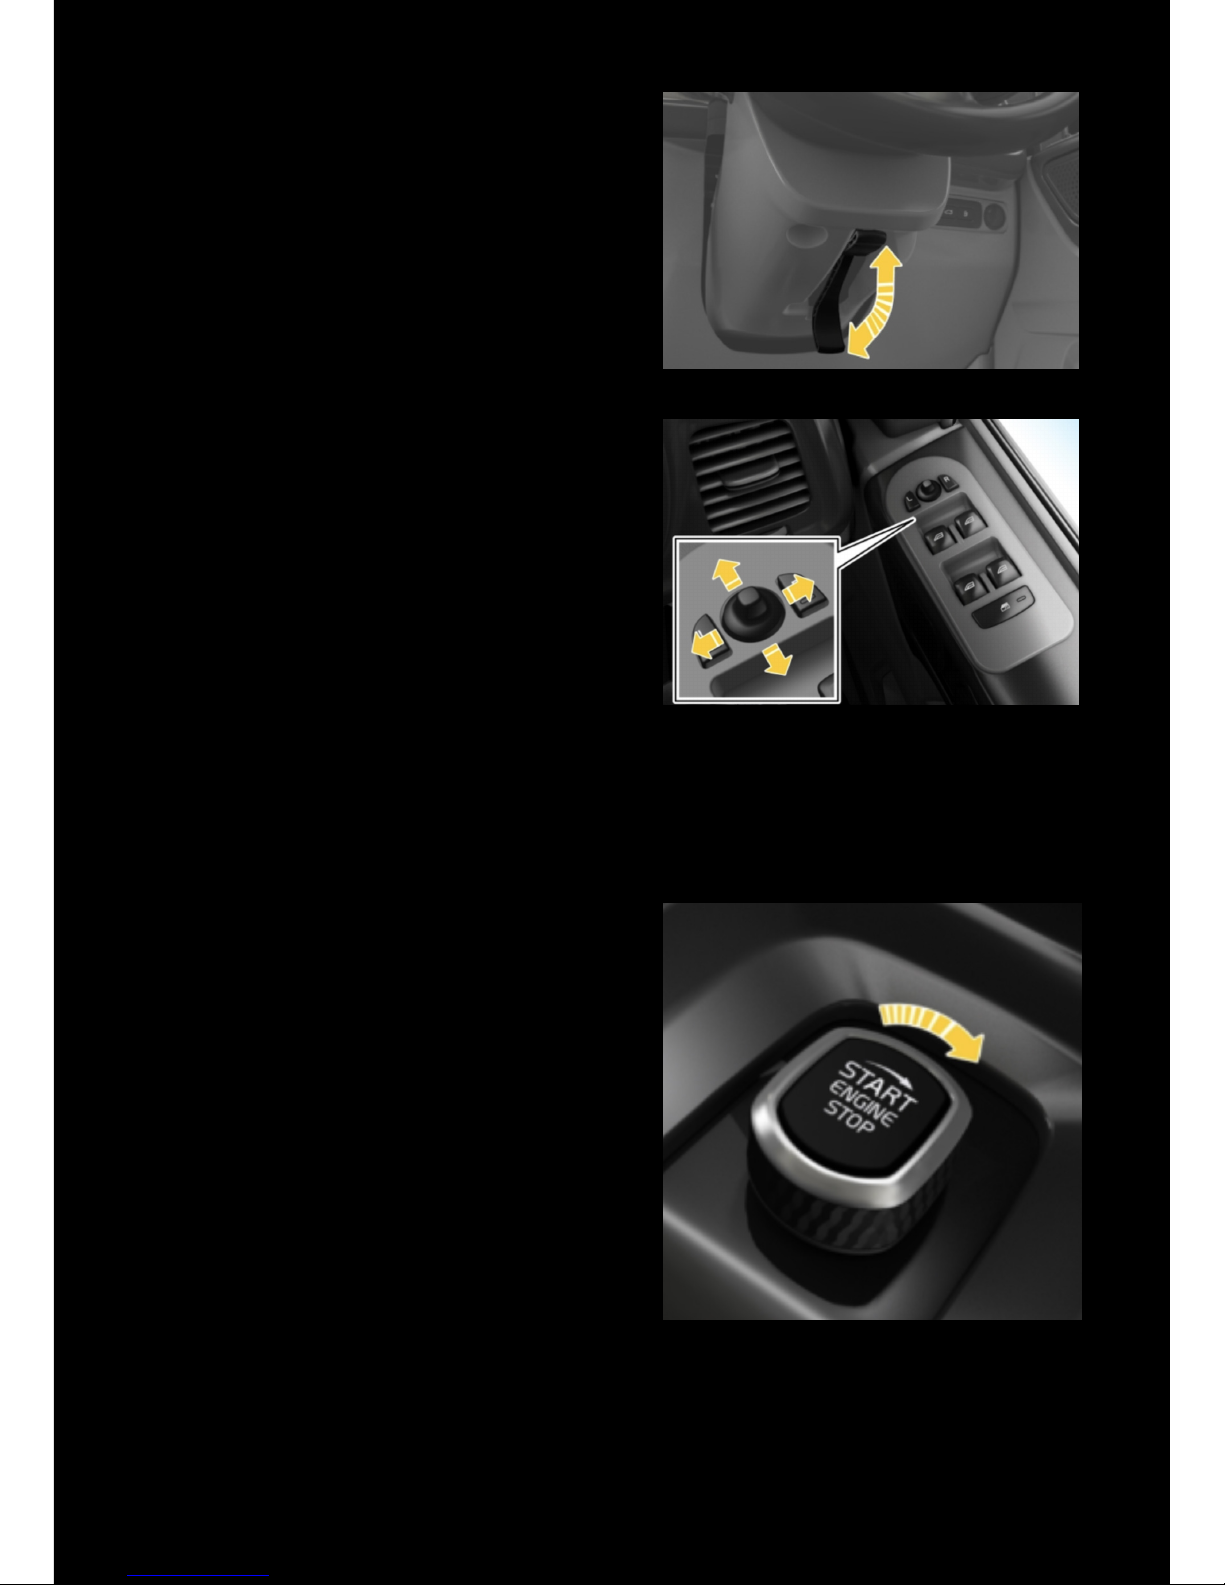
STEERING WHEEL
• Release the steering wheel by pushing
the lever downwards.
• Adjust the height and reach by moving
the wheel
• Lock the wheel in place by pulling the
lever rmly upwards
DOOR MIRRORS
• Select the desired door mirror by
pressing ‘L’ or ‘R’ (the button will
illuminate)
• Adjust the mirror by moving the joystick
• After adjustment press ‘L’ or ‘R’ again to
save the setting.
! The mirror rotates on an axis – the
maximum inwards / outwards adjustment
can be achieved a less extreme up/down
angles (and vice-versa)
STARTING AND STOPPING
To start the taxi:
• Ensure the key is inside the driver’s
compartment
• Ensure the gear selector is in Neutral
(‘N’)
• Press the brake pedal
• Turn the rotary switch clockwise and
release it
To stop the taxi:
• Turn the rotary switch clockwise and
release it
! When the speedometer and gear selector
information is displayed, the vehicle is active.
! To turn the vehicle o in an emergency,
turn the rotary switch clockwise and hold it
for two seconds.
Page 4
4
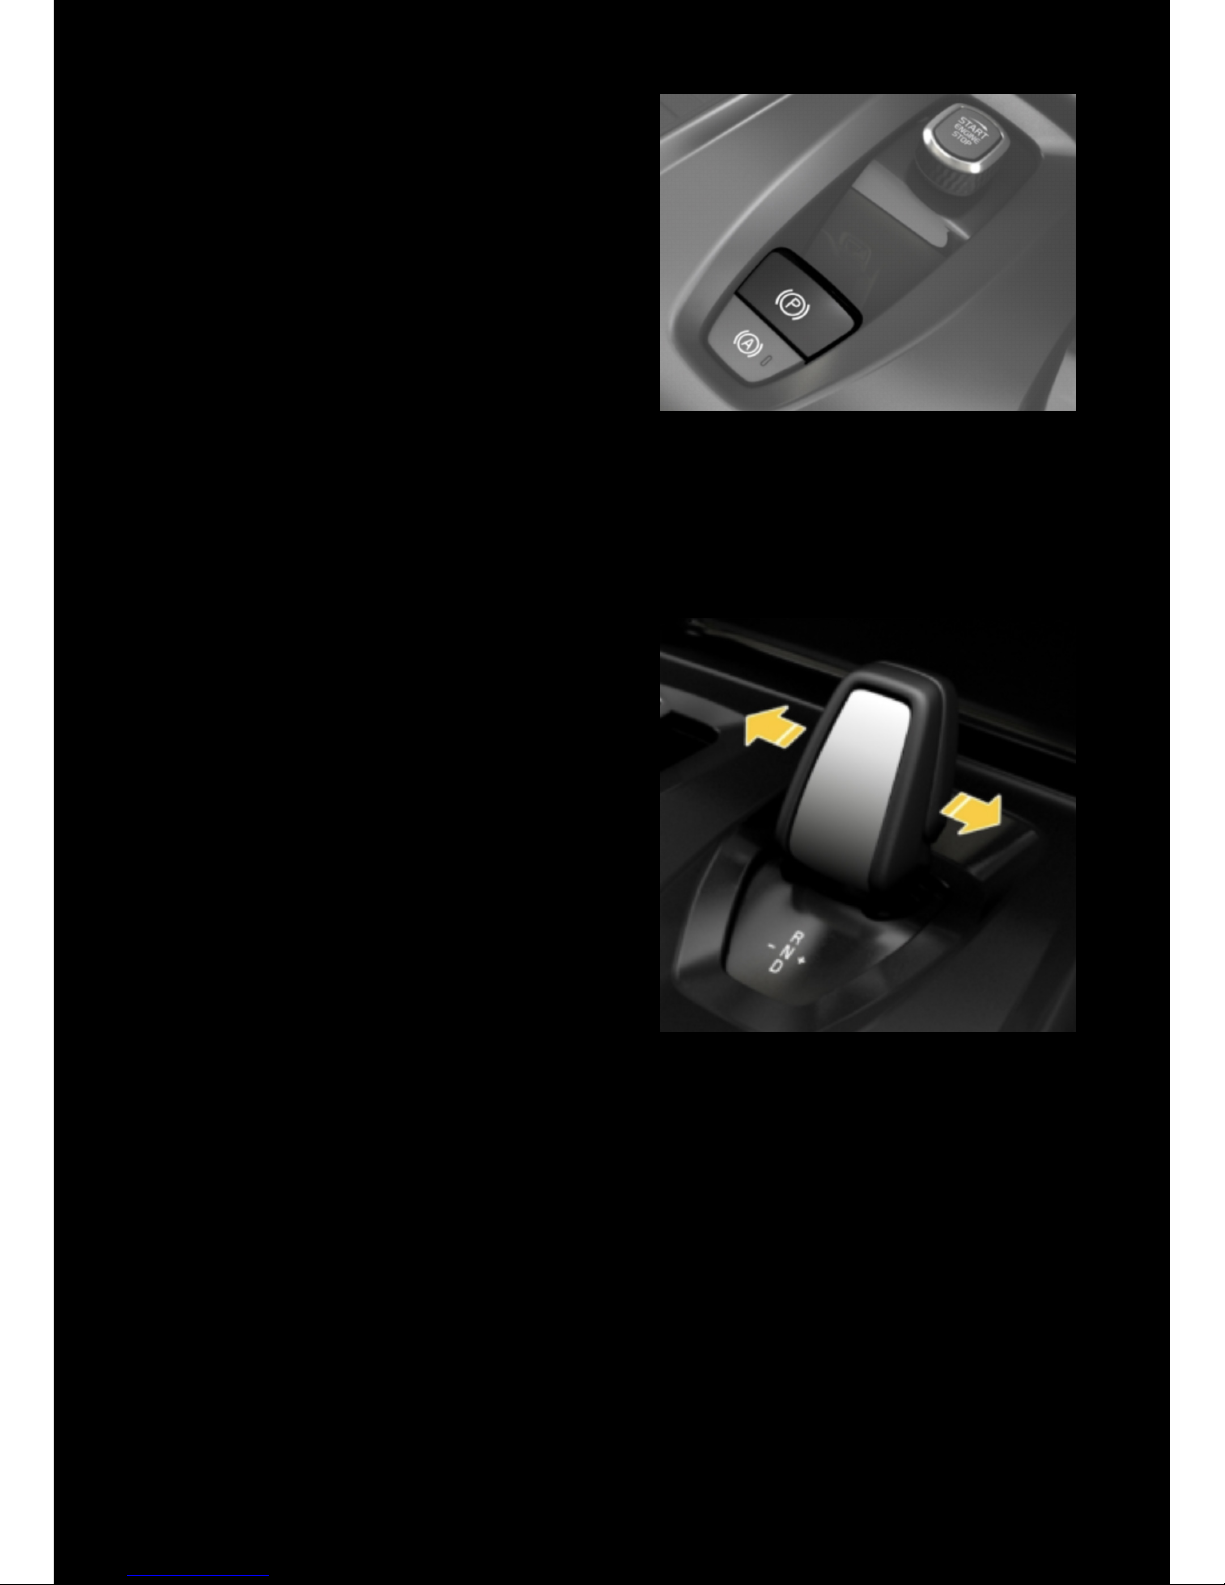
PARKING BRAKE
• To engage the parking brake, pull up on
the lever
• To release it, press the lever down
A warning indicator is shown on the driver
display when the parking brake is engaged.
• To activate the automatic parking brake
function press (A) (a green light is
illuminated on the switch*).
*The parking brake will release as the
vehicle pulls away and re-engage
automatically when the ignition is
switched o.
REGENERATIVE BRAKING
This function allows the taxi to harness
some of the energy lost while slowing down
and use it to replenish the drive battery.
With Drive (‘D’) selected, move the lever
left/right to select the desired level of
regeneration – 0 (o), 1 (low) or 2 (high),
! The level of regeneration selected is shown
at the bottom of the right-hand dial in the
driver display.
! The vehicle will default to Smart mode
automatically on each re-start.
! When the drive battery is fully charged,
regenerative braking is automatically
disabled.
Page 5
5
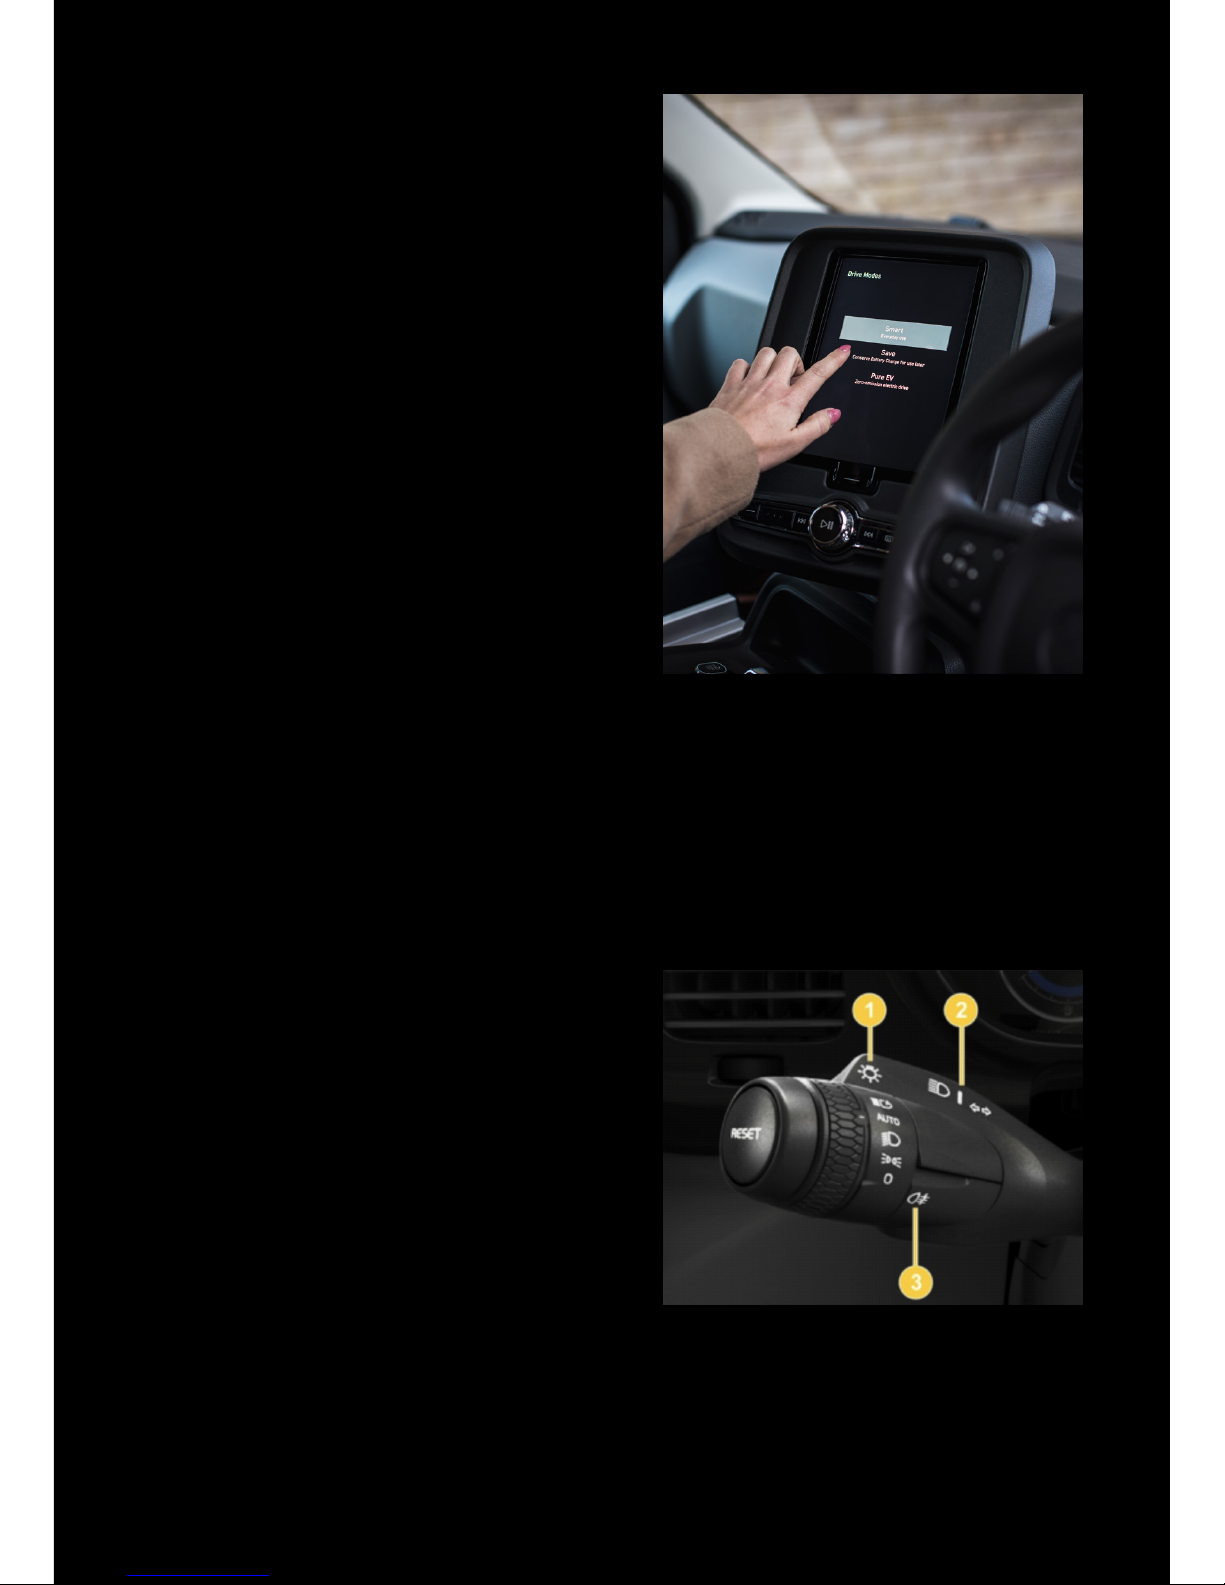
DRIVE MODES
To change the drive mode, swipe the
touchscreen screen from right to left and
select the relevant icon (at any time):
Smart – uses the battery rst, before starting
the range-extender as the level of charge
becomes low.
Pure EV – will not engage the range
extender. The battery will be depleted until
the vehicle stops.
Save –will engage the range extender as
required to maintain the drive battery’s
current level of charge
! In Pure EV mode the battery will be
completely drained, so the remaining range
displayed will be a few miles more than in
shown in Smart mode.
! The vehicle will default to Smart mode
automatically on each re-start.
LIGHTS
TX is equipped with automatic headlights
with Main Beam Assist (which switches
between dipped and main beam
automatically)
• Turn the end of the left-hand stalk to
position three to select ‘AUTO’
• Turn to position four and release to turn
Main Beam Assist on/o
• Manual full beam is activated by
pushing the stalk towards the
dashboard
OTHER CONTROLS
Page 6

6
WINDSCREEN WIPERS
TX is equipped with automatic windscreen
wipers.
• Press the wiper button on the front
of the stalk to activate the automatic
function
• The sensitivity can be adjusted by
rotating the stalk
• Manual control can be selected by
pushing the stalk upwards
• The rear wiper is activated using the
button on the end of the stalk
TOUCHSCREEN
The touchscreen is used to control the infotainment, vehicle settings and heating
and ventilation controls.
• Press the button at the base of the screen to return to the home screen
• Swipe left to right to access the infotainment and driver performance shortcuts
(applications)
• Swipe right to left to access the vehicle function shortcuts
• Swipe from downwards from the top edge to access the settings menu and
Operator’s Manual
HEATING AND VENTILATION (HVAC)
DRIVER
To open the HVAC controls, select the fan icon at the bottom of the touchscreen:
• Adjust the temperature by selecting the current value
• Adjust the fan speed, or choose ‘AUTO’
• Turn o the ventilation system by turning the fan speed to ‘OFF’
PASSENGER
To access the passenger compartment HVAC controls, swipe the HVAC screen from
right to left. Here you can view or override the current setting
! The driver HVAC system must be active in order for the passenger compartment
HVAC to operate.
Page 7
7
SAFETY SYSTEMS
CHARGING
TX features cutting-edge active safety features as
standard:
• Autonomous Emergency Braking (AEB)
• Stability Control (ESC)
! These safety systems are designed to provide peace
of mind by complementing the driver only when
required in an emergency situation. They cannot be
deactivated.
• Forward Collision Warning (FCW)
• Lane Departure Warning (LDW)
• Road Sign Information (RSI)
! These driver assistance features are designed for
additional peace of mind. They can be adjusted /
deactivated from the vehicle function shortcuts or in
the vehicle settings menu.
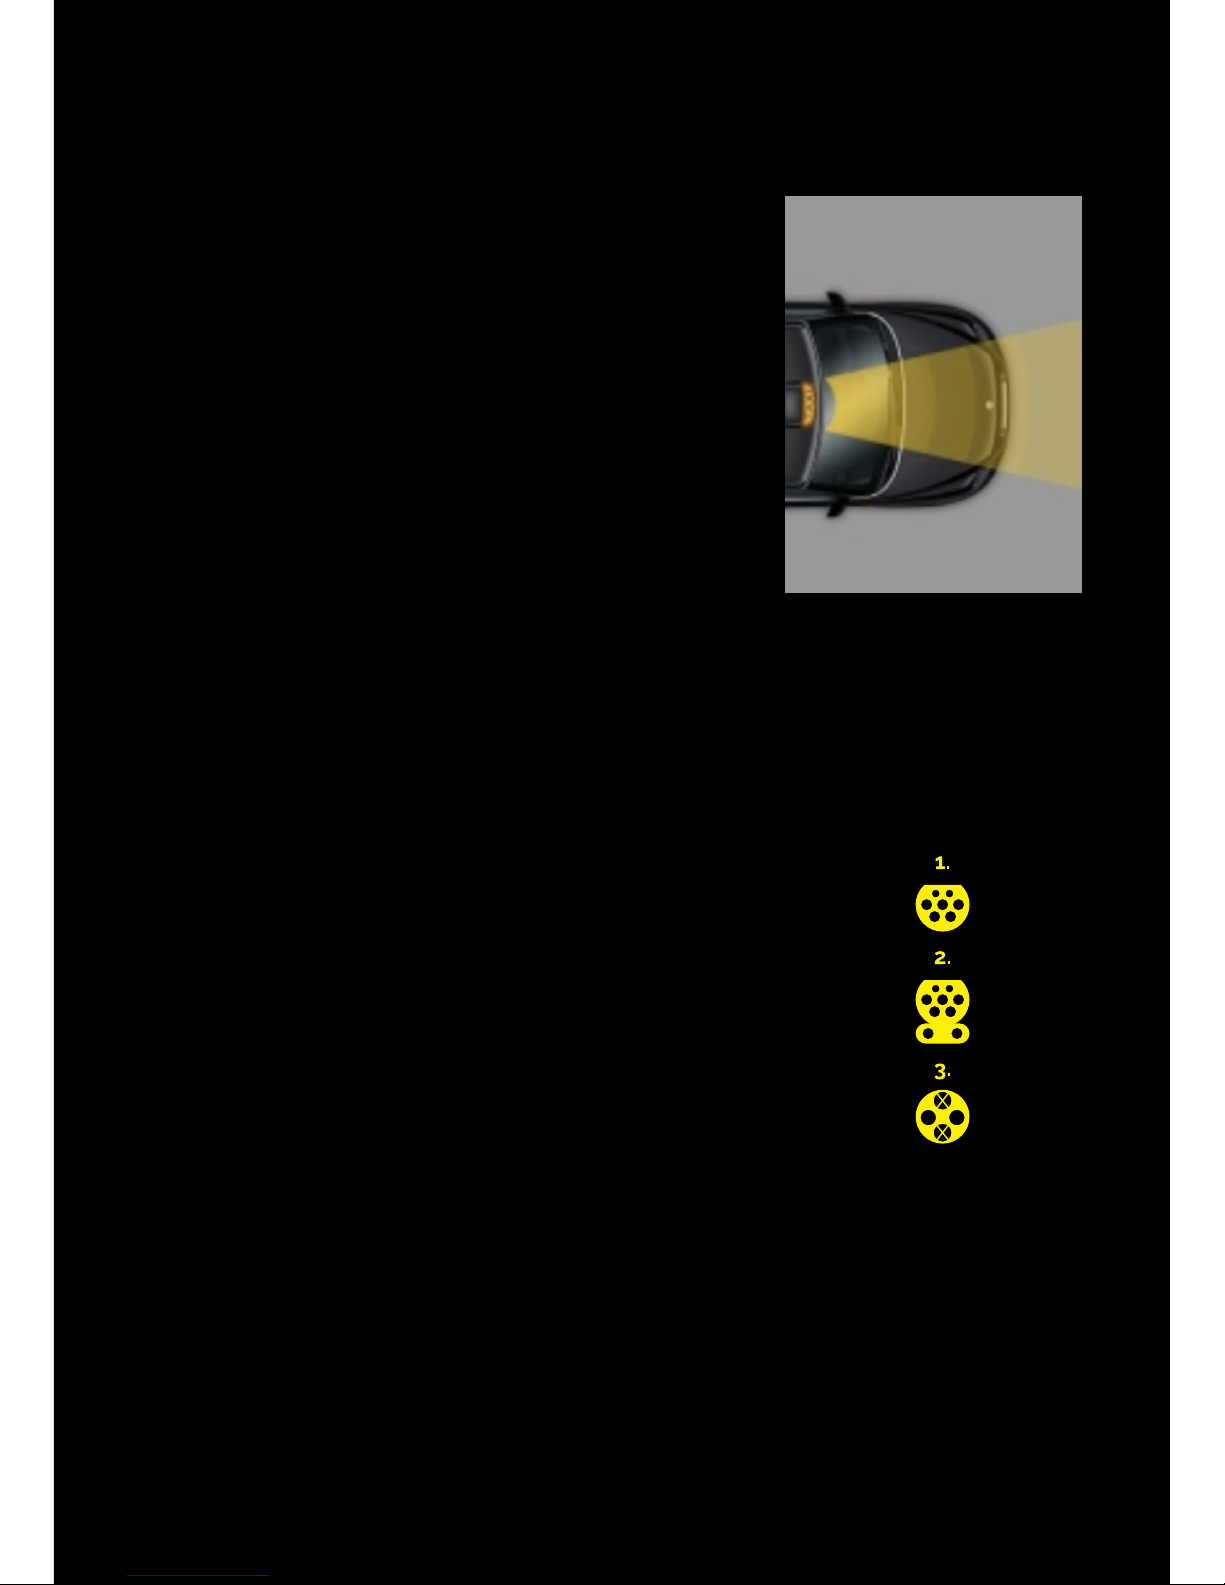
TX can be recharged via several dierent socket types:
1. Type 2 AC charging >22kW (standard)
2. CCS DC rapid charging >50kW (standard)
3. CHAdeMO DC rapid charging >50kW (optional)
Connect the vehicle and begin the charge session on
the charging post (varies by device - follow the instructions
provided on the post).
! A Type 2 charging cable is provided in the boot of the vehicle. The rapid charging
cable is xed to the charging post itself.
! While charging, the cable is locked to the charging sockets
! The charging status is indicated by lights on the charge port
(type 2/CCS) or on the plug (CHAdeMO).
! The ignition must be switched o to initiate charging
! Unlocking the vehicle during charging will end the charging session (Type 2 / CCS)
Page 8
8
REFUELLING
ACCESSIBILITY FEATURES
ROADSIDE ASSISTANCE
The fuel ller ap is on the passenger (near) side
rear.
• Push the release button to the right of the
steering wheel.
• Press the rear edge of the ller ap to open it
• Fill with unleaded fuel only with a minimum
95 RON octane
• The fuel tank holds 36 litres of fuel
• Push the rear edge of the ller ap to latch it
closed
! the ller ap is locked when the vehicle is locked
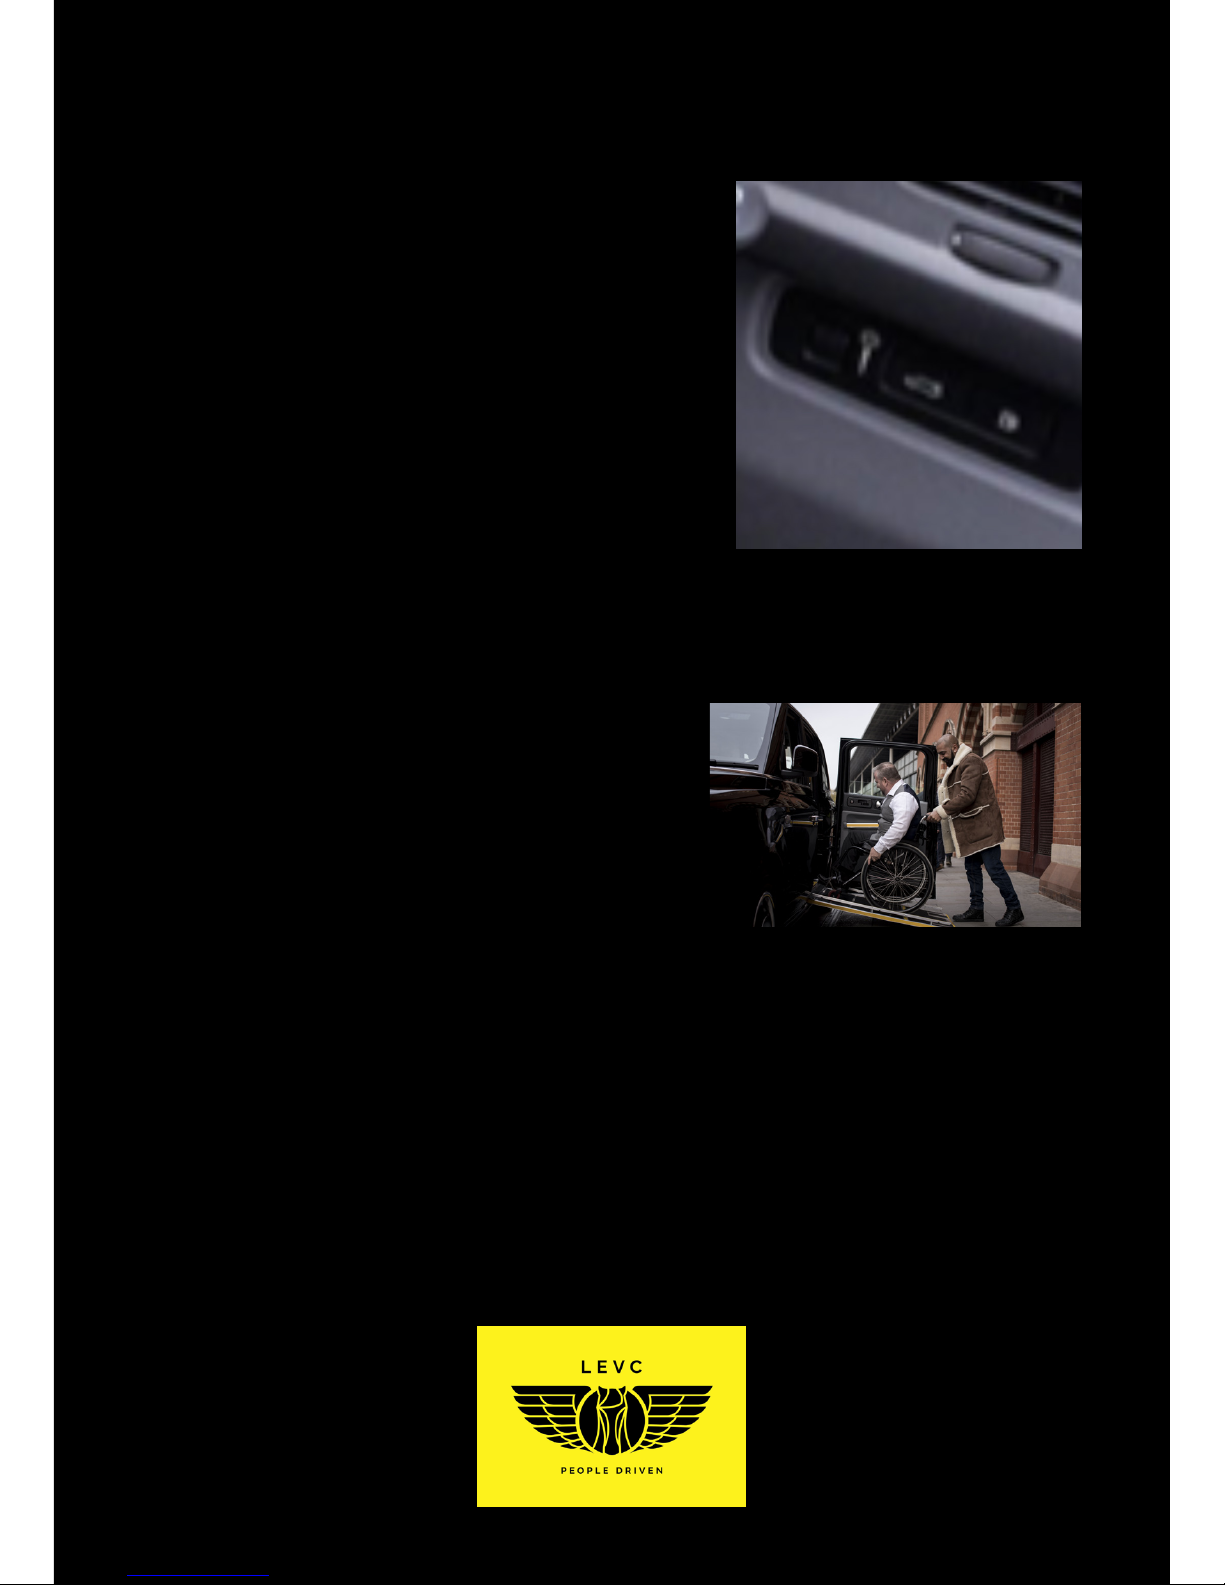
TX is equipped with features that ensure
accessibility for all.
To learn how to use these features, please
refer to the ‘Working Day’ section within
the LEVC app or view the video guide
here: https://www.levc.com/corporate/
accessibility/
We hope you enjoy your time with TX. If you have any questions or concerns, please
do not hesitate to contact your Customer Relationship Executive.
If, for any reason, you should require urgent roadside assistance, please contact the
RAC on 0333 202 1861, quoting the policy reference “LEVC Electric Taxi”.
 Loading...