

Workbench lighting systems
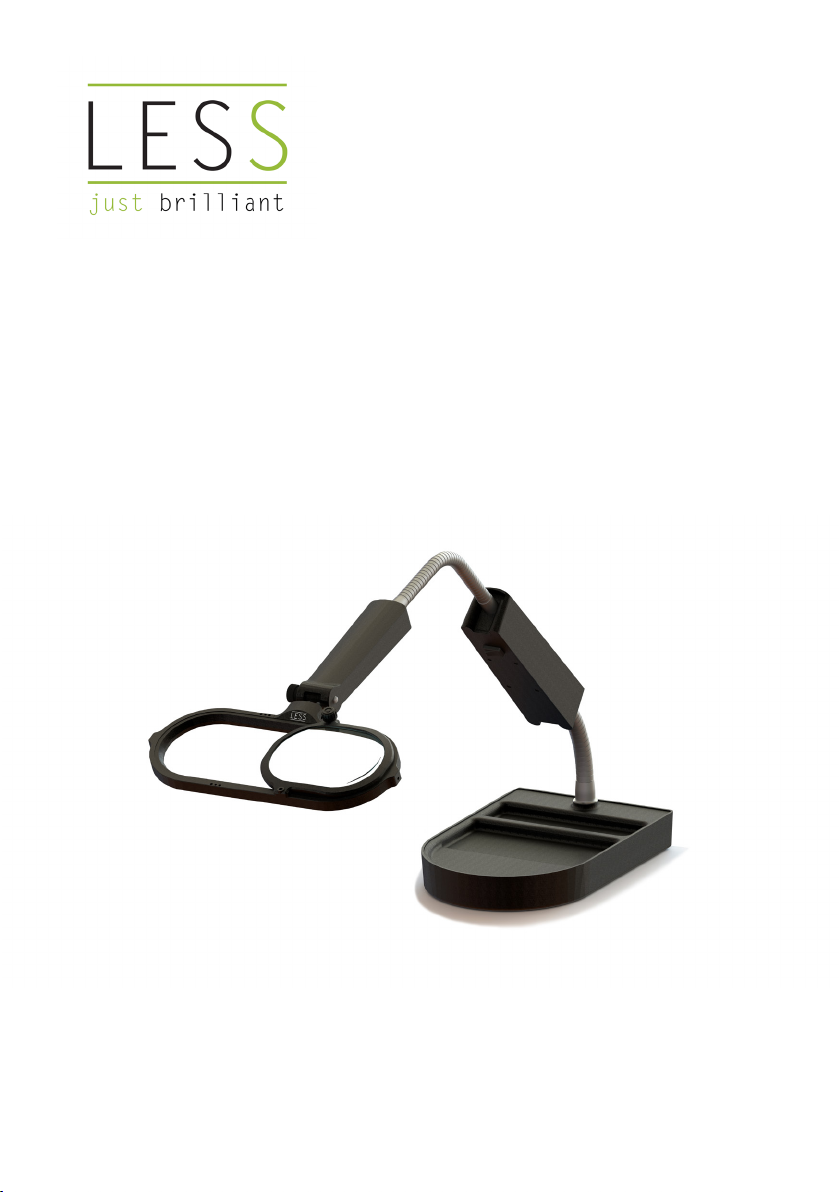
Spiral - Highly precise inspection lamp
IL-5400
USER MANUAL

CONTENTS
A. GENERAL INSTRUCTIONS 1
A1. Safety instructions 1
A2. Usage instructions 2
A3. System overview 3
B. OPERATING 4
B1. Setup 4
B2. Inspection angles 5
B3. Accessories 6
B4. Assembly of accessories 7
C. TECHNICAL DATA 9
C1. Features 9
D. MAINTENANCE 10
D1. Cleaning 10
D2. Troubleshooting 10
D3. Guarantee & customer service 10
Do
Don’t

A. GENERAL INSTRUCTIONS
A1. Safety instructions
- Please read and follow these safety instructions carefully.
- The manufacturer is not liable for personal or material damages if the
safety instructions are not followed.
- If these safety instructions are not observed, the safety of the product is
not guaranteed.
- Make sure these safety instructions are always available to any user.
- Avoid looking directly and for a long
period of time at the optic ber whenever
the light ring is switched on (risk of ocular
damage).
- The optic ber should not be cut or
disconnected from the control unit
under any circumstances. In case of an
optic ber break, the laser source will
automatically shut down. The power
supply should then be unplugged and the
product should be sent back to customer
service (see section D3 Guarantee &
customer service).
- The lamp should only be handled using
the dedicated handle.
1

Safety instructions (cont.)
- The product must not be opened or
dismantled under any circumstances.
It is prohibited to make any technical
changes to the product. Repairs are
exclusively assigned to L.E.S.S. SA.
- This product is not adapted for use in
explosion-hazard areas and should only
be used in the conditions listed under
C1.3 “General conditions of use”.
- The product must only be powered by a
power supply supplied by L.E.S.S.
- A full disconnection from the electrical
network can only be made by unplugging
the power supply.
A2. Usage instructions
- The Workbench Lighting product range
(Spiral IL-5400-v.2.0) has been developed
for macroscopic inspection. The Spiral
lamp has been designed to be used in
workshops, in industrial environments
or in R&D laboratories.
- The product generates visible light
of high intensity. When inspecting
components consisting of materials that
absorb visible light, it is recommended to adjust the distance between the light
ring and the observed sample in order to avoid thermal degradation of the
lighted object.
2

A3. System overview
A3.1. General overview
IL-5400
2
+40˚
-20˚
1
A3.2. Front view of the control unit
4. Power switch:
Allows to switch the light ring on or o.
3
1. Control unit:
Allows to switch the light on
and o
2. Hinge:
Allows to position the lamp
head at desired angle
between -20° and 40°
3. Light ring:
Produces a uniform lighting
on the working surface
without heat dissipation
4
5. Power socket :
To plug the power supply 12 [Vdc]
5
3

B. OPERATING
B1. Setup
Make sure the power switch is switched OFF
before connecting the lamp to the power
supply.
B1.1. Connecting the control unit to the
power supply
- Insert the 12 [Vdc] plug into the control
unit socket (5).
- Plug the power supply to an electrical
outlet (220 [Vac]).
Warning: It is recommended to only use the
optional power supply supplied by L.E.S.S.
The use of any other power supply will void
the manufacturer guarantee.
B1.2. Turning the light on and o
- To switch the light on, press on the right
hand side of the power switch (4).
- To switch the light o, press on the left
hand side of the power switch (OFF).
Warning: To disconnect the light ring from
the electrical network, unplug the power
supply.
4
OFF
4
ON

B2. Inspection angles
The IL-5400-v.2.0 lamp has been designed to facilitate inspection under dierent
lighting angles. Two positions can be chosen by the operator for ergonomic use.
B2.1. Traditional inspection
The lamp is positioned outside of the
user observation eld.
With the elbows rested on the
workbench, the user maintains a
comfortable and straight sitting
posture.
The observed sample should be
placed 15 cm away from the lamp
head to obtain 2’500 lux illumination.
In this conguration, a watchmaker
loupe can be used close to the lamp
head which does not dissipate heat.
B2.2. Inspection through the light
source axis
The lamp is positioned in the user
observation axis. The sample is
inspected through the hollowed
lamp head. This inspection method
is particularly useful for very precise
control and when the magnifying lens
or the light box are mounted on the
lamp.
The observed sample should be
placed 15 cm away from the lamp
head to obtain 2’500 lux illumination.
Thanks to its hinge, the lamp is
reclining in a range from -20° to
40° allowing to observe samples at
dierent angles.
+40˚
-20˚
5

B3. Accessories
The following optional accessories can be ordered to enhance the usage of the
product.
- Power supply 12V (AC-PS-12-EU)
Available with European (EU), Japanese (JP) or
British (UK) interfaces, it supplies the lamp with
power via the electrical network.
- Magnifying lens (AC-MG-2XR-I)
Renders a detailed view of the sample with a
x2 enlargement (dioptre 4). Thanks to its large
dimensions (130 x 100 [mm]), it allows a magnied
observation with both eyes.
- Light box (AC-LB-180-EG-I)
The light box extends the rim of the light ring.
It isolates the inspection area from stray light
and enhances lighting uniformity in a three
dimensional space.
6
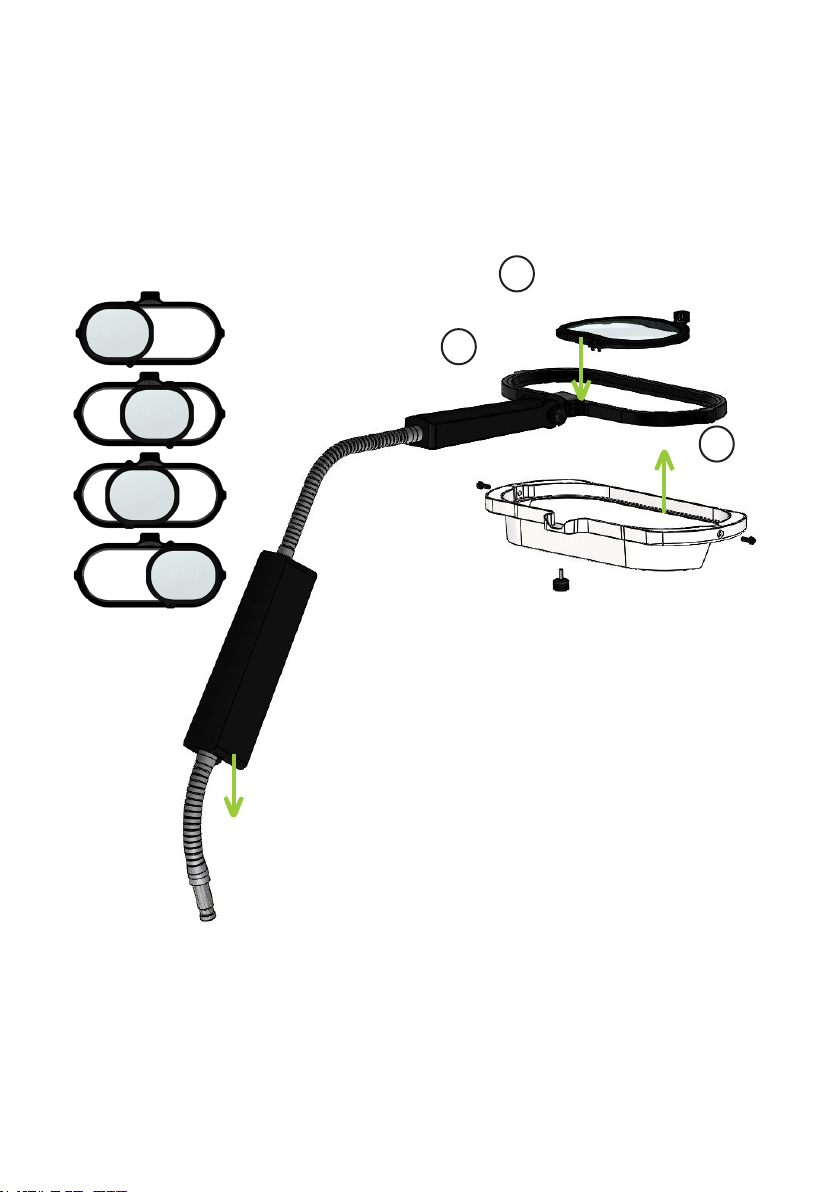
B4. Assembly of accessories
When installing accessories, do not over-tighten the screws as this may damage the
screw thread or distort the lamp.
Regarding the connection of the system to the electrical network, please refer to
B.1. “Setup”.
A
B
B
7

Assembly of accessories (cont.)
B4.1. Attaching the lamp to the base unit
Make sure that the screw on the rear of the base unit is unscrewed, allowing enough
space for the lamp rod to be inserted. Insert the lamp rod into the base. Tighten the
screw at the rear of the base unit until you feel a light pressure and that the lamp is
securely inserted but can still be rotated.
B4.2. Attaching the magnifying lens to the light ring
Insert the lens on top of the light ring with the lateral pins face down. The lens can
be placed to the left, in the center or to the right of the head of the light ring. Then,
tighten the security screw (A) positioned on the lens side.
B4.3. Attaching the light box to the light ring
Place the light box below the light ring and tighten the 2 lateral screws situated at
both ends of the light ring (B).
8

C. TECHNICAL DATA
C1. Features
C1.1. Light, consumption and lifetime
Colour temperature 5’400 [K]
Illumination (at 15cm) > 2’500 [lx]
Energy consumption approx. 10 [W]
Lifetime > 20’000 hours1
C1.2. Dimensions
Inner diameter 260 x 100 [mm] (10.2 x 3.4 [inches])
External diameter 300 x 145 [mm] (11.8 x 5.7 [inches])
Articulated arm 800 [mm] (1.2 x 31.5 [inches])
Workbench interface
diameter
C1.3. General conditions of use
Electrical control unit integrated
Control on / o power switch
Operating ambient
temperature
External power supply 12 [Vdc]
16 [mm] (0.6 [inches])
0 – 40 [°C]
C1.4. Certications
CE
RoHS
1
Lifetime are dened for the lighting values in a normal use. Results may vary with environmental factors and customers
specic use.
9

D. MAINTENANCE
No maintenance is required on L.E.S.S. lighting systems.
D1. Cleaning
To clean the external components, use a soft and dry cloth or a commercially
available cleaner cloth.
The use of cleaning products, alcohol or other chemical products may damage the
lamp and is not recommended.
D2. Troubleshooting
The following table shows a set of solutions adapted to specic problems that can
be encountered with the L.E.S.S. lighting systems.
Issue Probable cause Solution
The product doesn’t
work
The lamp will not
switch on
The lamp ashes
when switched onThe laser security is on
In case problems persist, please contact customer service; a manufacturer
intervention must be made.
The power supply is
not plugged in
The line voltage is
down
Setup the product according to B1.2
“Setup”.
Plug the power supply according to
B1.2 “Turning the light on and o”.
Check the line voltage
Contact L.E.S.S. to organise a product
return shipment according to D3.
“Guarantee & customer service”.
D3. Guarantee & customer service
L.E.S.S. products are guaranteed for two years from the purchase date.
In case of issues with the product, please contact our customer service before
organising a return shipment to the manufacturer:
L.E.S.S. SA
Customer service
Av. de Longemalle 13
1020 Renens
Switzerland
customer-service@less-sa.com
+41 21 552 07 10
10

11

PRECISION LIGHTING
FOR PROFESSIONALS
L.E.S.S. SA
Av. de Longemalle 13
1020 Renens, Switzerland
www.less-sa.com
info@less-sa.com
+41 21 552 07 10
 Loading...