

Lenovo ThinkStation Windows 10 Installation [en, ar, bg, cs, da, de, el, es, fi, fr, he, hr, hu, it, ja, ko, nb, nl, pl, pt, pt, ro, ru, sh, sk, sl, sr, sv, th, tr, uk, zc, zh]

ThinkStation Windows 10 Installation
Version 1 . 0

1. Introduction
As a follow up to the Windows 8 operating system, Microsoft released Windows 10 in the fall of 2015. Windows 10
brought with it a new user interface that merged the benefits of Windows 7 and Windows 8 along with several other
enhanced features and architectural improvements.
The purpose of this document is to instruct users on the methods used to install or upgrade to the Windows 10
operating system on ThinkStation P500, 700, and 900 platforms.
2. Windows 10 Installation Using Intel sSATA Controller
Before starting the installation of Windows 10, it is important to ensure system BIOS is set to the proper mode
for the type of installation to be used. While the OS can be installed with BIOS in Legacy mode and support MBR
boot partitions, the default installation mode is with system BIOS in pure UEFI mode supporting GPT boot
partitions. Using pure UEFI mode ensures the system is compliant with all Microsoft Windows 10 Logo
Certification requirements as well as supporting features like Secure Boot. UEFI mode will also allow users to
install the OS to partitions larger than 2TB, which is a limitation when using MBR boot partitions.
The steps below detail how users should set up their BIOS based on the desired boot partition type (GPT or
MBR).
Changing BIOS settings to enable pure UEFI mode
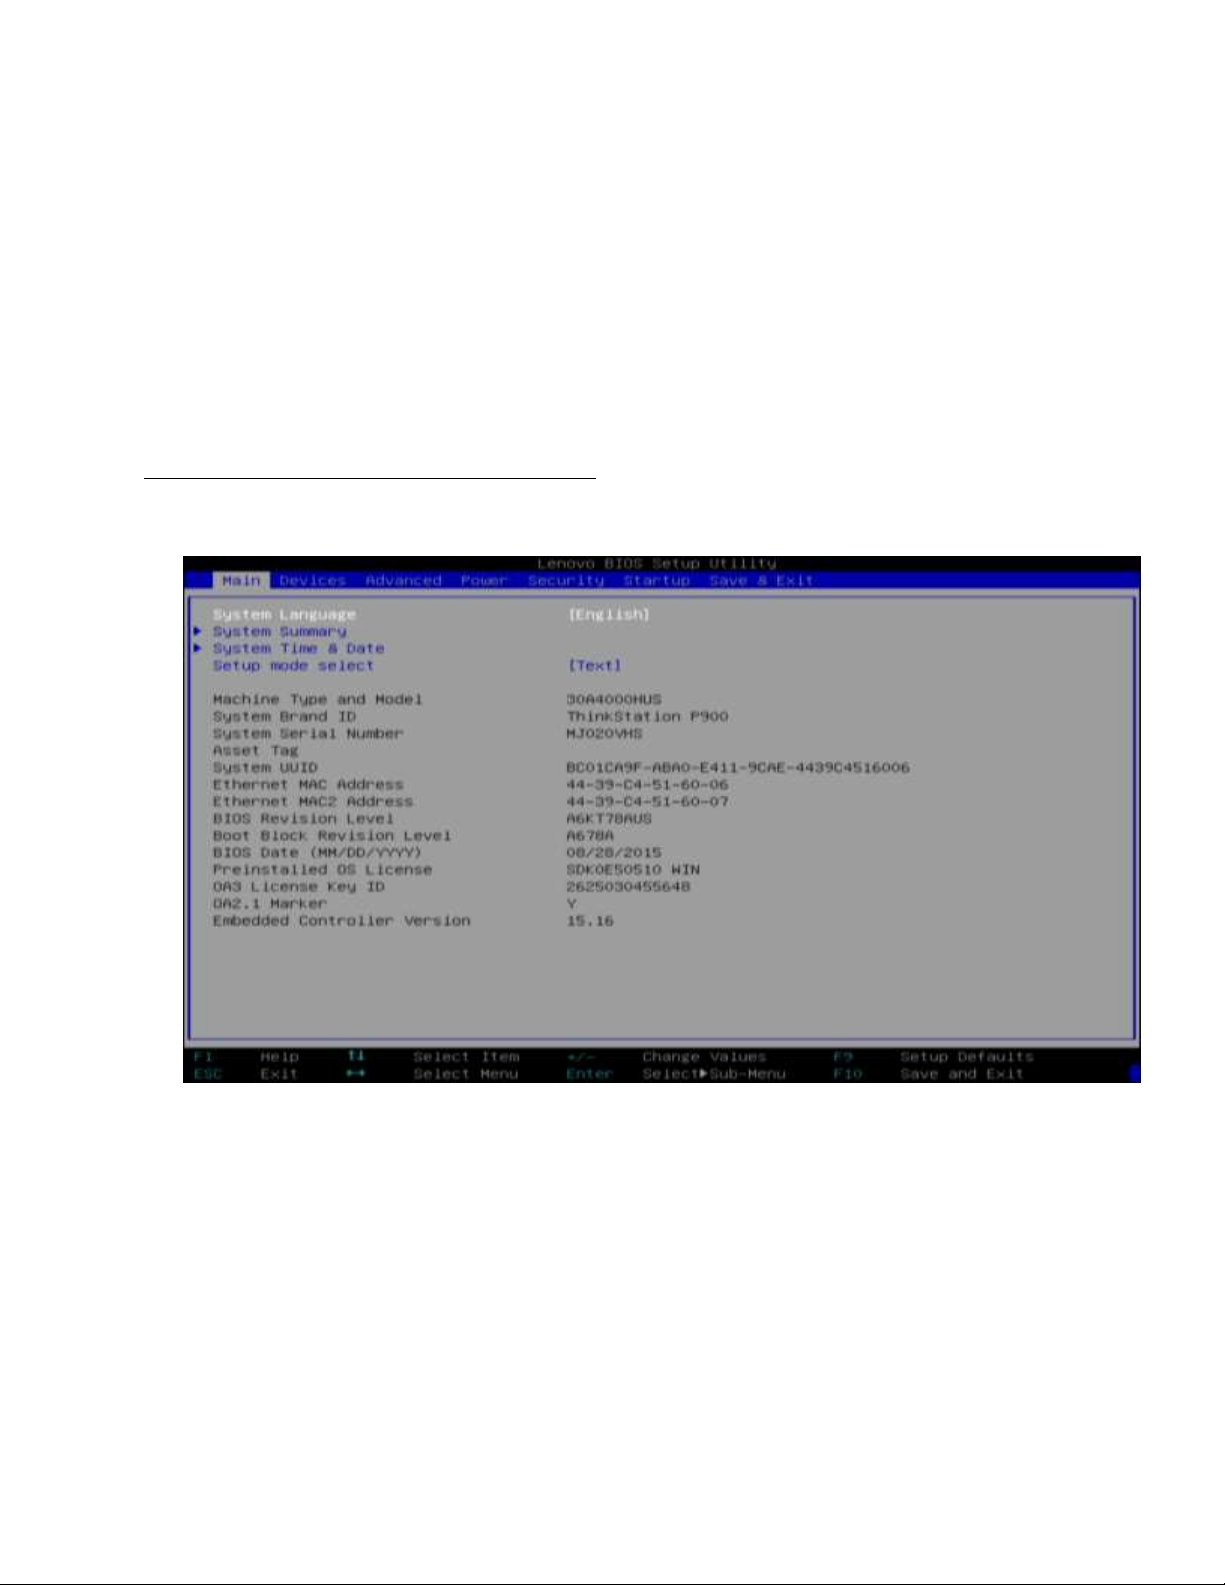
1. As the system is booting through BIOS POST screens, press F1 to enter BIOS F1 Setup Menu:
2. Use the left/right arrow keys to select the “Save & Exit” tab at the top.
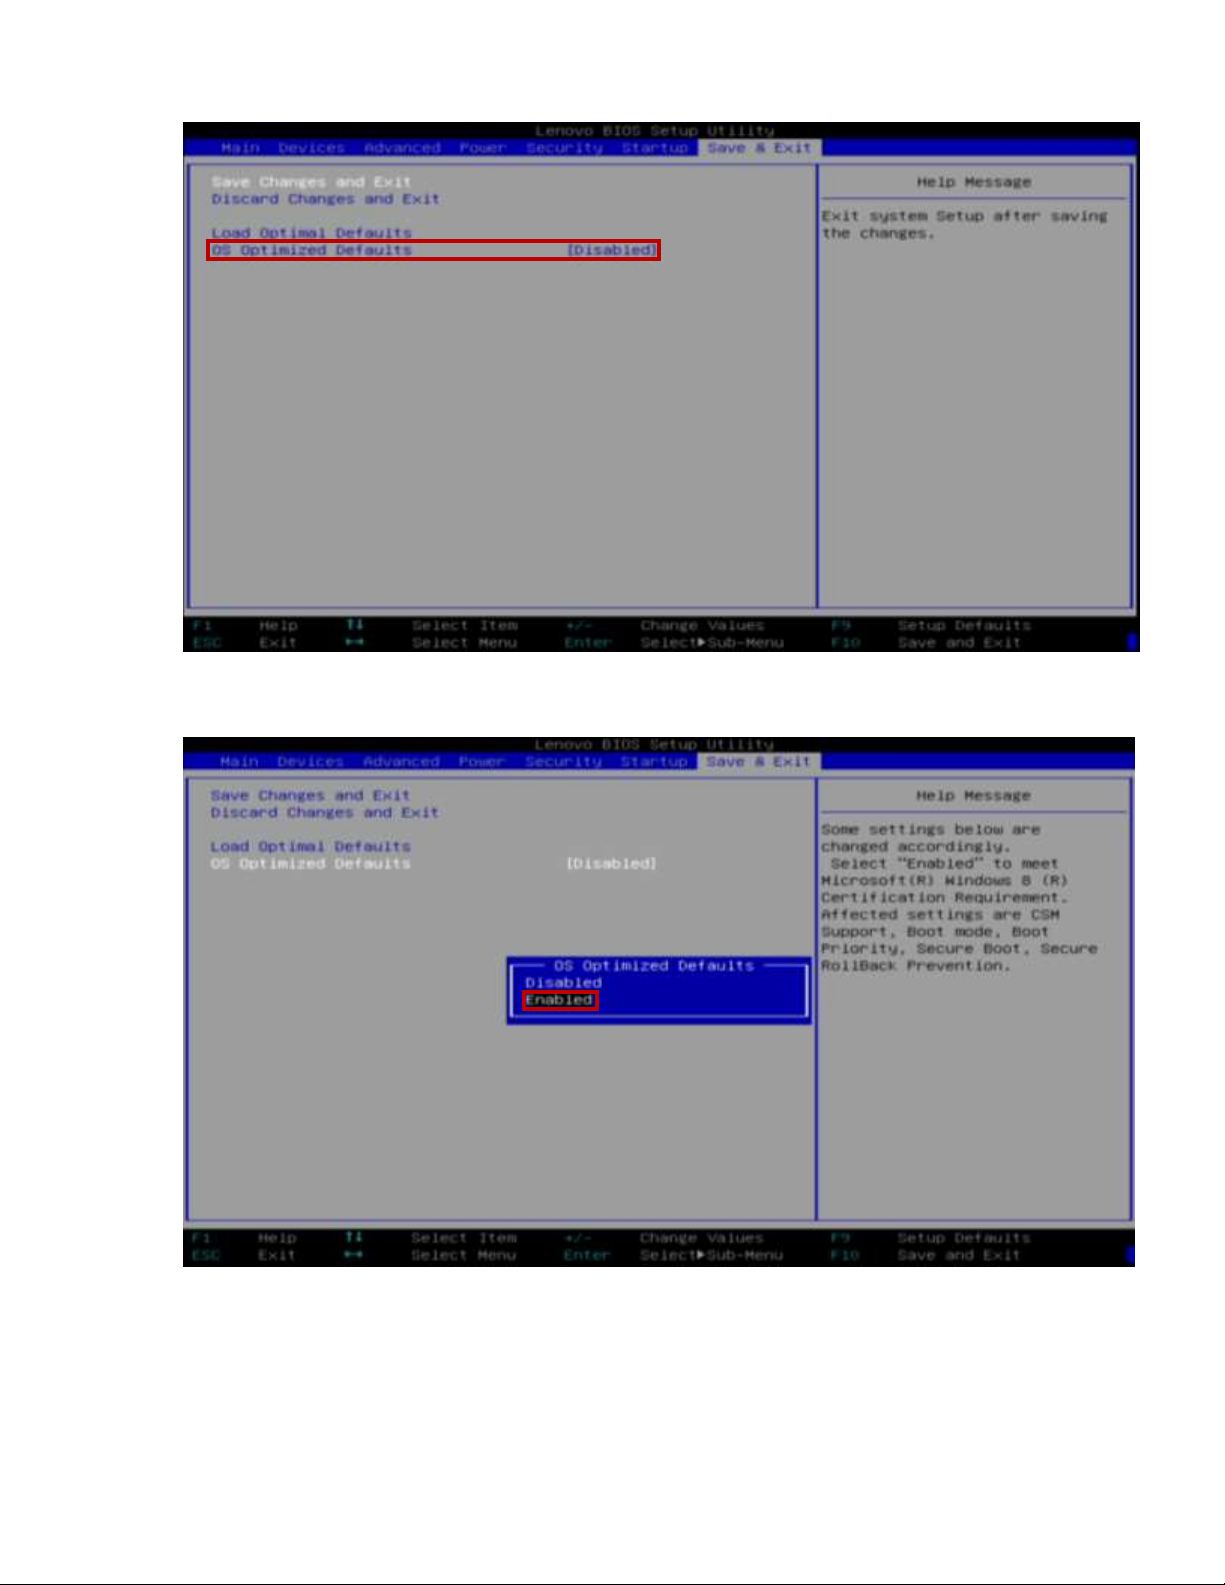
3. From this tab, use the down arrow key to select ‘OS Optimized Defaults’ and press Enter.
4. Select ‘Enabled’ and press Enter.
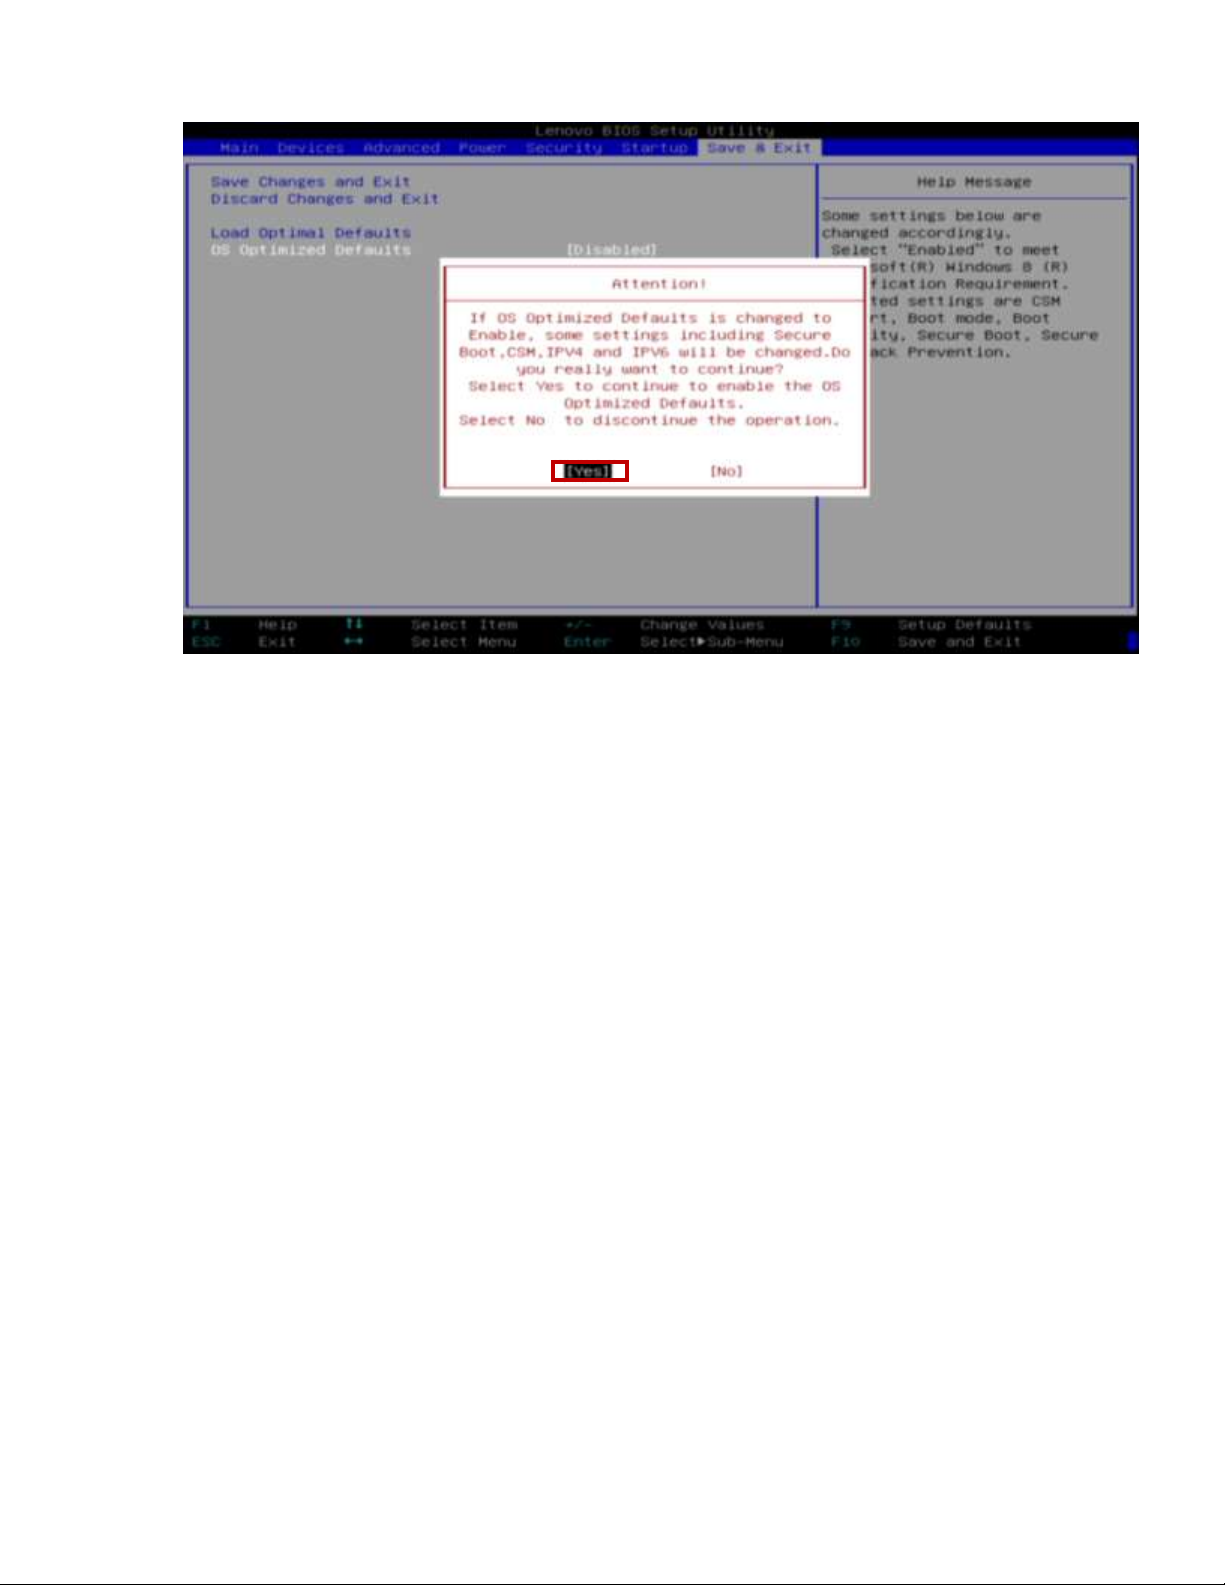
5. A confirmation window will appear. Select ‘Yes’ and press Enter.
6. Press F10 to save settings and reboot the system. Continue on to OS installation.
Changing BIOS settings to enable pure UEFI mode
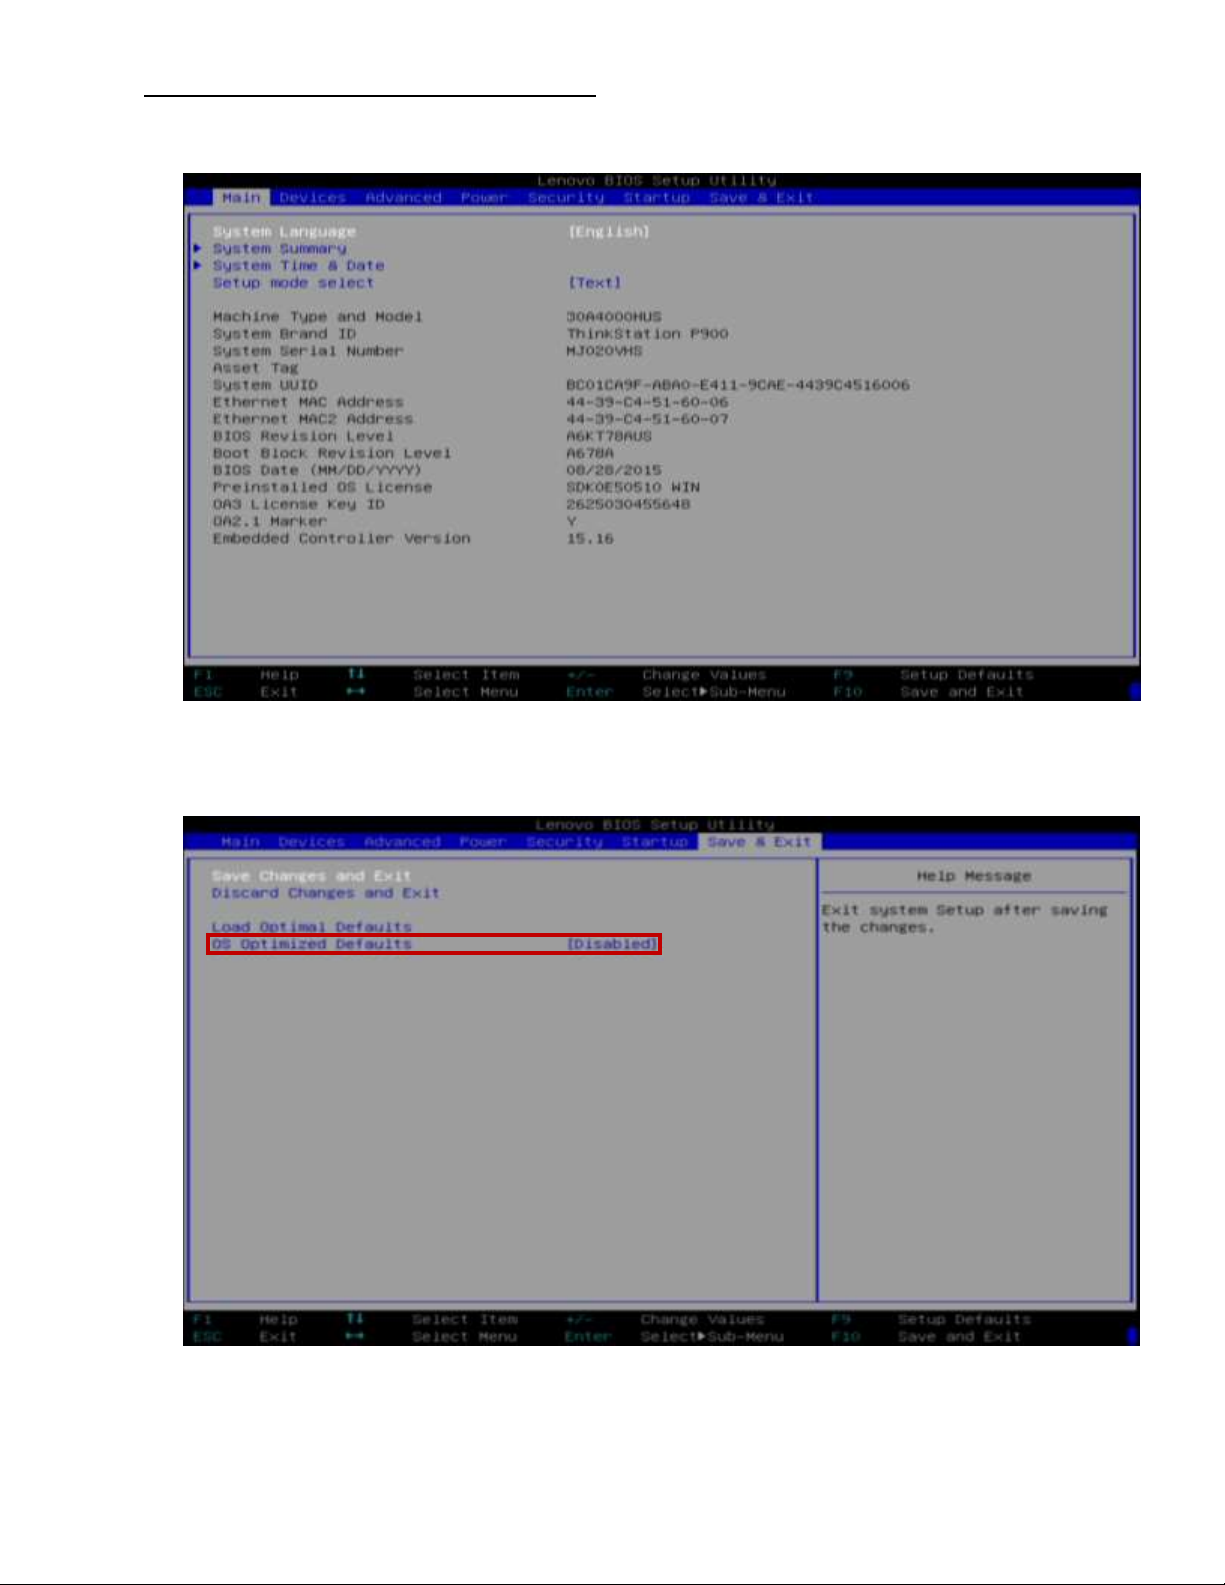
1. As the system is booting through BIOS POST screens, press F1 to enter BIOS F1 Setup Menu:
2. Use the left/right arrow keys to select the ‘Save & Exit’ tab at the top.
3. Ensure OS Optimized Defaults is set to ‘Disabled’.
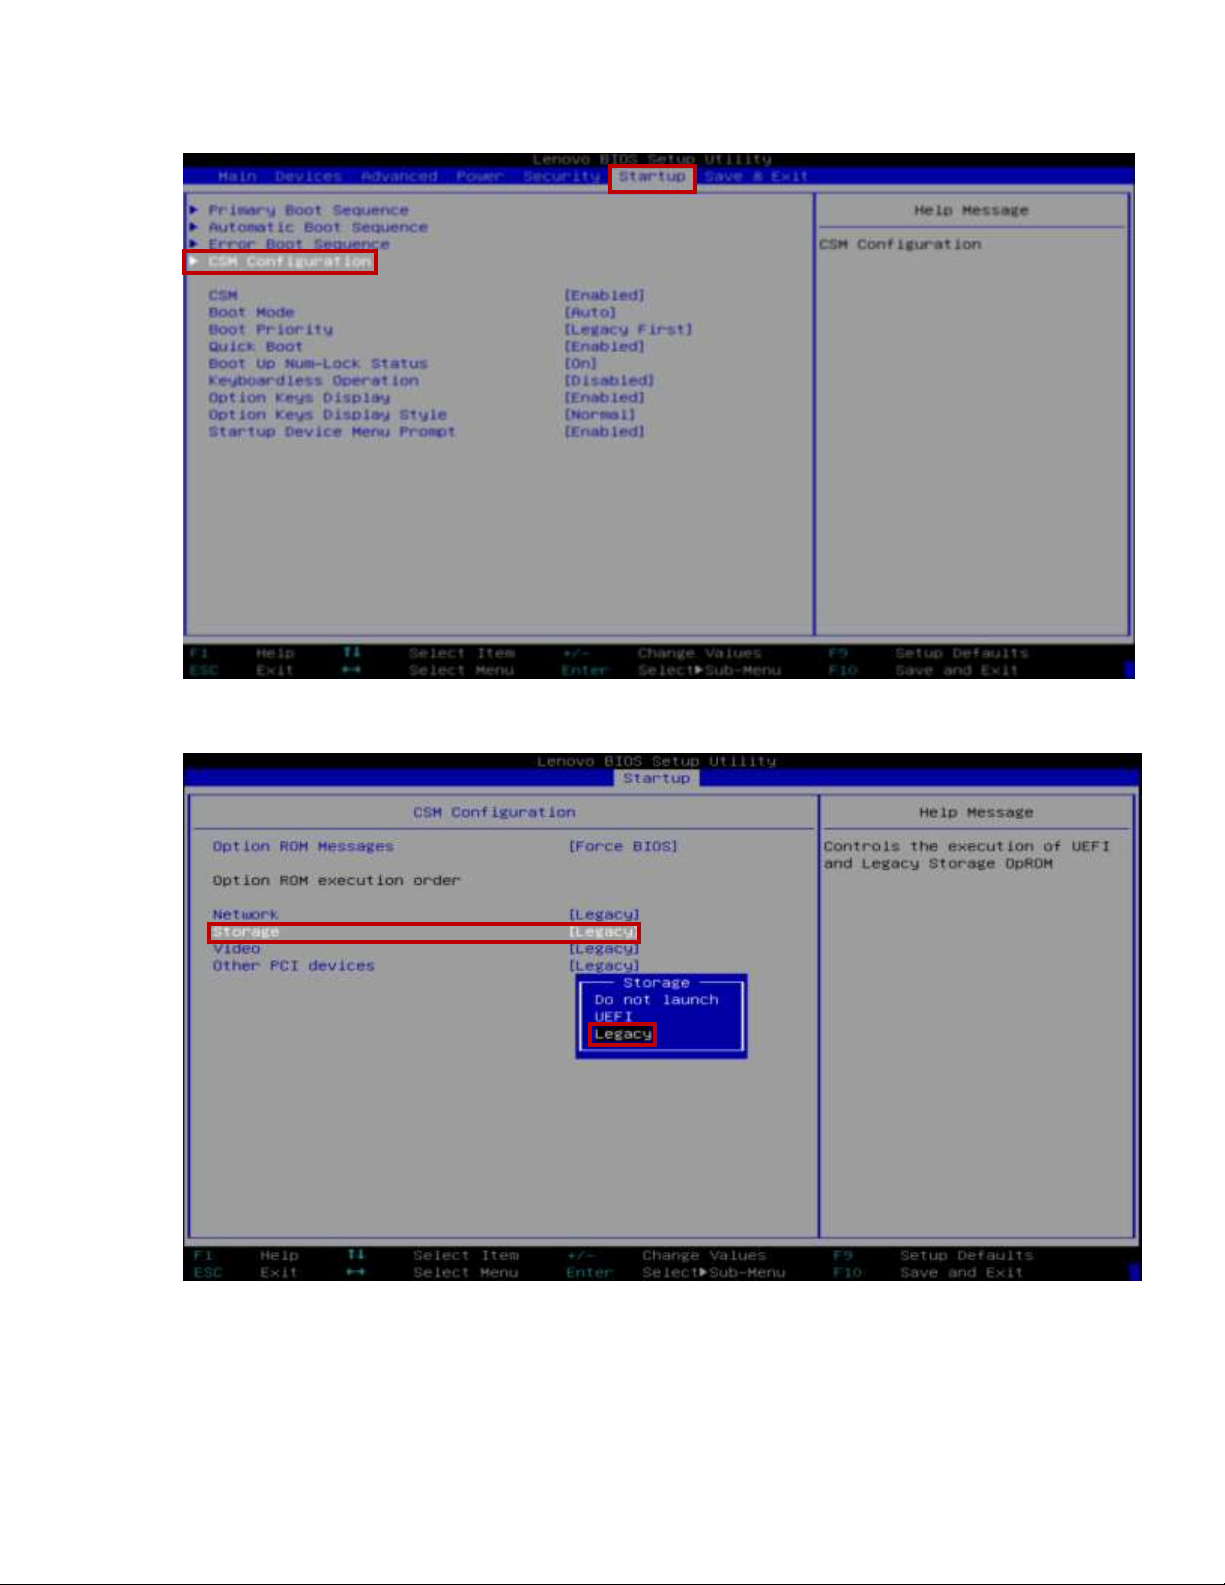
4. Tab over using the arrow keys to the ‘Startup’ menu tab at the top of the screen. From this tab, use the up
and down arrow keys to select ‘CSM Configuration’ option and press ‘Enter’.
5. Ensure the Storage option is set to ‘Legacy’.
6. Press G10 to save the BIOS settings and reboot the system. Continue on to OS installation.
 Loading...