

Page 1
Part Number: 62P7830
Checklist for unpac
king
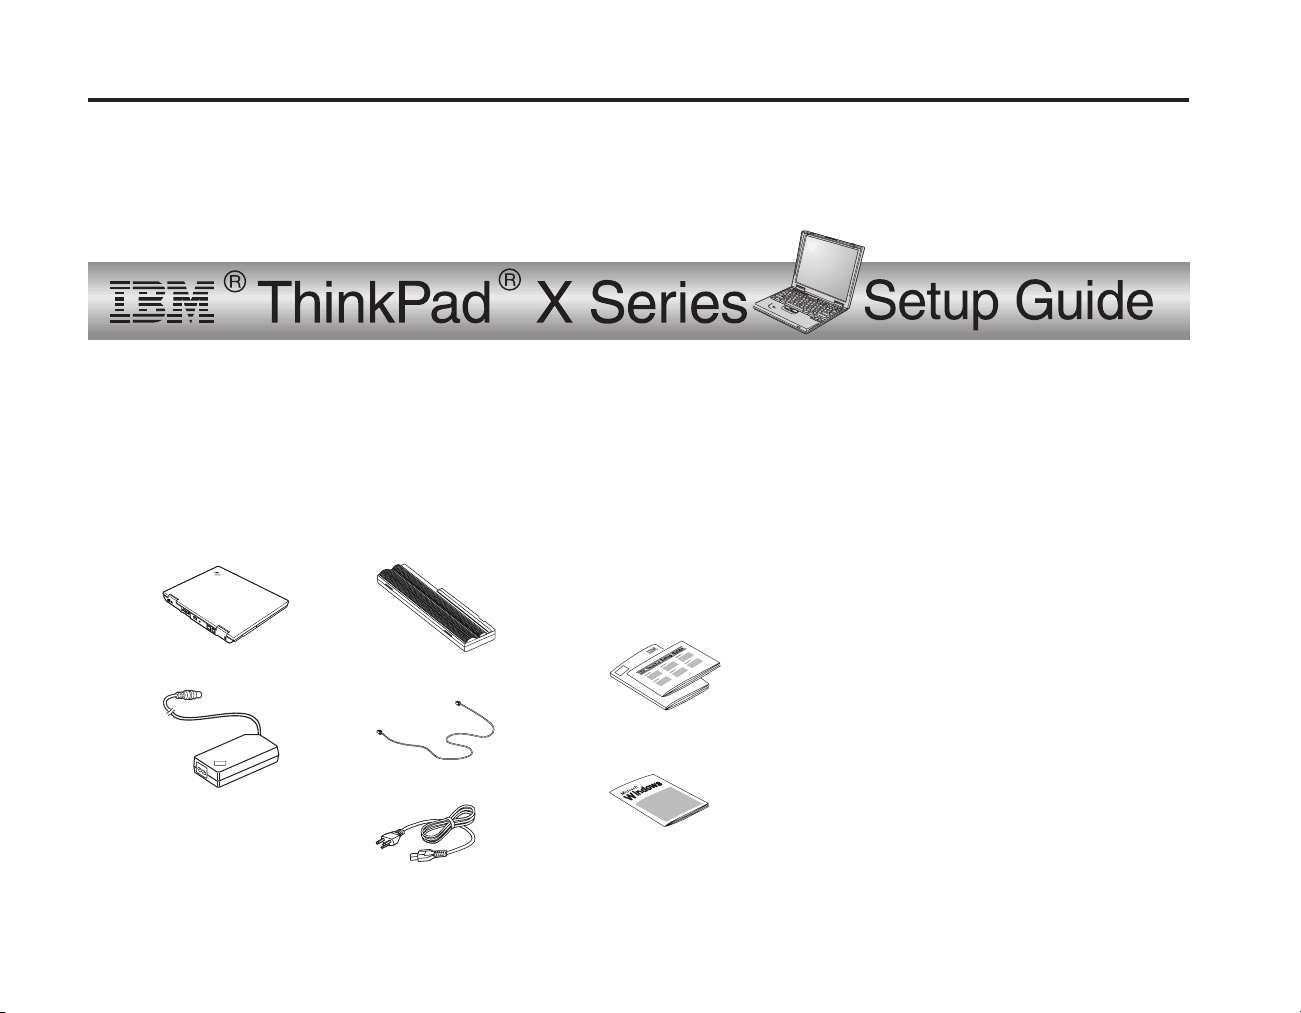
Thank you for purchasing the IBM ThinkPad X Series computer. Match the items on this list with the items in the box. If
any item is missing or damaged, please contact your place of purchase.
h Computer
h AC adapter
h Miscellaneous parts
v TrackPoint
caps
© Copyright IBM Corp. 2001 1
h Battery pack
h Telephone cable
h Power cord
®
h Books
v Service & Troubleshooting
Guide
v Setup Guide
v Manual Package for
Microsoft
®
Windows
Notes:
1. Some models may contain additional
items that are not listed.
2. Your computer features IBM
Disk-to-Disk recovery. Everything
needed to recover factory-installed
files and applications is on your
hard disk. Disk-to-disk recovery
eliminates the need for a Recovery
CD. For more information, see
“Recovering preinstalled software”
in the Service and Troubleshooting
Guide.
Page 2
Setting up your computer
Connecting to a power source
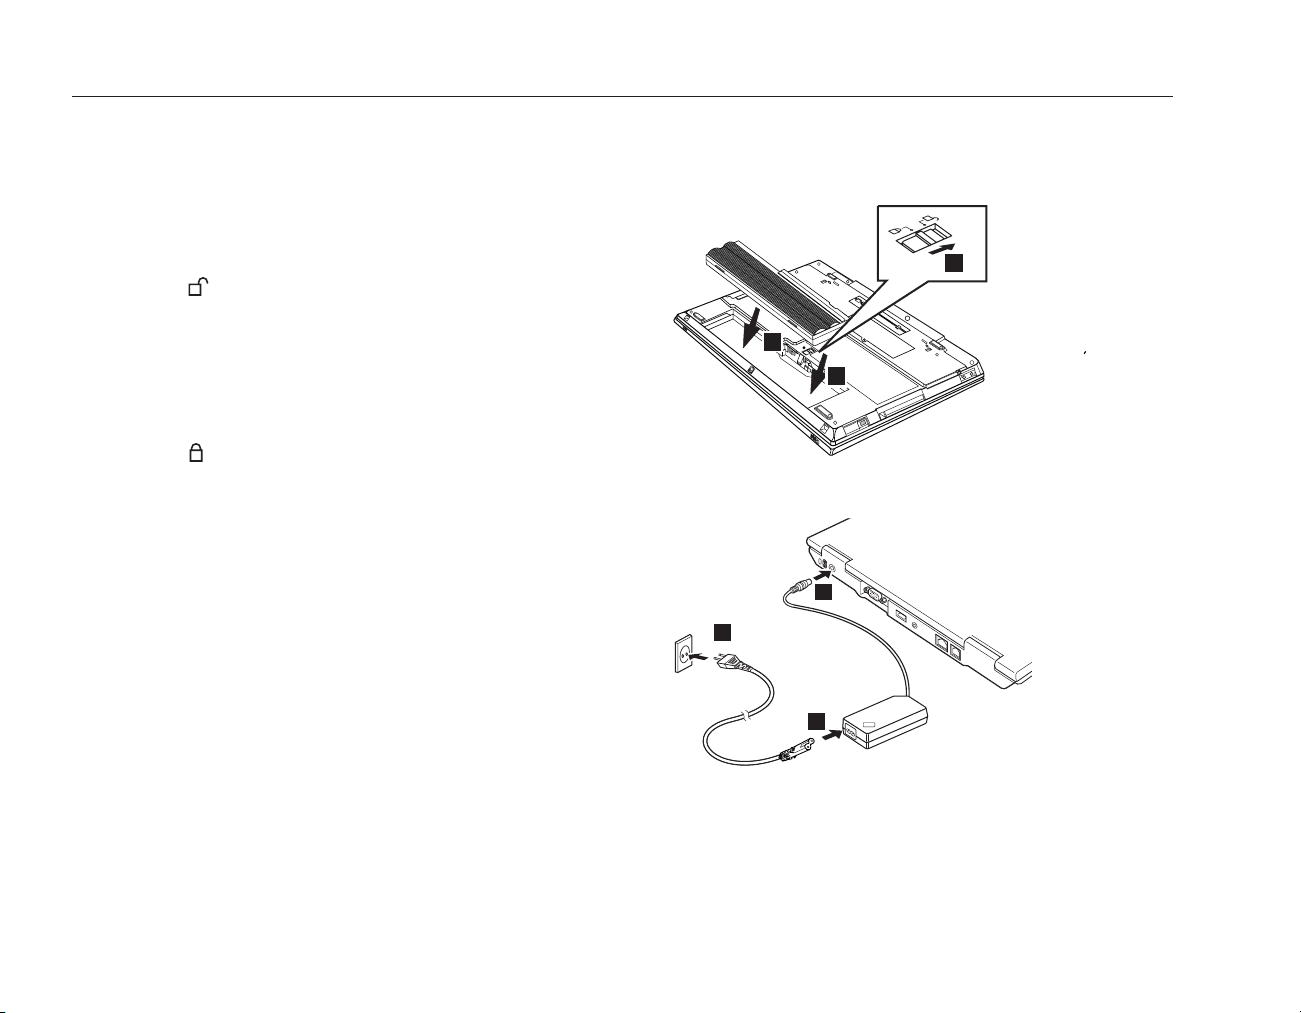
1. Insert the battery pack into the battery compartment located
at the rear of the computer:
1. Switch the battery lock 1 to the unlocked
1
position.
2. Insert the battery pack into the battery compartment.2
Note: Depending on the battery option you ordered,
your battery may appear different from the figure.
3. Switch the battery lock 1 to the locked
position.
2. Connect the ac adapter to the computer’s power jack (at the
rear of the computer) in the order shown.
2
2
1
3
2
2
Page 3
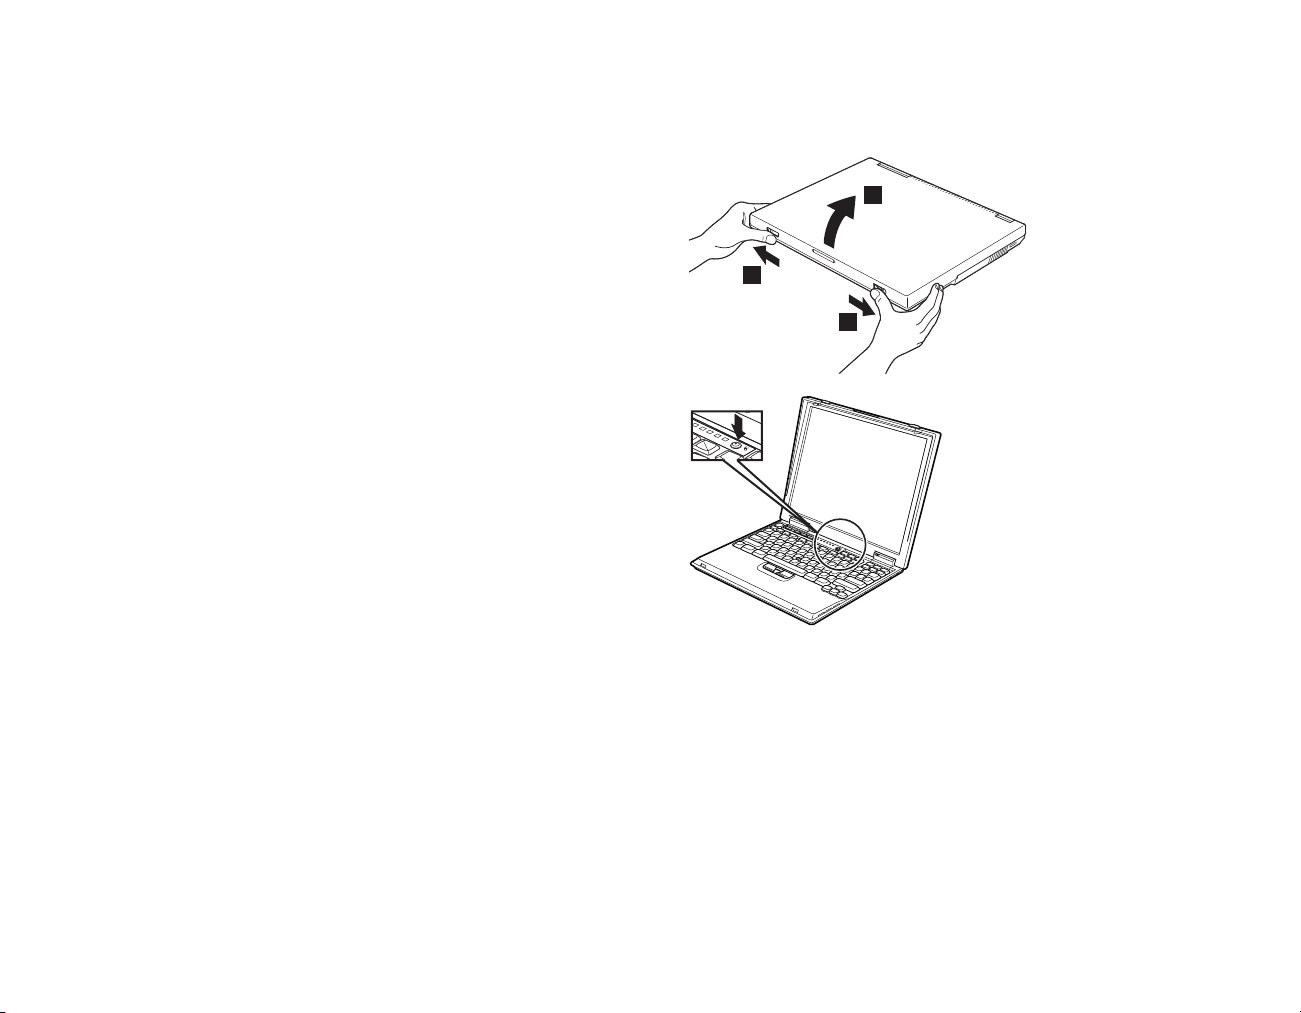
Turning on the system
1. Open the computer display.
Slide the latches 1 and open the display2. Then position
the display so that it is convenient for viewing.
2. Press the power switch.
2
1
1
3
Page 4

Using the TrackPoint
The TrackPoint®is a unique device for moving the cursor on the
screen. You can perform all mouse operations with the TrackPoint. The
left and right click buttons function like the left and right click buttons
of a mouse.
To move the cursor, use the red-tipped pointer at the center of the
keyboard. Press gently with your left or right index finger in the
direction you want to move the cursor. To select and drag an object,
press and hold one of the click buttons with either thumb as required
by your software.
Click means to press the left click button once. Double-click means to
press the left click button twice within 1 second.
For more information about the TrackPoint, TrackPoint, press the
ThinkPad button to open Access ThinkPad, your on-board help
system.
Cursor
Left click button
Pointer
Right click button
Center button
4
Page 5

Using the volume control
You can adjust the sound level produced by the built-in speakers by using the following three buttons:
v Volume down
v Volume up:
v Mute:
– If the sound is muted when you turn off the computer, it remains muted when you turn the computer on again.
– To turn on the sound, press the Volume up or Volume down button.
When you press one of these buttons, the volume indicator appears on the screen for a few seconds. For more details on volume
control, see the on-board help system, Access ThinkPad.
Setting up Windows
Your computer comes with a Microsoft®Windows operating system. After turning on your computer, follow the instructions on the
screen to set up the operating system. This procedure takes approximately 10 minutes, and your computer restarts several times.
5
Page 6

Your computer features the unique ThinkPad Button.
Whenever you have a question about your computer, or wish to view
IBM web sites, simply press the ThinkPad button to open Access
ThinkPad.
Access ThinkPad is the comprehensive, on-board help and information
center for your computer. It travels with you, eliminating the need to
carry reference manuals.
Find information about your ThinkPad computer and its features by
using Search function. For direct access to help and support, tips from
other mobile users, and information about accessories, software, and
upgrades, visit the IBM Web site.
6
Page 7

Installing memory
Increasing memory capacity is an effective way to make programs run faster. You can increase the amount of memory in your
computer by installing a PC133 dual inline memory module (DIMM), available as an option, in the memory slot on the bottom of the
computer. DIMMs with different capacities are available.
Note: Use only a PC133 DIMM in your computer. If you install a DIMM that is not supported by your computer, the computer beeps,
and the system does not start. You can purchase the appropriate memory option from your IBM reseller or IBM marketing
representative.
Attention: Before you start installing a module, touch a metal table or a grounded metal object. This action reduces any static
electricity from your body. The static electricity could damage the DIMM.
To install the DIMM, do the following:
1. Turn off the computer; then disconnect the ac adapter and all
cables from the computer.
2. Close the computer display, and turn it over.
3. Remove the battery.
4. Loosen the screw on the memory slot cover; then remove the
cover.
7
Page 8

. If the DIMM is already in the memory slot, remove it to
replace the new one by pressing out on the latches on both
edges of the socket at the same time. Be sure to save it for
future use.
5. Find the notch on the side of the DIMM.
Attention: To avoid damaging the DIMM, do not touch its
contact edge.
6. With the notched end of the DIMM toward the right side of
the socket, insert the DIMM into the socket at an angle of
about 20 degrees 1; then press it firmly 2 .
7. Pivot the DIMM until it snaps into place.
Make sure that the card is firmly fixed in the slot and does
not move easily.
8
Page 9

8. Replace the memory slot cover over the memory slot,
aligning the back side of the cover first; then tighten the
screw.
Attention: When you have added or upgraded a memory
card, do not use your computer until you have closed the
cover. Never use the computer with the cover open.
9. Put the battery back in place and turn the computer over
again.
To make sure that the DIMM is installed correctly, do as follows:
1. Turn the computer on.
2. While the “Press F1 for IBM BIOS Setup Utility” message is displayed at the lower-left area of the screen, press the F1 key.
The IBM BIOS Setup Utility screen appears. The “Installed memory” item shows the total amount of memory installed in
your computer. For example, if you install a 64-MB DIMM into a computer whose built-in memory is 64 MB, the quantity
shown in “Installed memory” should be 128 MB.
9
Page 10

Trademarks
Your Name:
_______________________________
Company Name:
_______________________________
Model Number:
_______________________________
Serial Number:
_______________________________
Company or Reseller Service:
_______________________________
IBM Service Website:
_______________________________
IBM Service Number:
_______________________________
Notes:
The following terms, in this publication, are trademarks of the
IBM Corporation in the United States or other countries or both:
IBM
ThinkPad
TrackPoint
Microsoft and Windows are trademarks of Microsoft Corporation
in the United Sates and/or other countries.
10
 Loading...