

Page 1
1
©2017 Lennox Industries Inc.
Dallas, Texas, USA
OPERATION
INSTRUCTIONS
CONTROLS
507560-03
5/2017
Supersedes 1/2017
This manual must be left with the
owner for future reference.
Frequent changes to operating
mode may cause system
malfunction. Allow at least one
minute between mode changes to
allow the system to stabilize.
IMPORTANT!
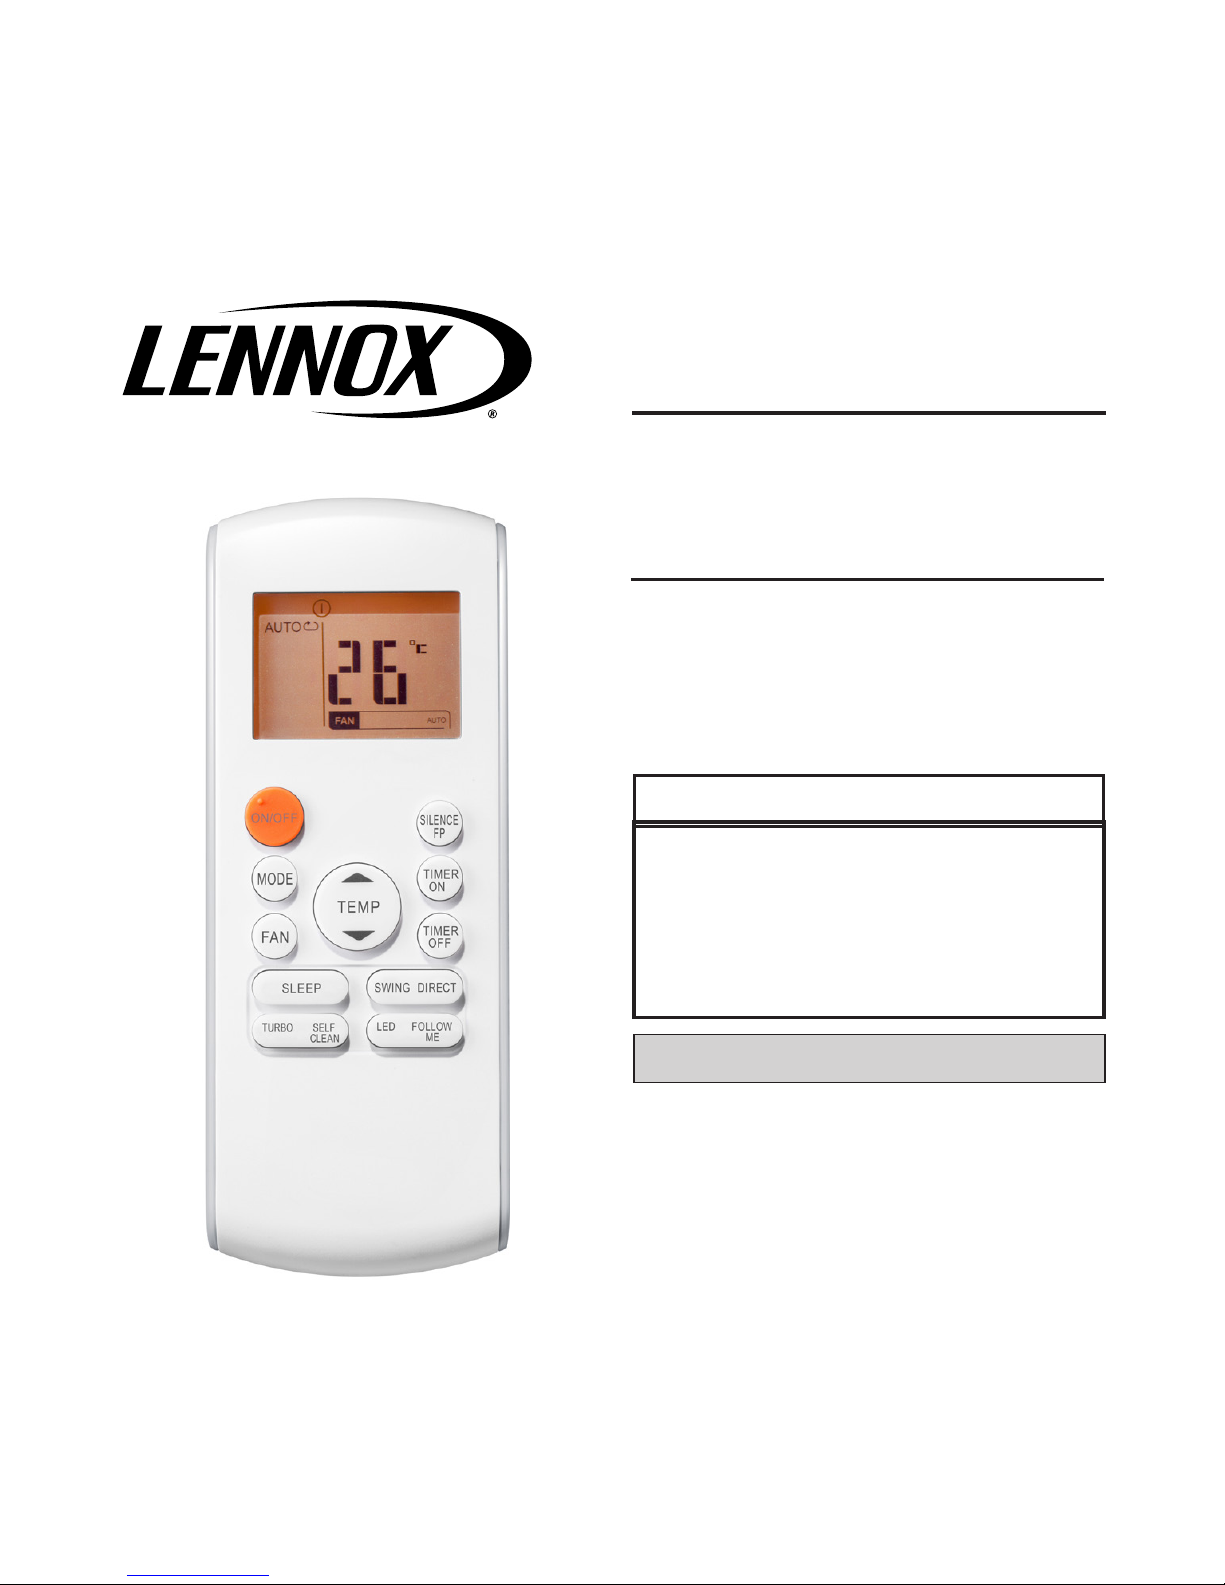
Lennox Mini-Split Systems
Wireless Indoor Unit
Controller
Shipping and Packing List
Package 1 of 1 contains;
1 – Wireless Controller
2 – AAA batteries
1 – Remote controller holder with
mounting screw
Page 2
2
General
The M0STAT60Q-1 mini-split wireless controller is a wireless local controller for
Lennox mini-split indoor units.
Requirements
Specications
Rated voltage 3.0 VDC
(2 AAA batteries)
Min voltage for sending signal to CPU 2.4 VDC
Effective transmitting distance 26 ft. (8m)
Operation conditions 23°F-140°F
Table 1. Specications
Using the remote controller
• Point the remote controller directly at
the indoor unit.
• Stand within 26 ft. (8m) of the indoor
unit.
• Do not block the signal between the
remote controller and indoor unit.
NOTE - The remote controller will not
function without a clear line of sight to
the indoor unit.
• Do not submerge the remote controller in liquid.
• Do not expose to direct sunlight.
• Do not drop or step on remote controller.
Using the remote control holder
• Use eld-provided fasteners to attach the remote controller holder to
any suitable vertical surface such as
a wall within 26 ft. (8m) of the indoor
unit.
• Ensure that the remote controller is
pointed directly at the indoor unit. If
the remote controller is pointed directly toward the ceiling, it will not
control the indoor unit (except. cassette units if installed directly above
the holder).
Page 3
3
Function Buttons
MOD E
FAN
TE MP
SL EEP
SWI NG DI RECT
LED FOLLOW
ME
TURBO SELF
CLEAN
ON/OFF
SI LENC E
FP
TI MER
ON
TI MER
OFF
• Up arrow button. Press to increase
the temperature setpoint or to scroll
through settings options.
• On/Off button. Press to turn the indoor unit on or off.
• Mode button. Press to scroll
through the operation modes:
Auto → Cool → Dry → Heat → Fan.
• Fan speed. Press to scroll through
the fan speeds: Auto → Low → Med
→ High
• Sleep button. Press to activate
“night-mode”. This will automatically
increase (cooling) or decrease (heating) the setpoint 2°F (1°C) per hour
for the rst two hours. The modied
setpoint will be set for ve hours. After
seven total hours the indoor unit will
shut off. The system will remain off
until the “ON” button on the wireless
remote is pressed.
• Turbo button. (Not available on all
indoor unit models) Press to active
turbo mode. In cooling mode only, the
indoor unit will ramp up to reach the
setpoint more quickly. After reaching
the setpoint or after 30 minutes, the
indoor unit will resume the previous
operating conditions.
• Self Clean button. Press to activate
self cleaning mode. In cooling or dry
mode only, the indoor unit will temporarily change operation to allow
condensate on the indoor unit coil to
Page 4

4
evaporate, and then will return to the
previous operating conditions.
• Down arrow button. Press to decrease the temperature setpoint or
scroll through settings options.
• Silence button. Press and release
to activate quiet mode operation. The
indoor unit will change operation to
provide the quietest sound possible.
NOTE - quiet mode operation may
result in insufcient cooling or heating
capacity. Press and release the Silence button again to stop quiet mode
operation.
• FP button. Press and hold for two
seconds to activate frost prevention
mode. In heating mode only, the indoor unit will operate at a 46°F setpoint and the indoor unit display (not
available on all indoor unit models)
will show “FP”.
• Timer ON button. Press to set the
number of hours of delay before the
indoor unit begins operation.
• Timer OFF button. Press to set the
number of hours of delay before the
indoor unit stops operation.
• Swing button. Press once to initiate
louver left & right oscillation. Press
again to stop louver oscillation. Lou-
MOD E
FAN
TE MP
SL EEP
SWI NG DI RECT
LED FOLLOW
ME
TURBO SELF
CLEAN
ON/OFF
SI LENC E
FP
TI MER
ON
TI MER
OFF
Page 5

5
vers remain in place where stopped.
Not available in all indoor unit models.
• Direct (Direction) button. Press to
move louvers up & down in 6 degree
increments. Louvers remain in place
where stopped. Not available in all indoor unit models.
• LED button. Press the LED button
to turn on the indoor unit display (on
units with display). Press the button
again to turn off the display.
• Follow Me button. Press to activate
the wireless remote’s air temperature sensor. This will also transfer
the temperature sensing function
from the indoor unit to the remote.
The indoor unit’s air temperature
sensor will be disabled. The indoor
unit will regulate the room temperature based on the temperature sensor in the remote controller, rather
than the sensor in the indoor unit.
The remote controller will send the
indoor unit a signal every three minutes. If the indoor unit doesn’t receive the signal for seven minutes,
or if the button is pressed again, the
Follow Me function will terminate.
The remote controller must remain
pointed toward the indoor unit and
must be within 26 feet (8m) of the unit.
Do not remove the controller from the
room or obstruct the signal of the remote controller during Follow me operation.
MOD E
FAN
TE MP
SL EEP
SWI NG DI RECT
LED FOLLOW
ME
TURBO SELF
CLEAN
ON/OFF
SI LENC E
FP
TI MER
ON
TI MER
OFF
Page 6

6
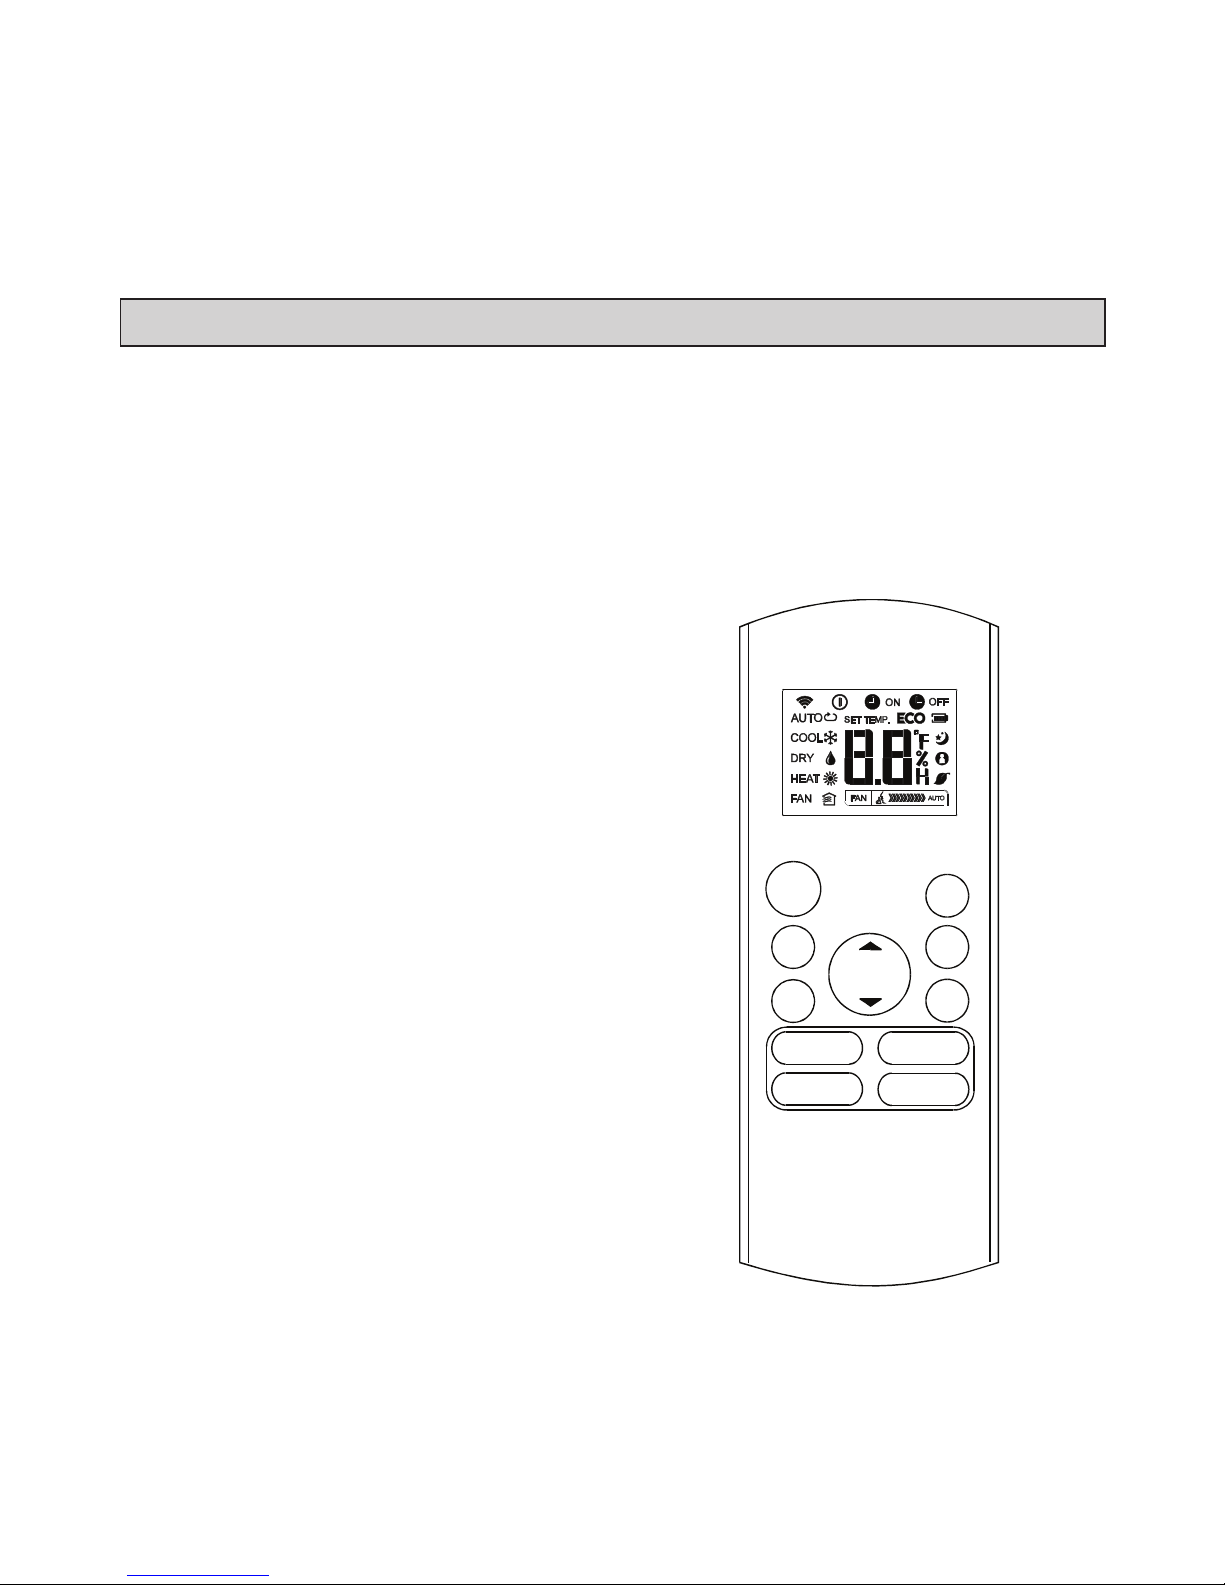
Display
• Remote controller On. Icon displays
to indicate that the remote controller
is on.
• Transmitting display. Icon blinks
once when a signal is sent from the
wireless remote controller.
• Operation mode. These icons
show the current mode of operation. Press the mode button to scroll
through the operation modes:
Auto → Cool → Dry → Heat → Fan.
• Setpoint or Room Temperature.
Displays the setpoint temperature
during normal operation. Displays the
room temperature when in Follow me
mode. Adjust the setpoint with up &
down arrow buttons. No display when
unit is in Fan mode.
Setpoint or Room
temperature
Transmitting display
Operation mode
Battery charge status
Remote controller on
Not used
Night mode
Timer ON
Fan speed
• Timer ON/OFF. These icons light up
to indicate that the indoor unit has a
timed auto-start or auto-stop set up.
Battery charge status. Icon displays
charge status of wireless remote controller batteries.
• Night mode. Icon displays to indicate
that night mode operation is on.
• Follow me. This icon displays when
the air temperature sensor in the wireless remote controller is the sensor
being used by the indoor unit. When
this function is off, the indoor unit uses
a built-in sensor.
• Fan speed. Displays the current fan
speed.
Timer OFF
Follow me
Not used
Not used
Page 7

7
Operation Instructions
Batteries
1. Remove battery cover from back of
remote.
2. Insert batteries into battery compartment.
3. Replace cover on controller.
NOTE - ON/OFF Timer, setpoint,
fan speed, etc. will have to be reset
whenever the batteries lose charge
completely or are replaced.
Do not mix old and new batteries or
batteries of different types.
Do not leave the batteries in the
remote controller if the controller will
not be used for an extended amount
of time.
Dispose of used batteries following
local and state waste management
standards.
CAUTION
!
Start/stop operation
Press the LED power button.
• Controller ON: LED power button lit
brightly.
• Controller OFF: LED power button not
lit.
Select Fahrenheit or Celsius
Press and hold the Up button, and the
Down button at the same time, for three
seconds to toggle between Fahrenheit
and Celsius.
To set the operation mode
Press the Mode button to scroll through
the mode selections.
• Auto – System operates in cooling or
heating mode as determined by the
setpoint and the room temperature.
NOTE: The use of Auto mode for
multi-zone units is not recommend. All zones should be in the
same mode of operation to ensure
there is not a conict error mode.
• Cool – System operates in cooling
mode.
• Dry – System removes humidity according to preset conditions (fan
speed and setpoint temperature, not
a humidistat sensor). Cannot adjust
fan speed.
Page 8

8
• Heat – System operates in heating
mode.
• Fan – Fan only, no heating or cooling.
To set (or change) the room temperature setting (setpoint)
Press the up arrow and down arrow buttons to adjust the setpoint.
Auto mode
1. Press the Power button, an LED
light on the indoor unit displays.
2. Press the Mode button until the dis-
play shows AUTO.
3. Adjust temperature setpoint using
up and down arrow buttons (range
62°F – 86°F).
NOTE – Fan speed is auto and is not
adjustable.
Cool/Heat/Fan mode
1. Press the Mode button to select Cool,
Heat, or Fan.
2. Adjust the temperature setpoint using
up and down arrow buttons (range
62°F – 86°F).
3. Press the Fan speed button to select
Auto, Low, Med, or High fan speed.
NOTE – Temperature setpoint is not displayed in Fan mode.
Dry mode
1. Press the Power button. An LED light
on the indoor unit displays.
2. Press the Mode button to select Dry.
3. Adjust the temperature setpoint using
up and down arrow buttons.
NOTE – Fan speed is not adjustable.
Timer operation
Timer ON and Timer OFF are used to
turn on and turn off the indoor unit at selected intervals.
Timer ON operation
1. Press the Timer ON button. The Timer
ON icon, the last auto-on time, and “h”
will display.
2. Press the Timer ON button again
to set the amount of time before the
indoor unit begins operation. Each
press will increase the time in half
hour increments until 10 hours, then
the increment becomes 1 hour.
Timer OFF operation
1. Press the Timer OFF button. The
Timer OFF icon, the last auto-off time,
and “h” will display.
2. Press the Timer OFF button again to
set the amount of time before the indoor unit stops operation. Each press
will increase the time in half hour increments until 10 hours, then the increment becomes 1 hour.
Modify Timer ON/OFF settings
1. Press either the Timer ON button or
the Timer OFF button to modify that
setting.
2. Use the up arrow and down arrow
Page 9

9
buttons to change the timed operation
intervals.
3. Set the timer to 0.0 to turn off timed
operation.
Page 10

10
Fault Codes (indoor unit)
E0 Indoor unit EEPROM error
E1 Communication error between indoor unit and outdoor unit
E3 Indoor fan speed error
E4 Indoor return air temperature sensor error
E5 Indoor coil temperature sensor error
EC Low refrigerant
EE High water level alarm
F0 Outdoor current overload sensed
F1 Outdoor ambient temperature sensor error
F2 Outdoor coil temperature sensor error
F3 Compressor discharge temperature sensor error
F4 Outdoor unit EEPROM error
F5 Outdoor unit fan speed error
P0 Inverter module IPM error
P1 High or low voltage protection
P3 Outdoor unit low temperature lockout
P4 Compressor drive error
-- Mode conict
P6 Compressor high-pressure or low-pressure switch open
Troubleshooting
 Loading...