

Page 1

Commercial
Touchscreen Thermostat
OWNER’S GUIDE
505,104M
12/2005
©2005 Lennox Industries, Inc.
Dallas, Texas, USA
Commercial
Page 2

2 62-3071¿2
CONTENTS
Features ..................................................................................................................... 3
Main Screen Selections ...............................
............................................................... 4
Programming Heating and Cooling Schedule ............................................................ 6
Operating the Thermostat .......................................................................................... 10
Replacing Batteries .................................................................................................... 15
Cleaning Thermostat Screen ...................................................................................... 18
Reading Outdoor Temperature ................................................................................... 20
Reading Remote Indoor Temperature ........................................................................ 19
Advanced Settings ..................................................................................................... 26
Frequently Asked Questions and Answers ................................................................ 30
IMPORTANT
The thermostat has a touch screen interface. Touch keys appear, as necessary, to
complete tasks. Always press the screen with
a fingertip. Sharp instruments like a
pen or pencil point can damage the thermostat.
Page 3

3 62-3071¿2
FEATURES
time are easy to read and all are displayed on the main screen.
S Menu Driven Programming-Provides guidance through the scheduling process,
showing only necessary information and choices on each screen.
S Ability to Select Multiple Days-allows easy customizing for unique schedules.
daylight savings.
S Armchair Programming-can remove thermostat from wall to set the schedule.
S Precise Temperature Control (+1°F)-reliable, consistent comfort.
S Multiple OVERRIDE options-can modify schedule indefinitely or for a specific
period of time.
S Programmable Fan-increases indoor air quality when combined with air
cleaning equipment.
S Outdoor Temperature Indication-displays current outdoor temperature to help
plan outdoor activities.
NOTE: The main screen can differ slightly, depending on the heating, ventilation and air
conditioning (HVAC) system and the thermostat settings for the system type.
S Real-Time Clock-keeps time during power failure; automatically updates for
S Large, Clear Display with Backlighting-current temperature, set temperature and
Page 4

4 62-3071¿2
Main Screen Selections
SCHEDULEHOLIDAYCLOCKSCREEN OVERRIDE
TUE
AM
FAN
AUTO
SYSTEM
HEAT
Following
Schedule
Inside
M22748A
FAN
SELECTS
ON/AUTO
SYSTEM
SELECTS
HEAT/OFF/
COOL/AUTO
SCHEDULE
ENTERS
SCHEDULING MODE
HOLIDAY
CHANGES TEMPERATURE
SETTING FOR DESIGNATED
NUMBER OF DAYS
SCREEN
LOCKS OUT THE SCREEN TO
ALLOW FOR CLEANING
CLOCK
SETS THE TIME FORWARD OR BACK
UP ARROW
RAISES
TEMPERATURE
SETTING
DOWN ARROW
LOWERS
TEMPERATURE
SETTING
OVERRIDE
SET TEMPORARY
OVERRIDE
Page 5

5 62-3071¿2
Main Screen Display
SCHEDULE HOLIDAY CLOCKSCREENOVERRIDE
TUE
AM
FA N
AUTO
SYSTEM
HEAT
Following
Schedule
Inside
M22749
FAN
SHOWS FAN
SETTING
TUE
SHOWS CURRENT
DAY OF THE WEEK
SYSTEM
SHOWS CURRENT
SYSTEM POSITION
TIME
DISPLAY CURRENT
TIME OF DAY, HOLD
TIME REMAINING
OR NUMBER OF
HOLIDAY DAYS
REMAINING
INSIDE TEMPERATURE
SHOWS THE CURRENT INSIDE TEMPERATURE
SET TO
TEMPERATURE
SHOWS THE
CURRENT
SET
TEMPERATURE
FOLLOWING
SCHEDULE
SHOWS THE
THERMOSTAT IS
FOLLOWING THE
PROGRAMMED
SCHEDULE
Occupied
Page 6
6 62-3071¿2
Programming Heating and Cooling Schedule
The thermostat can control up to four different schedule periods per day:
OCC 1-Work arrival time. Period to keep space at a comfortable temperature.
UNOCC1-Work exit time. Period to keep space at an energy-saving temperature.
OCC 2
−Second occupied period.
UNOCC2
NOTE: Available schedule times are at 15-minute intervals.
Editing Schedule
1.
Press SCHEDULE.
2.
Press EDIT.
NOTES:
¿ The first time a change is
made, the screen appears
mostly blank.
¿ Multiple days can be selected.
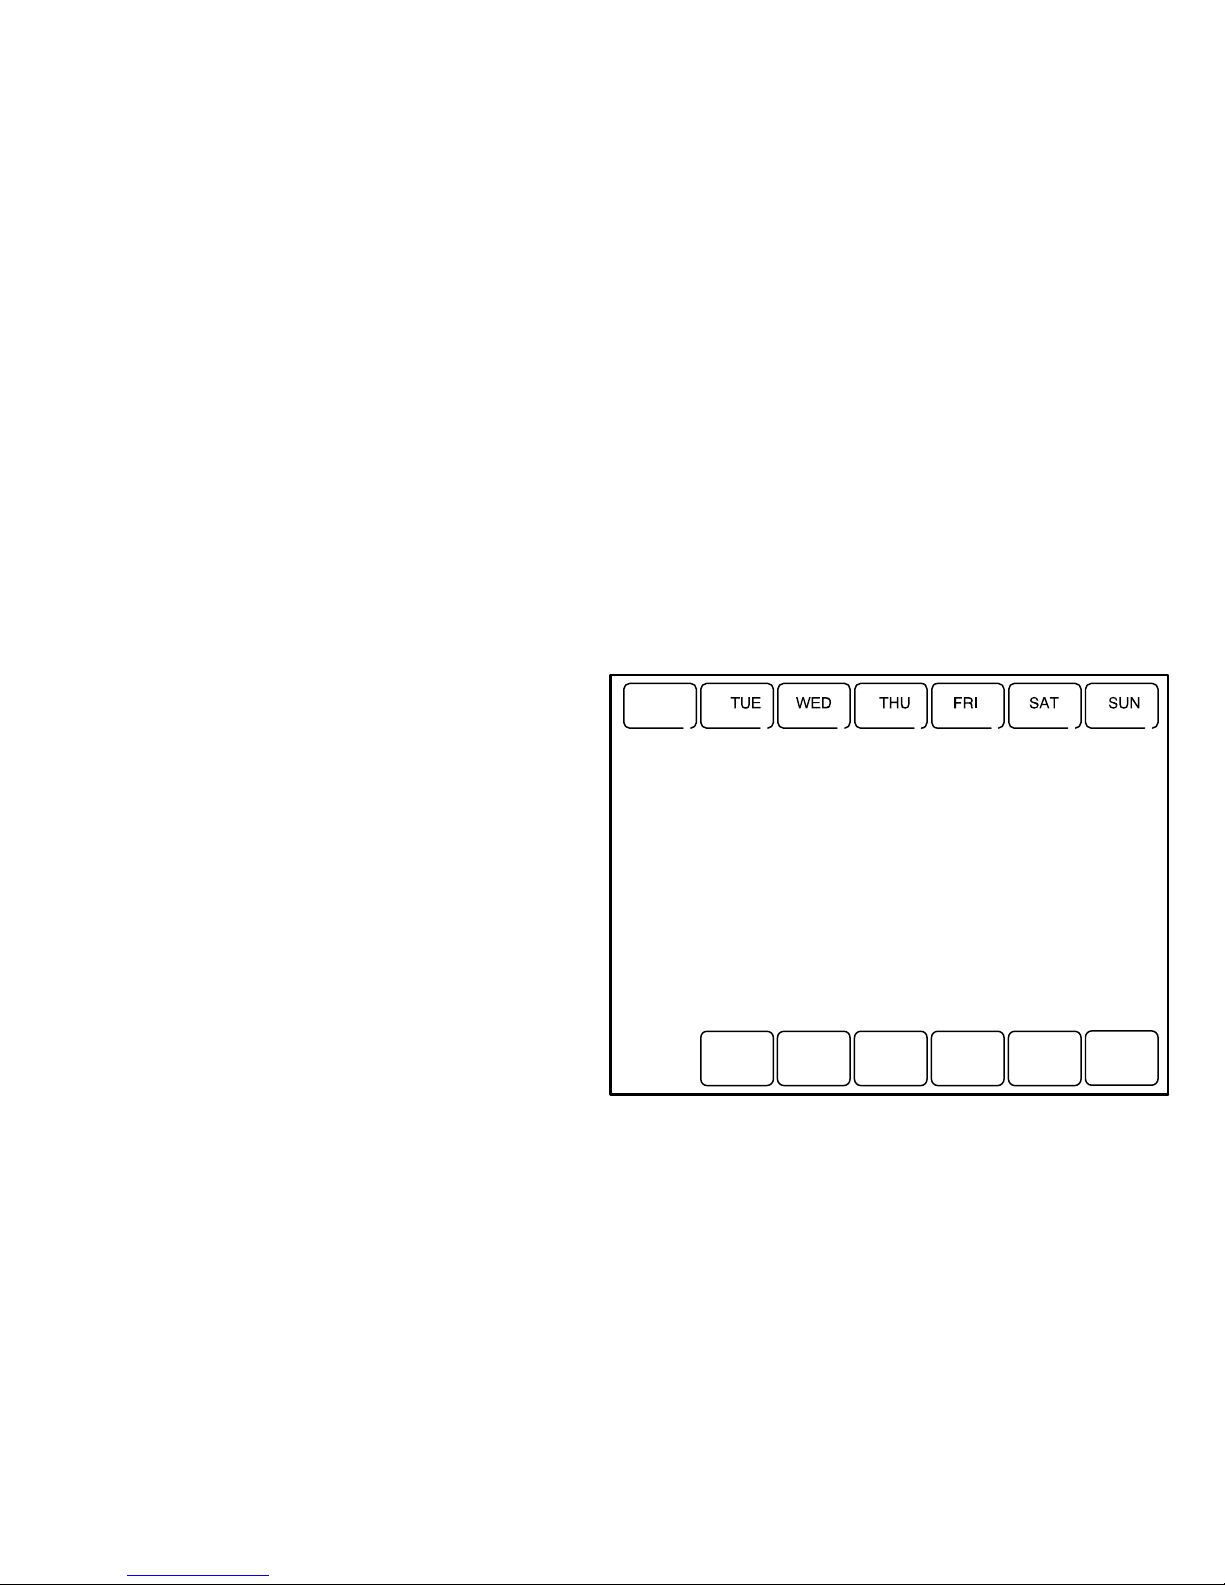
3.
Select any combination of days to
edit.
NOTE: Checkmarks appear next to
selected days. These are
scheduled with identical times and temperatures.
CANCEL
MON
OK TO PICK MULTIPLE DAYS
M19954
−Second unoccupied period.
S
S
Page 7

7 62-3071¿2
4.
Press OCC 1. Once pressed, OCC 1 flashes to show it is selected.
5.
Press Up and Down to modify time
and temperatures from this screen.
NOTE: Fan settings for the selected
period can be programmed for
ON or AUTO. See Fan Schedule
section for more information.
6. Press UNOCC1 and repeat step 5.
NOTE: With default settings, only
OCC 1 and UNOCC1 can
be configured. To use
OCC 2 and UNOCC2, enter
the Installer Setup and
change the appropriate
parameter.
7.
Press OCC 2 and repeat step 5.
8.
Press UNOCC2 and repeat step 5.
MON
AM
FAN
ON
AUTO
CANCEL
PERIOD
HEAT
COOL
OK TO PICK MULTIPLE DAYS
M22750
Page 8

8 62-3071¿2
9.
When complete, press DONE.
SAVING CHANGES appears on the
screen to indicate changes are being
saved to the day(s) modified.
NOTE: To schedule the remaining days
of the week, repeat steps 1-9.
10.
To exit schedule without saving
changes, press CANCEL any time.
Cancelling a Schedule Period
NOTE: To accommodate special needs,
a period can be cancelled.
For example, if the space is always unoccupied during the weekend, cancel all
Saturday and Sunday (occupied and unoccupied) periods. The thermostat then
controls to the final Friday UNNOC temperature until the Monday OCC 1 period.
1.
Press SCHEDULE.
2. Press EDIT.
3.
Select the Day(s) of the week desired.
4. Press the schedule period to cancel (OCC 1, UNOCC1, OCC 2 or UNOCC2). Once
selected, the period flashes.
MON TUEWEDTHUFRI
SAVING
CHANGES
M22751
Page 9

9 62-3071¿2
5.
Press CANCEL PERIOD. The time,
temperature(s) and fan setting
disappear. The bar above the
selected period is removed,
indicating the scheduled period
was cancelled.
NOTE: To reinstate a schedule period,
press an arrow to set desired time
and temperatures.
6. Press DONE.
CANCEL
MON
FAN
HEAT
COOL
OK TO PICK MULTIPLE DAYS
M22752
Page 10

10 62-3071¿2
Setting Time
1.
Press CLOCK.
2. Use arrows to set current time.
3.
Press DONE.
IMPORTANT
The current day of the week
should already be set correctly.
If not, see the Advanced Settings
section to set the day.
Operating the Thermostat
Setting Fan and System
SETTING FAN
Fan selections vary based
on the HVAC system type.
ON-fan runs continuously. Use this setting for improved air circulation or for more efficient
central air cleaning.
AUTO-fan follows fan program schedule. See Fan Schedule section for more information.
DONE
CANCEL
TUE
A
M
M19958
Page 11

11 62-3071¿2
SETTING SYSTEM
The System selections vary
based on the HVAC system type.
HEAT- thermostat controls the heating system.
OFF
- both heating and cooling systems are off.
COOL - thermostat controls the cooling system.
AUTO
Setting Temperature Overrides
There are three temperature override options:
- Hold Temperature Until
- Override, and
- Holiday.
HOLD TEMPERATURE UNTIL
Holds the temperature temporarily until the ti
me set by the user, or the next scheduled
period time.
1.
Press the Up or Down arrow next to the temperature to adjust. The Hold Temperature
Until time appears on the screen. The time defaults to the next scheduled period start time.
- thermostat controls both the heating and cooling systems based on temperature.
NOTE: Time Up and Down arrows are shown for approximately seven seconds.
Pressing the screen time (where the “Hot Temperature Until” time displays)
causes the arrows to reappear.
Page 12

12 62-3071¿2
2.
Press Up or Down arrow next to the
hold time to set desired time for the
thermostat to resume schedule.
NOTE: The installer setup can limit
the length of time for an
override to 1, 2, 3, or 4
hours beyond the current
time.
3.
Press CANCEL or SCHEDULE to
cancel “Hold Temperature Until“ and
resume the schedule.
NOTE: Once the Hold Temperature Until
time is reached, the thermostat
displays “Following Schedule” to indicate that the Hold (Override) has ended.
OVERRIDE
Changes temperature setting until the next period takes effect. For use during Unoccupied
periods.
1. Press OVERRIDE. The settings change by default to the next Occupied period.
NOTE: Changes are limited to those allowed by the lockout level.
2. Press Up or Down arrow to change the override time and temperature.
SCHEDULEHOLIDAYCLOCKSCREEN
CANCEL
TUE
PM
FAN
AUTO
SYSTEM
HEAT
Inside
Hold Temperature
Until
Set
M22753
Occupied
Page 13

13 62-3071¿2
HOLIDAY
Changes temperature setting for a
designated number of days.
1.
Press HOLIDAY. The screen shows
“Hold Temperature Until 1 DAYS”.
2.
Press Up or Down arrow to change
the number of days desired for the
thermostat to override the schedule.
3. Press the Up or Down arrow to
change the desired temperature
for the duration of the holiday.
NOTE: The DAYS Up and Down arrows
appear for approximately seven
seconds. Pressingthe screen just
below Hold Temperature Until
allows the DAYS Up and Down
arrows to reappear.
4. To cancel the Holiday Override early, press CANCEL.
NOTE: When the number of Holiday Override days expires, the screen shows
SCHEDULECLOCKSCREEN
CANCEL
THU
FAN
AUTO
SYSTEM
HEAT
Inside
DAYS
Hold Temperature
Until
Set To
M22754
DONE
Unoccupied
“Following Schedule” to indicate that the Holiday Override has ended.
Page 14

14 62-3071¿2
Fan Schedule
Press FAN while in the SCHEDULE screen to program the system fan. Choices available
from the SCHEDULE screen:
AUTO (default position)-fan runs with equipment. Programmable for all SCHEDULE
periods (OCC 1, UNOCC1, OCC 2 and UNOCC2).
ON
Fan Status Displayed on Main Screen
If the fan program is scheduled, the scheduled mode (AUTO or ON) appears. When the
thermostat is running the fan, the fan blade
symbol appears next to FAN to indicate the
thermostat has the fan on.
Manual Override of Fan Schedule
AUTO-fan is automatically following the FAN schedule (choices are AUTO and ON).
ON
-fan runs continuously (programmable for all SCHEDULE periods).
-overrides FAN schedule. The fan is continuously on.
NOTE: If the thermostat is not controlling the fan-typical for many gas, forced-air heating
systems-the the fan blade symbol will not appear even though the fan may be
running.
Page 15

15 62-3071¿2
Replacing Batteries
Not all thermostat models require batteries.
If the thermostat has batteries, a low
battery warning flashes on the main screen
for approximately 30 days.
NOTES:
¿ If batteries are not replaced
when the Low Battery warning
is flashing, the LO batt screen
displays continuously and the
thermostat stops operating
until batteries are replaced.
¿ The thermostat has a low
battery indicator. However, it is
recommended that you
replace the batteries once
each year. Do this to prevent leak
age and prevent the thermostat and
HVAC system from shutting down due to lack of thermostat battery power.
M22755
-
-
Page 16

16 62-3071¿2
Replace the batteries as follows:
1.
Remove the thermostat
from the base by pulling
it straight out.
2.
Install three new AAA
alkaline batteries with
proper polarization.
NOTES:
¿ Always use AAA
alkaline batteries.
- All programming
(Schedule, Date
and Time) information is retained
during battery
replacement.
WALL
M19919
REMOVE DURING
INSTALLATION
-
-
-
Page 17

17 62-3071¿2
3.
Place the thermostat back on its
base by aligning the terminal screw
blocks with the pins on the back of
the thermostat.
4. Push the thermostat straight onto
the base.
M19918
BATTERIES (3)
Page 18

18 62-3071¿2
Cleaning Thermostat Screen
The thermostat has a touch screen interface. Follow these steps to clean the screen
without making thermostat changes:
1.
Press SCREEN. Thermostat locks
out the keypad for 30 seconds to
allow for cleaning.
IMPORTANT
Do not spray any liquid directly on
the screen. If using household
glass cleaner, spray cleaner on
cloth. Then use the cloth wipe the
screen clean.
2.
Use damp cloth slightly moistened
with water or household glass
cleaner to clean the screen.
3. Repeat above steps, as necessary.
4.
Press DONE to return to the main
screen and normal operation.
NOTE: If no button is pressed for two minutes, the device automatically returns to the
main screen.
OK TO
CLEAN
M22756
Page 19

19 62-3071¿2
Reading Remote Indoor Temperature
If connected to an installed remote indoor
temperature sensor, the thermostat
displays the indoor temperature from the
remote sensor(s).
NOTE: When connected to an installed
remote indoor temperature
sensor, the thermostat internal
sensor is not used.
ONE REMOTE INDOOR SENSOR INSTALLED
If one remote indoor temperature sensor is
used, the screen showing the Inside
temperature reading displays the
temperature at the indoor remote sensor
location.
MULTIPLE REMOTE INDOOR SENSORS INSTALLED
If more than one remote indoor sensor is used, the screen showing the Inside temperature
reading displays the average of all the remote indoor sensors.
Heat On
SCHEDULE HOLIDAY CLOCKSCREENOVERRIDE
MONMON TUE WEDWED THUTHU FRIFRI SASA SUN
AM
FAN
AUTO
SYSTEM
HEAT
Following
Schedule
Inside
Set
OK TO PICK MULTIPLE DAYS SCREEN LOCKED
M22758
Page 20

20 62-3071¿2
Reading Outdoor Temperature
If connected to an outdoor sensor, the thermostat displays the Outside temperature.
VIEW OUTSIDE TEMPERATURE
The Outside temperature is located in the
lower right corner of the main screen. If it is
not on the main screen, view the outdoor
temperature by pressing MORE until the
outside temperature shows.
Heat On
SCHEDULE
HOLIDAYCLOCKSCREENMORE
MONMON TUE WEDWED THUTHU FRIFRI SASA SUN
AM
FAN
AUTO
SYSTEM
HEAT
CHANGE FILTER UV LAMP HUMIDIFIER PAD
Following
Schedule
Outside
Set
OK TO PICK MULTIPLE DAYS SCREEN LOCKED
OVERRIDE
M22757
Page 21

21 62-3071¿2
Screen Locked
Portions of the touch screen interface can
be fully or partially locked. See the
Advanced Settings section for information
to use these features. When the thermostat
displays SCREEN LOCKED, the touch
screen interface is either fully or partially
locked.
Fully Locked Screen
In this mode, the entire interface is locked
and not functional. To unlock screen, see
the Advanced Settings section. The screen
continuously displays SCREEN LOCKED.
Partially Locked Screen
When partially locked:
- Pressing a locked key prompts the screen to indicate SCREEN LOCKED for five to
seven seconds.
- Pressing an unlocked key wi
th SCREEN LOCKED active removes SCREEN LOCKED
from the display.
SCHEDULE
HOLIDAY
CLOCK
SCREEN
OVERRIDE
TUE
PM
FAN
AUTO
SYSTEM
HEAT
Following
Schedule
Inside
Set
SCREEN LOCKED
M22759
Page 22

¿ Pressing HOLIDAY sets the temperature to the Unoccupied setting for the selected
22 62-3071¿2
PARTIAL LOCKOUT 1
This mode locks all keys except HOLIDAY,
OVERRIDE, and temperature Up/Down arrows:
- User can change the temperature setpoint, but cannot change schedule settings.
- The temporary temperature change lasts until next scheduled period. The screen
displays that time.
- User can change the temperature setpoi
nt, but cannot change schedule settings.
period of time. The next Occupied period switches back to the program settings.
- Pressing OVERRIDE sets the temperature to the Occupied setting for the selected
period of time. The next Unoccupied period switches back to the program settings.
- To cancel the temperature override and follow the programmed schedule, press
CANCEL.
¿ To unlock the screen, see Advanced Settings section.
PARTIAL LOCKOUT 2
This mode locks all keys exc
ept HOLIDAY and OVERRIDE:
¿ Pressing HOLIDAY sets the temperature to the Unoccupied setting for the selected
period of time. The next Occupied period switches back to the program settings.
- Pressing OVERRIDE sets the temperature to the Occupied setting for the selected
period of time. The next Unoccupied period switches back to the program settings.
- To cancel the temperature override and follow the programmed schedule, press
CANCEL.
¿ To unlock the screen, see Advanced Settings section.
-
-
-
-
Page 23

23 62-3071¿2
Temperature Recovery
The thermostat is equipped with a feature
to eliminate guesswork when setting a
schedule. That is, the user need not know
the amount of time for the HVAC system to
bring the space to temperature (without
overshoot) prior to the scheduled time.The
thermostat manages that automatically.
Simply set the program schedule to the
desired time to have the space at comfort
temperature. In addition, program the
temperature to this comfort temperature.
The thermostat activates the heating or
cooling at the proper time to reach the
scheduled temperature at the scheduled
time.
NOTE: The setpoint changes gradually to use economical stages and avoid overshoot.
For example-the space will be occupied at 8:00 AM and the desired temperature is 70°F.
Set the OCC 1 period for 8:00 AM and 70°F. The thermostat turns on the heat prior to
8:00 AM to raise the temperature to 70°F by 8:00 AM.
The thermostat provides an alert that the heating or cooling system is coming on before a
scheduled time by displaying “Recovery“ on the screen.
SCHEDULE
HOLIDAYCLOCKSCREEN
OVERRIDE
TUE
PM
FAN
AUTO
SYSTEM
HEAT
Following
Schedule
Inside
Set
Humidity
Recovery
M22760
Page 24

24 62-3071¿2
Setting Calendar
This thermostat is designed to, under normal use, automatically keep current time and day
in memory for up to ten years once the calendar is set. There are two ways to set the
calendar for this thermostat:
SETTING CALENDAR AFTER THERMOSTAT IS ALREADY FUNCTIONING
See steps 1 through 4, in the Advanced Sett
ings section, to set year, month and day.
SETTING CALENDAR WHEN THERMOSTAT IS FIRST POWERED
When first powered, the thermostat proceeds
through a sequence of screens to set the
calendar.
Page 25

25 62-3071¿2
DONE
MON
MON TUE WEDWED THUTHU FRIFRI SASA SUN
CHANGE FILTER UV LAMP HUMIDIFIER PAD
OK TO PICK MULTIPLE DAYS SCREEN LOCKED
DONE
MON
MON WEDWED THUTHU FRIFRI SASA SUN
PM
CHANGE FILTER UV LAMP HUMIDIFIER PAD
OK TO PICK MULTIPLE DAYS SCREEN LOCKED
SET CURRENT DAY
SET MONTH
USE ARROWS TO SET YEAR AND TIME
M22761
Page 26

26 62-3071¿2
Advanced Settings
The thermostat has many advanced
settings to match the HVAC system.
These settings can be adjusted to match
specific needs:
1.
From the main screen, press
SYSTEM. Five blank touch keys
show on the bottom of the screen
between DONE and CANCEL.
2. Press and hold the center blank
key approximately five seconds.
3.
The Setup Number displays to the
lower-left area of the screen. It is a
four-digit code beginning with zero.
The current setting is displayed to
the right.
NOTE: To cycle through the Setup
Numbers, press the up or down arrow.
DONE
CANCEL
TUE
PM
SYSTEM
OFF
COOL
CHANGE FILTER UV LAMP
Following
Schedule
Inside
M22766
Page 27

27 62-3071¿2
Step 1. User Setup Number 0120: First Two Digits of Current Calendar Year.
To change current setting, press the Up
or Down arrow to the right of the twodigit number in the lower right corner of
the screen. Options:
20 - for years 20xx.
21 - for years
21xx.
Step 2. User Setup Number 0130:
Last Two Digits of Current
Calendar Year.
To change Options, press the Up or
Down arrow to the right of the two-digit
number in the lower right corner of the
screen. Options:
01 through 99 - for years 2x 01 through
2x99.
DONE
MONMON WEDWED THUTHU FRIFRI SASA SUN
CHANGE FILTER UV LAMP HUMIDIFIER PAD
OK TO PICK MULTIPLE DAYS SCREEN LOCKED
USER SETUP
NUMBER
CURRENT
SETTING
ADVANCE TO NEXT
USER SETUP
PRESS TO EXIT
USER SETUP
CHANGE THE
CURRENT
SETTING
M22762
Page 28

28 62-3071¿2
Step 3. User Setup Number 0140: Current Calendar Month.
To change Options, press the Up or Down arrowto the right of number in lower right corner
of the screen. Options:
1 through 12 - for January through December.
Step 4. User Setup Number 0150: Current Calendar Date.
To change Options, press the Up or Down arrow to the right of the number in the lower right
corner of the screen. Options: 1 thro
ugh 31 ¿ for first of a month to 31st of a month.
Step 5. User Setup Number 0160: Schedule Options.
To change Options, press the Up or Down arrow to the right of the number in the lower right
corner of the screen. Options:
0 - non-programmable. Thermostat is nonprogrammable.
4 ¿ programmable. Thermostat is fully programmable, allowing all 7 days to be
programmed.
Step 6. User Setup Number 0320: Display Temperature Shown in °F or °C.
To change Options, press the Up or Down arrow to the right of the number in the lower right
corner of the screen. Options:
0 - Fahrenheit.
1 - Celsius.
-
-
Page 29

29 62-3071¿2
Step 7. User Setup Number 0330: Daylight Saving Time On or Off.
To change Options, press the Up or Down arrow to the right of the number in the lower right
corner of the screen. Options:
0 - Off. Thermostat time does not adjust
automatically for Daylight Saving Time.
1 ¿ On. Thermostat time adjusts automatically for Daylight Saving Time in Fall and Spring.
Step 8. User Setup Number 0540: Programmable Periods per Day.
To change Options, press the Up or Down arrow to the right of the number in the lower right
corner of the screen. Options:
2 - 2 periods per day.
4 ¿ 4 periods per day.
Step 9. User Setup Number 0640: Time Format.
To change Options, press the Up or Down arrow to the right of the number in the lower right
corner of the screen. Options:
12 - 12 hour clock.
24 ¿ 24 hour clock.
Step 10. Exit User Setup
Press DONE to exit Advanced Settings and return to the main screen.
-
-
-
Page 30

30 62-3071¿2
Frequently Asked Questions and Answers
Q: Some or all keys on the display do not work; why not?
A:
Thermostat screen is locked.
Q: Backlighting seems dim; is it designed to be dim?
A:
When using batteries for power, install fresh AAA alkaline batteries.
Q: Thermostat is asking for heating or cooling to come on (screen shows -Heat On- or
-Cool On- in display) but there is no heating or cooling running.
A:
Call your local heating and/or cooling contractor to check your heating and/or cooling
system.
Q: Why doesn’t the thermostat respond when I touch the screen?
A: Check to determine if the screen is in the Locked or Clean mode. See Screen Locked
and Cleaning Thermostat Screen sections.
Q: The thermostat only allows selection of one day to program. Why is this?
A: Check the screen to ensure it shows OK TO PICK MULTIPLE DAYS.
You may need to simply press EDIT.
 Loading...