

Page 1

507503-02
6/2018
Supersedes 5/2017
ComfortSense® 7500 Thermostat
User Guide
Page 2

2
Table of Contents
Features................................................................2
Home Screen Temperature Indicator .................3
Home Screen Information ...................................3
Operating Mode Selection ..................................6
Fan Operation ................................................................ 6
User Menu Screen ...............................................7
Notications .................................................................... 7
Reminders ...................................................................... 8
Performance Report ....................................................... 8
Edit Schedules ............................................................... 8
User Settings Menu ...........................................10
Features
The ComfortSense® 7500 Series thermostat is an
electronic 7-day, universal, multi-stage, programmable, touchscreen thermostat. It also offers enhanced
capabilities including humidication/dehumidication/dew point measurement and control, Humiditrol® EDA (Enhanced Dehumidication Accessory)
control, and equipment maintenance reminders.
• Large, clear color display that shows the current
and set temperature, time, indoor relative
humidity and outdoor temperature (if optional
outdoor sensor is installed and enabled).
• Dehumidication measurement and control.
• Humiditrol® EDA capability.
• Dew point adjustment control.
• Ergonomic design.
• Smooth Setback Recovery starts system early to
achieve setpoint at start of program period.
• Compressor short-cycle protection (5 minutes).
• Real-time clock keeps time during power failures
and automatically adjusts for daylight savings
time and leap year.
• Maintenance reminders let user know when
to service or replace lters, humidier pads,
ultraviolet lamps, plus two user or installer dened
custom reminders.
• Program Hold options allow user to override the
program schedule as desired by time and date.
• Select individual days or groups of days to set
programming.
• Programmable fan offers increased performance
when combined with whole home indoor air
quality products.
Page 3

3
Home Screen Temperature Indicator
2:31 am
heat−to
cool−to
80
inside
57%
heat/cool
away
72°
78°
outside
89°
waiting
0
Ⓒ
Ⓑ
Ⓐ
Ⓔ
Ⓓ
Ⓕ
Figure 1. Temperature Dial Feature
A. This is the heat set point position indicator on
the dial. This object will be red in color.
B. This is the cool set point position indicator on
the Dial. This object will be blue in color.
C. This is the location area where no system
demand is active. In gure 1, the example would
be any temperature between 73°F and 77°F.
D. When there is an active call for heating, this
area of the dial will fade back and forth from
white to red.
E. When there is an active call for cooling, this
area of the dial will fade back and forth from
white to blue.
F. The yellow line indicates the actual room
temperature on the temperature dial indicator.
Home Screen Information
2:31 am
heat−to
cool−to
inside
57%
away
72°
78°
outside
89°
X
0
Ⓒ
Ⓑ
Ⓚ
Ⓐ
Ⓘ
Ⓔ
Ⓕ
Ⓖ
Ⓙ
Ⓓ
Ⓔ
Ⓕ
Ⓗ
80
waiting
Schedule hold
until 8:22 am
schedule 1
Figure 2. Home Screen
Touch the screen to turn on the back-light if it is off.
A. OPERATING MODE - touch to access the
screen that will list available modes. Selectable
modes are heat/cool, heat only, cool only, off,
emergency heat, schedule 1, schedule 2, and
schedule 3. In addition fan operation can be set
to on, auto or circulate.
B. AWAY - Selecting AWAY will allow the user to set
the heating and/or cooling mode temperatures
when away from home. Touch cancel to exit
this screen and return to the home screen and
normal system operations.
C. Displays current time.
D. Menu - This will allow access to notications,
performance report, schedules and settings.
Page 4

4
E. This allows you to set the heat-to (if enabled)
temperature. Selecting the heat-to or
temperature dial position indicator will take you
to the temperature setting detail screen. The
temperature dial will change from white to red
when heating is active.
F. This allows you to set the cool-to (if enabled)
temperature. Selecting the cool-to or
temperature dial position indicator will take you
to the temperature setting detail screen. The
dial will change from white to blue when cooling
is active.
G. Indicates the current indoor humidity percentage
in the home along with a humidity icon (rain
drop). The icon changes based on the humidity
level in the home.
H. This location could display the outdoor
air temperature. What is displayed in that
location depends on what sensor is installed
and congured through the thermostat user
interface. If neither is installed, then this area
will be blank.
I. Displays the current indoor temperature.
J. Indicates the schedule is on hold until the next
time period or permanent.
• Place the schedule on hold by touching on
either the heat-to or cool-to location on the
screen. If an adjustment is required for the
temperature setting, this can be done now.
• After approximately three seconds the
screen will display the override setting
options.
• From the override setting screen, the
options are 1 hour, 2 hour or next scheduled
period. Make selection and then touch set.
• For the 1 or 2 hour setting the home
screen will indicate schedule hold until time
indicated (i.e., 11:57 pm). To exit schedule
hold, touch X
• When until next period is selected, the set
point will be kept until the next program
schedule period. To exit until next period,
touch X.
K. System Status Icons - Equipment operation
information appears along the left side of the
home screen. The displayed icons will indicate
cooling or heating demand, cooling compressor
delay, or cooling demand.
Table 1. System Status Icons
Icon
Description
NOTE: Touching the icon will display a
text description.
Humidifying icon is displayed when
humidifying is occurring. Touching on the
icon will display humidifying next to the
icon.
Dehumidifying icon is displayed when
dehumidifying is occurring. Touching the
icon will display dehumidifying next to the
icon.
Red ames indicates the system is
heating.
Blue ames indicates the system is
cooling.
Page 5

5
Table 1. System Status Icons
Icon
Description
NOTE: Touching the icon will display a
text description.
Snow ake indicates the next mode of
operation will be cooling. Waiting indicates
there is a compressor delay which is by
default ve minutes.
Red ame indicates the next mode of
operation will be heating. Waiting indicates
there is a compressor delay (heat pump
heating) which has a default of ve
minutes and is not adjustable.
Indicates the system is running in
emergency heat mode.
All heat pumps operating in northern
climates below 35°F (1.6°C) normally
need a supplemental heating source.
Usually it is in the form of electric heating
provided by the indoor unit. Other sources
could be gas, oil, or hot-water back-up
systems as well. The supplemental heat
is also referred to as “second-stage” or
“back-up” heating, with “rst-stage” being
the heat pump only. Emergency heat is
when you use your supplemental heat
(2nd stage) by itself, without the use of
your heat pump (1st stage heat). Not
available for non-heat pump systems.
Table 1. System Status Icons
Icon
Description
NOTE: Touching the icon will display a
text description.
Indicates the system is running in auxiliary
heat mode.
Is only available with heat pump system.
If outdoor temperature is above the high
balance point, only the heat pump will
operate - default 50°F (10°C) high. If
outdoor temperature is below the low
balance point, only auxiliary heating will
operate - default 25°F (-4.0°C) low. If
outdoor temperature is in-between the
high and low balance point, both the heat
pump and auxiliary heat sources can
operate.
Transitioning to next schedule
temperature setting. This icon will only
appear if smooth setback recovery is
enabled under the installer setup. When
enabled, it will begin recovery up to two
hours before the programmed time so that
the programmed temperature is reached
at the corresponding programmed event
time. Assume 12°F per hour for gas/
electric heating and 6°F per hour for rst
stage compressor based cooling. When
smooth set back recovery is disabled,
the control will start recovery at the
programmed time set in the schedule.
Page 6

6
Operating Mode Selection
Touch anywhere in the area indicated below to select how the system will operate.
2:31 am
heat−to
cool−to
78
inside
57%
schedule 1
away
72°
78°
outside
69°
0
Figure 3. Operating Mode Selection
Select Modes
1. HEAT/COOL allows the thermostat to switch
between heating and cooling automatically.
2. HEAT ONLY allows only heating demand.
3. COOL ONLY allows only cooling demand.
4. OFF indicates system has been turned off.
5. EMERGENCY HEAT allows heat pump system
to use a secondary heat source to come on
and reach the desired user temperature setting
faster.
6. SCHEDULES (1, 2 or 3) See Edit Schedules on
page 13 for customizing schedules).
7. ON, AUTO and CIRCULATE - Select by
touching the desired fan operation ON, AUTO
and CIRCULATE. When selected a green check
mark will be indicated.
If FAN mode AUTO, ON or CIRCULATE is selected
during scheduling for the current period, the thermostat will indicate the current fan mode in the information display (FAN ON or FAN CIRC). In the
CIRCULATE mode, the fan will follow the setting
congured under menu > settings > fan >select
fan mode. Under circulate the circulate off time can
be set from 1 to 30 minutes.
Fan OperatiOn
The desired fan mode can be selected in addition to
selected mode of operation.
Table 2. Fan Operation
Icon Mode Description
on
Fan is NOT following the
schedule and runs continuously until it is changed from
the select mode.
auto
Fan will follow the fan setting
in the selected schedule.
Page 7
7
Table 2. Fan Operation
Icon Mode Description
circulate
Fan is following schedule
and cycles during periods
of equipment inactivity. Circulate off time is set by the
user.
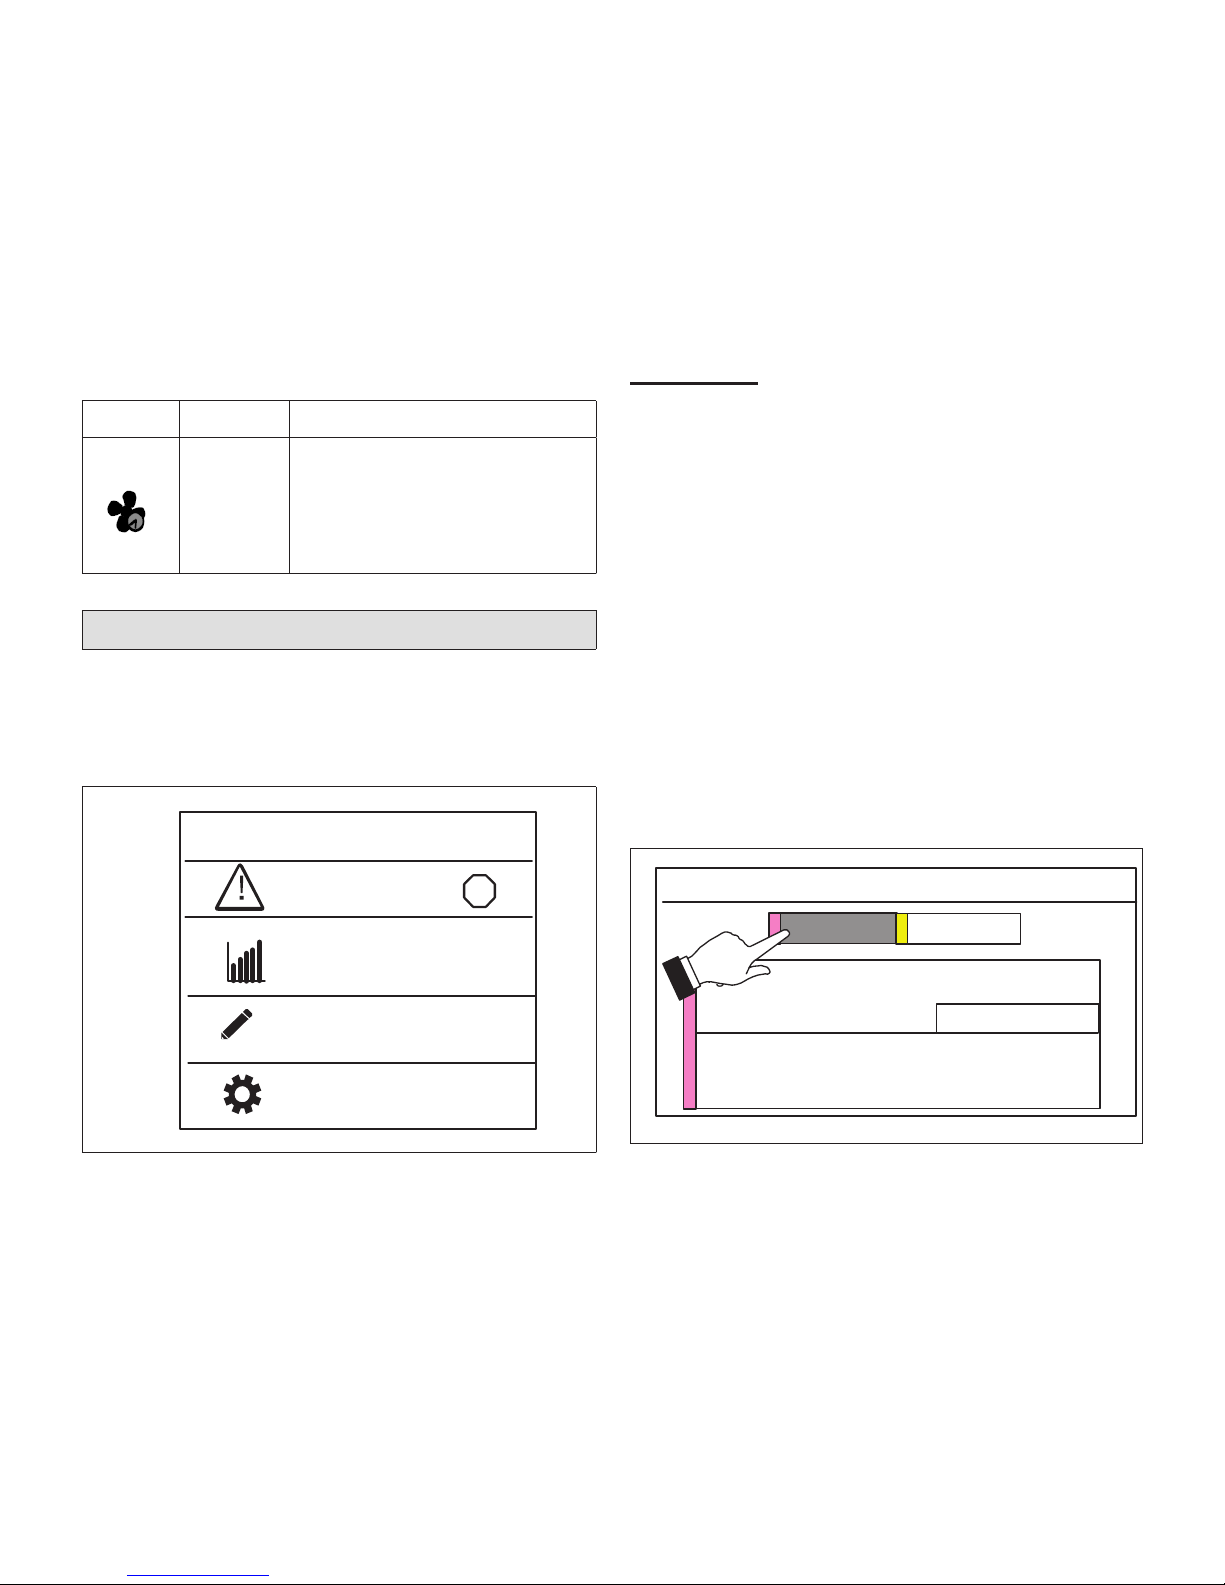
User Menu Screen
Touch the three lines in the upper right-hand corner of the screen to access the menu. Selectable
options under menu are notications, performance
report, edit schedules and settings.
menu
performance report
notifications
13
edit schedules
settings
Figure 4. User Menu Screen
nOtiFicatiOns
When a system error or reminder occurs, a pop-up
screen will appear indicating the condition.
• Error code notication pop-up can be dismiss by
touching the back button. Contact the dealer to
resolve the issue.
• For notication, touch either clear or set a future
reminder.
• Any active history for notications (critical errors
or reminders will be listed under settings >
notication.
• If critical errors occur, they will also be displayed
under notications as illustrated in gure 5.
• Touch the contractor info option for assistance.
notifications
high temperature protection
error code: 0004
<
05/22 12:23pm
dealer info
critical
reminders
Figure 5. Critical Notications
Page 8

8
reminders
When reminders occur, they will also be displayed
under notications as illustrated in gure 7. Touch
the clear or remind later to redisplay active reminder
for 1 day, 1 week, 1 month, 3 months or a custom
date.
notifications
critical
media filter
<
reminders
05/22 12:23pm
Clear remind later
Figure 6. Reminder Notications
perFOrmance repOrt
This will display the total number of hours each
month that the system has been running. Example
would be for mar (March) 23H or 23 hours. To return to the menu screen, touch the house icon in the
upper left-hand corner of the screen. Red bar indicates heating and blue indicates cooling hours ran.
edit schedules
Any schedule can be edited by touching the right
arrow next to the desired schedule.
edit schedules
>
schedule 1
schedule 2
schedule 3
>
>
<
Figure 7. Edit Schedules Screen
NOTES: See “Operating Mode Selection” on page
6 to run a specic schedule.
From the HOME screen touch the MENU and touch
edit schedules option.
The edit schedules screen will allow section of up
too three separate schedules. On the edit schedules
screen, each schedule can be renamed and edited.
See “Figure 8. Renaming and Editing Schedules”
on page 9.
Page 9

9
NOTES: The fan mode that is selected under the edit schedules screen will always override the fan mode
selected under the select mode screen or user settings > fan screen if different
For example, if the select mode fan setting or user settings > fan is congured for Auto, and the schedule
fan mode is set to circulate, then the system will follow the fan mode selected in the active schedule.
edit schedules
schedule 1
schedule 2
schedule 3
schedule x
(rename)
select days
select mode
select days
individual days
week/weekend
all 7 days
select mode
heat/cool
heat only
cool only
individual
days
monday
tuesday
wednesday
thursday
friday
saturday
sunday
wake
leave
home
night
week /
end
week
weekend
all 7 days
all days
wake
(rename)
time
cool-to
heat-to
fan
cool-to
and/or
heat-to
time
fan
select fan mode
select time or
delete period
If period
deleted
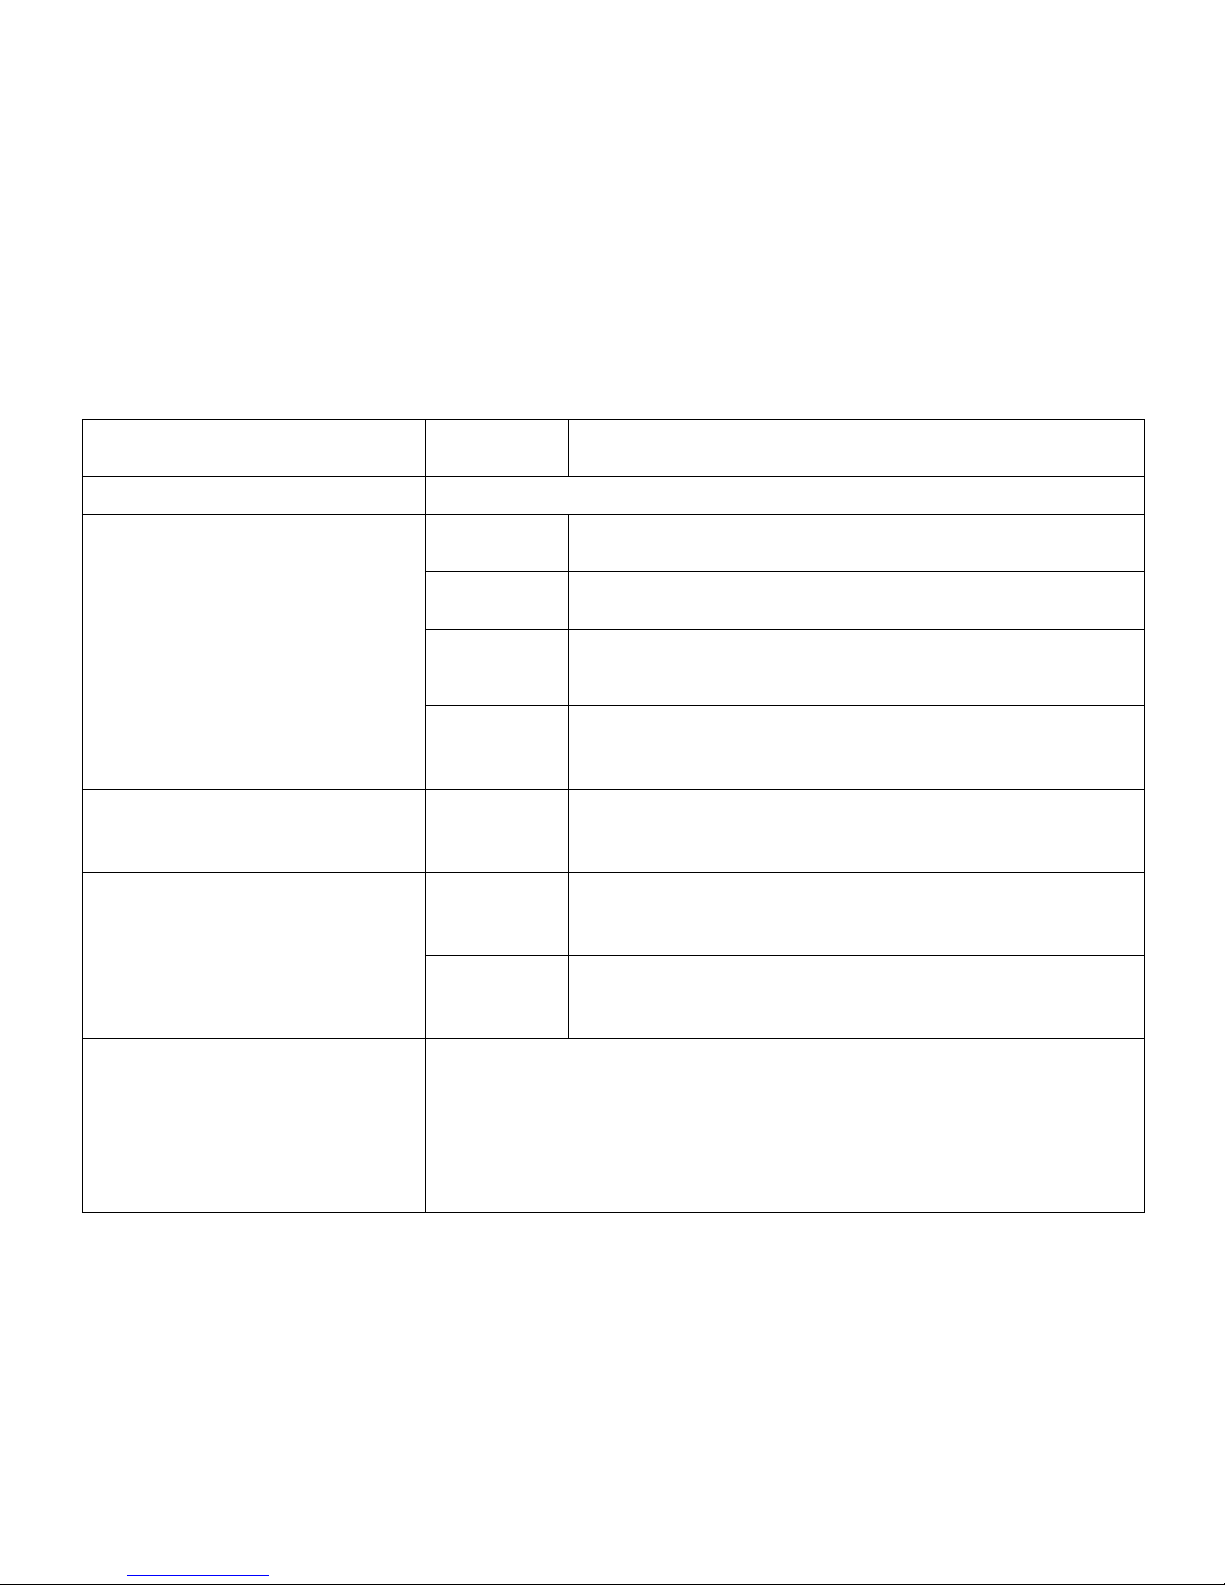
* A maximum of four time periods can be used. If
any time periods are deleted, an option to add a
time period back will appear on this screen.
*
To navigate to the next
screen in the selection
process, al ways touch the
sired option.
>
Figure 8. Renaming and Editing Schedules
Page 10

10
User Settings Menu
user settings
>
fan
heat/cool
humidity>
>
<
reminders
general
display
>
>
>
Figure 9. User Settings Menu
Page 11
11
Table 3. User Settings (General)
Setting Selection Function Description
fan See “Fan Operation” on page 6.
heat / cool (either heat pump, gas
or electric heating is selected)
normal
Heats home to desired tempera ture setting. Options are on
or off.
comfort
If system is two-stage heating or cooling, then 2nd stage is
locked in until demand is satised.
emergency
heat
Bypasses the rst stage of heating (any stage[s] of heat pump
heating) and goes directly to the heat stage used for maximum
heating to more quickly warm a very cold house.
set point
range
Heating limit with a default of 0°F. Range is 45°F to 90°F
Cooling limit with a default of 45°F. Range is 45°F to 99°F
cool only (option only appears if no
heating equipment is avail able or
congured)
set point
range
Cooling limit with a default of 45°F. Range is 45°F to 99°F
humidity - Allows selection of
humidity mode which is humidier
only, dehumidier only or both
(humidier + dehumidier). (option
only available if equipment installed
and congured.)
humidify
Options are ON and OFF. Allows humidity setting adjustment
between 15% to 45%. Default is 45%.
dehumidify
Options are ON and OFF. Allows dehumidify adjustment
setting between 45% to 60%. Default is 50%.
reminders - Items on this list are by
default disabled.
Media lter, humidity pad, routine system check up, UV lamp, metal insert for
PureAir and customer reminders 1 and 2*.
Options for each reminder are disabled (default), 3mon, 6mon, 12mon, 24mon
or a custom duration by specic date can be set. Once set an “expires on xx/
xx/xx (date) will be displayed next to the function.
*Custom reminders 1 or 2 may have been renamed by the installer.
Page 12

12
Table 3. User Settings (General)
Setting Selection Function Description
general - provides information
about the thermostat and settings
for screen lock, date & time and
language.
about
Displays information concerning thermostat model number,
serial number, hardware and software revisions.
screen lock
Setting options are unlocked, partially, and locked.
To set partially lock, create a three digit code. Partially lock
restricts access to the menu.
To set locked, create a three digit code. Lock restricts access
to anything on the screen.
NOTE: Partially Lock and Locked is set for one instance only.
Either would need to be set each time it is desired to
partially locked or locked the screen. Master code is
864 in case user forget their custom code.
date & time
Settings for 24-hour clock (military), daylight savings, set time
and date.
language
Languages available are English, Spanish, Portuguese and
French.
display - Allows the user to control
some information that is displayed
on the home screen.
screen saver
Options are enable and disable. Default is enabled. When
enabled only the time and inside temperature is displayed on
the screen. Touching the screen will restore all other details.
The back light setting is also on the same screen. Options are
continuous on or energy save. Default is continuous on.
screen
brightness
A horizontal adjustment bar is provided to move from minimum
to maximum brightness.
temperature
scale
°F for Fahrenheit or C° for Celsius.
clean screen This will disable the touchscreen for 30 seconds.
 Loading...