

Page 1

PA-1500
PORTABLE SOUNDSYSTEM WITH 2x
USB AND BUILT-IN MIXER
Instruction manual
For information and support, www.lenco.eu
LENCO_PA-1500_IM_ENG_V1.0
Page 2
2
SAFETY INSTRUCTIONS
1.
2.
3.
4.
5.
6.
7.
8.
9.
10.
11.
12.
13.
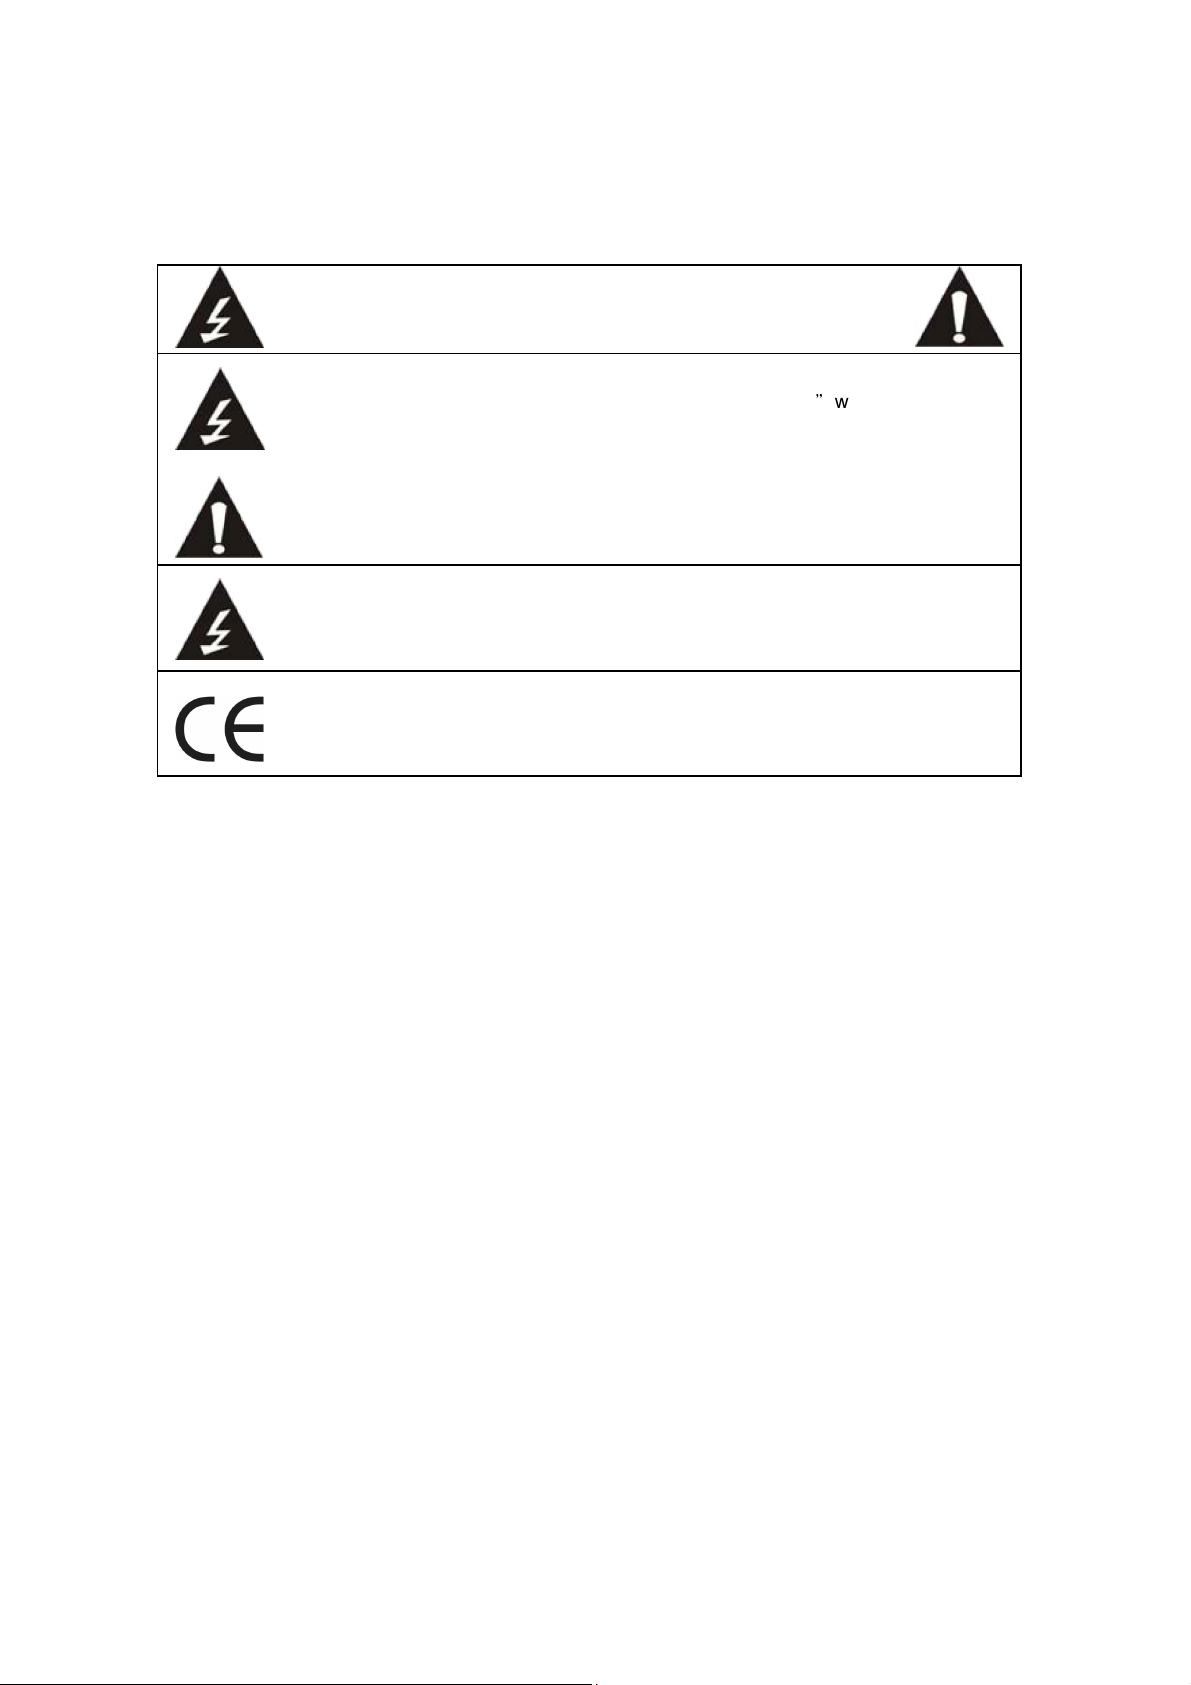
RISK OF ELECTRIC SHOCK
DO NOT OPEN
The lightning flash with arrowhead symbol inside an equilateral triangle is intended to
alert user of the presence of an insinuated hazardous voltage"within the product’s
enclosure, which maybe of sufficient magnitude to induce a risk of electric shock to
persons.
The exclamation mark inside an equilateral triangle is intended to alert user that
important operating and maintenance (servicing) instructions are present in the
booklet accompanying the product.
CAUTION: TO REDUCE THE RISK OF ELECTRIC SHOCK, DO NOT REMOVE
COVER (OR BACK).
NO USER-SERVICEABLE PARTS INSIDE.
REFER SERVICING TO QUALIFIED PERSONNEL.
This unit complies with European safety and electrical interference directives
Read and follow all instructions. Pay attention to all warnings and keep this
booklet for future reference.
Do not use this apparatus near water.
Clean only with dry cloth.
Do not block any ventilation openings. Install in accordance with the
manufacturer’s instructions.
Do not install near any heat sources such as radiators, heat registers, stoves or
other apparatus (including amplifiers) producing heat or high temperatures.
Do not place objects on the power cord, do not walk over the power cord. If the
power cord is damaged do not use it anymore.
Only use attachments/accessories specified by the manufacturer.
Use only with the cart, stand, tripod, bracket, or table specified by the
manufacturer or sold with the apparatus. When a cart is used, use caution when
moving the cart/apparatus combination to avoid injury from tip-over.
Unplug this apparatus during lightning storm or when unused for a longer period
of time.
Refer to qualified service personnel only when servicing is required. Servicing is
required when the apparatus has been damaged in any way. When a powersupply cord or plug is damaged, liquid has been spilled in or on the apparatus,
objects have fallen into the apparatus, the apparatus has been exposed to rain or
moisture, does not operate normally or has been dropped.
The apparatus must not be exposed to dripping or splashing. No objects filled
with liquids, such as vases, should be placed on the apparatus.
The MAINS plug or an appliance coupler is used as a disconnect device, which
shall remain readily operable.
The equipment must be connected to a MAINS Socket outlet with a protective
grounded connection.
CAUTION
Page 3

3
Warnings
WARNING: The USB memory stick should be plugged into the unit directly. Don’t
use an USB extension cable because it can cause interference resulting in failing
of data.
WARNING: long term exposure to loud sounds from personal music players may
lead to temporary or permanent hearing impairment. When participating in traffic,
listening to an personal music player makes the user less aware of ambient
sounds. This can cause danger to the user of other road users.
Notes
Lenco reserves the right to alter product specifications without prior notice.
Lenco is not responsible for printing errors in this manual.
Lenco is not liable for any consequential damage
This instruction manual is subject to change without notice
Box content:
1x Main unit
1x AC power cable
1x Microphone
1x Microphone stand
1x Instruction manual
IMPORTANT NOTE: If there are parts missing in the box please contact your
dealer as soon as possible.
Page 4

4
Dear Customer,
Thank you for purchasing the Lenco PA-1500 portable audio system.
The PA-1500 enables you to make a party everywhere because the PA-1500
contains of
a twin USB MP3/WMA player
a mixer
an amplifier
an equalizer
a 792 jingles player
three speakers and more…
Just plug in your USB stick and play your MP3/WMA files without the need of a
computer. Via the AUX input you can connect other devices such as an iPod,
iPhone, iPad or a CD player.
Lenco PA-1500 portable audio system features a powerful speaker system. A
solid and portable construction and a removable microphone stand with wheels
make the Lenco PA-1500 the ideal product to make the party anywhere. You can
play music and mix songs on two different USB’s with the DJ-style cross fader
and sing or rap with just one portable unit: the Lenco PA-1500.
Lenco PA-1500 features 792 programmed jingles with a loop and pitch control to
match any beats, 99 banks with clear category selection will let you inject the
JINGLES at any time , drum your sounds using the 8 rubber pads.
Change your voice with the vocal changer and heat the dance floor like a
professional DJ. The Lenco PA-1500 will make the party. The PA-1500 is easy to
move and easy to use.
Features
Dual USB MP3/WMA Player with LCD
Supports USB pen up to 32GB (more than 5000 songs)
792 built-in jingle sounds, with loop and adjustable tempo (+/- 30 %)
8 rubber pads to drum the jingles on the FLY
Adjustable Vocal Changer
Recessed wheels and handles for easy transportation
Heavy-duty construction
3 Way System – Bass REFLEX
3-Band Equalizer on Master output
MASTER OUT for power upgrade
AUX Input to mix with your external music source
Page 5

5
Table of content
SAFETY INSTRUCTIONS................................................................. 2
Warnings ........................................................................................... 3
Notes ................................................................................................. 3
Box content: ...................................................................................... 3
Features ............................................................................................ 4
Layout of the PA-1500 ....................................................................... 6
System installation ............................................................................ 7
Operation .......................................................................................... 8
LCD Display .................................................................................... 11
Extra information about USB sticks ................................................. 12
Replacing the fuse........................................................................... 13
Technical specifications .................................................................. 14
Service and support ........................................................................ 14
Jingles sound list ............................................................................. 15
Page 6

6
Layout of the PA-1500
Fig. 1
Page 7

7
System installation
The Lenco PA-1500 is an ALL-IN-ONE ready to use audio system. Simply place
the Lenco PA-1500 on a straight and solid surface.
1.
Check if the power ON/OFF switch (number 3 in Fig. 2) is in OFF position.
If not, you need to turn the switch in OFF position.
2.
Depending on the country where you are using the unit you need to switch
the voltage selector (number 2 in Fig. 2) between AC range 100~120V AC
60Hz or 220~230V AC 50Hz
3.
Connect the power cable to the unit and AC outlet (number 1 in Fig. 2 or
to Fig. 3).
Note: Here you find a built in fuse, if it is damaged you can replace it with a fuse that has
the same specifications, see chapter replacing the fuse.
4.
Connect the microphone stand to the main unit and plug the microphone
in the MIC1 connection (Fig. 3).
5.
Place the power ON/OFF switch in ON position. Now the unit is ready for
use!
Fig. 2
Fig. 3
Page 8

8
Operation
When the power switch (number 3 in fig. 2) is turned ON the unit will start up and
the message WELCOME! will be displayed on both LCD displays.
The front panel
Fig. 4
1.
Mic Stand: Screw the microphone stand here.
2.
Mic 1: Connect a 6.35mm unbalanced or XLR balanced microphone here.
3.
Headphone: Connect a ¼” stereo headphone here. Use the phone level
knob to adjust the volume level of the headphone. Turn the knob left to
decrease the volume and turn it right to increase the volume. The rated output
is 0dB. The volume of the headphone is depending on the cross fader
settings. See point 15 for more information about the cross fader.
4.
AUX IN: Connect the RCA jacks to an external audio device.
Note: RCA Cable not included.
5.
Master OUT: Use the RCA jacks to connect the PA-1500 with an external
amplifier.
Note: RCA Cable not included.
Page 9

9
6.
USB Sockets: Connect an USB device (up to 32 GB) to the MP3/WMA files.
There are 2 sockets, USB 1 (left) and USB 2 (right).
7.
Equalizer: Adjust the levels of the low (bass) / middle / high (treble) tones for
the master output.
8.
Mic Level: Turn to the left to decrease the microphone output volume. Turn to
the right to increase the volume.
9.
Jingle level: Turn to the left to decrease the jingle output volume. Turn to the
right to increase the volume of the jingle.
10.
Master: Turn to the left to decrease the master output volume. Turn to the
right to increase the volume.
11.
Voice changer: Set this switch in ON position to activate the voice changing
function. When this function is active your voice will be changed when
speaking through the microphone. Set the switch back into off position to
deactivate the voice changing function. See 13 for the voice changer effects.
12.
Mic tone: Turn it clockwise for more treble and less bass, turn this knob
counter clockwise for more bass and less treble.
13.
Voice changer selection knob: Set the voice changer effect from down pitch
-3 “DN3” to higher pitch +3 “UP3”. There is also a robot voice function “ROB”.
14.
USB Vol 1: Turn to the left to decrease the USB 1 output volume, turn to the
right to increase the volume.
15.
Cross fader: Control the level of the audio signal from USB 1 and USB 2 to
the master output, and in reverse direction to the head-phone output. For
example:
When the cross fader is for 100% at USB 1 you will hear USB 1 for 100% over the master
output and USB 2 for 100% over the headphone.
When the cross fader is for 75% at USB 2 you will hear USB 2 for 75% and USB 1 for
25% over the master output. Over the headphone you will hear USB 1 for 75% and USB
2 for 25%.
16.
Output power indicator (USB1): The left column is the pre-fader level of
USB1. When the red LED is on you need to adjust the volume/gain to avoid
unwanted distortion or damage to the speakers.
17.
Talk over: Set this switch in ON position to activate the talk over function.
When this function is activated all audio (except the microphone output) over
the master output will be muted when the microphone is used. The audio over
the headphone continues as normal. Set the switch back into off position to
deactivate the talk over function.
18.
Jingle: Set this switch in ON position to activate the jingle over function.
When this function is activated all audio (except the jingle output) over the
master output will be muted when a jingle is played. The audio over the
headphone continues to play as normal. Set the switch back in off position to
deactivate the jingle over function.
19.
USB Vol 2: Turn to left to decrease the USB 2 output volume. Turn it to the
right to increase the volume.
20.
Output power indicator (USB2): The right column is the pre-fader level of
USB2. When the red LED is on you need to adjust the volume/gain to avoid
unwanted distortion or damage to the speakers.
Page 10

Point 21-26 are for USB1
21.
LCD display: This display shows all necessary information about the track
that is being played. For a detailed explanation of this function see chapter
LCD Display.
22.
Play / pause: Press this button to play or pause the playback.
23.
A-B: This function creates a loop beginning at point A and ending at point B.
Press A-B button to set point A, press A-B button again to set point B. The
PA-1500 will now start to play the loop. When you press A-B again the loop
will end.
24.
Select: Turn to the left to go to the previous song, turn to the right to go to the
next song. Push and turn it to browse between the folders. Push it again to
select the folder, see number 6 in the part explanation of the display in
chapter LCD display.
25.
Next: This button has multiple functions.
Press it once to go to the next track. When you are at the last track of a
folder you automatically go to the next folder.
Press and hold for fast forward.
26.
Previous: This button has multiple functions.
Press it once to go to the previous track, When you are at the first track of
a folder you automatically go to the previous folder.
Press and hold for fast backward.
Point 27-32 are for USB2
27.
LCD display: This display shows all necessary information about the track
that is being played. For a detailed explanation of this function see chapter
LCD Display.
28.
Play / pause: Press this button to play or pause the playback.
29.
A-B: This function creates a loop beginning at point A and ending at point B.
Press A-B button to set point A. Press A-B button again to set point B. The
PA-1500 will now start to play the loop. When you press A-B again the loop
will end.
30.
Select: Turn this button to the left to go to the previous song. Turn it to the
right to go to the next song. Press and turn it to browse between the folders
press it again to select the folder, see number 6 in the part explanation of the
display in chapter LCD display.
31.
Next: This button has multiple functions.
Press it once to go to the next track, when you are at the last track of a
folder you automatically go to the next folder.
Press and hold for fast forward.
32.
Previous: This button has multiple functions.
Press it once to go to the previous track, when you are at the first track of
a folder you automatically go to the previous folder.
Press and hold for fast backward.
10
Page 11

33.
LED display & jingle trigger: The 2 digit LED display displays the active
jingle bank folder, the PA-1500 has 99 different jingle bank folders containing
792 different jingles. Press button 1-8 to trigger a jingle.
When the loop mode is off the jingle pads are retriggerable.
When the loop mode is on the you can start / stop the jingle playback.
34.
Jingle tempo: Turn it clockwise to increase the tempo of the jingle up to
+30%. Turn counter clockwise to decrease the tempo of the jingle with a max
of -30%. If you press the button the default tempo will be restored.
35.
Bank select / loop: You can turn this knob clock/counter-clockwise to browse
through the different Jingle bank folders. Press this button to activate the
jingle loop function. Press the button again to deactivate the loop function.
See chapter jingles sound list for a list of the jingle bank folders and the
variety of jingles in the folders.
LCD Display
If there is no or a wrong USB stick plugged in, this display (fig. 5) will be shown:
Fig. 5
If a USB stick is plugged in, the PA-1500 will start to read the content and the
message “reading” is shown on the display. After the reading is completed the
PA-1500 will start to play the content automatically, fig. 6 is shown on the display.
Fig. 6
11
Page 12

Explanation of the LCD Display
Fig. 7
1. Song title: Here the ID3 tag information will be shown. If there is no ID3 tag
information available the file name will be shown.
2. A-B: When the A-B button is pressed for the first time “A-“ will be shown on
the display. When the A-B button is pressed twice “A-B” will be shown on the
display. This means that the A-B loop is active.
3. Play/Pause: this shows when a track is playing or is in paused position.
4. Time: This shows the current playback time.
5. Track number: Before the “/” the track number is shown. Behind the “/” the
number of tracks in the folder is shown.
6. Folder number: Here the active folder is displayed. F00 is the root directory.
The folder numbers are assigned alphabetically.
Example: folder name AA is F01, AE is F02 and B is F03
Extra information about USB sticks
99 files or folders can be set up in the root directory and 99 files can be placed in
each folder. You can create 99 folders in the root directory. Folder in folder is not
allowed because this will ultimately jam the PA-1500. See picture 8 for the
allowed folder structure.
Fig. 8
12
Page 13

USB Stick specifications & file specifications
Supported file types………………………………………………………..MP3 / WMA
Sampling frequencies………………………….…………….22.05/24/32/44.1/48kHz
Bit rate…………………………………..…………….…………………….32-320 kbps
Max. supported size……………………………………………………………….32GB
USB Classification……………………….…………….USB 2.0 mass storage device
Replacing the fuse
If the PA-1500 does not start up anymore you can check whether the fuse is
intact. Before taking out the fuse compartment always disconnect the power for
your own safety To take out the fuse, use a screwdriver to remove the lid and pull
it towards you. See fig. 9.
Fig. 10
You can remove the fuse by pulling it down, see
fig. 10. Fuse 1 is the fuse that is being used, fuse
2 is a spare fuse. You can remove fuse 2 by
pushing it out of the lock. The replacement fuse
must be of the same specifications as the original
one.
Fig. 9
13
Page 14

Technical specifications
Rated output power……………………………………………..100 Watt at THD=1%
Speakers…………………………………………………………...….2 x 10” @ 8 Ohm
High frequency driver………………………………………….…………1.35” Tweeter
Frequency response……………………………………………………….20Hz-18kHz
MIC input sensitivity……………………………………………………….………10mV
S/N ratio…………………………………………………………………….……..≥75 dB
Talk over………………...……………………………………………………..….≥-13dB
Master output……………………………………………………………………1500mV
Power supply………………………………...……..100V-120V/220V-240V~50/60Hz
(depends on distribution area, please refer to the back panel of the PA-1500)
Power consumption…………………………………………….……………≥ 150 Watt
Dimensions (W x D x H) mm……………………………..……………..340x340x900
NET Weight………………………………………………………………………25.8KG
Service and support
Lenco offers service and warranty in accordance to European law, which means
that in case of repair (both in and outside the warranty), you should contact your
local dealer. Please note: It is not possible to send repairs to Lenco directly
Lenco helpdesk:
Germany 0699- 5307177
The Netherlands 0900-BELLENCO (0900-23553626)
Belgium 02.620.01.15
France 0170480005
The helpdesk is accessible from Monday till Friday from 9 AM till 6 PM.
In case your device needs repair our helpdesk will redirect you to your local
dealer.
14
Page 15

Jingles sound list
10 Drum loops
50
Jingles
90
Ambience loops
22 Live room
62
Orchestral
39 Atmosphere
79
Female vocal
Bank
1 Moving filter 41 Arpeggio 81 Male vocal
2 Sequence filter 42 Jazz 82 Male vocal
3 Flamenco 43 Bass loop 83 Male vocal
4 Flamenco 44 Bass loop 84 Male vocal
5 Flamenco 45 Sweep 85 Male vocal
6 Latin 46 Hip-Hop song 86
7 Percussion 47 Lead 87
8 Trumpets 48 Chords 88 Robot voice
9 Pianos 49 German Folk 89 Robot voice
11 Dance beat 51 Jingles 91 Explosion guns
12 Hip-Hop beat 52 Jingles 92 Police
13 Hip-Hop beat 53 Jingles 93 Police
14 R & B beat 54 Jingles 94 Airport
15 Guitar 55
16 Guitar 56 Funny voice 96 Transport
17 Guitar riff 57 Funny sound 97 Alarm & Siren
18 Guitar riff 58 Reggae vocal 98 Glass breaking
19 Guitar riff 59
20 Guitar riff 60 Orchestral hit
21 Rock drum 61 Orchestral hit
Type Bank
Type Bank
Applause &
Laugh 95 Transport
Animals and
nature 99 Telephone & bells
Type
Female vocal ad
lib
Female vocal ad
lib
23 live break 63 Orchestral
24 Live stick 64 Oriental
25 Snare roll & robo 65 Noise FX
26 Guitar 66 Noise FX
27 Guitar riff 67 Noise FX
28 Guitar riff 68 Noise FX
29 Guitar riff 69 Noise FX
30 Guitar riff 70 Flute
31 Scratching 71 Disco vocal
32 Scratching 72 Disco vocal
33 Scratching 73 Disco vocal
34 Scratching 74 Hip-Hop vocal
35 Scratching 75 R&B vocal
36 Scratching 76 R&B vocal
37 Bass+DJ 77 R&B vocal
38 Bass+DJ 78 R&B vocal
40 Arpeggio 80 Female vocal
© All the Jingle sound samples are copyrights reserved
By and
15
Page 16

This symbol indicates that the relevant electrical product or
battery should not be disposed of as general household waste in
Europe. To ensure the correct waste treatment of the product
and battery, please dispose them in accordance to any
applicable local laws of requirement for disposal of electrical
equipment or batteries. In so doing, you will help to conserve
natural resources and improve standards of environmental
protection in treatment and disposal of electrical waste (Waste
Electrical and Electronic Equipment Directive).
For information and support, www.lenco.eu
16
 Loading...