

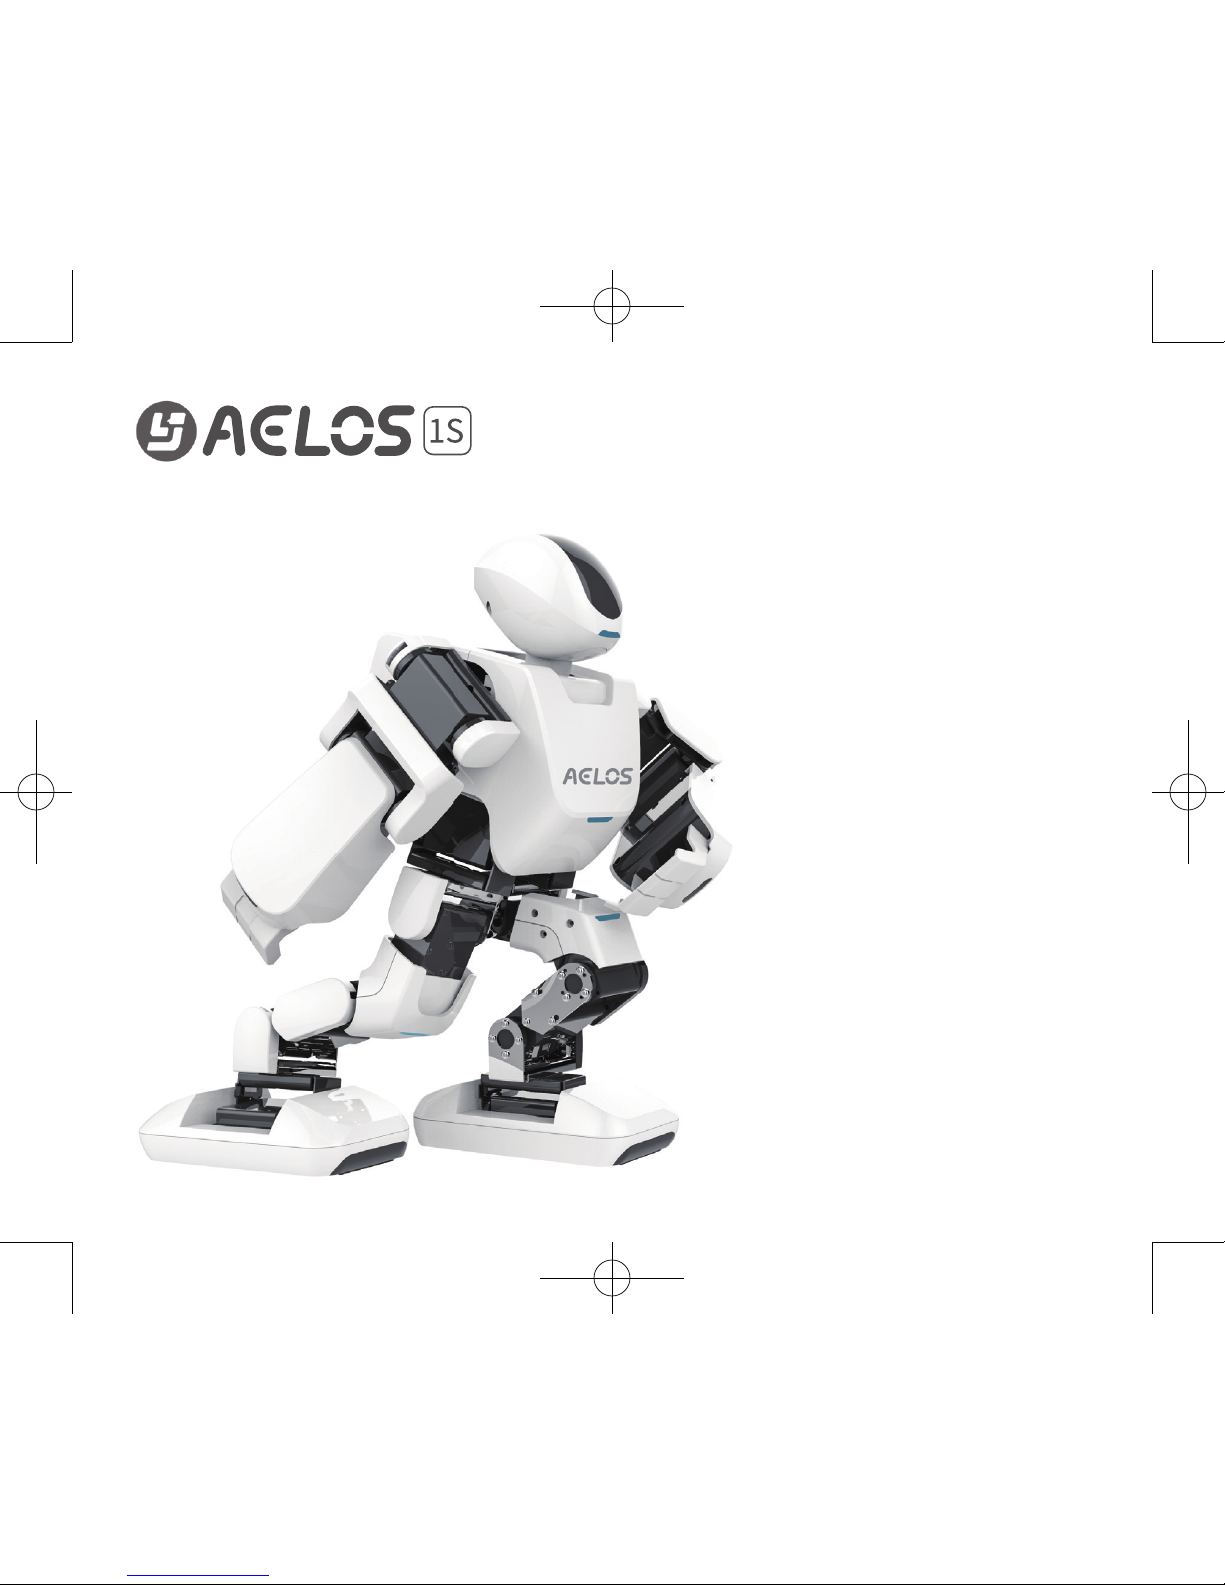
Leju Robotics Aelos 1S User Manual
User Manual
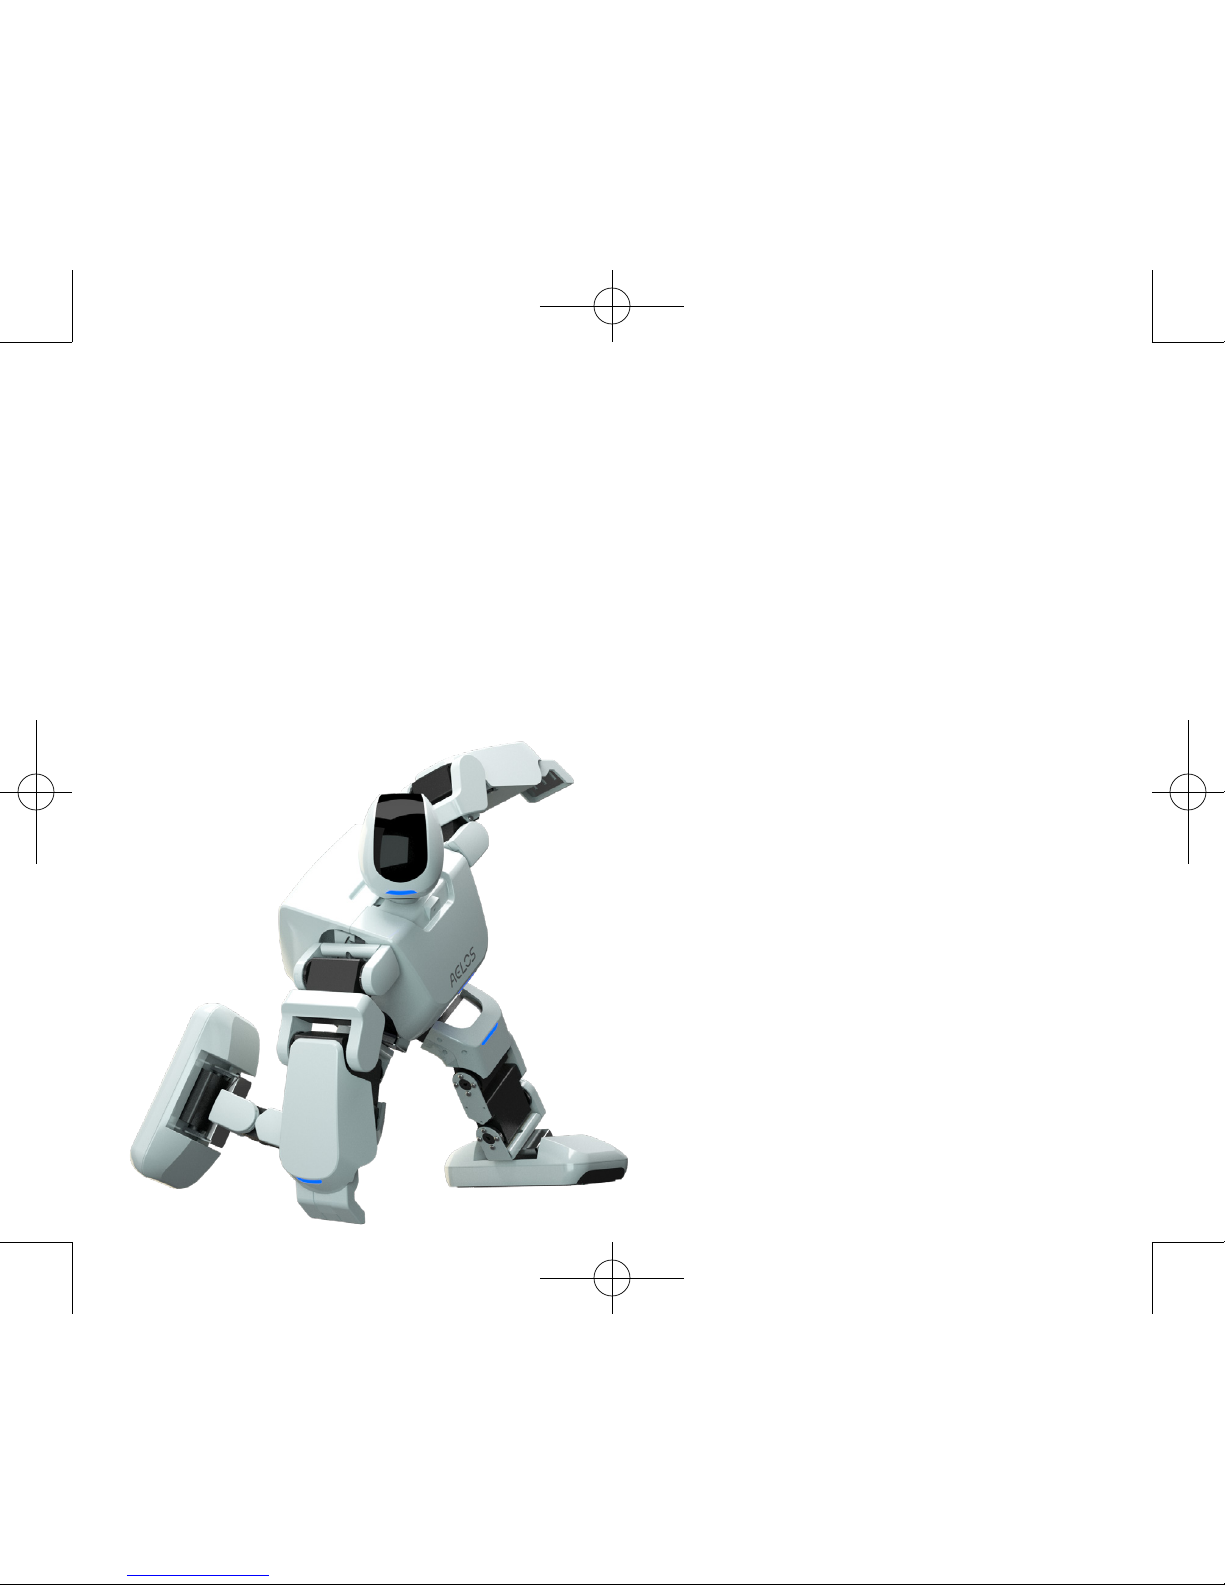
Hello, I'm AELOS!
Please feel free to use your new
robot, AELOS. This Manual describes
the instructions and cautions to use
AELOS, so that you can get familiar
with the robot and make friends with
it in the shortest time. Let’s begin!
Table of Contents
1. About the product
2. Control of the robot
3. Voice conversation
4. STEM programming
5. Guide for pc programming
6. Frequently asked questions
1
6
15
19
23
30

Precautions
Dear user, thank you for purchasing and congratulations on becoming
the owner of our ingenious robot, Aelos! Before startingyour trip with
Aelos, please refer to the below notices:
1. It is suggested that the user should be above 14 years old.
2. Please keep a proper distance from the robot while operating it, to avoid
personal injury due to drastic action of the robot.
3. Please do not dismantle the robot without permission. In case of failures of
the robot, please contact the distributor for maintenance.
4. Please keep the robot away from water and open re to prevent damage to
the robot.
5. Please prevent the robot from strong impact during use. Shut down the
robot in case of abnormal action, to prevent damage to it.
6. During normal operation of the robot, please do not move the joints of the
robot forcibly, or else the servo of the robot may be damaged.
7. The robot must be placed on plat open ground or desktop when it is
moving to prevent it from falling from height. For damages caused thereby,
Leju Robotics will not undertake any warranty obligation.
8. During commissioning, please reserve sufficient space for the robot to
move and thus prevent it from falling from desktop.
9. The charging time of the battery is about 1.5 hours. Please charge the
robot with original adapter.
10. Please do not let the robot do violent actions for long time to avoid
overheating of servo. In case of overheating of servo, please shut down the
robot immediately and allow it cool off naturally before using it again.
11. In case of smoke or burning smell detected during operation of the robot,
please cut off the power immediately and contact the after-sales service.
12. In the event that water or foreign matters enter into the robot, please cut
off the power immediately and contact the after-sales service.
13. If the robot cannot receive signals, please try again after resetting or
charging the robot.
14. The robot is a precision instrument. Please take adequate protective
measures during transportation to avoid damage.
15. Please do not make the robot walk fast continuously for more than 3
minutes, because this will inuence the service life of the servo.
This manual contains important information. Please keep it for
future reference.
1 About the Product
1.1 Product list
Aelos robot *1 Quick Start Guide*1 User Manual*1
Warranty card *1 Power adaptor *1 USB cable *1
Product parameters
Product Size 346*224*118mm
Weight of the product
(including Batteries)
1.8KG
Working Voltage DC 6.8V-9.6V
Working Current 1A-3A
Battery Capacity 2150mAh
Interface Micro USB ×1; DC Power Interface ×1
Storage 1G TF card
Working Environment
Temperature: -10°C~45°C
Moisture: 10%~95%
1
1.2 Battery
Built-in batteries are located in the belly of the robot. Do not
remove the batteries!
●
Please charge the robot with original adapter! During
charging, the indicator light will turn red. After charging for
about 1.5 hours, the indicator light becomes green, and the
battery is fully charged. Remove the adaptor from the robot
and power supply, to stop charging. After fully charged, the
robot can function normally. When the power is below 20%,
the robot will give voice warning “Low battery!”; When the
power is running out, the robot will give voice warning “No
power, please charge”. Do not charge for long time, or else
the batteries would be damaged.
● Do not let batteries exposed to high temperature or re!
ATTENTION
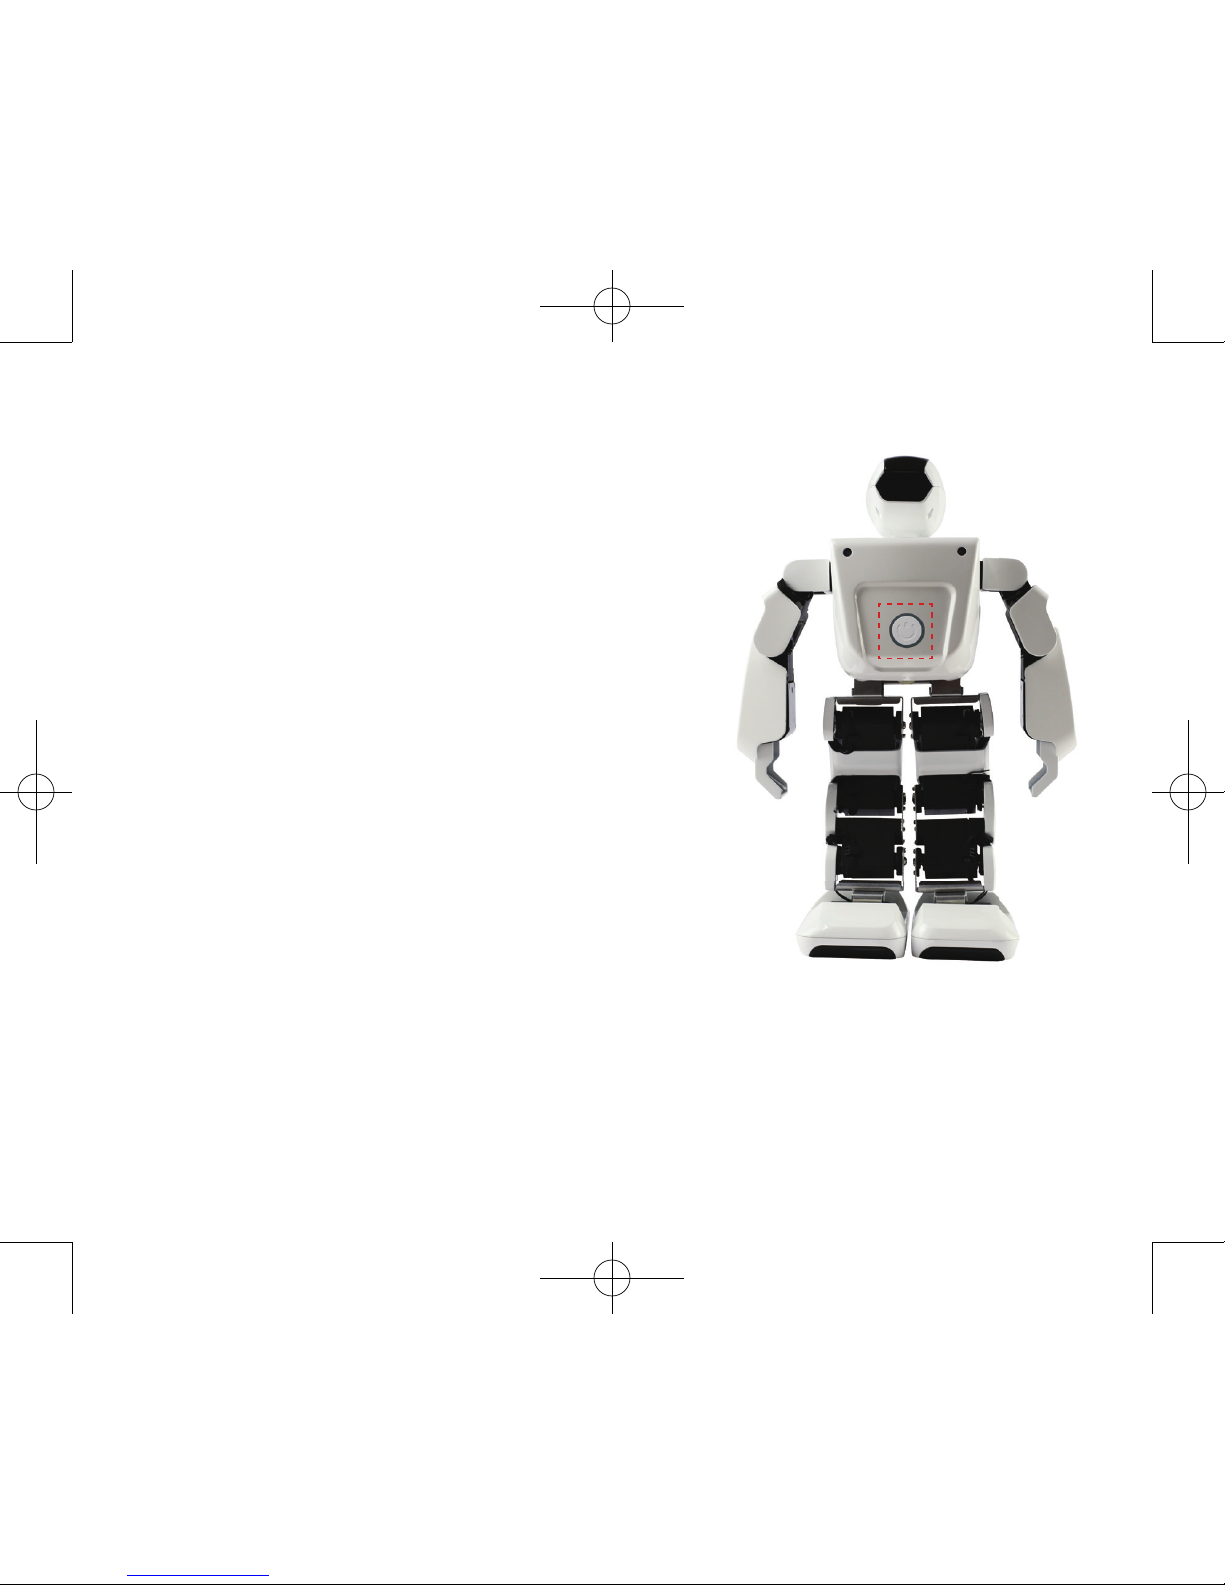
1.3 Main control board
The main control board is located in the robot’s back. Don’t let
foreign matters into the main control board, to prevent damage
to the robot.
2
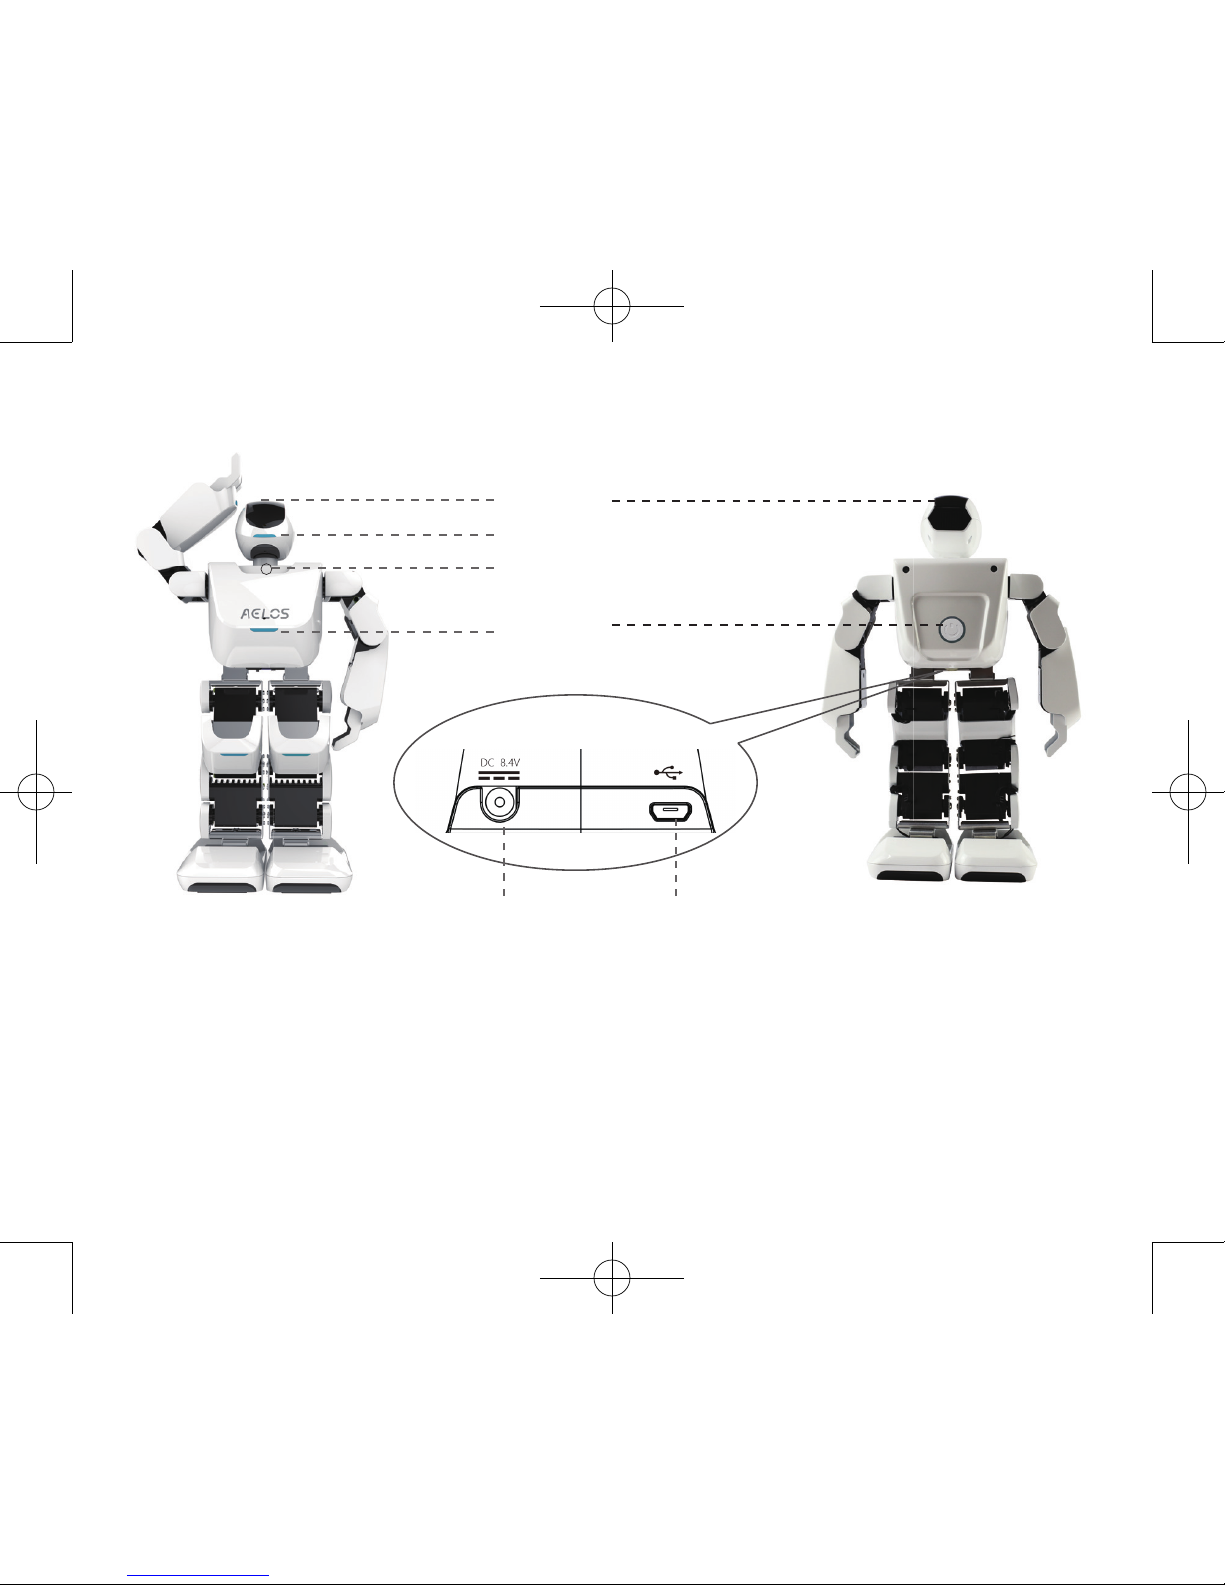
1.4 Overview of the product
1
2
3
4
5
6
7 8
1
Touch area
(the back of the head)
Indicator light for
voice dialogue
3 Microphone 4 Power-on indicator
5 Speaker 6 Power button 7 Charging port 8
USB interface
(only support data
transmission)
3
2
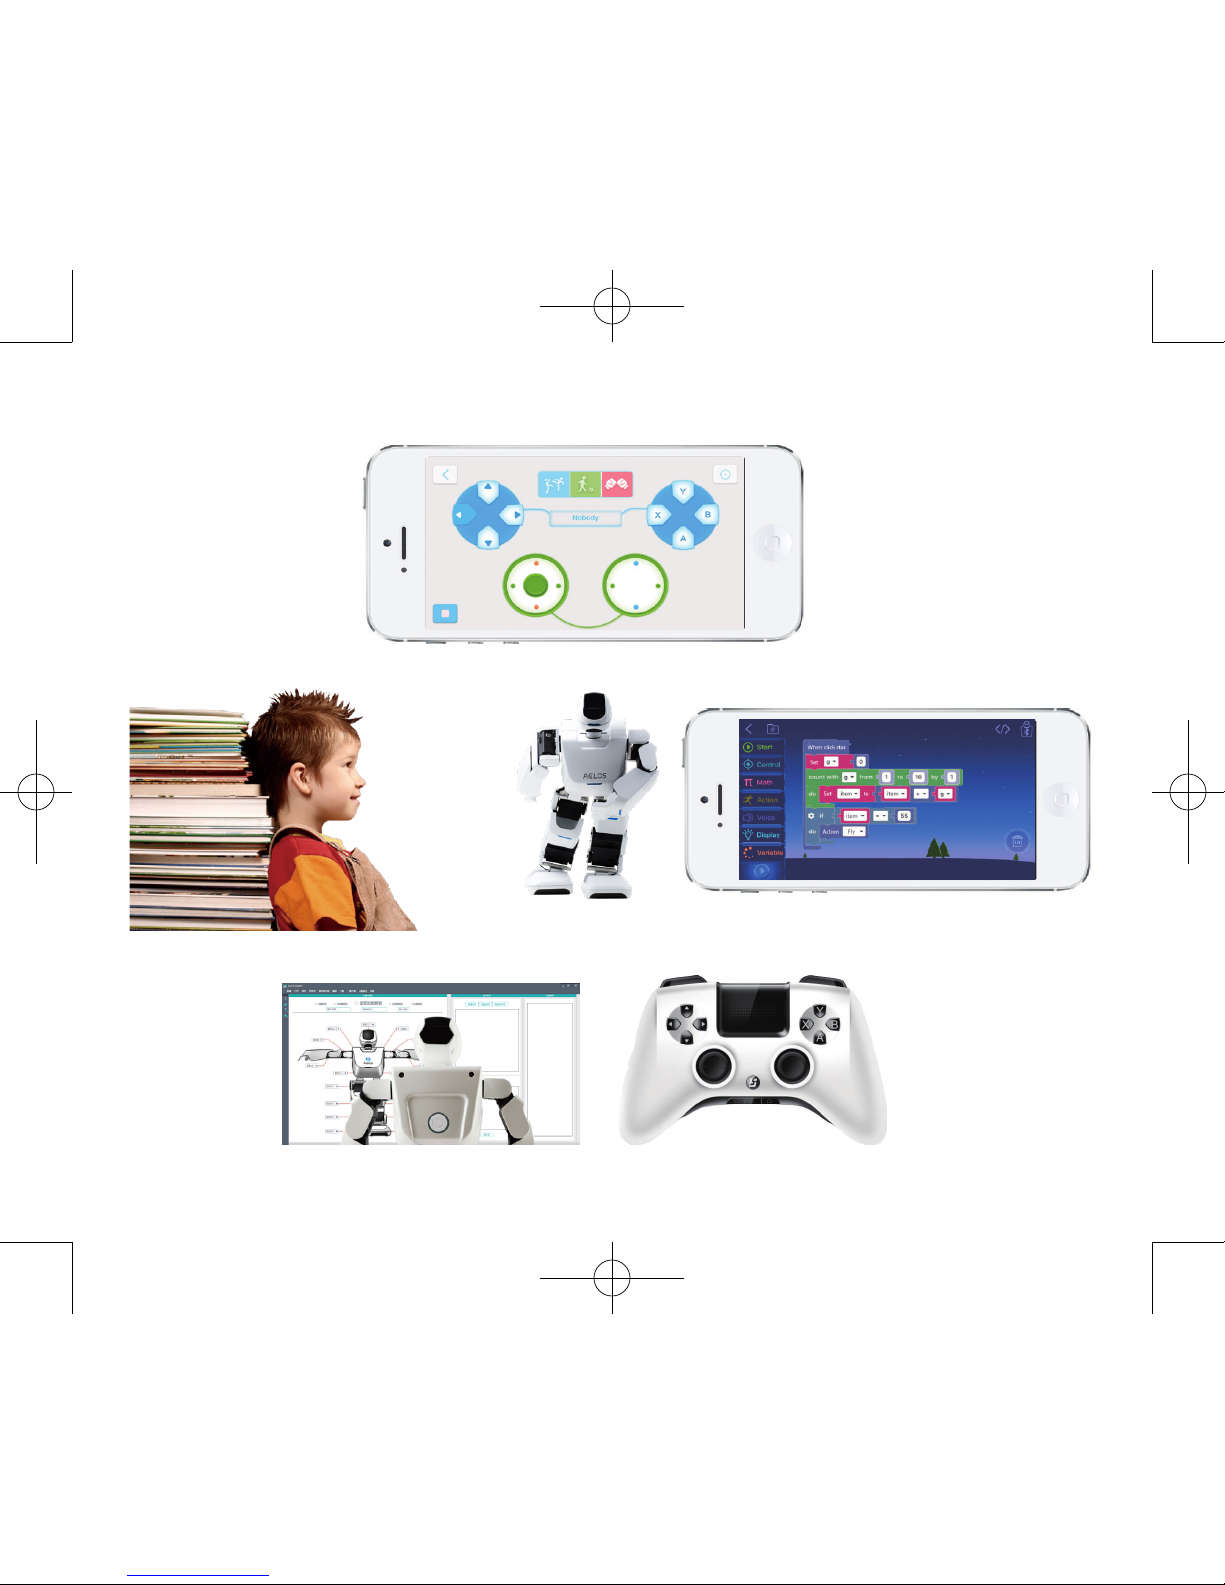
1.5 What can you do with AELOS?
Control by mobilephone
Voice dialogue
Study programming
Programming of Actions Control by gamepad
4
1.6 APP download
Robot AELOS needs to operate through APP, so we’ve developed AELOS 1S
and AELOS STEM for it.
AELOS 1S APP can control the action of the robot and configure
wireless network for the robot. AELOS STEM can use Blockly to conduct
individualized block programming on the robot.
Download AELOS 1S and AELOS STEM by scanning QR code or searching in
mobile App store.
5
Scan to download AELOS 1S
Scan to download AELOS STEM
2 Control of the robot
2.1 Start-up
The power button is in the back of the robot.
Press and hold the power button for 1 second
to start up the robot.
The power button has more functions as
follows:
Start up: Press and hold the power button for
1 second
Shut down: Press and hold the power button
for 3 seconds
Emergency stop: Press the power button once
Reset: Press the power button twice
When the robot works normally, the indicator
light on the power button turns blue; when the
power is low, the indicator light turns red.
6
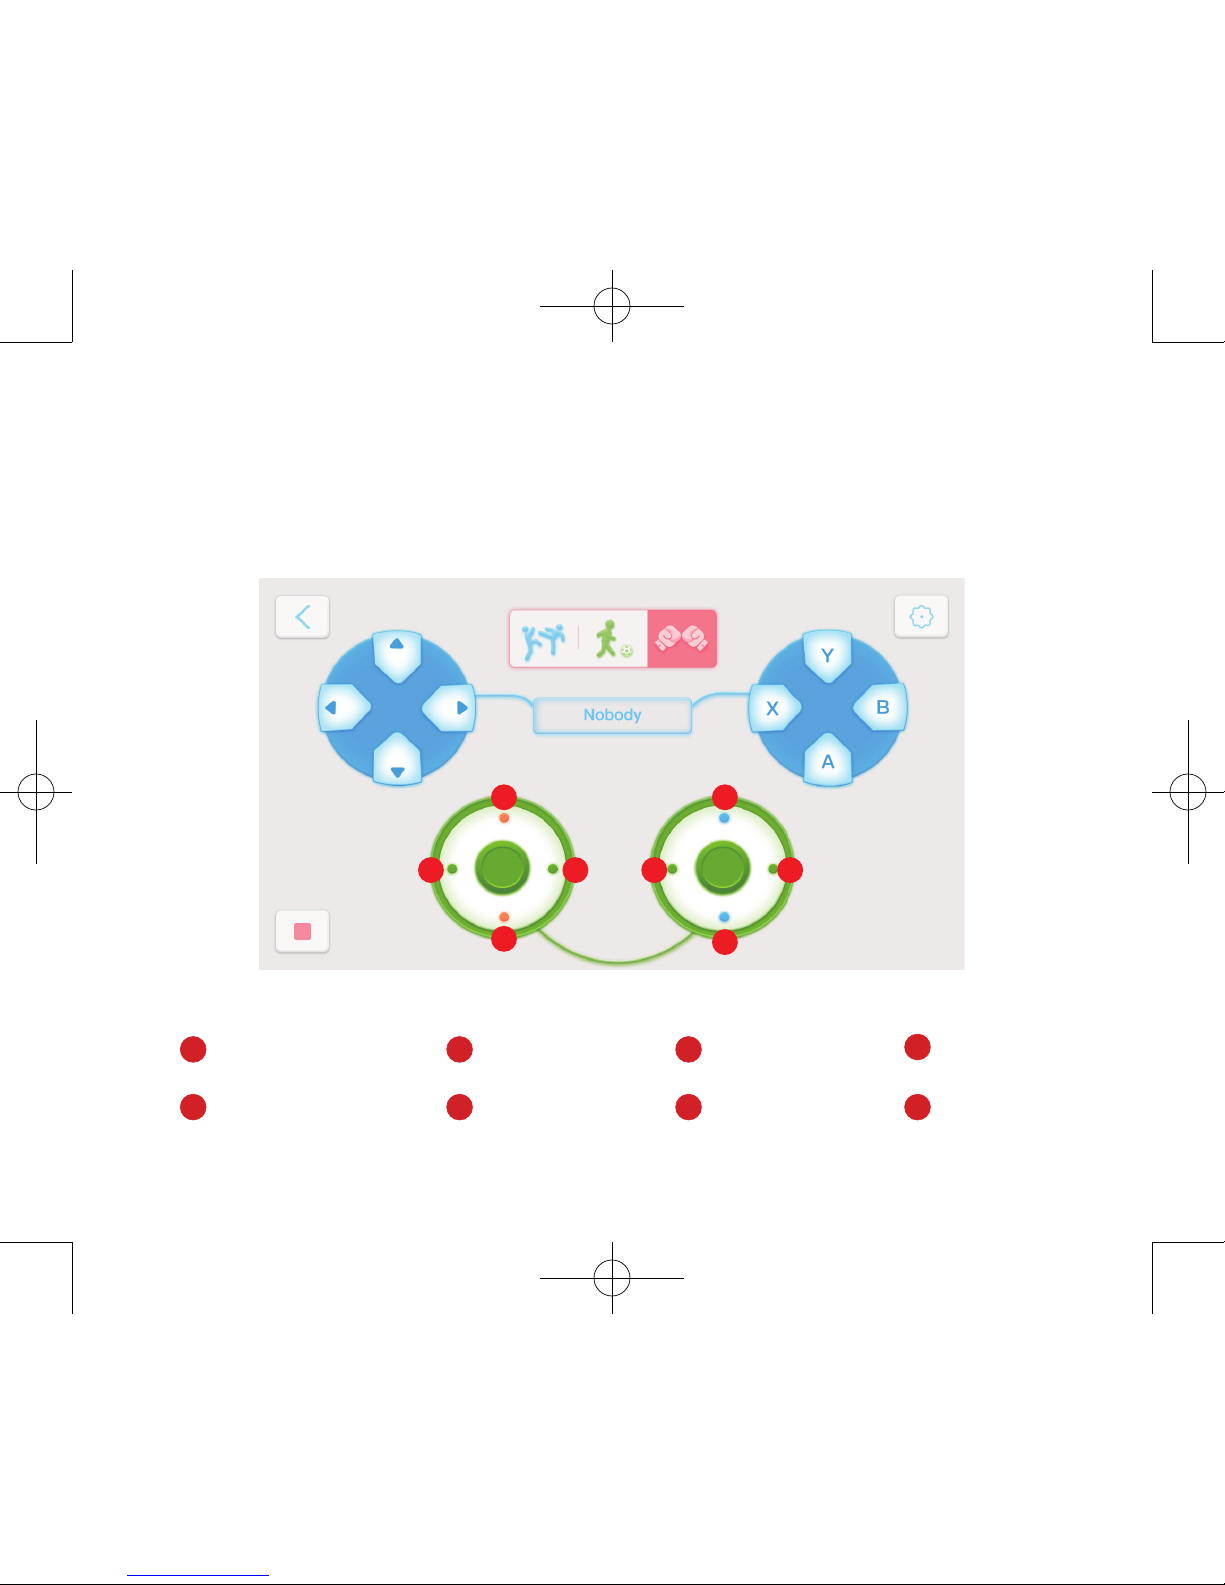
2.2 Control by remote controller
1. After the robot is successfully connected, select the option [Gamepad].
2. It is as shown as Fig. 2.2-1 when entering into the remote control. You can
use the remote controller to control the action of the robot.
1
8
7
6
5
4
3
2
Fig. 2.2-1
7
1 Go forward 3
Go back
5 Quick walk 6 Move left 8 Move right 7 Quick back
2 Go left
4 Go Right
Through remote controller, you can not only control the robot to move, but
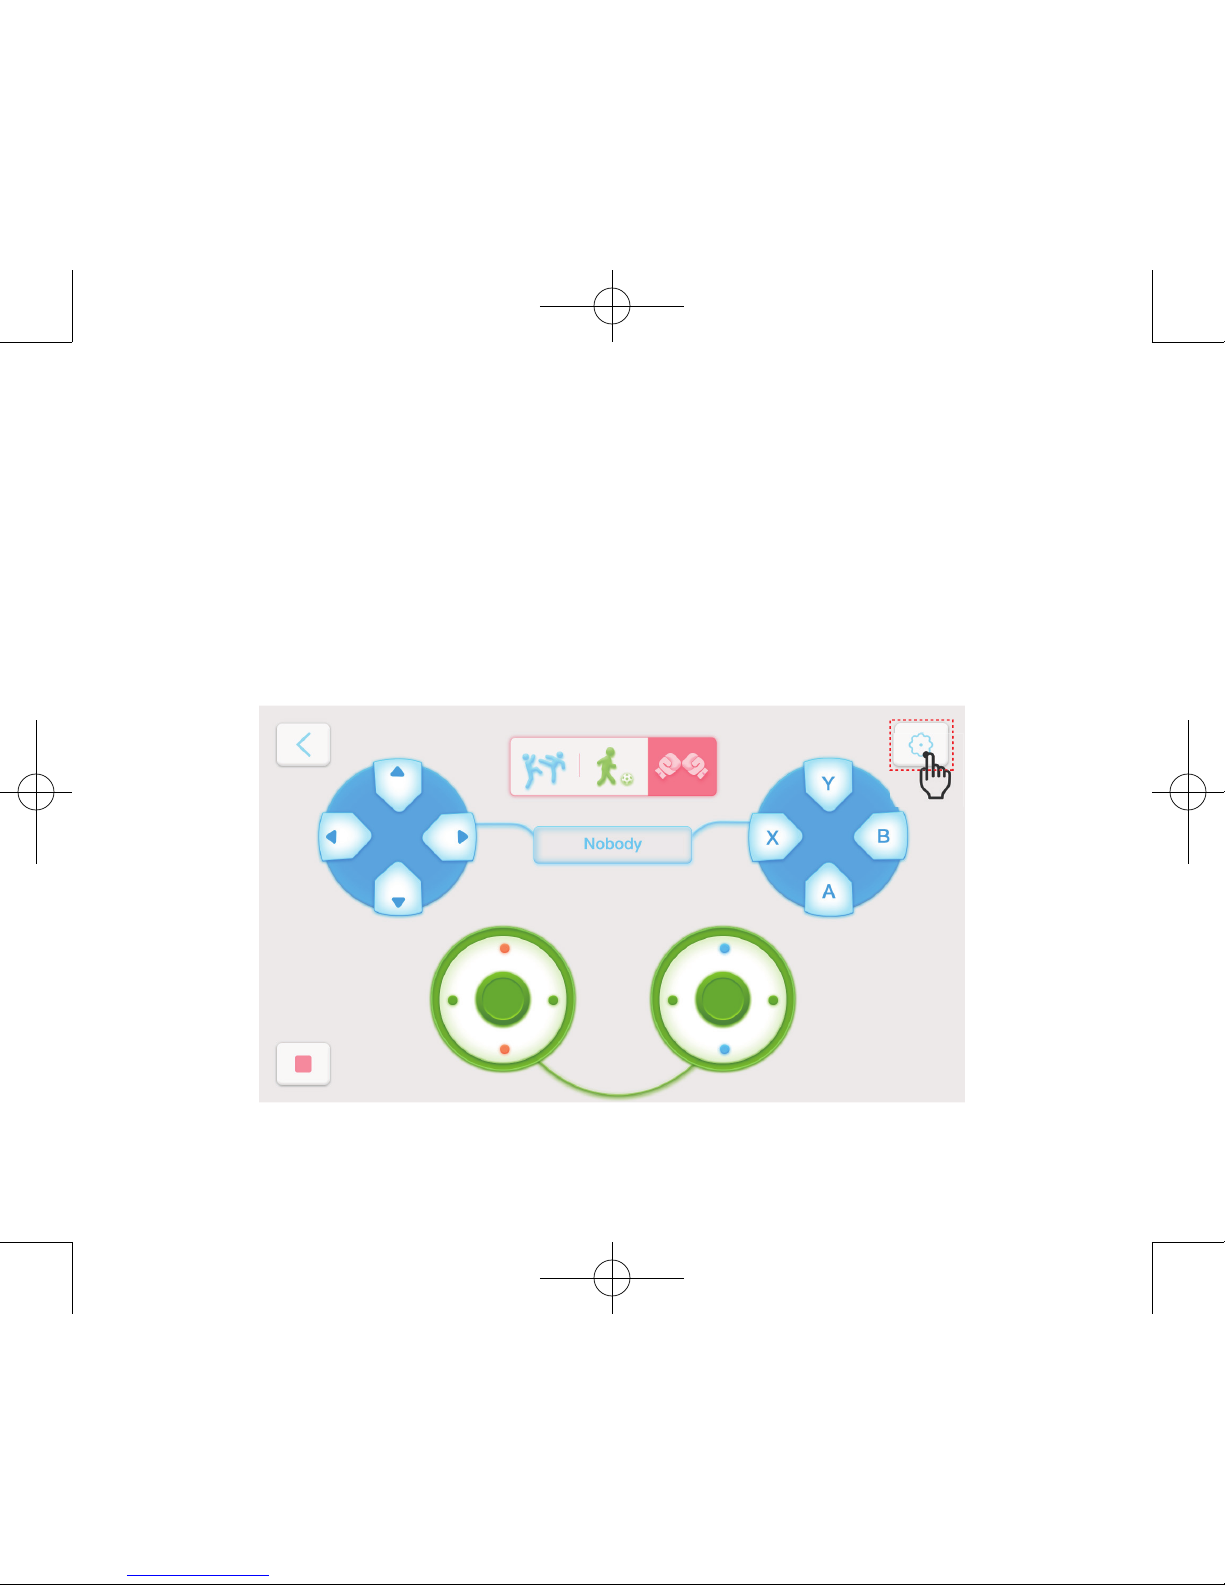
also control the robot to dance. The following instruction shows how to set up
the button which controls the robot to make certain dance movement.
1. Go into remote control mode (Fig. 2.2-2) and click the [Set-up] button.
2. Go into the interface as shown in Fig. 2.2-3 Click the button you want
to set up and choose in the right side the movement this button will
play. Save after the set-up is completed.
3. Click the corresponding button in the remote controller, then the robot
will play the corresponding movement.
Fig. 2.2-2
8
 Loading...