

Page 1
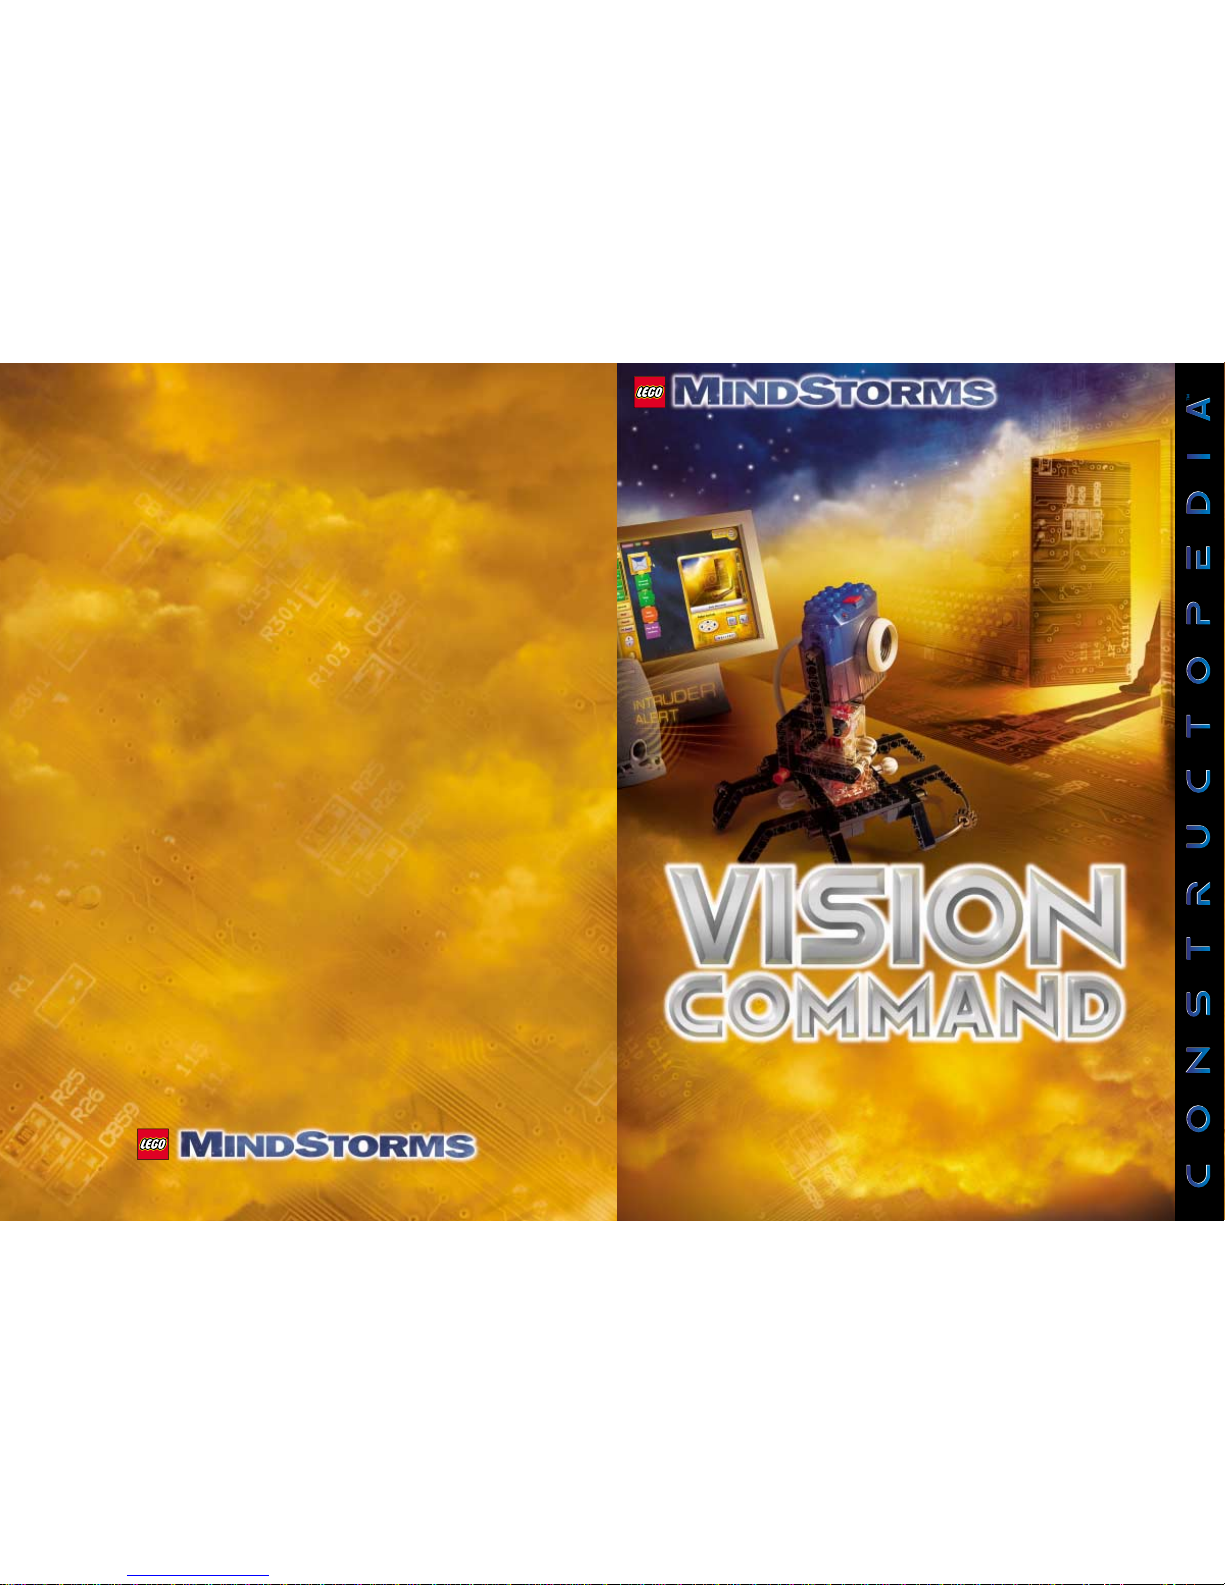
TM
9731
4131280
TM
TM
www.legomindstorms.com
Page 2

2x
14x
3x
3x
3x
2x
2x
2x
2x
2x
2x
2x
2x
2x
2x
2x
2x
2x
2x
2x
2x
1x
1x
1x
1x
4x
4x
4x
4x
4x
4x
4x
4x
12x
12x
6x
4x
8x
1x
4x
The Constructopedia is a building guide for Vision Command. It offers suggestions, hints and tips
to help you build and program robotic inventions that respond to what they see.
Follow these steps to get started:
Welcome
1. Build
The LEGO Cam snaps right
into any LEGO construction.
Use the Constructopedia or
your imagination to build
a stand for your camera.
2. Program
Choose different patterns to place over the Cam Viewer.
Program each region to detect different events like
motion, light or color.
LEGO Cam is a powerful PC Video Camera.
Capture images and video that you can email to your friends.
3. Run
Run your program from your
PC and see what happens.
Parts ID
Page 3
CONTENTS
Introduction
LEGO Cam
page 4
Getting Started
page 5
How it Works
page 6
Connecting Camera page 7
Building Instructions
Cambots Overview: page 8
LEGO Cam Mount (LCM) page 10
QuadPod page 16
Monitor Stand
page 24
Motorized Cambots Overview:
page 28
Cam Rack
page 30
Power Cam Rack page 33
Power Stand page 34
Special Features
S’Cargobot
page 38
Design Tips
page 41
Extras
Tips
page 42
Parts ID
page 43
© 2000 The LEGO Group
LEGO, MINDSTORMS, Robotics Invention System, Vision Command, RCX and Constructopedia
are trademarks of the LEGO Group.
Page 4
4 5
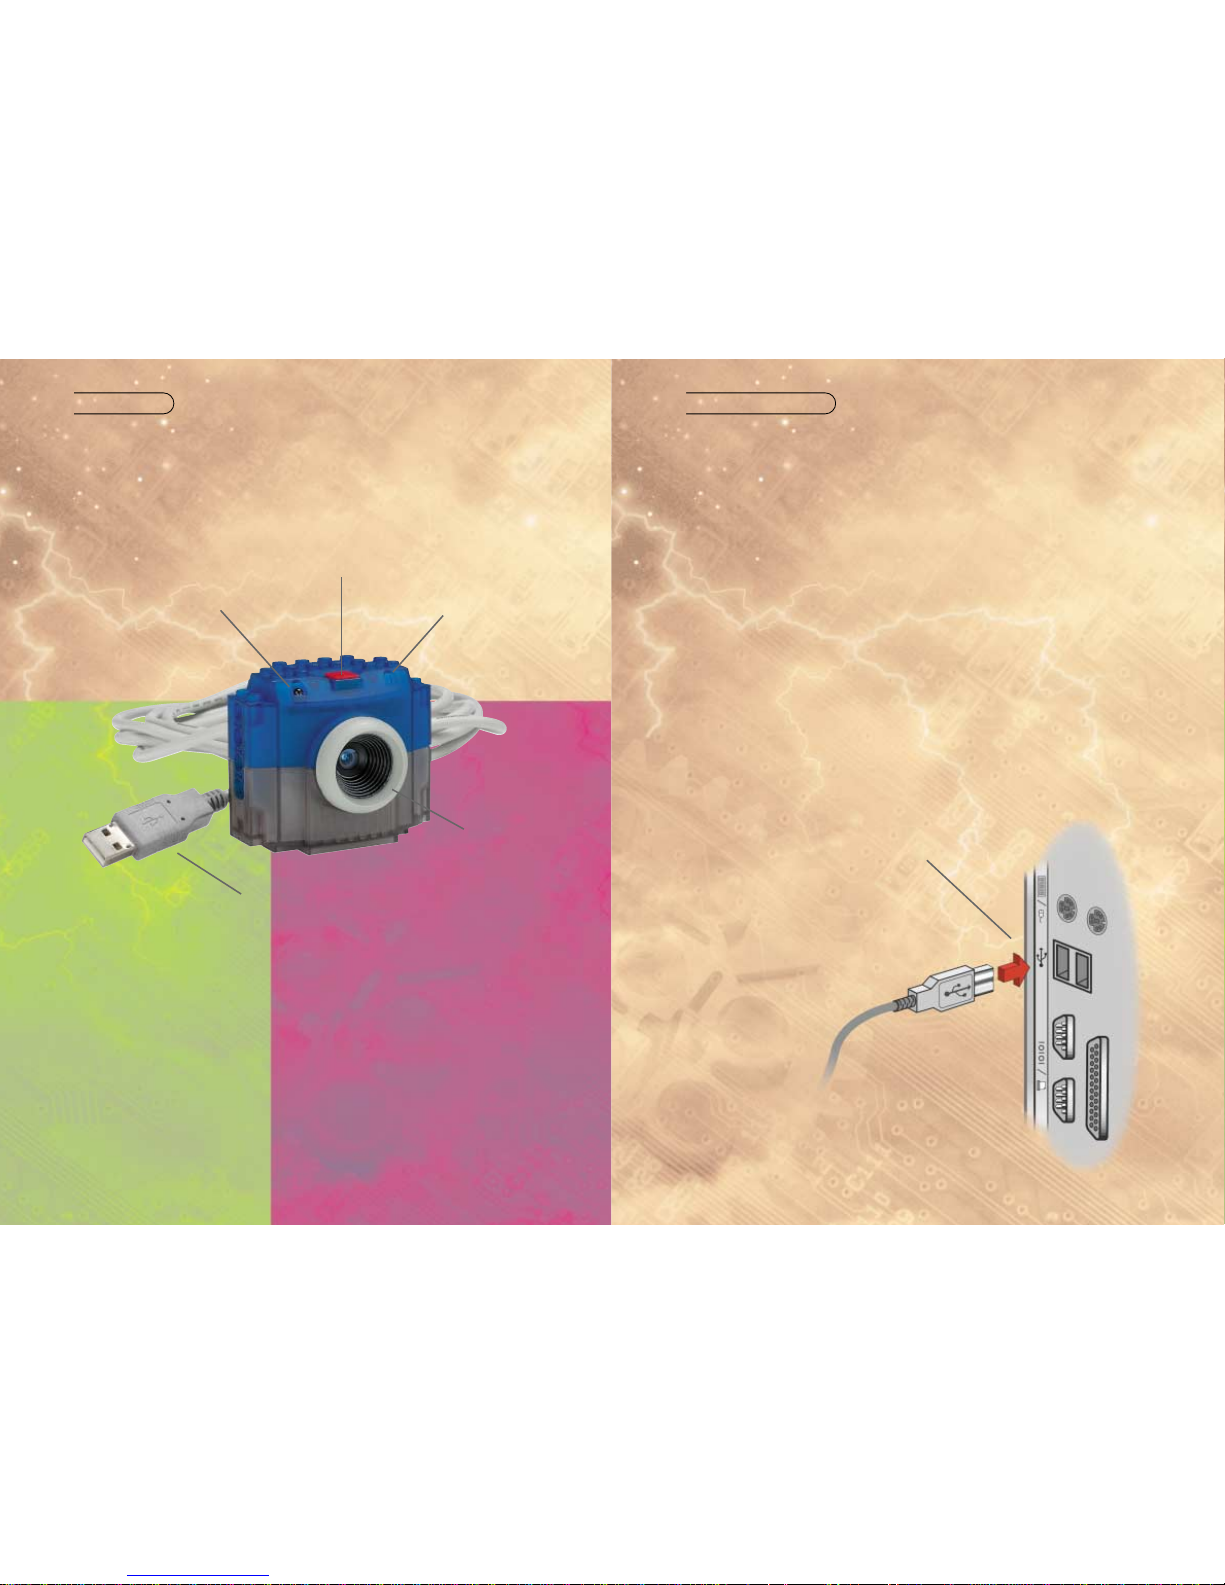
LEGO CAM GETTING STARTED
5 meter/15 feet cable attaching
to the USB port of the computer
Microphone
Push button for
still pictures
LED lights up when the LEGO Cam
is in operation
Focus ring for manual
focusing of the image
This is the LEGO Cam, a powerful PC Video Camera. You can capture still images
and video, which you can edit and email to your friends, or you can attach it to
your LEGO robots to create robots that see.
Installing the software, and Camera Setup
Be sure to install the software before plugging in the camera.
1. Insert the Vision Command software CD into the CD-ROM drive of your computer.
2. Wait a few seconds. The installation screen of the Vision Command software should
automatically be launched when you inser t the CD-ROM into your drive.
If you do not see the installation screen, double-click your CD-ROM drive icon in the
Windows Explorer®. Then double-click the Setup.exe program. You should now be able
to install the software.
3. During software installation, Setup will prompt you to connect the camera cable
to your computer.
4. Remove the camera from the box.
5. Remove the protective cap from the end of the camera cable.
6. Insert the camera cable into the USB port. The USB port may be at the back of the
computer, or on the monitor.
7. Continue with the software installation by following the on-screen prompts.
Note: Windows98 CD may be required during installation.
How to connect to USB Port
Page 5

76
INTRODUCTION BUILDING INSTRUCTIONS SPECIAL FEATURES EXTRAS
HOW IT WORKS
Vision Command
Vision Command lets you build and
program robotic inventions that respond
to what they see. You can program your
robot to watch for, and take pictures of
intruders, play music when you move in
front of the camera, or for those of you
with the Robotics Invention System,
follow you around the room.
Training Missions
By following the Training Missions
and Challenges in the Vision Command
Software, you will soon be programming
robots that see.
Command Center
First build one of the camera stands
shown in the Constructopedia. Next,
using the commands in the programming
environment, program your Cambot to
respond to one of the following: Motion,
light, or color.
Now run your program and watch
Vision Command in action.
Camera Software
You can edit any photos your robot has
taken and email them to family and
friends, or create stop motion and time
lapse photography in the camera
software.
Page 6
98
INTRODUCTION BUILDING INSTRUCTIONS SPECIAL FEATURES EXTRAS
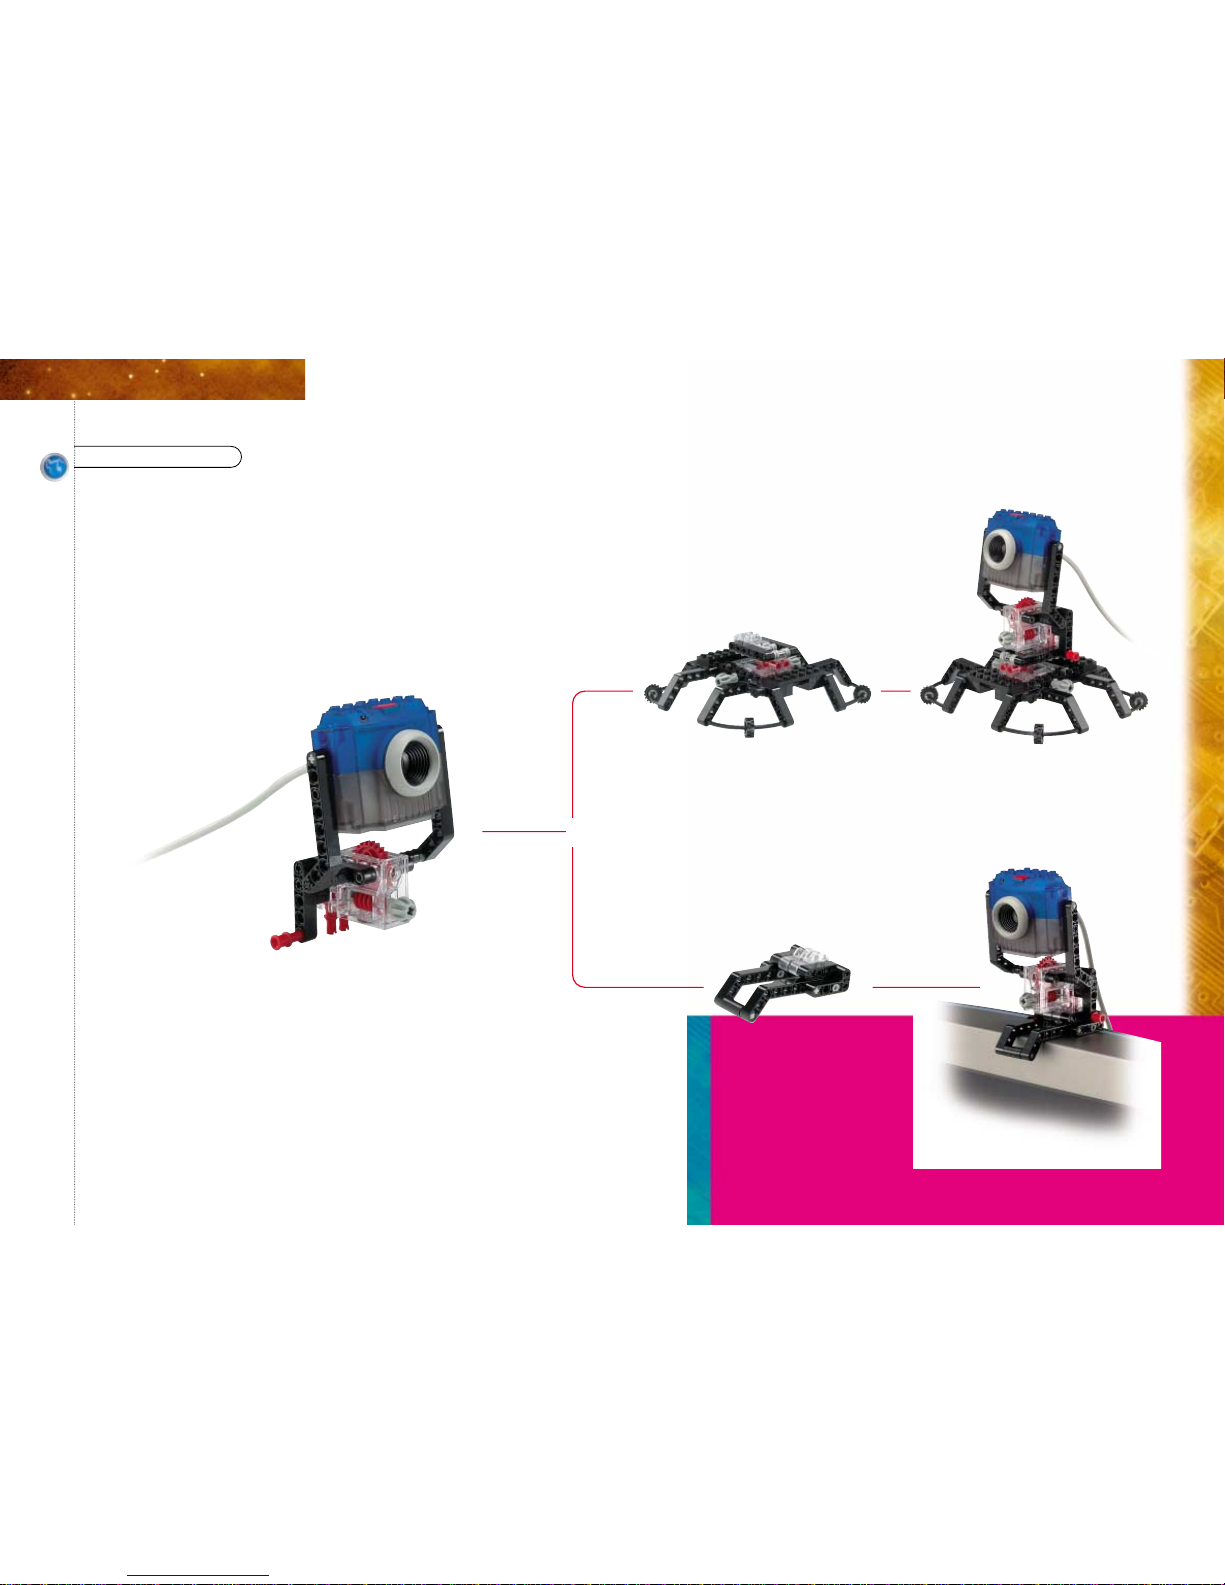
CAMBOTS OVERVIEW
LEGO Cam Mount (LCM)
page 10
QuadPod
page 16
Monitor Stand
page 24
QuadPod + LCM
Monitor Stand + LCM
Here are some of the Cambots you can build with your Vision Command Set.
Turn to page 28 for more Cambots that are built using the RCX from the
Robotics Invention System.
You can build all three models on this page with the LEGO elements
from your Vision Command product.
Page 7
1110
INTRODUCTION BUILDING INSTRUCTIONS SPECIAL FEATURES EXTRAS
2
3
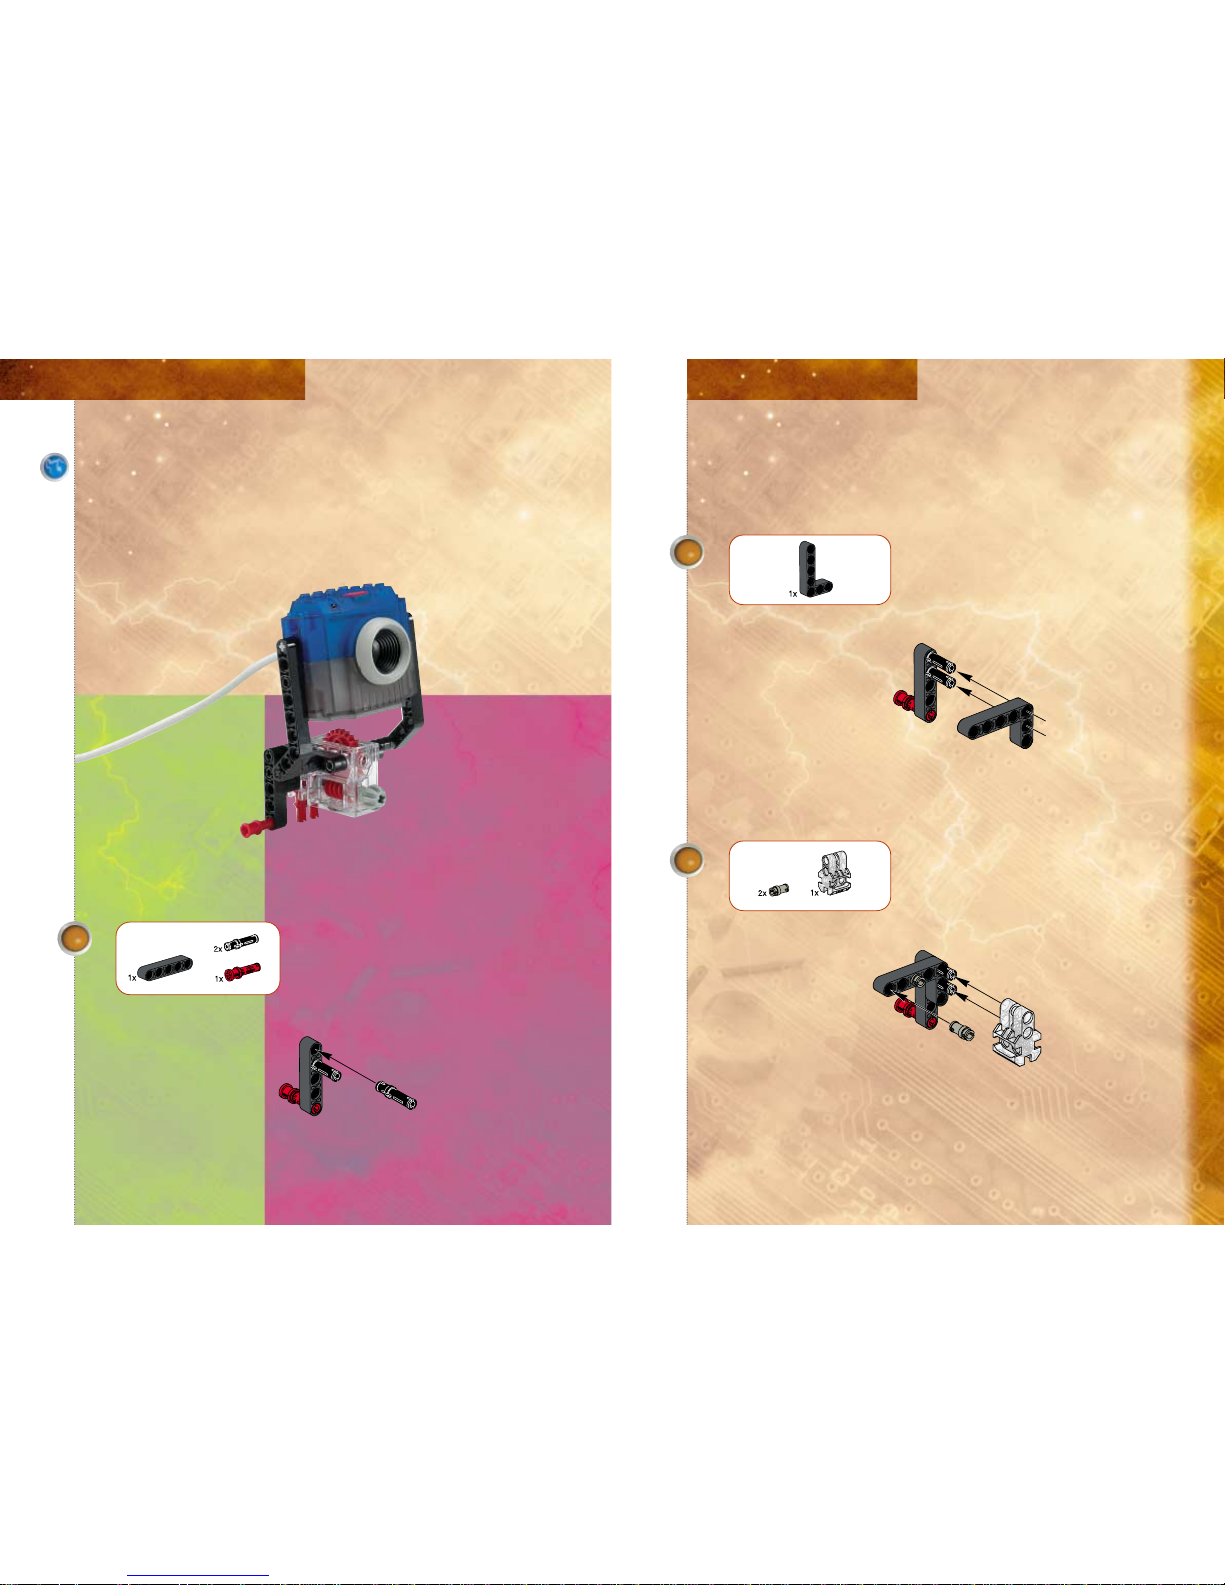
LEGO Cam Mount (LCM)
The following pages show you how to build the LEGO Cam Mount.
This mount can be used to attach your camera to all of the other
stands included in this Constructopedia.
1
Page 8

4 5
6
1312
INTRODUCTION BUILDING INSTRUCTIONS SPECIAL FEATURES EXTRAS
K
7
K
Page 9

8
9
1514
INTRODUCTION BUILDING INSTRUCTIONS SPECIAL FEATURES EXTRAS
1x
10
Page 10

2
3
4
1716
INTRODUCTION BUILDING INSTRUCTIONS SPECIAL FEATURES EXTRAS
QuadPod
The following pages show you how to build the QuadPod,
a base stand for the camera.
5
K
K
1
Page 11

6
7
8
9
10
1918
INTRODUCTION BUILDING INSTRUCTIONS SPECIAL FEATURES EXTRAS
K
K
K
Page 12

11
12
13
14
15
2120
INTRODUCTION BUILDING INSTRUCTIONS SPECIAL FEATURES EXTRAS
Page 13

16
17
18
2322
INTRODUCTION BUILDING INSTRUCTIONS SPECIAL FEATURES EXTRAS
K
Page 14

3
4
25
INTRODUCTION BUILDING INSTRUCTIONS SPECIAL FEATURES EXTRAS
24
Monitor Stand
The following pages show you how to build the Monitor Stand.
Use it to mount your camera on your monitor.
5
1
2
Page 15

8
9
27
INTRODUCTION BUILDING INSTRUCTIONS SPECIAL FEATURES EXTRAS
6
26
7
K
K
K
K
1:1
Page 16

29
INTRODUCTION BUILDING INSTRUCTIONS SPECIAL FEATURES EXTRAS
28
MOTORIZED CAMBOTS OVERVIEW
LEGO Cam Mount (LCM)
Cam Rack mounted
on the RCX
page 30
Power Stand
(LCM not needed)
page 34
Power Stand + Camera
Cam Rack + LCM
S’Cargobot
page 38
S’Cargobot + LCM
Here are some of the Cambots you can build when you combine elements from
the Robotics Invention System* with Vision Command.
* (Robotics Invention System elements not included in Vision Command)
Take the challenge!
Design and build the S’Cargobot yourself.
Page 17

2
3
31
INTRODUCTION BUILDING INSTRUCTIONS SPECIAL FEATURES EXTRAS
30
Cam Rack + LCM
K
The following pages show you how to build the Cam Rack,
which is used to mount your camera on the RCX which
comes with the Robotics Invention System.
1
Page 18

1
2
33
INTRODUCTION BUILDING INSTRUCTIONS SPECIAL FEATURES EXTRAS
Power Cam Rack
4
32
K
Power Cam Rack
This is a motorized camera mount for the RCX.
You will need the Robotics Invention System
to use this stand.
Page 19

2
3
4
35
INTRODUCTION BUILDING INSTRUCTIONS SPECIAL FEATURES EXTRAS
34
Power Stand
The following pages show you how to build the Power Stand,
a motorized turntable and pivot stand.
You will need the Robotics Invention System to use this stand.
1x
1x
1x
1x
1x
1x
1x
2x
2x
3x
1x
1x
1x
K
1
Page 20

8
9
37
INTRODUCTION BUILDING INSTRUCTIONS SPECIAL FEATURES EXTRAS
5
6
36
2x
4x
2x
2x 1x
K
K
2x
2x
7
2x
2x
1x
1x
5x
2x
2x
1x
1x
4x
1x
1x
5
1x
4x
5
10
2x
2x
4x
1x
1x
2x
2x
10
Connect the motor wires to your RCX.
For vertical motion attach wire to port B
For horizontal motion attach wire to port C
Page 21

39
INTRODUCTION BUILDING INSTRUCTIONS SPECIAL FEATURES EXTRAS
38
This is a very slow moving robot that can be built
using elements from the Robotics Invention
System, combined with the camera mount.
This is a very slow moving robot that can be built
using elements from the Robotics Invention
System, combined with the camera mount.
special features - s’cargobot
Page 22

4140
INTRODUCTION BUILDING INSTRUCTIONS SPECIAL FEATURES EXTRAS
Antennas
Decorate your camera by adding antennas
or other LEGO elements.
Antennas
Decorate your camera by adding antennas
or other LEGO elements.
design tips
Page 23

42
TIPS
Here are a few things to keep in mind that will help you get the most from
your LEGO Cam.
Installation
Make sure you install the software before plugging in the camera.
Lighting
LEGO Cam works well with all types of room lighting. But to ensure the best
possible image quality when using your camera, it is important to have proper
lighting conditions. You can adjust the settings in the Camera Software.
Other Tips
For other tips or help you might need, refer to the Help menu within Vision
Command.
·
·
·
 Loading...