

Assembly Instructions For 485 Day Bed
Thank you for purchasing this quality product. Be sure to check all packing material carefully for small parts that may have come
loose inside the carton during shipment.
Caution: (1) These parts are cumbersome and heavy. This product can best be a sse mbled with the assistance of one or more person s
in order to prevent personal injury and to insure parts are not damaged during the assembl y process. If dirty, clean finished parts with
mild dishwashing liquid and water solution applied on damp cloth. Cloth should not be excessively wet. Polish fi nish with soft cloth
and an industry recognized furniture polish.
(2) To prevent damage to your floor or carpet, please check the bottom of each piece of furniture for stain residue and rough
surfaces and also check for staples or nails left after removing the packaging material. The manufacturer will not be held responsible
if preventative steps are not taken prior to installation.
(3) Unpack and dispose of all packing materia l but be careful not to throw away any assembly parts or hardware. Read the
instruction sheet and parts list care fully. Remove all staples and screws used for packag ing carefully using pliers and or screwdrivers
to prevent injury and scratching or damaging flooring.
Note: The bed should not be moved after it has been assembled without first disa ssembling the bedrails. Excessive movem ent
while the bedrails are locked into place may damage bedroom parts.
Assembly Procedure:
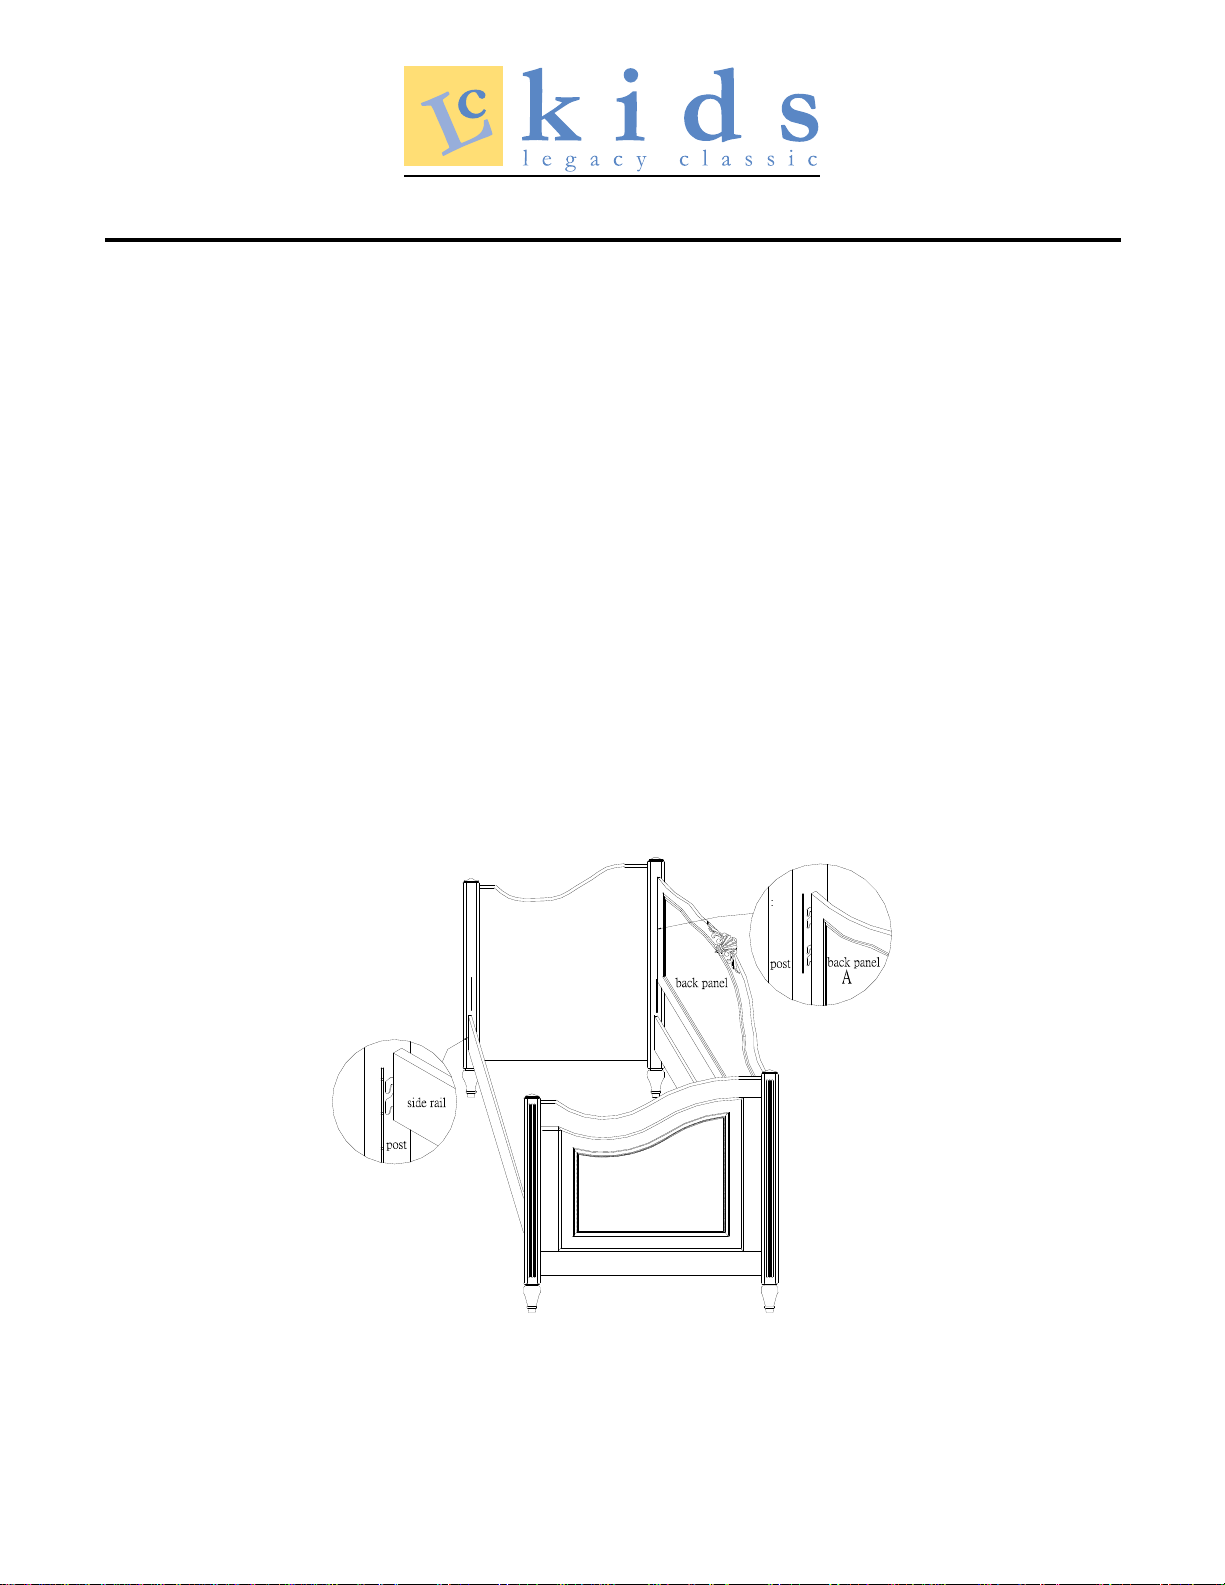
1. Hook side rails into slots on headboard and footboard.
2. Hook the Back Panel (A) into slots on headboard and foot b oard.
Note:
1. Insert the rail hooks into the lower slots unless you will be using an “under-be d” item such as a trundle bed or storage box.
2. Use the upper set of slots if you are placi ng a trundle bed or storage drawer under the bed.
3. MAKE SURE THE HOOKS ARE FIRMLY LOCKED INTO THE B ED POSTS!
--The End--
 Loading...