

Page 1
Quick Start Guide
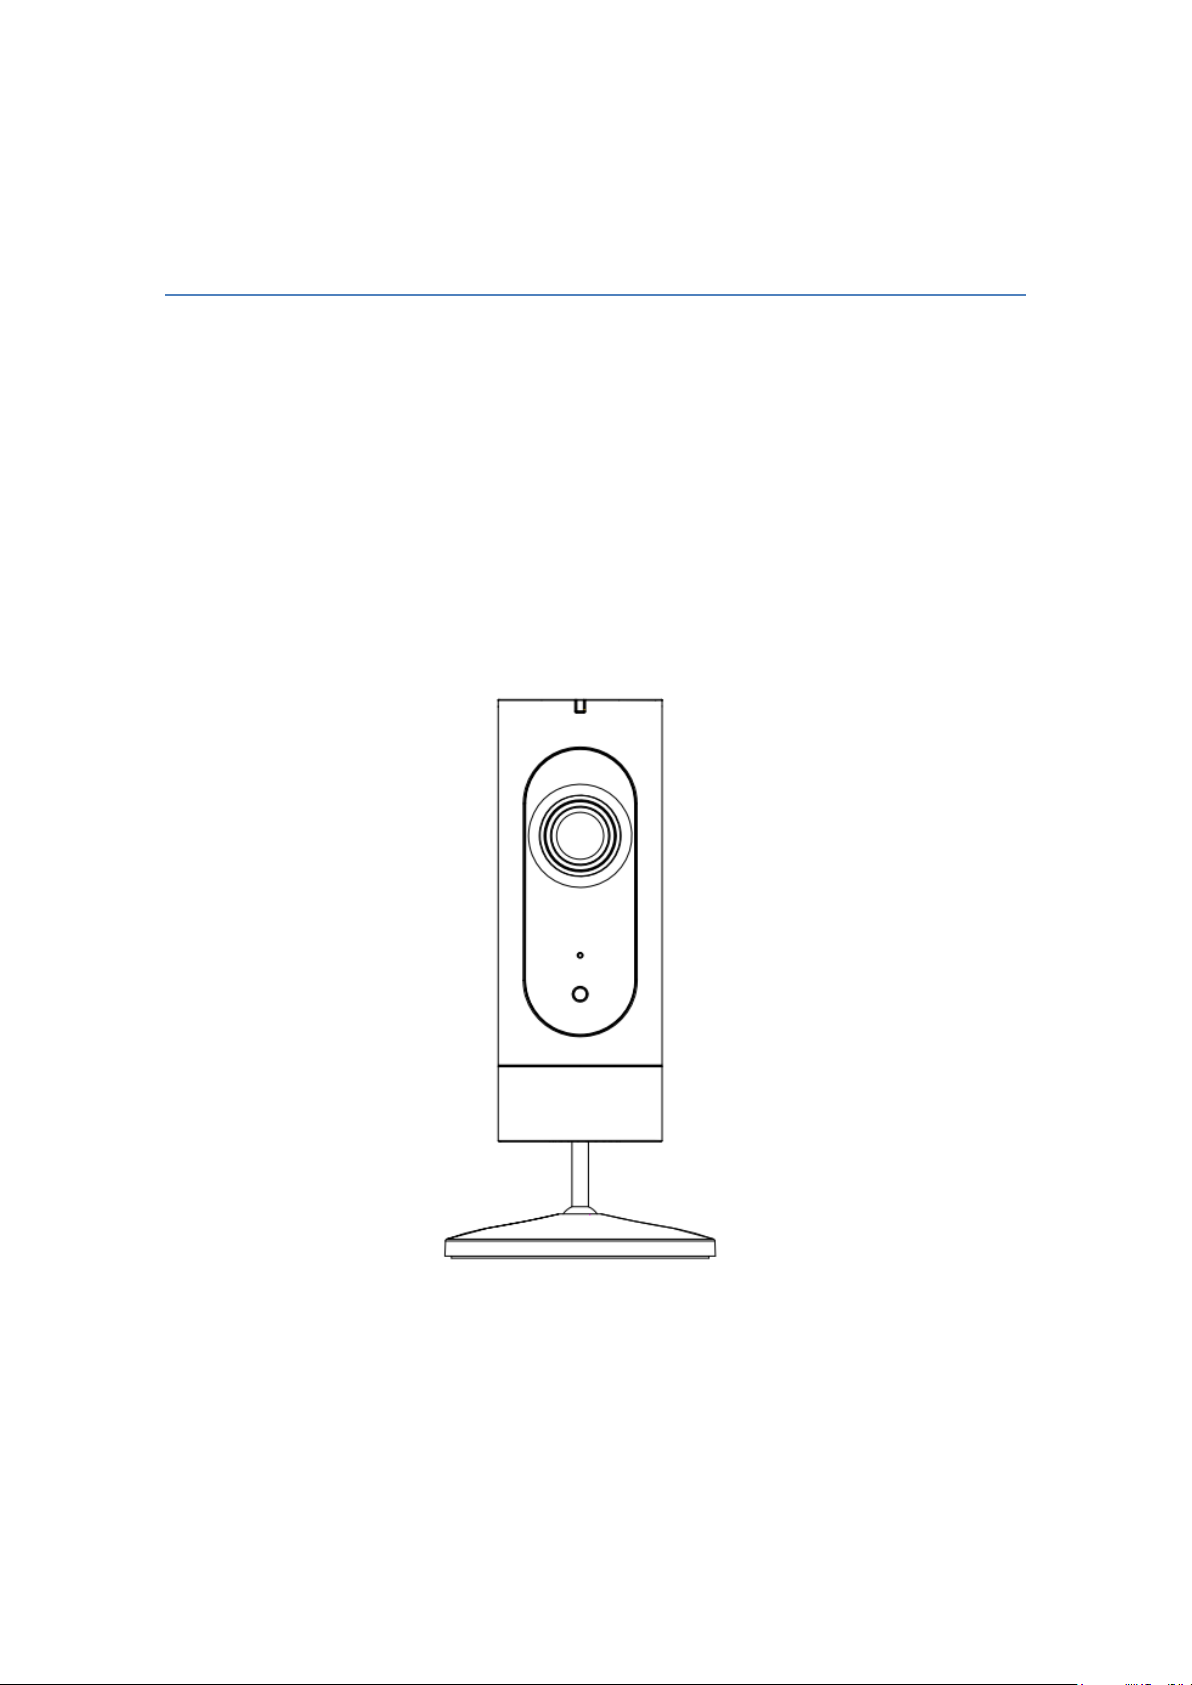
IP CAMERA
Model:
8B-IP-W3-H0 (1080p, ID:1091200010, A212)
8C-IP-W2-H0 (1080p, ID: 1091200011, A215)
V1.0.9
Page 2

1 Safety Information
WARNING: Keep out of reach of children. This product contains small
magnets and other small parts, which can cause choking or injury if ingested.
WARNING: Used batteries should be disposed of at an appropriate recycling
center. Do not discard with normal household trash. DO NOT BURN.
CAUTION: Do not install
●in wet locations
● Outside the premises (outdoors).
● Near the metal objects and mirrors that cause radio signal attenuation or
shading it.
● Near the powerful main wiring.
Page 3
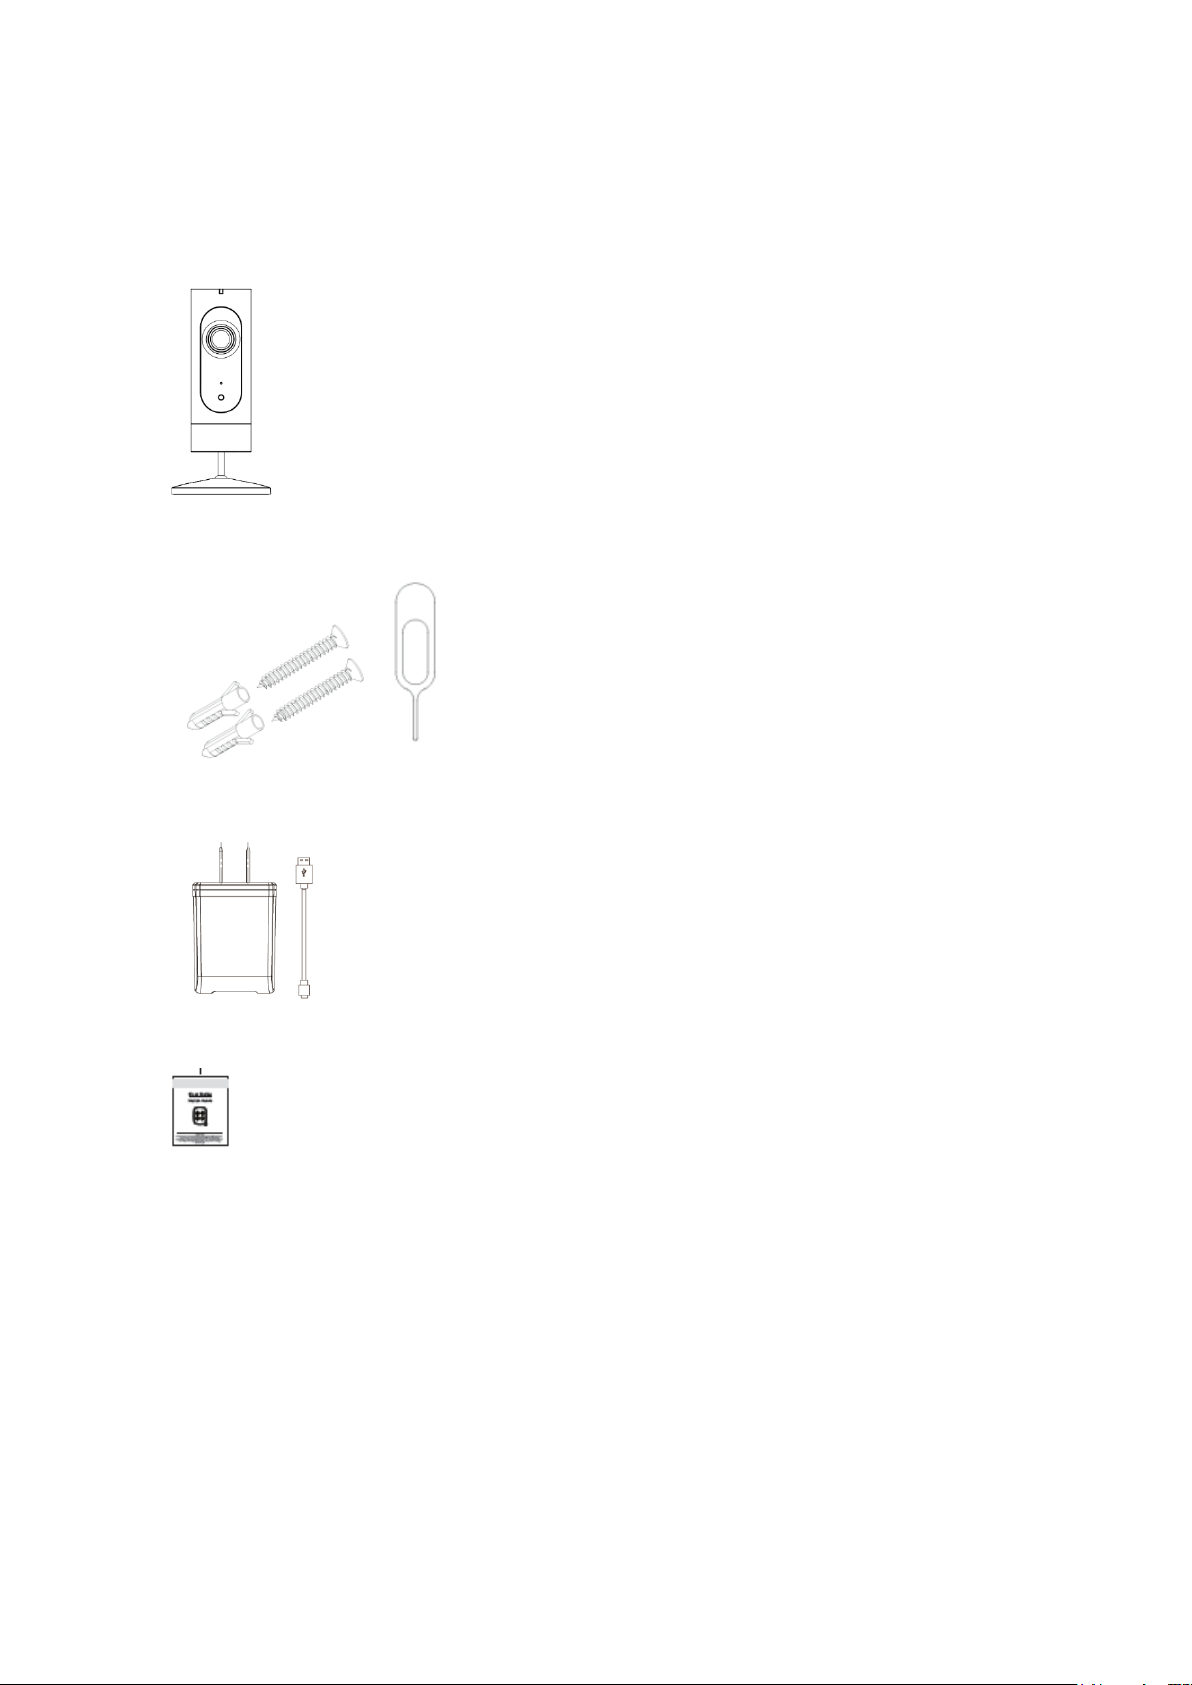
2 Package Content
IP camera unit*1
Mounting kit (Screw*2, wall anchor*2 , Reset pin*1)
AC adapter with USB cable*1
Quick start guide *1
Page 4
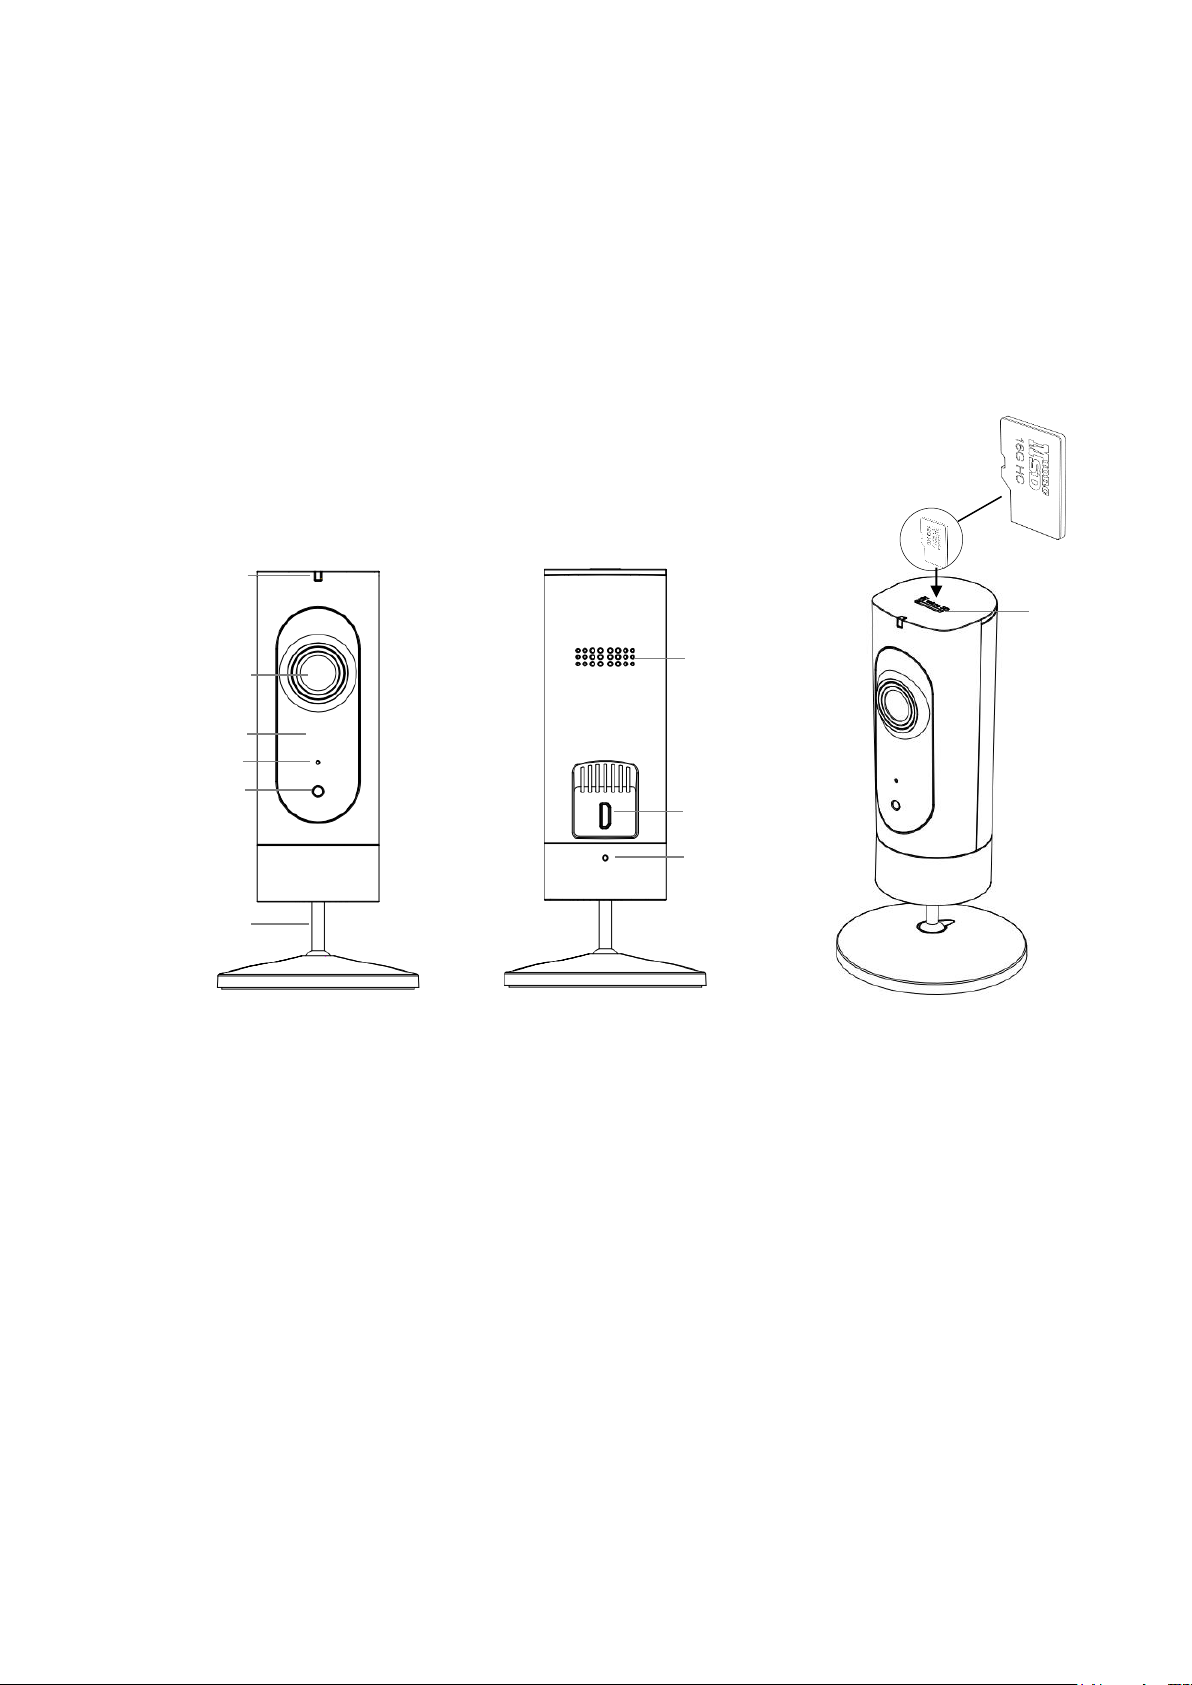
Camera lens
Status LED
Speaker
Micro USB slot
for power input
Micro SD card
slot
Reset pinhole
Front
Back
Top side
Infra-red LED
Stand
Light sensor
Micro SD card facing
package)
3 Product Description
3.1 Components
front (not included in
Page 5
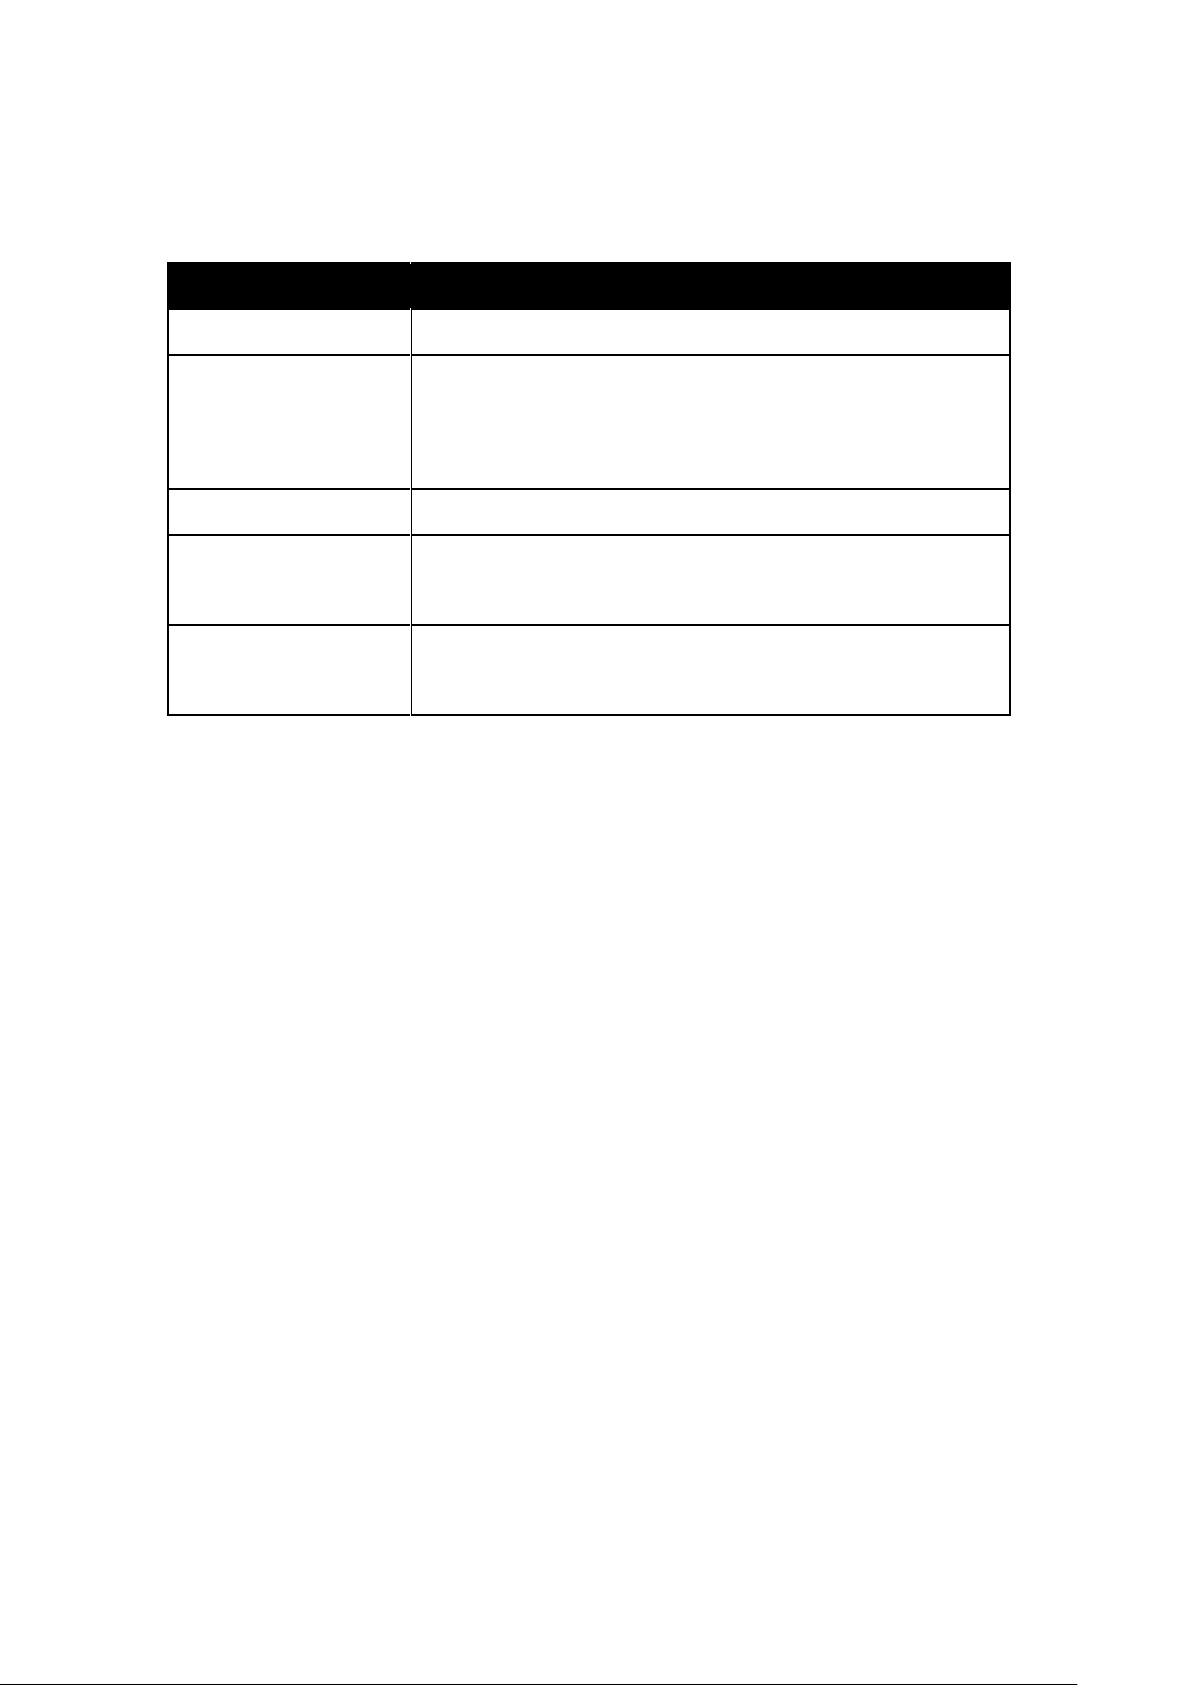
Status
Description
Solid Red
Power connected and commencing boot up
Flashing Red
Booting completed and awaiting Wi-Fi router password
Or Booting completed and establishing Wi-Fi router
connection
Solid Green
Connection to server established and normal operation
Flashing Green
Connection to Wi-Fi router completed and commencing
internet connection
Red and Green
flashing alternately
Not able to connect to the cloud
3.2 LED on/off description
3.3 Requirements and Tech Specs
Wi-Fi Network Requirements
In order for your camera to connect to your Wi-Fi network, it will need to meet the
following requirements:
Supports IEEE 802.11b/g/n
Your Wi-Fi network broadcasts at 2.4GHz. 5GHz band is not supported
Your network upload speed is suggested to be greater than 1 Mbps to have
fluent video streaming.
Phone OS Requirements
iOS 8 or newer; Android 4.4 or newer
Power
100~ 240VAC 50/60Hz power supply for the AC adapter
Product maximum power consumption: 5w
Operatin g Environment
Temperature: -10℃ ~ 50℃
Humidity: ≦95% non-condensing
Page 6
Cam er a
120° (diagonal) wide-angle lens
Maximum resolution: 1280x720/ 1920*1080
H.264 Video Compression
Infra-red night vision
Dimensions
136 mm x66 mm x66mm
Net we ight
138g
4 Quick Start Guide
4.1 Download and Install the App
Please scan the QR code or download from the link below:
Arnoo App (for IP camera and other IoT products)
iOS:https://www.pgyer.com/MwmZ
Android:https://www.pgyer.com/zsBh
The IP Camera stand-alone App
iOS:https://www.pgyer.com/C1cU
Page 7
Android: https://www.pgyer.com/v80y
4.2 Register and Login
Open the App and it will guide you through creating an account and logging in at the
home screen.
4.3 Connect the Camera to Your Wi-Fi
Before the adding:
Make sure your wireless router has the Internet access and 1Mbps uploading speed or
faster, and the Wi-Fi signal at the location where you install the camera is good.
It is recommended that the installation location be less than 5 meters from the router and
there is no obstruction in the middle.
Make sure the camera is not added to other user’s account. If it is, the owner of the
camera has to unbind it first before it can be added to other account.
● Press the “+” (plus) button on the home screen of the App to add a camera, as shown
in the illustration below.
Page 8

Page 9

● Choose the correct camera icon as shown in the illustration below.
Plug in the camera. The status LED should be flashing green, if it is the first time
you are setting up this camera. ↓
Page 10

Page 11

Note: If the status LED is not flashing green, then tap the “Don’t see the flashing green?”
button and follow the instructions to reset the camera before you can setup it. ↓
Page 12

Choose the the SSID (name of the home Wi-Fi) you want the camera to connect to,
and input the password. Please be noted that the 5GHz band Wi-Fi is not
supported by the camera.
Page 13

Then connect your smart phone to the camera’s AP with the name of “LDS_ipc-
xx:xx…”. ↓
Tap the button to go to the Wi-Fi settings of your phone, choose the right Wi-Fi SSID,
↓
And then return to this App.
Your phone will disconnected with the camera’ AP and connect to the home Wi-Fi ,
again.
Page 14

Wait for the camera to connect the home Wi-Fi and comes on-line.
Page 15

When the adding operation is completed, you can rename the camera and assign a
room for it. Now you can watch the live video on your phone.
If the adding operation is not successful, please refer to section 5 trouble shooting.
4.4 Main functions of the app
1. Device list. All the cameras that you have added will be shown as device cards, with
the latest snapshot, device name, on-line status and the room name. You can
select a camera and watch the live video by tapping the snapshot.
Page 16

Settings
Video storage in Micro SD card
(requiring a card in the slot)
Camera On/off
Camera name
Status and room of
the camera
Page 17

2. Camera live view. You can enlarge to full screen by putting your phone flat. Push
Settings
Full screen view
Mute/ unmute
Phone speaker
Album in phone for
snapshots and video clips
Video quality
Push to talk
Video storage in
Micro SD card
Cloud storage
services
and hold the talk button to make a 2-way talk with the person in front of the
camera. 2 types of video quality are optional: SD (standard definition), HD (high
definition).
Page 18

Full screen view
Exit full screen view
Mute/ unmute
Phone speaker
Push to talk
(Press the X button after talking
to hear the sound from the
camera)
Page 19

3. Micro SD card video. In order to enable this function, you need to insert a Micro SD
card (up to 64 GB) in the slot for video recording. When the camera detect a good
card inserted, it will start record automatically.
Caution:
Micro SD card does not support hot swap. Remember to turn off the camera’s
power before inserting or removing the card to protect your video data.
Micro SD card is very small and may be swallowed by babies, please keep the
camera with Micro SD card away from babies.
2 recording modes are optional: full time (default) and event. It can be
changed.
4. Camera settings. More specific setting items for the camera.
Page 20

5. Video management: this function is coming soon.
Page 21

5 Trouble shooting
If the default adding camera operation fails
Make sure your wireless router has the Internet access, and the Wi-Fi signal at
the location where you install the camera is good.
Make sure the camera is plugged in and the status LED is on or flashing
Reset the camera if the LED is NOT flashing green. Then follow the App to add
it.
Make sure the camera is not added to other user’s account. If it is, the owner
of the camera has to unbind it first.
When this step is done, the camera should be added to your account.
If the Micro SD card is not detected by the camera
Make sure the card is good and format it again in the FAT-32 format.
How to do the forced reset?
If you cannot reset the camera from the setting page, please hold the reset
button in the pin hole with the reset pin for 5 seconds and release. The camera
will play a voice prompt” Restoring factory settings”.
The time of the camera video stamp is not right
Please set the right time zone in the settings.
Page 22

Positions for screws
6 Wall mount
In case you need to mount this camera on a wall, please use this figure below to help
you to nail screws exactly where they should be.
1. Hold this page against the installation position on the wall, and the 2 small holes
will be where the screws nailed into the wall. Then make 2 marks on the wall and
nail the screws.
2. Hang the camera on the screws.
Page 23

FCC Statement
1. This device complies with Part 15 of the FCC Rules. Operation is subject to the following two
conditions:
(1) This device may not cause harmful interference.
(2) This device must accept any interference received, including interference that may cause
undesired operation.
Note: The grantee is not responsible for any changes or modifications not expressly approved by
the party responsible for compliance. Such modifications could void the user’s authority to operate
the equipment.
NOTE: This equipment has been tested and found to comply with the limits for a Class B digital
device, pursuant to part 15 of the FCC Rules. These limits are designed to provide reasonable
protection against harmful interference in a residential installation.
This equipment generates uses and can radiate radio frequency energy and, if not installed and
used in accordance with the instructions, may cause harmful interference to radio communications.
However, there is no guarantee that interference will not occur in a particular installation. If this
equipment does cause harmful interference to radio or television reception, which can be
determined by turning the equipment off and on, the user is encouraged to try to correct the
interference by one or more of the following measures:
- Reorient or relocate the receiving antenna.
- Increase the separation between the equipment and receiver.
-Connect the equipment into an outlet on a circuit different from that to which the receiver is
connected.
-Consult the dealer or an experienced radio/TV technician for help
RF Exposure Statement
This equipment complies with FCC radiation exposure limits set forth for an uncontrolled
environment. This equipment should be installed and operated with minimum distance of 20 cm
between the radiator and your body.
Page 24

IC Statement
-English:
This device complies with Industry Canada RSS standard(s). Operation is subject to the following two conditions: (1) this
device may not cause interference, and (2) this device must accept any interference, including interference that may
cause undesired operation of the device.
Changes or modifications not expressly approved by the party responsible for compliance could void the user's authority
to operate the equipment.
This equipment should be installed and operated with minimum distance of 20 cm between the radiator and your body.
-French:
Leprésent appareil est conforme aux CNR d'Industrie Canada applicable aux appareils radio
Exempts de licence. L'exploitation est autorisée aux deux conditions suivantes:
(1) l'appareil ne doit pas produire de brouillage, et (2) l'utilisateur de l'appareil doit accepter tout brouillage
radioélectrique subi, meme si le brouillage est susceptible d'en compromettre le fonctionnement."
Cet équipement doit être installé et utilisé avec une distance minimale de 20cm entre le radiateur et votre corps.
CAN ICES-3 (B)/NMB-3(B) of ICES-003
Transmission:
Setting transmission frequency on the 8C-IP-W2-H0 is made from 2412-2472MHz and rated output power for 802.11b is
16dBm±2dBm, for 802.11g is 14dBm±2dBm, for 802.11n HT20 is 13dBm±2dBm and for 802.11n HT40 is 13dBm±2dBm.
Hereby, leedarson declares 8C-IP-W2-H0 is compliance with the essential requirement and other relevant provisions of
Directive 2014/53/EU. The EU declaration conformity can be obtained through your local distributor. Please refer to
address in packing. It is available at following internet address: www.leedarson.com
 Loading...