

Page 1

Event Spot Rapid RGBW
User Manual
Order codes:
LEDJ239 - Black Housing
LEDJ239A - White Housing
Page 2

Safety advice
WARNING
FOR YOUR OWN SAFETY, PLEASE READ THIS USER MANUAL
CAREFULLY BEFORE YOUR INITIAL START-UP!
• Before your initial start-up, please make sure that there is no damage caused during transportation.
• Should there be any damage, consult your dealer and do not use the equipment.
• To maintain the equipment in good working condition and to ensure safe operation, it is necessary
for the user to follow the safety instructions and warning notes written in this manual.
• Please note that damages caused by user modications to this equipment are not subject to warranty.
CAUTION!
KEEP THIS EQUIPMENT
AWAY FROM RAIN,
MOISTURE AND LIQUIDS
CAUTION!
TAKE CARE USING
THIS EQUIPMENT!
HIGH VOLTAGE-RISK
OF ELECTRIC SHOCK!!
IMPORTANT:
The manufacturer will not accept liability for any resulting damages caused by the non-observance
of this manual or any unauthorised modication to the equipment.
• Never let the power cable come into contact with other
cables. Handle the power cable and all mains voltage
connections with particular caution!
• Never remove warning or informative labels from the unit.
• Do not open the equipment and do not modify the unit.
• Do not connect this equipment to a dimmer pack.
• Do not switch the equipment on and off in short intervals,
as this will reduce the system’s life.
• Only use the equipment indoors.
• Do not expose to ammable sources, liquids or gases.
• Always disconnect the power from the mains when
equipment is not in use or before cleaning! Only handle
the power-cable by the plug. Never pull out the plug by
pulling the power-cable.
• Make sure that the available mains supply voltage is
between 100~240V AC, 50/60Hz.
• Make sure that the power cable is never crimped or
damaged. Check the equipment and the power cable
periodically.
• If the equipment is dropped or damaged, disconnect the
mains power supply immediately and have a qualied
engineer inspect the equipment before operating again.
• If the equipment has been exposed to drastic
temperature uctuation (e.g. after transportation),
do not connect power or switch it on immediately.
The arising condensation might damage the equipment.
Leave the equipment switched off until it has reached
room temperature.
• If your product fails to function correctly, stop use
immediately. Pack the unit securely (preferably in the
original packing material), and return it to your Pro Light
dealer for service.
• Only use fuses of same type and rating.
• Repairs, servicing and power connection must only be
carried out by a qualied technician. THIS UNIT CONTAINS
NO USER SERVICEABLE PARTS.
• This lighting xture is for professional use only - it is
not designed for or suitable for household use. The
product must be installed by a qualied technician in
accordance with local territory regulations. The safety of
the installation is the responsibility of the installer. The
xture presents risks of severe injury or death due to re
hazards, electric shock and falls.
• Warning! Risk Group 2 LED product according to
EN 62471. Do not view the light output with optical
instruments or any device that may concentrate the beam.
• WARRANTY: One year from date of purchase.
OPERATING DETERMINATIONS
If this equipment is operated in any other way, than those described in this manual, the product may suffer damage and
the warranty becomes void. Incorrect operation may lead to danger e.g: short-circuit, burns and electric shocks etc.
Do not endanger your own safety and the safety of others!
Incorrect installation or use can cause serious damage to people and/or property.
www.prolight.co.uk Event Spot Rapid RGBW User Manual
2
Page 3

Product overview & technical specications
Event Spot Rapid RGBW
Powered by a single 15W quad-colour LED, the Event Spot Rapid RGBW further enhances the Event Spot series
offering the user, not only highlighting and spotting solutions, but portable uplighting and washing possibilities too.
The robust housing design makes this xture extremely versatile, and with the added magnetic base feature, it can
also be quickly and easily mounted to a variety of surfaces including most metals, omitting the need for clamps.
This battery powered xture has all the standard features expected with the Event Spot range, with the addition of
an on-board W-DMX wireless transceiver making for a truly cable free operation. The xture can be controlled via
DMX, 4 button menu with LCD display, or the included IR remote.
• 1 x 15W quad-colour LED (RGBW)
• Beam angle: 4° native, 10° and 45° frost lenses supplied
• 3.6kHz refresh rate
• DMX channels: 1/4/6 or 7 selectable
• Wireless control (W DMX Sweden transceiver)
• Static colour, colour change and
colour fade and master/slave modes
• 0-100% dimming and variable strobe
• Magnetic base to easily mount xture
to most metal surfaces
• Bracket allows for multiple rigging applications
• 4 push button menu with OLED display
• Rechargeable battery for wireless applications
• 4 battery modes 2/4/6/8 hours
• Maximum run time: up to 11 hours (single colour), 15 hours
(colour change), 7 hours (colour fade), 8 hours (full on)
• Charging time: 3.5 hours (max.)
• DC 13-16V, 1A charging input (via the included charger)
• Convection cooled
• Optional IR remote (LEDJ90C)
Specications Event Spot Rapid RGBW
Power consumption 17W
Power supply 100~240V, 50/60Hz
Battery 11.1V 2600mAh
Dimensions 205 x 125 x 88mm (with base)
175 x 88 x 88mm (without base)
Weight 1.2kg
Order code LEDJ239 - Black Housing
LEDJ239A - White Housing
4° - Lux
FULL ON
R
G
B
W
10° - Lux
FULL ON
R
G
B
W
45° - Lux
FULL ON
R
G
B
W
38800
10800
13500
1270
18200
15500
4000
6200
820
9960
1990
320
588
72
1090
9700
2698
3373
318
4550
3866
1000
1550
205
2492
497
80
147
18
273
4310
1200
1500
141
2020
1720
444
689
91
1110
221
35
65
8
121
2420
675
843
79
1140
968
258
388
51
623
124
20
36
4
68
1550
432
539
50
728
619
160
248
32
398
79
12
23
2
43
10° 45° 4°
0m 2m 3m 4m 5m1m
www.prolight.co.uk Event Spot Rapid RGBW User Manual
3
Page 4

MENU UPENTER DOWN
POWER
INPUT:
DC 13-16V
OFF ON
127mm
100mm
Technical specications
159mm
90mm
90mm
62mm
318mm
35mm
65mm
06
01 - Battery indicator
02 - LCD display
03 - Function buttons
04
07
01
03
05
04 - DC 13-16V, 1A charging input
05 - On/off switch
08
06 - Hanging bracket
07 - Hanging bracket adjustable knob
07
08 - Safety eye
02
In the box: 1 x xture,
1 x 10° frost lens,
1 x 45° frost lens,
1 x charging adaptor
& 1 x user manual
www.prolight.co.uk Event Spot Rapid RGBW User Manual
4
Page 5

DMX MODE
ADDR
CHANNEL
DMX ADDR
001
DMX ADDR
512
CHANNEL
CH 01
CHANNEL
CH 04
CHANNEL
CH 06
CHANNEL
CH 07
Operating instructions
DMX address setting
DMX channel mode
MENU
SLAVE MODE
1.STATIC
2.CHANGE
3.CHANG4
Slave mode
R 00 G 00
R 99 G 99
2.CHANGE
SP 00 F 00
2.CHANGE
SP 99 F 99
3.CHANG4
SP 00 F 00
3.CHANG4
SP 99 F 99
1.STATIC
1.STATIC
1.STATIC
B 00 W 00
1.STATIC
B 99 W 99
Colour change mode
4 colour change mode
1.STATIC
F 00
1.STATIC
F 99
Static
colour
mode
4. FADE
SP 00 F 00
4. FADE
4. FADE
SP 99 F 99
Colour fade mode
www.prolight.co.uk Event Spot Rapid RGBW User Manual
5
Page 6
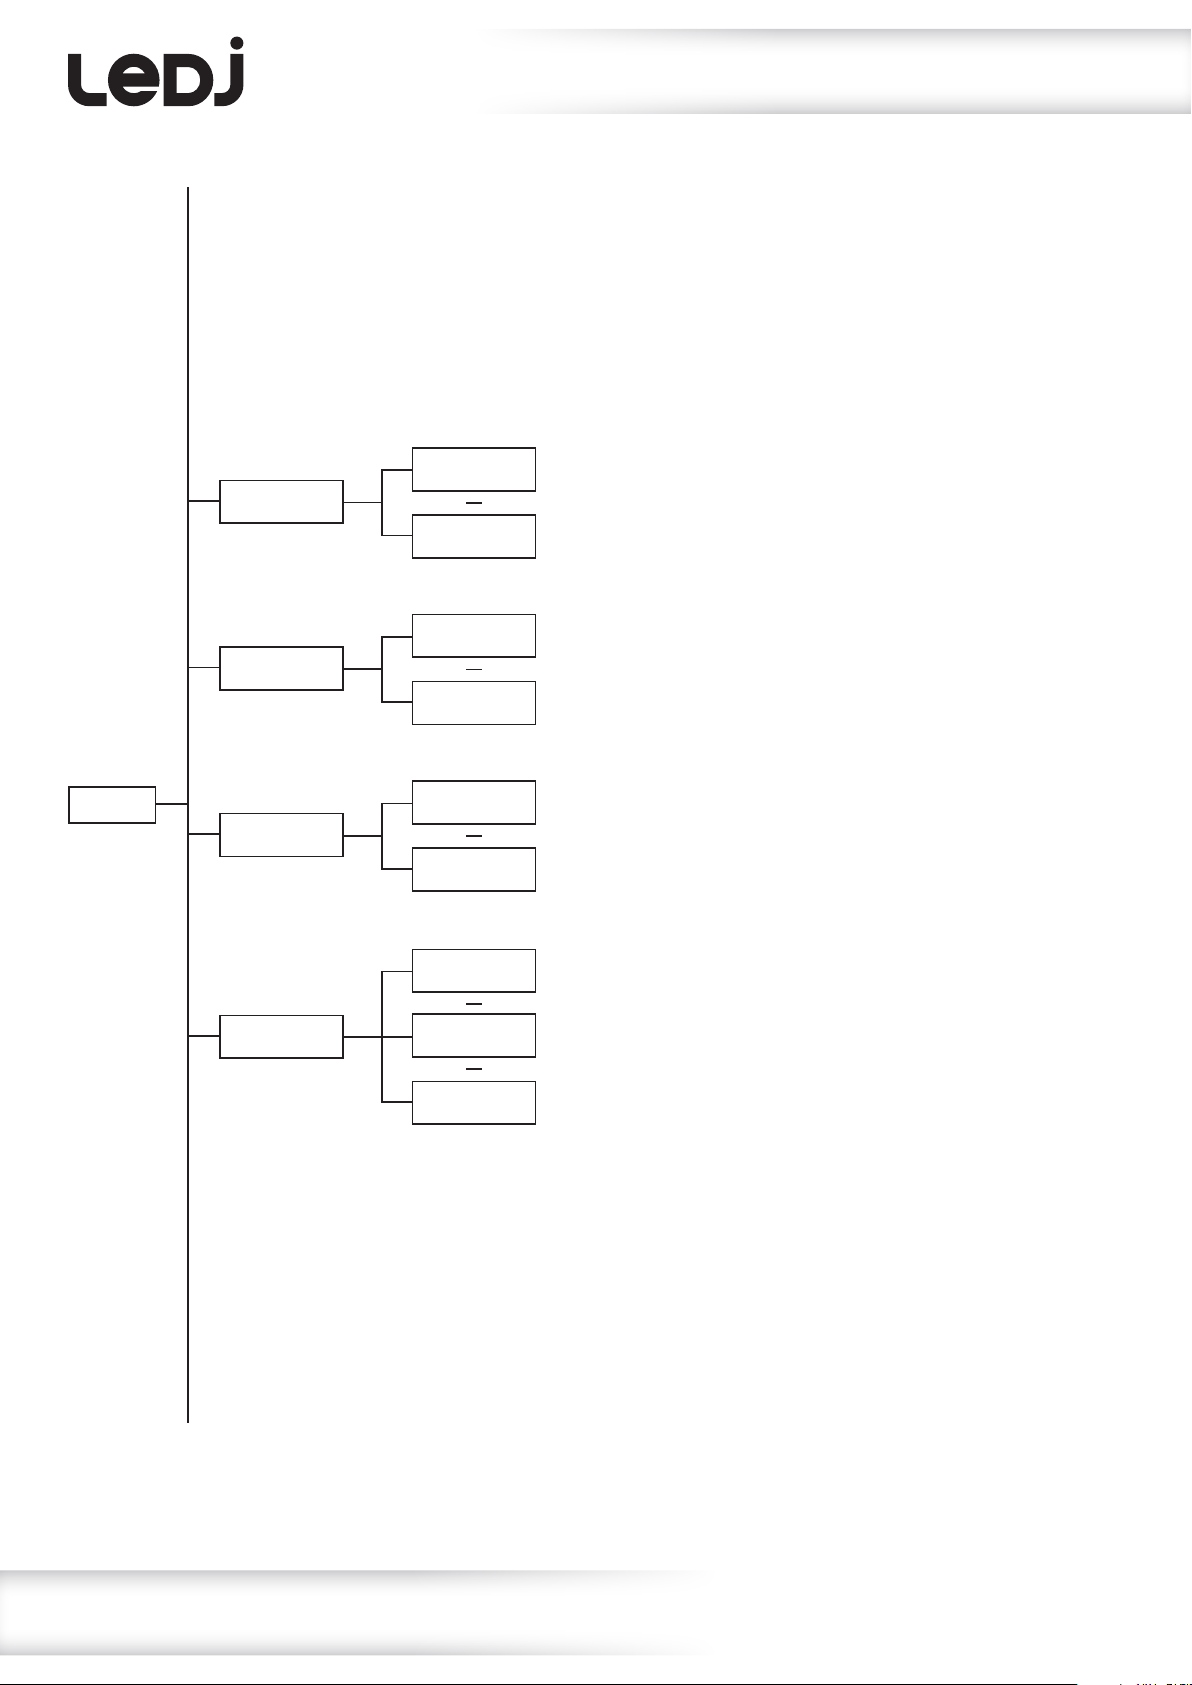
SOUND
SENS
IR. REMOTE
SOUND
SENS 00
SOUND
SENS 31
IR. REMOTE
OFF
IR. REMOTE
ON
Operating instructions
Sound sensitivity
IR remote on/off
MENU
DIMMER
DMX FAIL
DIMMER
RESP_01
DIMMER
RESP_02
DMX FAIL
HOLD
DMX FAIL
BLACKOUT
DMX FAIL
STATIC
Dimmer response
DMX fail settings
www.prolight.co.uk Event Spot Rapid RGBW User Manual
6
Page 7
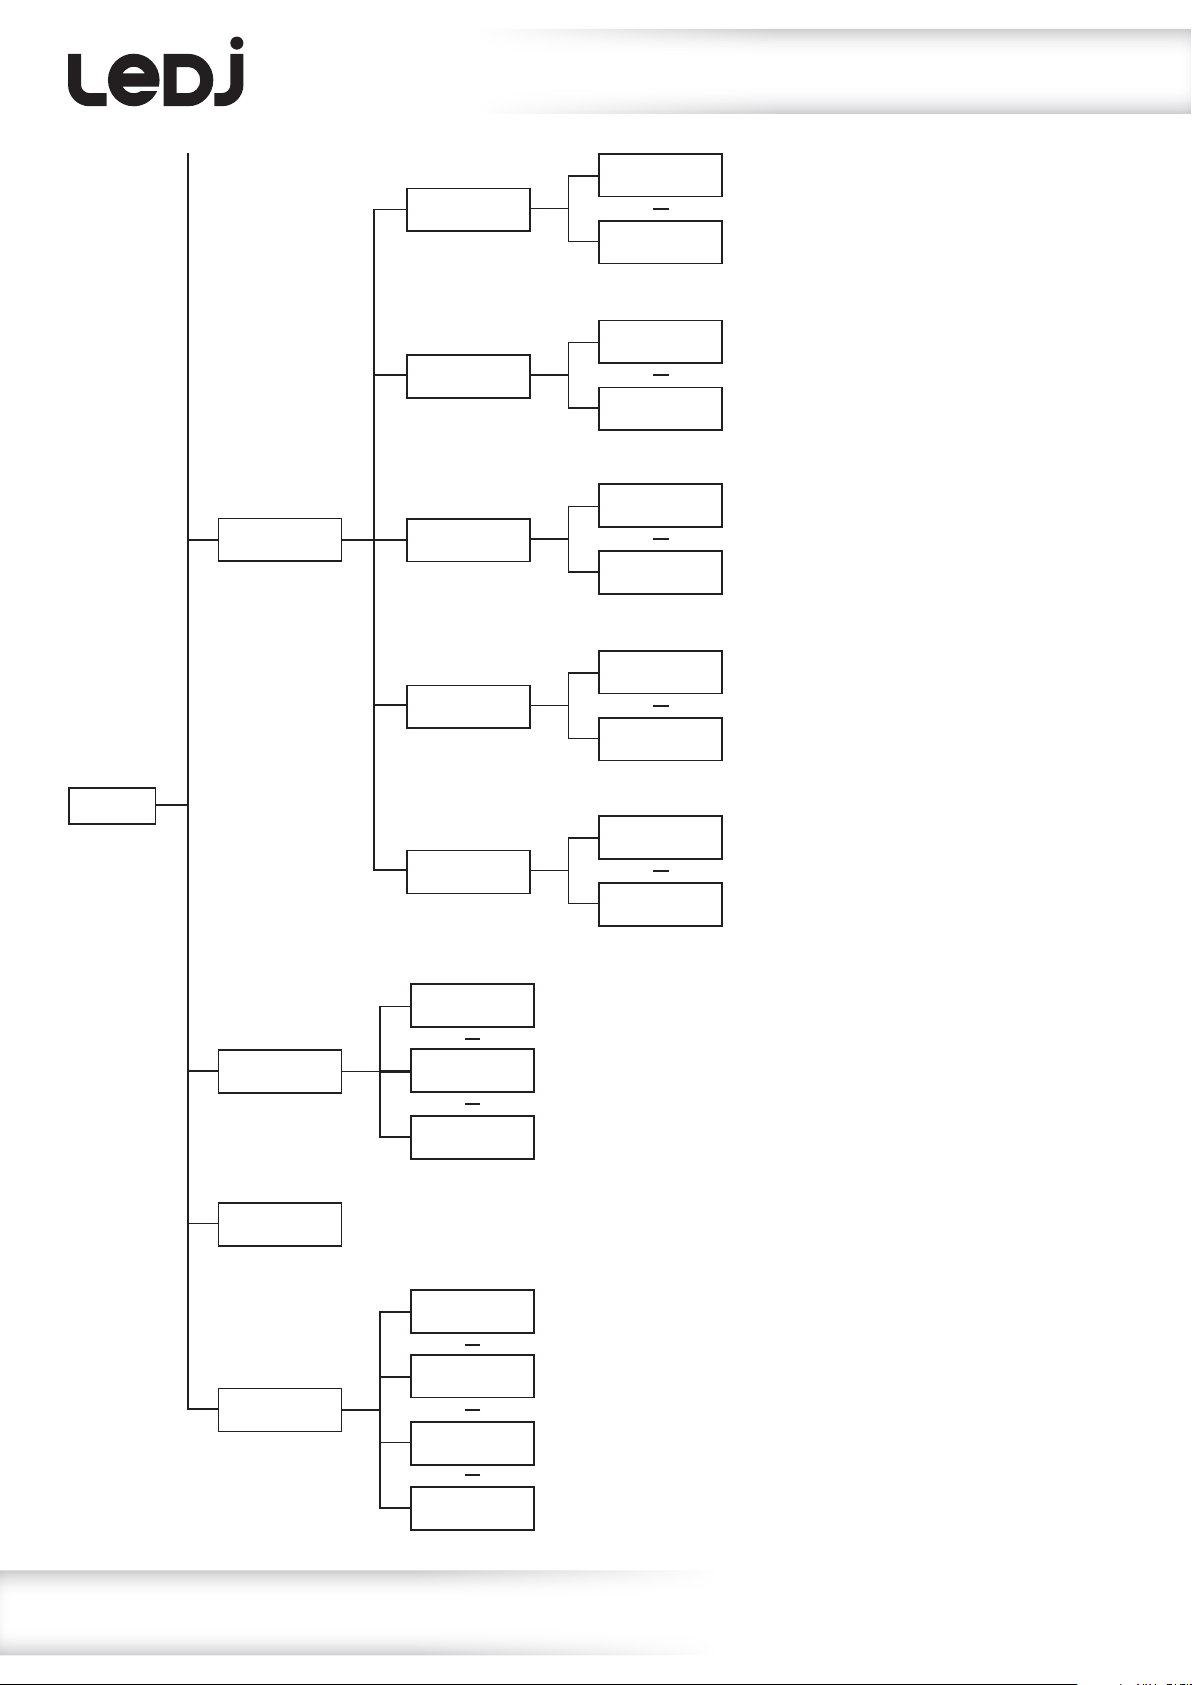
Calibrate
Password
Red
Green
Blue
Password
000
Password
255
Red
000
Red
255
Green
000
Green
255
Blue
000
Blue
255
Calibration password unlock
Password: 050
Red ne adjustment
Green ne adjustment
Blue ne adjustment
MENU
WDMX
BATTERY LIFE
–––%
RUNTIME MODE
White
WDMX
RESET
WDMX
OFF
WDMX
PAIR
RUNTIME MODE
2 Hours
RUNTIME MODE
4 Hours
RUNTIME MODE
6 Hours
White
000
White ne adjustment
White
255
W-DMX settings
Runtime mode setting
RUNTIME MODE
8 Hours
www.prolight.co.uk Event Spot Rapid RGBW User Manual
7
Page 8
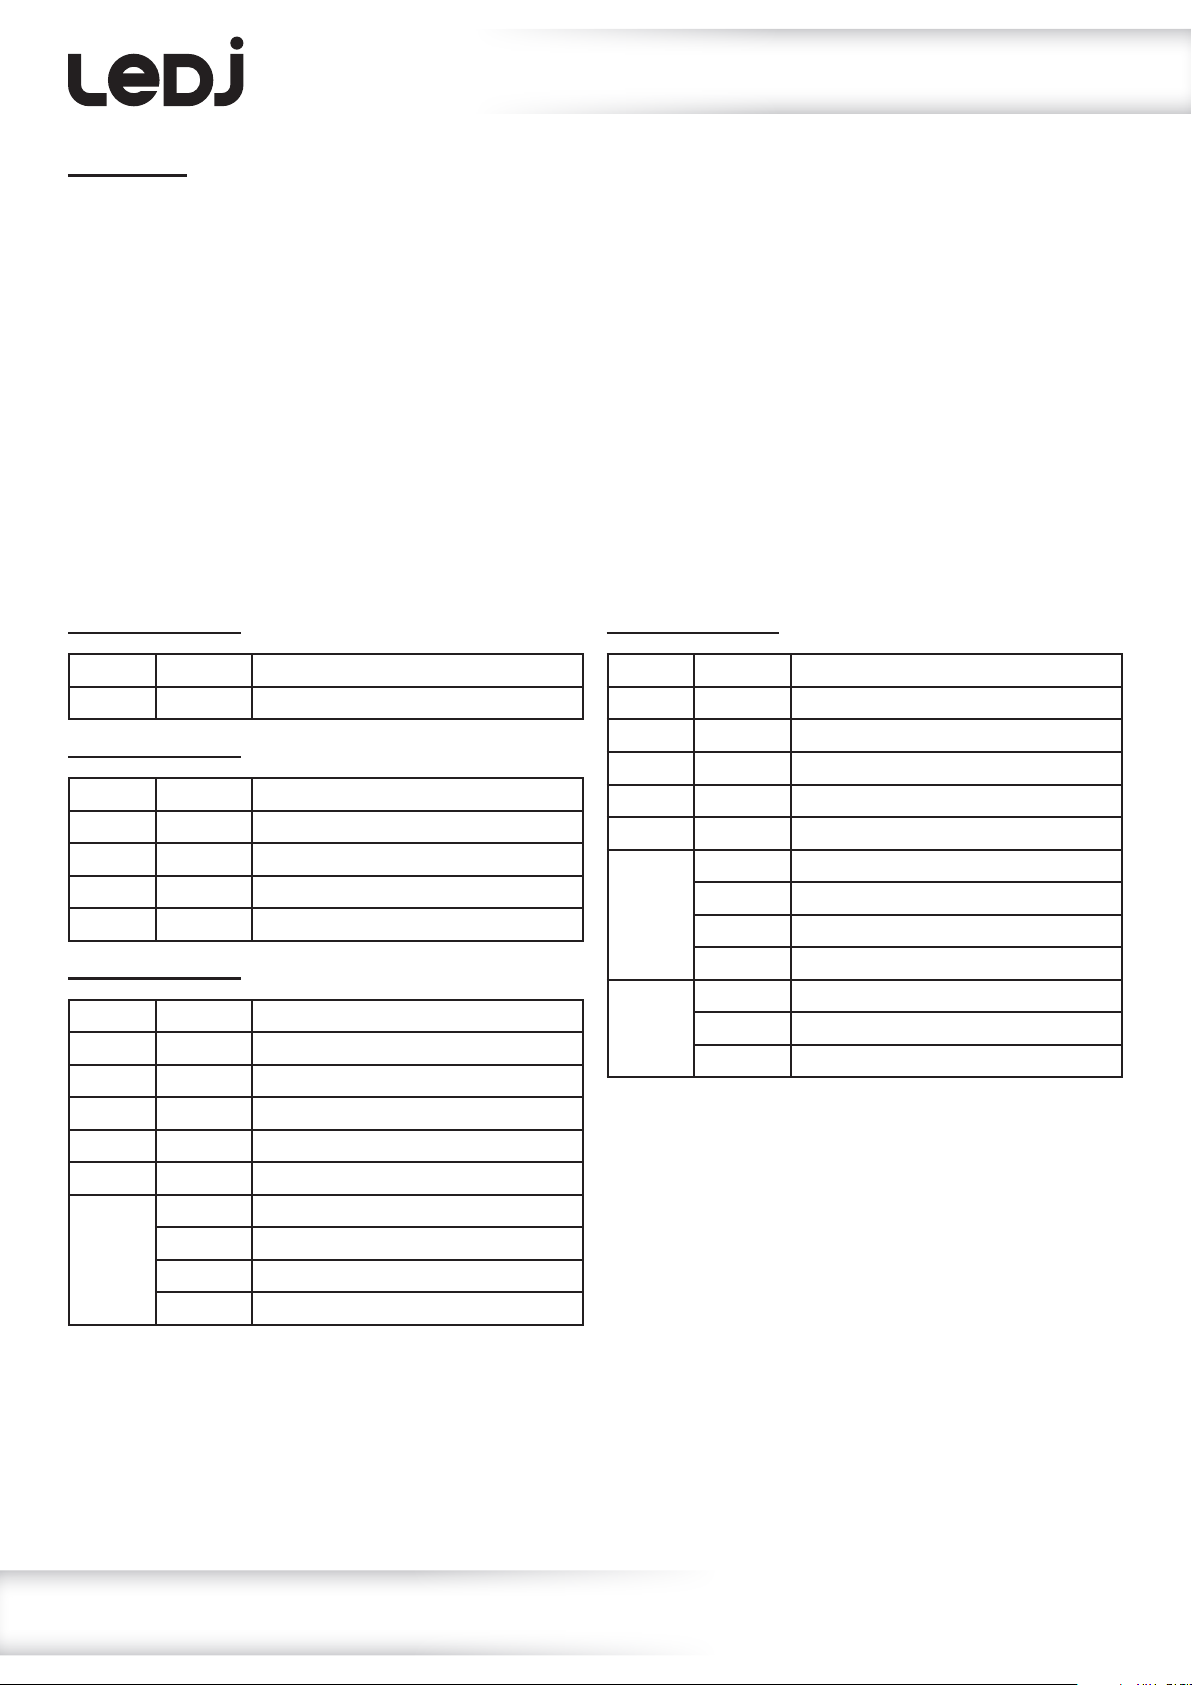
Operating instructions
DMX mode:
Operating in a DMX control mode environment gives the user the greatest exibility when it comes
to customising or creating a show. In this mode you will be able to control each individual trait of the
xture and each xture independently.
To access the DMX address mode, press the “MENU” button on the rear of the unit to show
“DMX MODE ADDR” on the LCD display. Now press the “ENTER” button and use the “UP” and “DOWN”
buttons to set the required DMX address. Press the “ENTER” button to conrm the setting.
To exit out of any of the above options, press the “MENU” button.
To access the DMX channel mode, press the “MENU” button on the rear of the unit to show
“CHANNEL CH --” on the LCD display. Now press the “ENTER” button and use the “UP” and “DOWN”
buttons to set the required DMX channel (1/4/6 or 7 selectable).
To exit out of any of the above options, press the “MENU” button.
1 channel mode:
Channel Value Function
1 000-255 RGBW dimmer (0-100%)
4 channel mode:
Channel Value Function
1 000-255 Red dimmer (0-100%)
2 000-255 Green dimmer (0-100%)
3 000-255 Blue dimmer (0-100%)
4 000-255 White dimmer (0-100%)
6 channel mode:
Channel Value Function
1 000-255 Red dimmer (0-100%)
2 000-255 Green dimmer (0-100%)
3 000-255 Blue dimmer (0-100%)
4 000-255 White dimmer (0-100%)
5 000-255 Master dimmer (0-100%)
6 000 No function
001-005 Sound active
006-010 No function
011-225 Strobe (slow-fast)
7 channel mode:
Channel Value Function
1 000-255 Red dimmer (0-100%)
2 000-255 Green dimmer (0-100%)
3 000-255 Blue dimmer (0-100%)
4 000-255 White dimmer (0-100%)
5 000-255 Master dimmer (0-100%)
6 000 No function
001-005 Sound active
006-010 No function
011-225 Strobe (slow-fast)
7 000-004 No function
005-125 15 colour change mode (slow-fast)
126-255 15 colour fade mode (slow-fast)
Please note: The DMX Transmitter must be in G3 mode to work with these xtures.
www.prolight.co.uk Event Spot Rapid RGBW User Manual
8
Page 9
Operating instructions
Built-in programs:
To access the built-in programs, press the “MENU” button on the rear of the unit to show
“1.STATIC” on the LCD display. Press the “ENTER” button and use the “UP” and “DOWN” buttons to
select one of the 4 built-in programs (static colour, colour change, 4 colour change or colour fade).
1.STATIC - Press the “ENTER” button and use the “UP” and “DOWN” buttons to select between
“00” - “99” for R (Red), G (Green), B (Blue), W (White) and F (Flash).
Press the “ENTER” button to conrm the setting.
(00 = LED off/strobe off, 99 = LED at full brightness/strobe fast)
For 2.CHANGE, 3.CHANG4 and 4.FADE programs press the “ENTER” button and use the “UP” and
“DOWN” buttons to set the speed from “00” - “99”. Press the “ENTER” button again and use the “UP”
and “DOWN” buttons to set the strobe speed from “00” - “99”.
Press the “ENTER” button to conrm the setting.
(00 = speed slow, 99 = speed fast).
To exit out of any of the above options, press the “MENU” button.
Sound sensitivity:
To adjust the sound sensitivity, press the “MENU” button on the rear of the unit to show “SOUND
SENS” on the LCD display. Press the “ENTER” button and use the “UP” and “DOWN” buttons to set the
sensitivity from “00” - “31”. Press the “ENTER” button to conrm the setting.
(00 = low sensitivity, 31 = high sensitivity).
To exit out of any of the above options, press the “MENU” button.
IR remote on/off:
To set the IR remote on/off, press the “MENU” button on the rear of the unit to show “IR. REMOTE” on
the LCD display. Press the “ENTER” button and use the “UP” and “DOWN” buttons to select “ON” or
“OFF”. Press the “ENTER” button to conrm the setting.
To exit out of any of the above options, press the “MENU” button.
Dimmer response:
To set the dimmer response, press the “MENU” button on the rear of the unit to show “DIMMER” on the
LCD display. Press the “ENTER” button and use the “UP” and “DOWN” buttons to select “RESP_01” or
“RESP_02”. Press the “ENTER” button to conrm the setting.
To exit out of any of the above options, press the “MENU” button.
DMX fail:
To set the DMX fail setting, press the “MENU” button on the rear of the unit to show “DMX FAIL” on the
LCD display. Press the “ENTER” button and use the “UP” and “DOWN” buttons to select between “HOLD”
(hold last DMX command), “BLACKOUT” (blackout) or “STATIC” (run static colour mode).
Press the “ENTER” button to conrm the setting.
To exit out of any of the above options, press the “MENU” button.
www.prolight.co.uk Event Spot Rapid RGBW User Manual
9
Page 10
Operating instructions
Calibration:
To access the calibration, press the “MENU” button on the rear of the unit to show
“Calibrate” on the LCD display. Press the “ENTER” button and the display will show “Password”, use the
“UP” and “DOWN” buttons until “050” is displayed. Press the “ENTER” button to conrm the password.
Now use the “UP” and “DOWN” buttons to select between “Red”, “Green”, “Blue” and “White”. Press the
“ENTER” button and use the “UP” and “DOWN” buttons to adjust the values from “00” - “99”.
Press the “ENTER” button to conrm the setting.
To exit out of any of the above options, press the “MENU” button.
Wireless DMX indicator information:
When the display is ashing, W-DMX is not paired with other units/transmitter unit or is set to off.
When the display is on and not ashing, W-DMX is paired. To check the status of the W-DMX
see the W-DMX menu in the xture which will indicate whether it is on or off.
Wireless DMX operation:
To operate the xture in wireless DMX you will need to connect the xture to a W-DMX compatible
wireless DMX Transmitter. To pair the xture and transmitter make sure the display is ashing indicating
no W-DMX signal. First the xture needs to be set into DMX mode, to do this set the DMX address and
channel mode to what is required, see DMX mode.
To turn wireless DMX on, press the “MENU” button to show “W-DMX” on the LCD display.
Press the “ENTER” button use the “UP” and “DOWN” buttons to select “RESET”.
Press the “ENTER” button. This will reset the DMX memory and turn W-DMX on.
Press the pair button on the transmitter.
Once the pair is successful the display will stop ashing.
To turn wireless DMX off, press the “MENU” button to show “W-DMX” on the LCD display. Now use the
“UP” and “DOWN” buttons to select “OFF”. Press the “ENTER” button to conrm the setting.
To exit out of any of the above options, press the “MENU” button.
To link multiple Event Spot Rapids via wireless master/slave see Wireless master/slave operation.
Clear wireless DMX memory:
To clear the wireless DMX memory, press the “MENU” button to show “W-DMX” on the LCD display.
Now use the “UP” and “DOWN” buttons to select “RESET”. Press the “ENTER” button to erase the
wireless DMX memory. The display will start ashing to show there is no W-DMX signal.
To exit out of any of the above options, press the “MENU” button.
Please note: When the xture is in Master mode the wireless DMX memory of the Transmitter unit and
all receiving units will be cleared. When in Slave mode the wireless DMX memory of that one receiving
unit will be cleared.
www.prolight.co.uk Event Spot Rapid RGBW User Manual
10
Page 11
Operating instructions
Wireless master/slave operation:
To set the xtures into wireless master/slave, rst clear the xtures wireless DMX memory by following
the instructions Clear wireless DMX memory.
Once all units (including the masters) wireless DMX memory has been cleared set the slave units.
To set the slave units, press the “MENU” button to show “SLAVE MODE” on the LCD display.
Press the “ENTER” button to conrm the setting.
Now set the master unit in the program required (static colour, colour change, colour fade or sound).
Once the master unit has been set you need to pair the xtures. To do this press the “MENU” button on
the master unit to show “W-DMX” on the LCD display. Now press the “ENTER” button and use the “UP”
and “DOWN” buttons to select “PAIR”. Press the “ENTER” button and the xture will start to pair.
The master unit will now pair and the slaves will run in sequence with the master unit.
Once the pair is successful the display will stop ashing.
To exit out of any of the above options, press the “MENU” button.
Please ensure that all slave units are set to the same DMX channel mode as the master unit.
Battery life:
To display the xtures battery life, press the “MENU” button to show “BATTERY LIFE” on the LCD display.
The battery life will be displayed. To exit out of any of the above options, press the “MENU” button.
When charging the xtures charging indicator will illuminate Red.
When the xture is fully charged the charging indicator will change to green.
Runtime mode:
To set the xtures runtime, press the “MENU” button on the rear of the unit to show “RUNTIME MODE”
on the LCD display. Press the “ENTER” button and use the “UP” and “DOWN” buttons to select between
“2 Hours”, “4 Hours”, “6 Hours” or “8 Hours”. Press the “ENTER” button to conrm the setting.
To exit out of any of the above options, press the “MENU” button.
Please note: In 2 hour runtime mode the xture will run at 100% brightness. The brightness will be
reduced when the xture is in 4, 6 or 8 hour runtime modes to prolong the battery life.
www.prolight.co.uk Event Spot Rapid RGBW User Manual
11
Page 12
Operating instructions
1 2 3
4 5 6 0
+
_
7 8 9
AW
D
FL
SL
SP
S
S PR
SA
R
G B
BLACKOUT DIMMING
FLASH
SLAVE
SPEED
SET ADDR
SELECT PROG
SOUND ACTIVE
AMBER/WHITE
DMX MODE
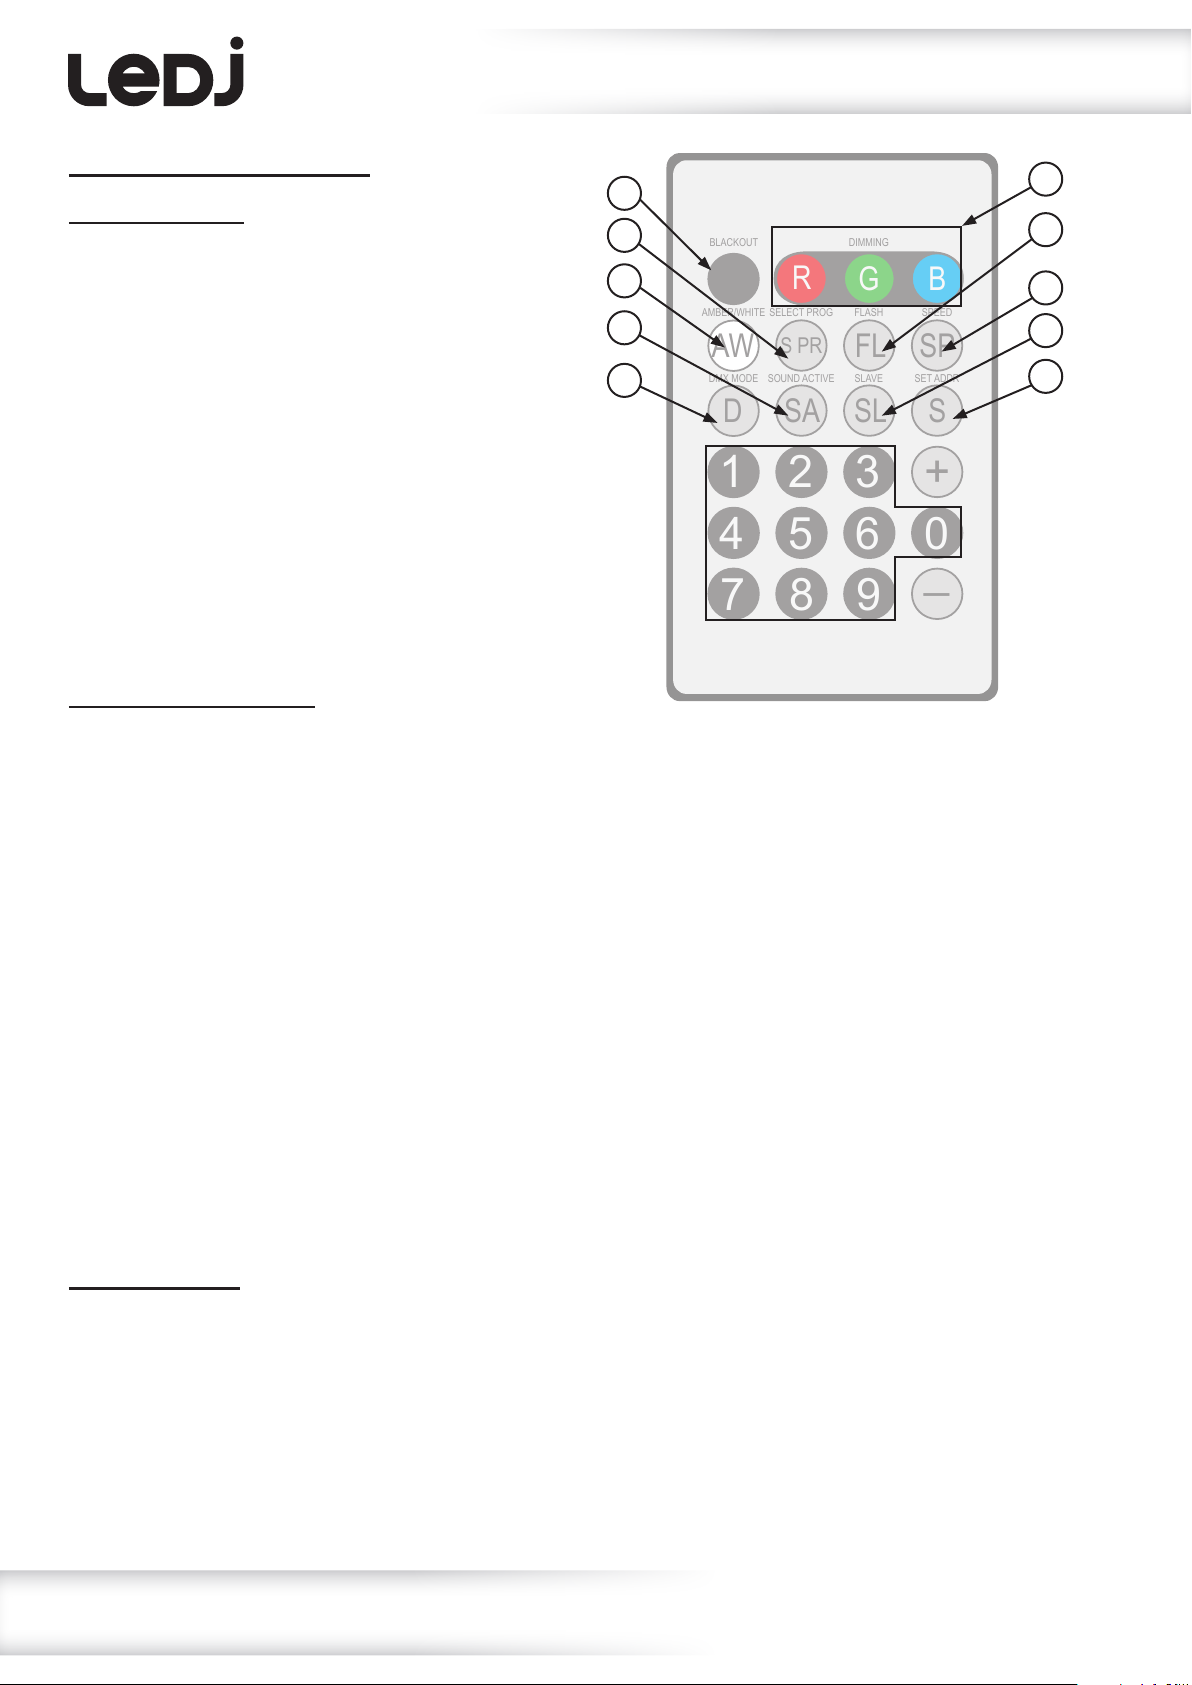
Optional IR remote functions:
Button functions:
01 - Sets the LEDs into power on or off modes
02 - Runs the built-in programs, use the ‘+’ and ‘-’
buttons to go through the programs
03 - Sets the LEDs to ash on and off, use the ‘+’
and ‘-’ buttons to change the ash frequency
04 - Sets the run speed, use the ‘+’ and ‘-’ buttons
to change the desired speed (note: only available in
the colour change or colour fade modes)
05 - Sets the LEDs into DMX mode
06 - Sets the LEDs into sound active mode
07 - Sets the LEDs into slave mode
08 - Sets the DMX address for the LEDs
09 - Sets the LEDs colour, then use the ‘+’ and ‘-’
buttons to change the brightness
DMX address examples:
To set the DMX address “245”;
• Press the “S” button, the red LEDs will come on,
you can now start to set the DMX address
• Now press the “2” button, the green LEDs will
come on, this means the rst digit has been
set at 2
• Now press the “4” button, the blue LEDs will
come on, this means the second digit has been
set at 4
• Now press the “5” button, and the white/amber
LEDs will come on, the third digit 5 has been set.
The full DMX address setting has been changed
• Now press the “DMX MODE” button to save
the new address into the memory
01
02
09
06
05
09
03
04
07
08
Optional
IR remote
Order code:
LEDJ90C
To set the DMX address “002”;
• Press the “S” button, the red LEDs will come on,
you can now start to set the DMX address
• Now press the “0” button, the green LEDs will
come on, this means the rst digit has been
set at 0
• Now press the “0” button, the blue LEDs will
come on, this means the second digit has been
set at 0
• Now press the “2” button, and the white/amber
LEDs will come on, the third digit 5 has been set.
The full DMX address setting has been changed
• Now press the “DMX MODE” button to save
the new address into memory
Important notes:
• Set the DMX address on each xture before plugging into the DMX controller
• The IR remote cannot be used when the xture(s) are being controlled with a DMX controller
• The maximum IR transmitter distance is 10m - Please make sure that you have the IR remote
aimed directly at the front panel of each xture to be programmed
• If you do not press the “DMX MODE” button after you have changed the DMX address when you
power down the xture it will lose the address you have set
www.prolight.co.uk Event Spot Rapid RGBW User Manual
12
Page 13

www.prolight.co.uk Event Spot Rapid RGBW User Manual
13
Page 14

www.prolight.co.uk Event Spot Rapid RGBW User Manual
14
Page 15
WEEE notice
Correct Disposal of this Product
(Waste Electrical & Electronic Equipment)
(Applicable in the European Union and other European countries
with separate collection systems)
This marking shown on the product or its literature, indicates that it should not be disposed
with other household wastes at the end of its working life. To prevent possible harm to the
environment or human health from uncontrolled waste disposal, please separate this from other
types of wastes and recycle it responsibly to promote the sustainable reuse of material resources.
Household users should contact either the retailer where they purchased this product, or their
local government ofce, for details of where and how they can take this item for environmentally
safe recycling.
Business users should contact their supplier and check the terms and conditions of the
purchase contract. This product should not be mixed with other commercial wastes for disposal.
www.prolight.co.uk Event Spot Rapid RGBW User Manual
15
Page 16

www.prolight.co.uk Event Spot Rapid RGBW User Manual
16
 Loading...