

Lectern MIC T-6236B Operation Manual
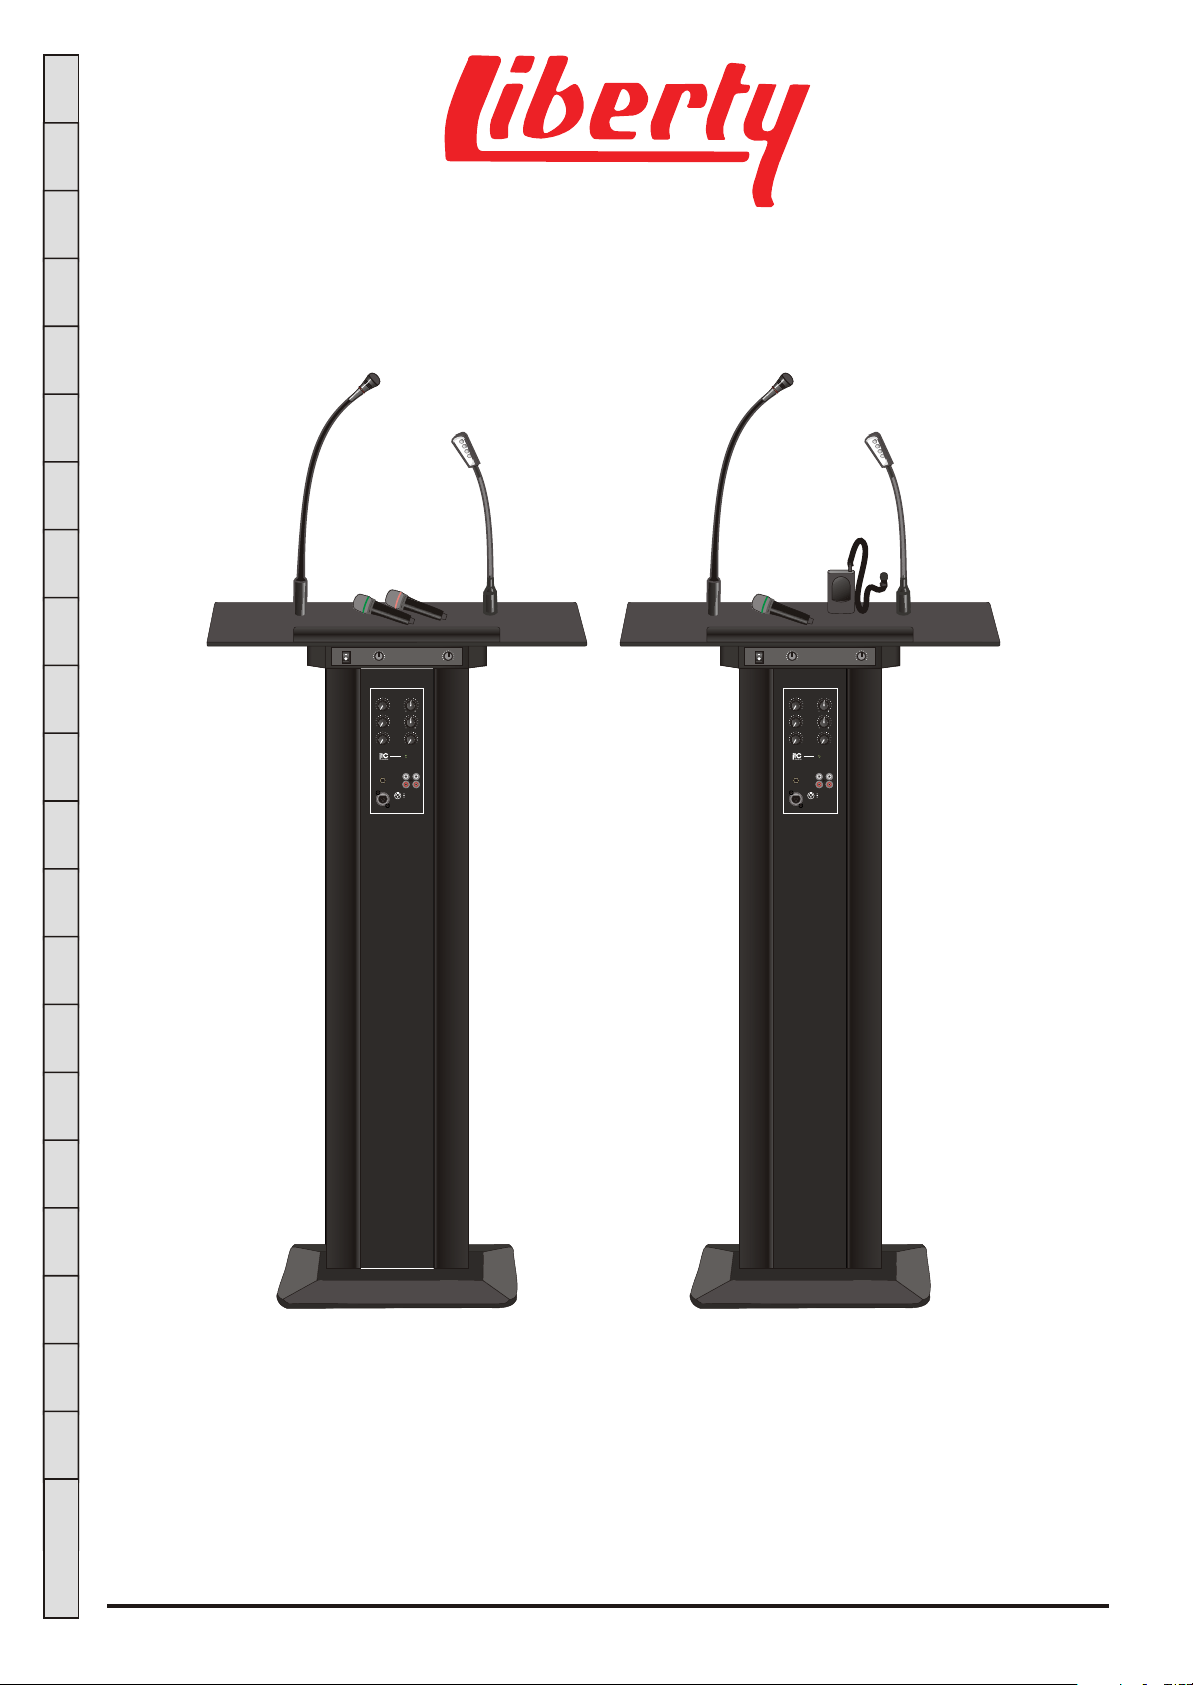
Lectern with VHF Wireless MIC T-6236B
0
10
MIC 1
0
MIC 2
0
0
MIC 2
PRE-OUT
0
10
TREBLE
0
10
5
5
BASS
0
10
5
5
AUX 1WIRELESS-MIC 3
0
10
10
PL
T-6236B
LECTERN
AUXI REC OUT
1
2 HOT
2 GND
1
3 COLD
3
0
10
MIC 1
0
MIC 2
0
0
MIC 2
PRE-OUT
0
10
TREBLE
0
10
5
5
BASS
0
10
5
5
AUX 1WIRELESS-MIC 3
0
10
10
PL
T-6236B
LECTERN
AUXI REC OUT
1
2 HOT
2 GND
1
3 COLD
3
(2 Wireless Handheld Microphon e) (1 Wireless Handheld Microphon e
and 1 Wireles s Collar )Microphon e
OPERATIO N MAN UAL
INTELLECTIVE PUBL IC ADD RESS SYST EM
V 1 . 2-20 0 9 - 0 7 - 08
[ ]L EC T E R N A M P L I F I E R I N S T R U CT I O N M A N U A L
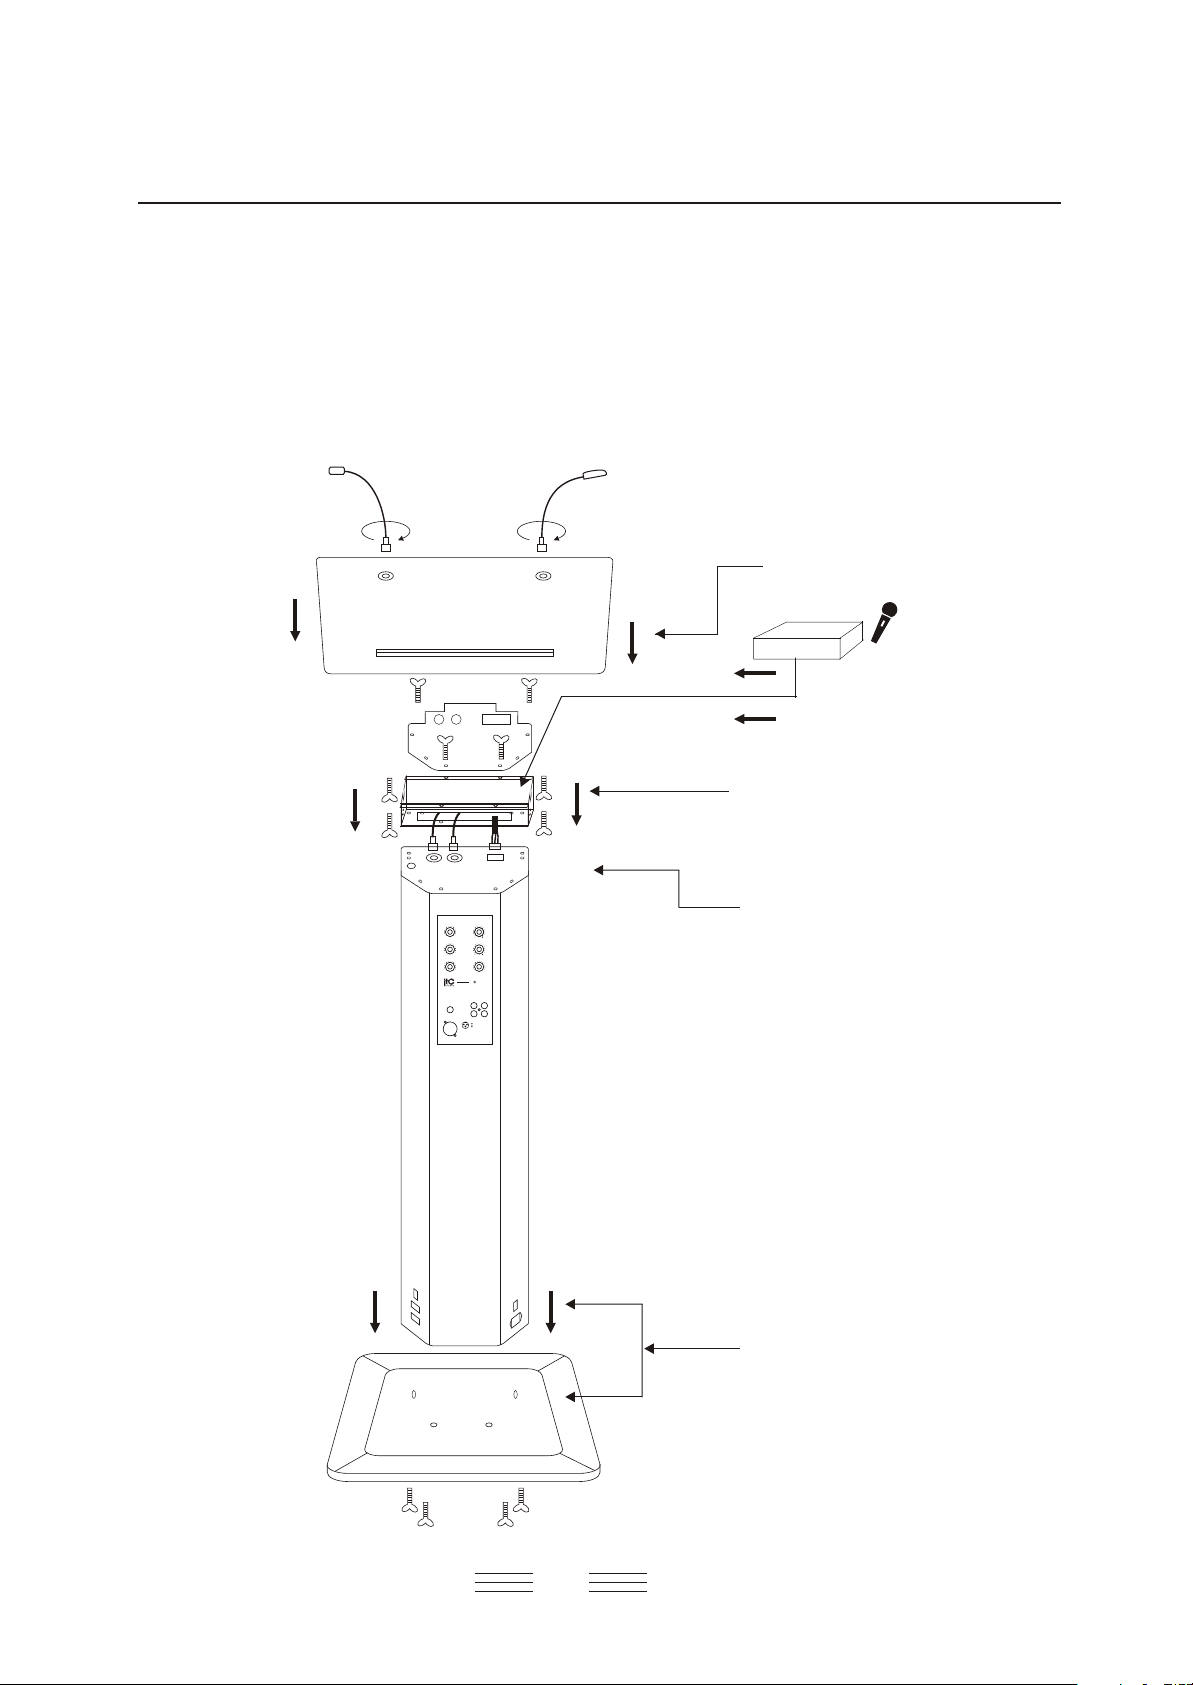
1 Installation
1 Screw out four screws from the bottom of the column speaker, and then connect the bottom with the speaker
and install well.
2 Use screws to connect the MIC, make sure the Lectern can work.
3 Screw out the four screws from the top of the speaker, then connect U shape bracket with column speaker
then fix them.
4 Fix the wireless MIC receiver on the U shape bracket.
5 Connect the panel with the U shape bracket and fix them.
MIC 1
LAMP
Installation 4
Installation 3
Installation 5
Installation 2
WIRELESS-MIC 3
MIC 1
TREBLE
0
5
0
5
10
BASS
MIC 2
0
5
0
5
10
AUX 1
0
0
10
10
PL
T-6236B
LECTERN
MIC 2
AUXI REC OUT
PRE-OUT
1 GND
2 HOT
2
1
3 COLD
3
1
Installation 1
 Loading...