

LeakSmart PROTECT User Manual

PROTECT
by LeakSmart
Flow Meter Shut-o Valve System
User Manual

Table of Contents Table of Contents
Installation Overview:
In the Box.................................................................................................................................. 4
Setup Requirements.............................................................................................................6
Important Installation Information................................................................................7
Section I:
LeakSmart Hub 3.0 Pre-Installation Customer Setup
Requirements...........................................................................................................................9
Section II:
LeakSmart Hub 3.0 Installation.....................................................................................10
Performing a Factory Reset............................................................................................13
Connect the Hub to the Home Wi-Fi Network.....................................................15
Protect by LeakSmart Setup..........................................................................................16
Pair the Protect by LeakSmart to the Hub 3.0.......................................................18
Test Local and Remote Control of the Valve Control Head..........................20
Section III:
Protect by LeakSmart Flow Meter Shut-O Valve Installation ...................22
Pre-Installation Assembly................................................................................................22
Installation Assembly.........................................................................................................24
Protect by LeakSmart Validation................................................................................30
Section IV:
Sensor Setup and Operation........................................................................................32
Place and Test Sensors....................................................................................................36
Alert Setup.............................................................................................................................40
Adding Alert Contacts.....................................................................................................40
Test Leak Simulation..........................................................................................................41
Clearing Test Leaks............................................................................................................41
Test Flow Analytics.............................................................................................................42
2 3

In the Box:
1
Valve Control Head
2
1
2
5
Shut-o Valve
3
Coupling
4
Flow Meter
5
Hub 3.0
6
Sensors (3)
7
AA Batteries (4)
8
AAA Batteries (9)
9
Valve Control Head AC Power Adapter (18’ reach)
10
Hub AC Power Adapter (6’ reach)
11
Setup Manual
3
6
4
7 8 11
9
10
4 5
Not Pictured:
Hub 3.0 Lithium Battery (Pre-installed)
Note: Additional ttings may be required based on
installation requirements.
Encuentra nuestro manual en español en LeakSmart.com/support/manuals/

Setup Requirements
Professional installation recommended.
5-year LeakSmart warranty when purchased and
installed by a professional. All other purchases and
installations include a 2-year warranty.
To set up the LeakSmart System, you need:
• Wi-Fi
• An iOS or Android phone or tablet
• A free LeakSmart account
Important Installation Information
CAUTION:
• Do not install on re suppression systems/re sprinkler water lines.
• Never place your ngers inside the Shut-o Valve or Flow Meter.
• Do not grip the plastic motor drive for leverage when installing
the valve.
• LeakSmart recommends compliance with all local building and
safety codes when installing the Protect by LeakSmart System.
• LeakSmart Hub and Sensors are for indoor use only.
• For outdoor use of the valve, utilize the approved enclosure box
available from LeakSmart.
Note: LeakSmart devices in the home communicate
on a local zigbee RF network and do not require Wi-Fi
to protect your home. Wi-Fi is required for intital set
up and notications.
6 7
LeakSmart Hub 3.0 Pre-Installation Customer Setup Requirements
Before installing the LeakSmart Hub 3.0, the customer needs an active
LeakSmart account to register the hub.
The homeowner’s Wi-Fi network and password are
used to activate the hub. It’s best practice to get that
information before starting the installation process.
1
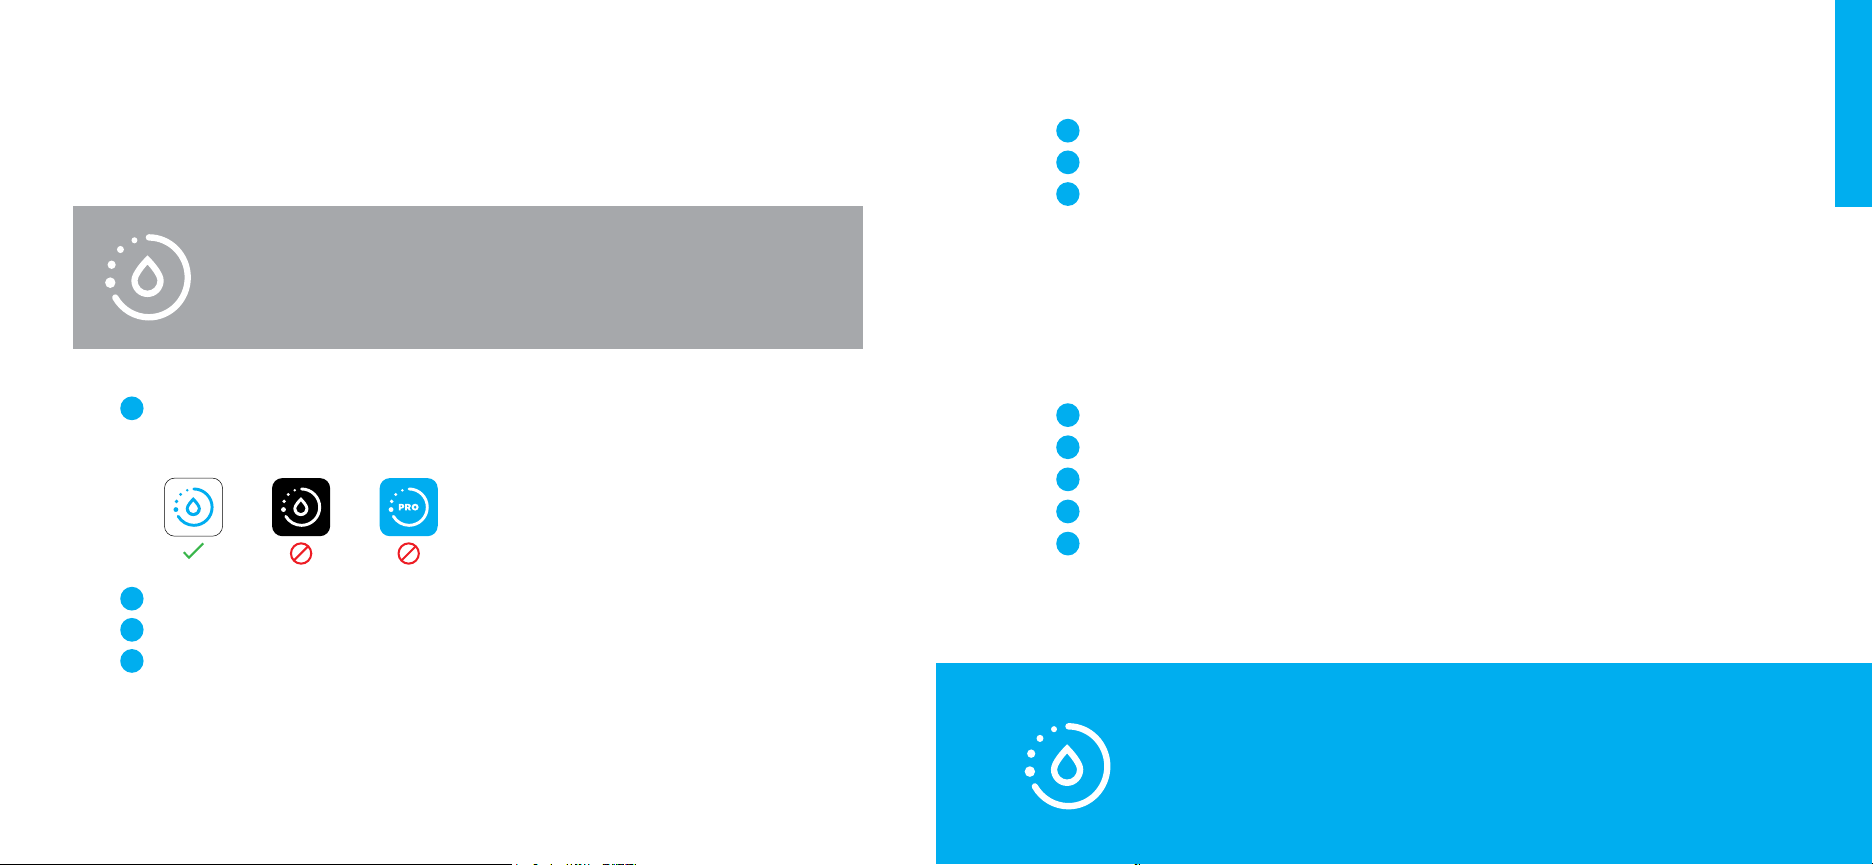
Download the LeakSmart app from the Apple App Store or
Google Play on your smart phone or tablet.
2
Open the app and tap create an account.
3
Follow the instructions in the app to create your account.
4
Create a password that:
• Is between 8-19 characters
• Has at least one number or special character
• Has at least one capital letter and one lower case letter
LeakSmart Hub 3.0 Pre-Installation Customer Setup Requirements
5
Tap Next.
6
Review your information and agree to the terms of use.
7
Tap Submit to create your account.
After you create the account, activate and verify the account.
Activate Account
1
Go to your email.
2
Open the email from noreply@mywateralerts.com.
3
Tap the activate your account link in the email.
4
Look for the on-screen conrmation.
5
Log in to your account in the LeakSmart app.
Note: Your email will be your LeakSmart account name.
8 9
LeakSmart Hub 3.0 Installation LeakSmart Hub 3.0 Installation
1
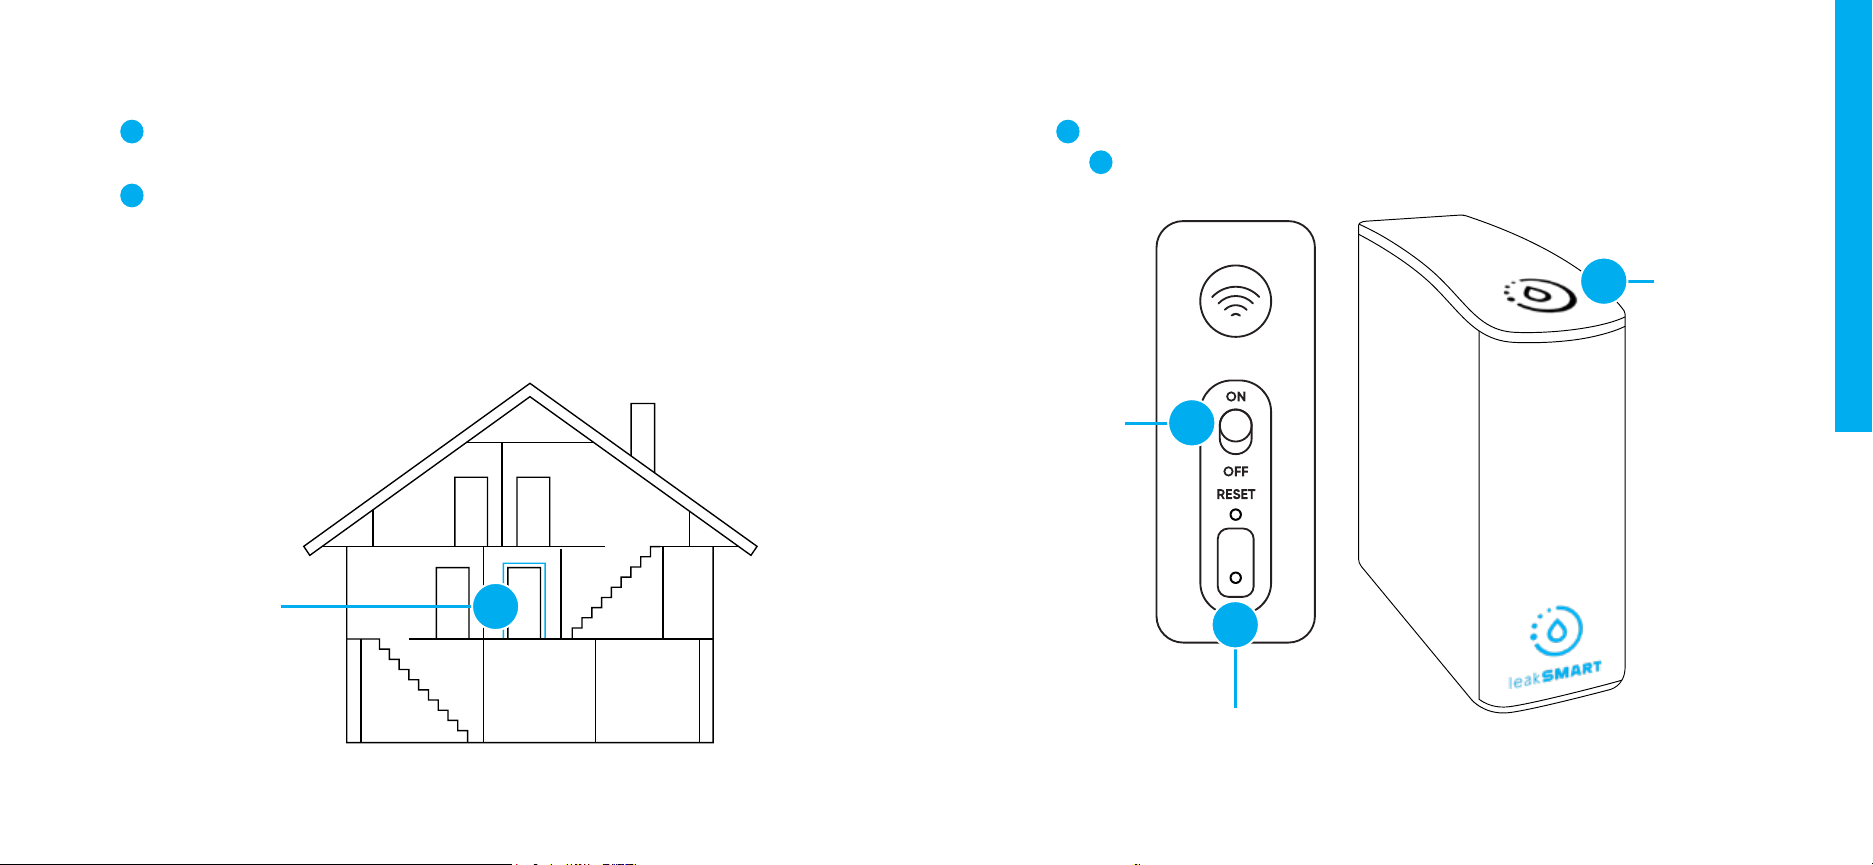
Place the hub in a location central to the other LeakSmart
devices.
2
Plug the hub 3.0 in, using the AC power adapter cord.
• The hub 3.0 cannot be registered/activated on battery
power; it must be plugged in.
• The included lithium batteries are intended to be a
backup in the event of a power outage.
Central location:
place hub in a
location central to
other devices.
3
Slide the on/o button on the back of hub to the ON position.
3a
• A solid red light on top of the hub indicates that it’s on.
A solid red
Slide the
on/o
button to
the ON
position.
3a
3
light on top
of the hub
indicates
that it’s on.
1
2
Plug in AC adapter cord.
10 11
LeakSmart Hub 3.0 Installation
Performing a Factory Reset (If Needed)
4
Log into the LeakSmart app with homeowner/customer
account credentials.
5
Tap Add Hub.
6
Back out of - but do not close - the LeakSmart app.
7
Open the phone or tablet settings.
8
Open Wi-Fi settings.
• The LeakSmart Hub should appear in your list of available
networks as LeakSmart-XXXX.
• The four-digit code is the last four digits of the MAC
address of LeakSmart Hub. (You can nd this number on the
battery door of the Hub).
9
Conrm that you have successfully connected your phone or
tablet to the LeakSmart-XXXX network.
10
Return to the LeakSmart app.
Note: If the LeakSmart Hub network does not
appear, perform a factory reset.
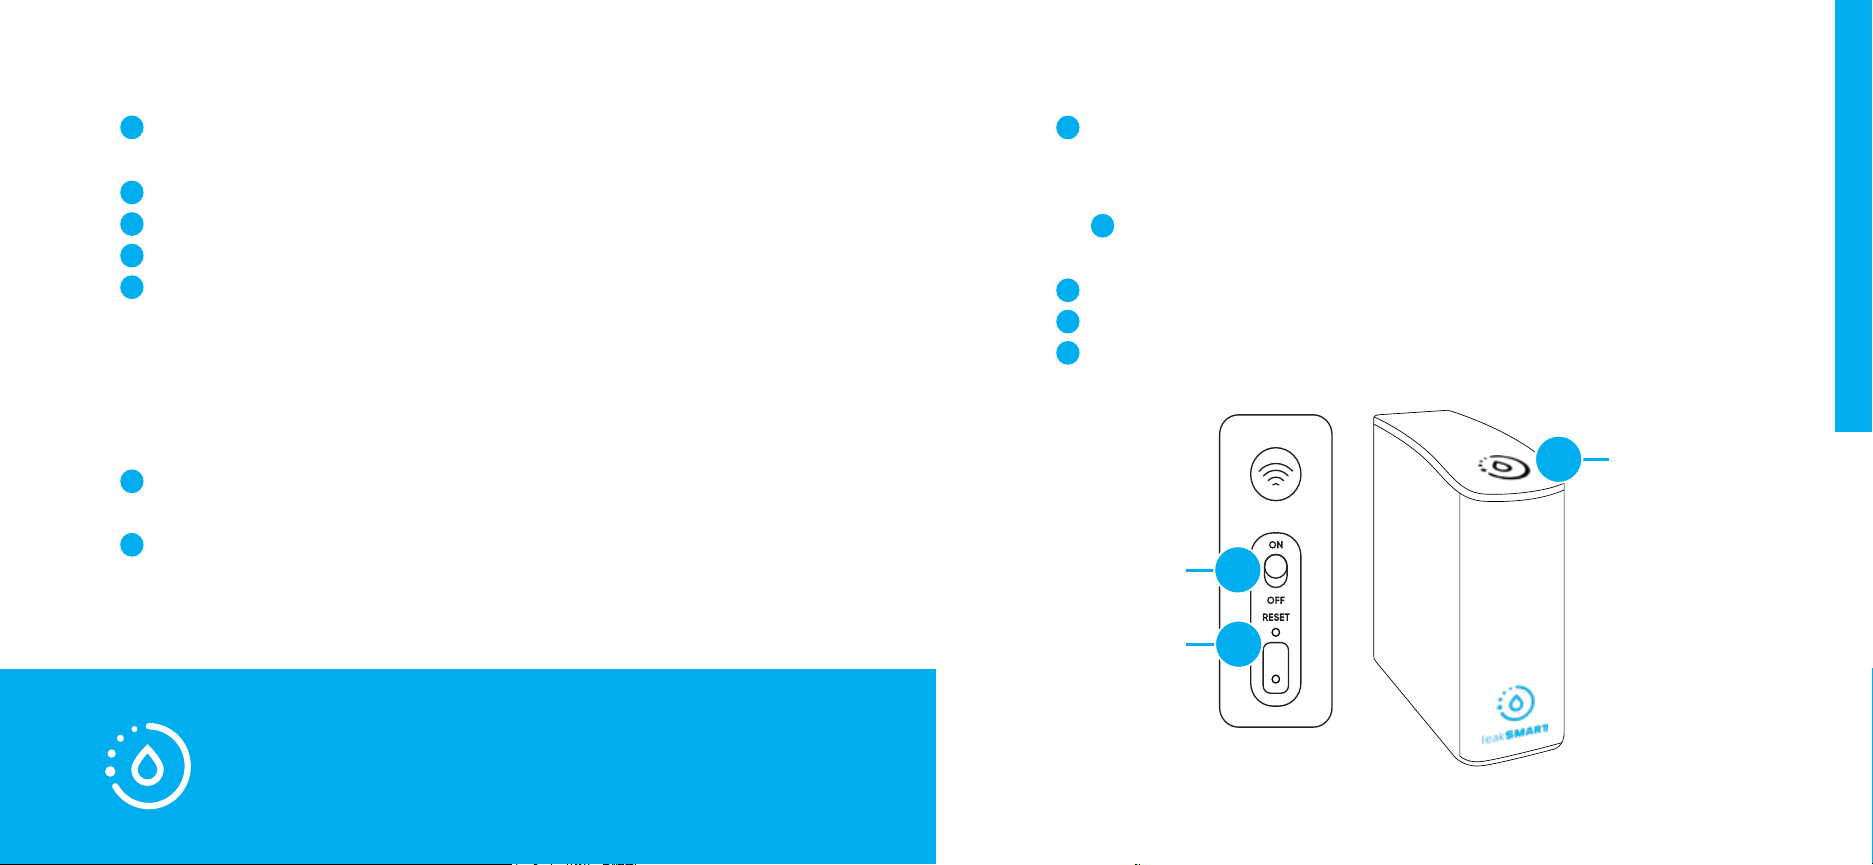
1
Use a pin (or something with a thin tip) to press
and hold the factory reset button on the back of
the LeakSmart hub for fteen-seconds.
1a
• A purple light on top of the hub indicates that the hub is
ready for factory reset.
2
Turn the hub o, then back on.
3
The LeakSmart hub will then show up on the Wi-Fi network.
4
Tap LeakSmart-XXXX to join the network.
Turn the hub
o/on.
Press and hold
the reset button to
perform a
factory reset.
A purple light on
1a
2
top of the hub
indicates that the
factory reset is
complete.
1
12 13
 Loading...