

Page 1
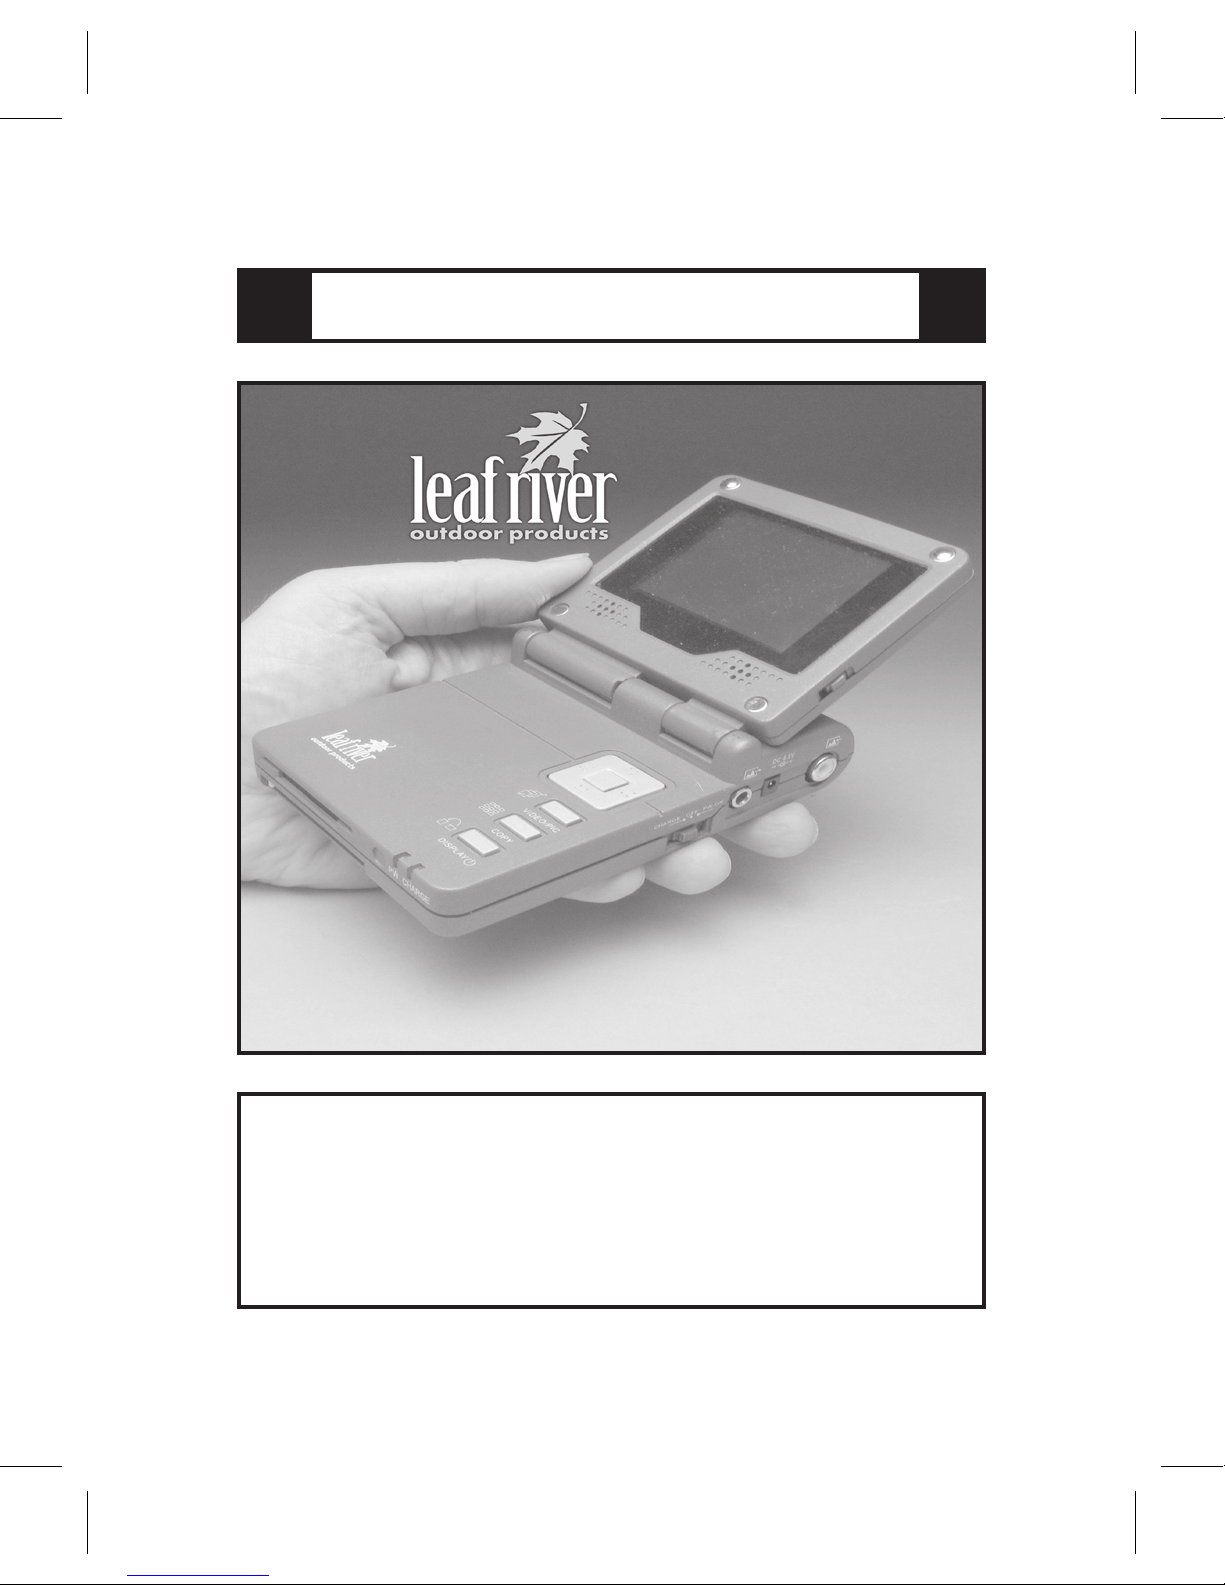
Leaf River Outdoor Products
Vibrashine, Inc. P.O. Box 557
Taylorsville, MS 39168
(601) 785-9854 FAX (601) 785-9874
www.vibrashine.com
MULTI-CARD PICTURE VIEWER
Model PV-2.5
Page 2
THANKS and WELCOME
What does this Picture Viewer do?
2
Thanks for purchasing the Multi-Card Picture
Viewer from Leaf River Outdoor Products. This
Picture Viewer is the perfect companion to any of
the Digital Wildlife Game Cameras from Leaf River
Outdoor Products. We believe you’ll enjoy using
these fine products together.
The Picture Viewer lets you see wildlife pictures
from your Game Camera without having to bring
the CF card back to your home computer. You can
check image quality, wildlife activity, and delete
unwanted pictures. Then you can make adjustments to your Game Camera settings with greater
confidence.
Your Picture Viewer lets you view your photos and
Game Camera movies on a standard television.
You can manually advance from picture to picture
or you can set the unit
to display a Slideshow
of all your images or
movie clips.
Also, you can connect
your Picture Viewer to
your computer when
you want to transfer or
edit images and files.
Page 3
OVERVIEW
What are all these buttons?
3
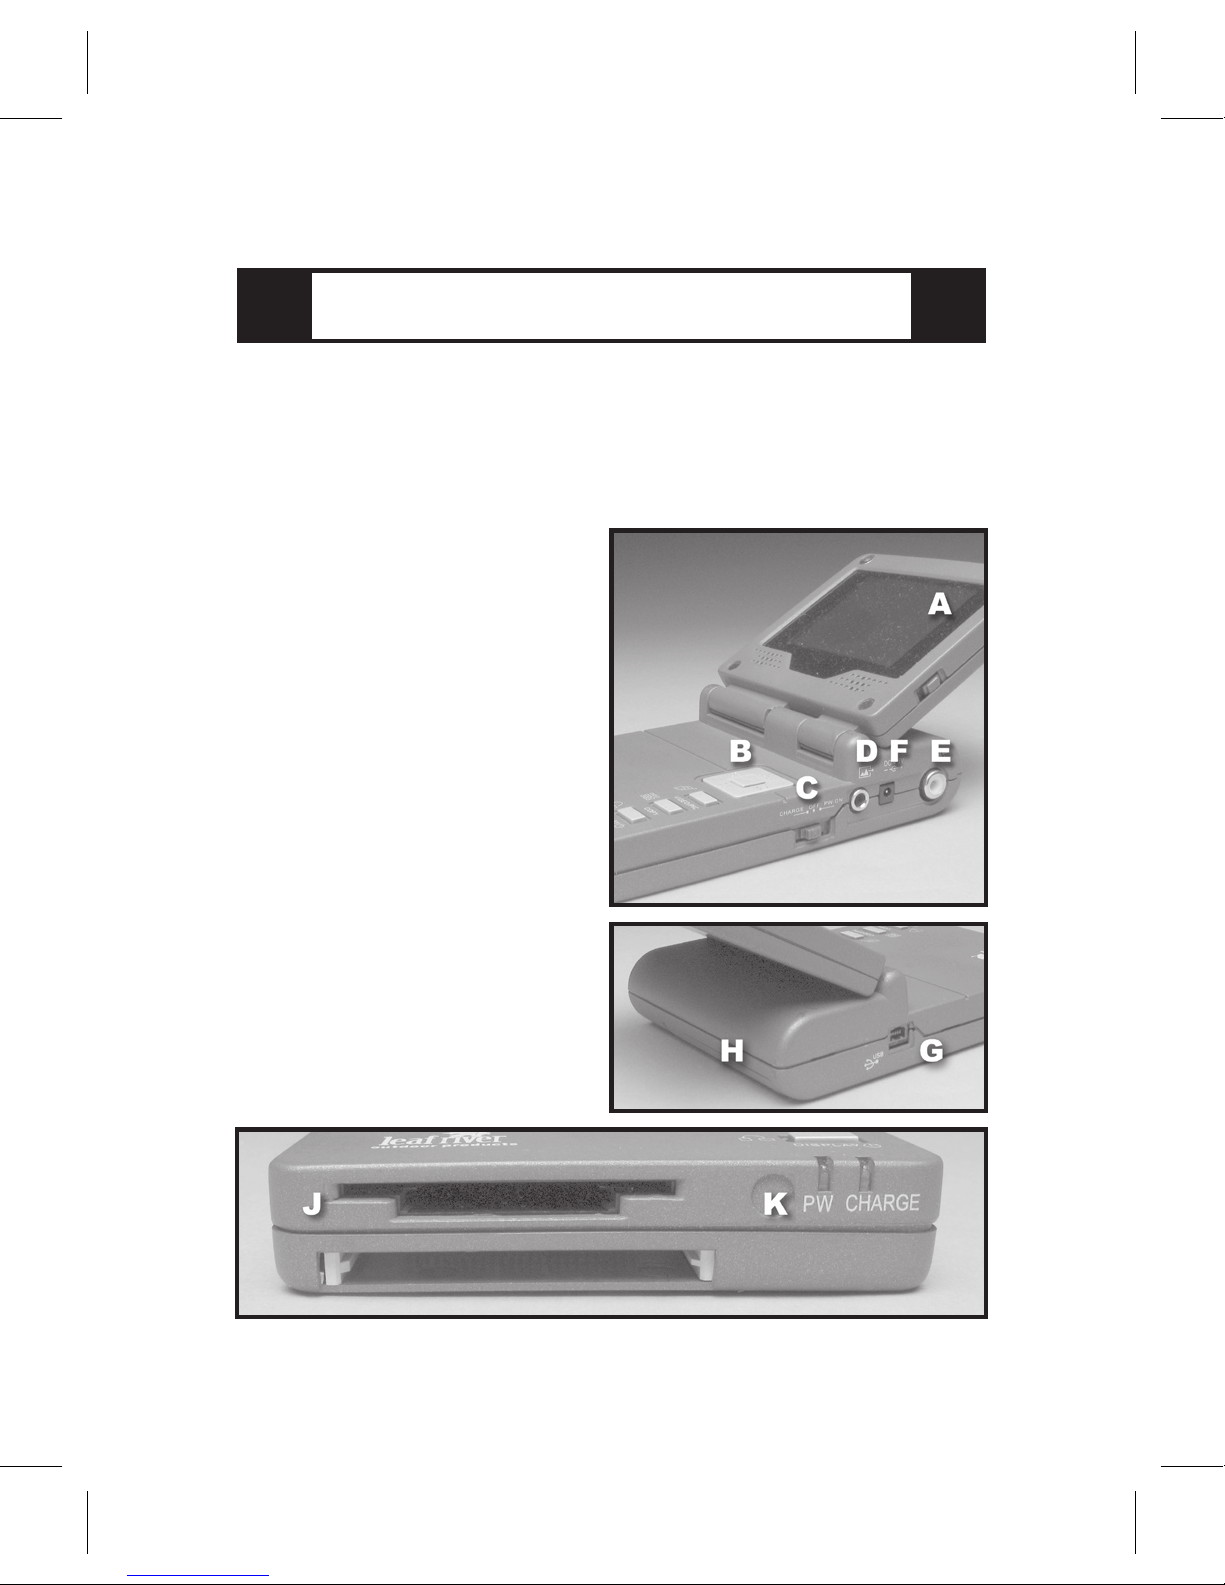
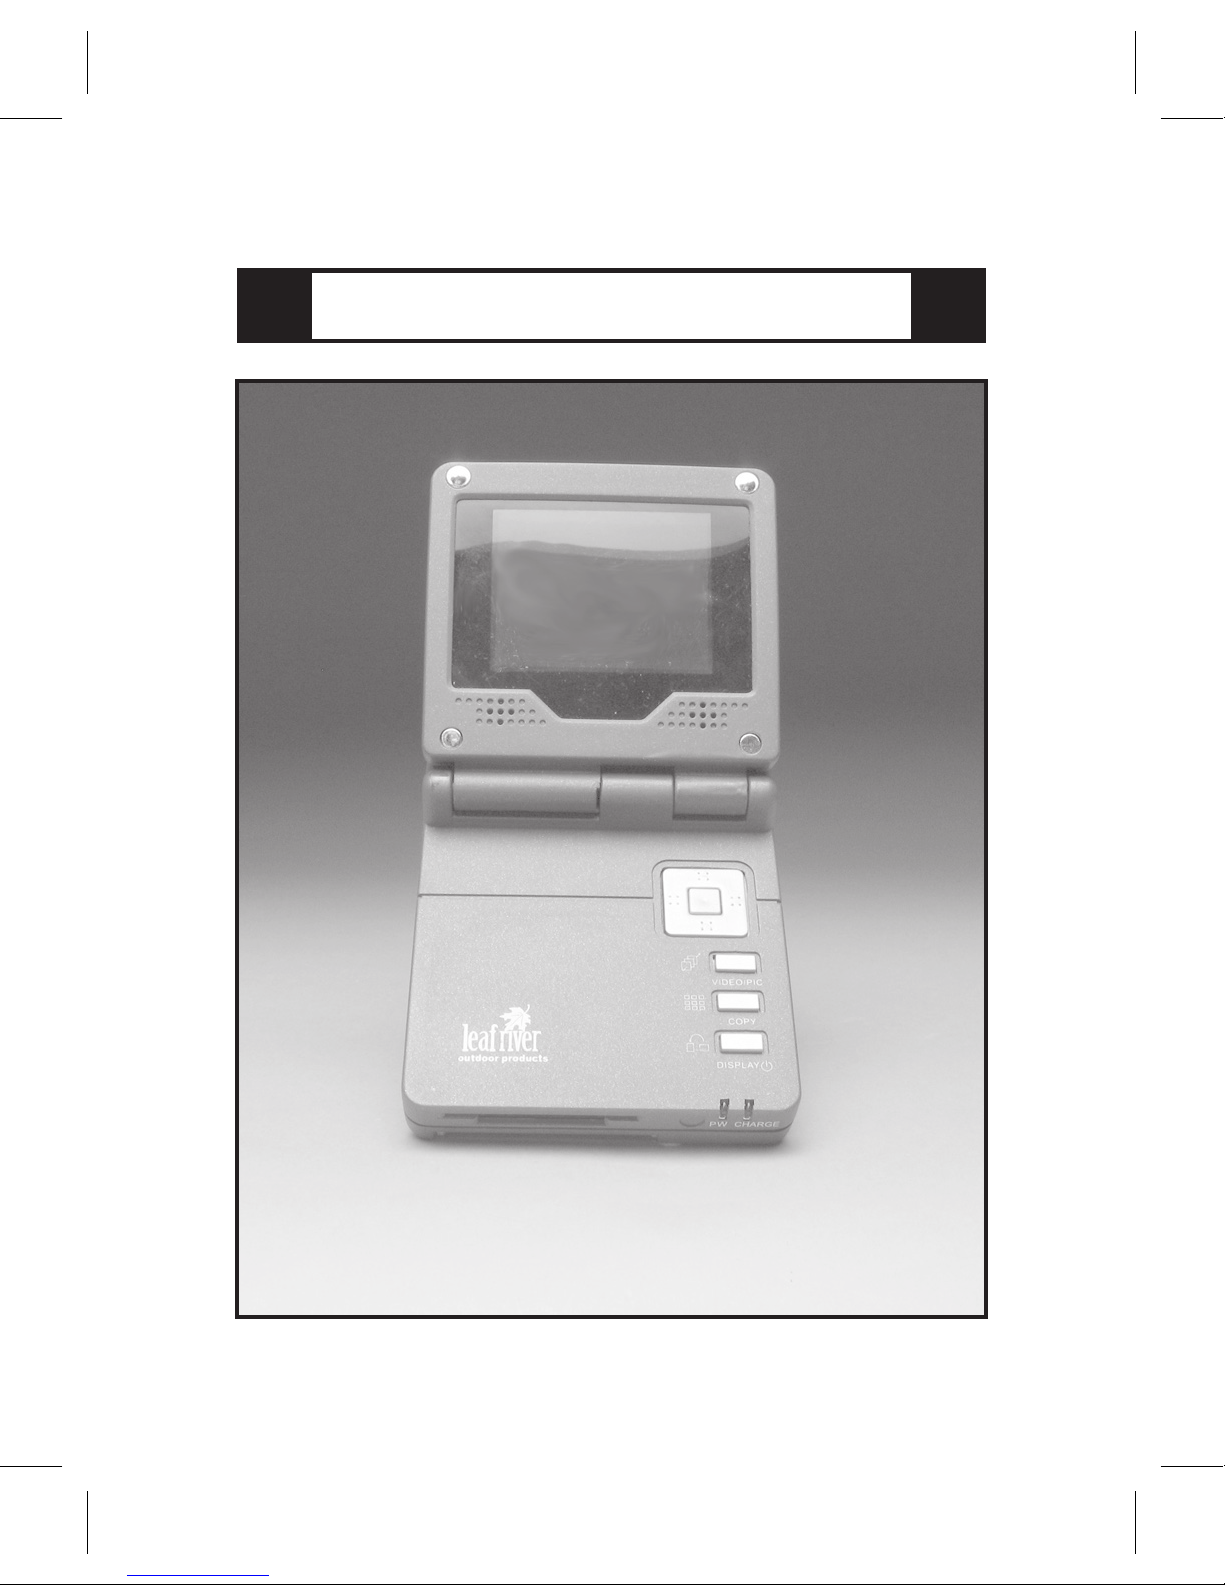
The Picture Viewer has a folding TFT LCD color
viewing screen [A]. When open, it adjusts to the
perfect viewing angle. When closed, it protects the
screen surface and the control buttons [B].
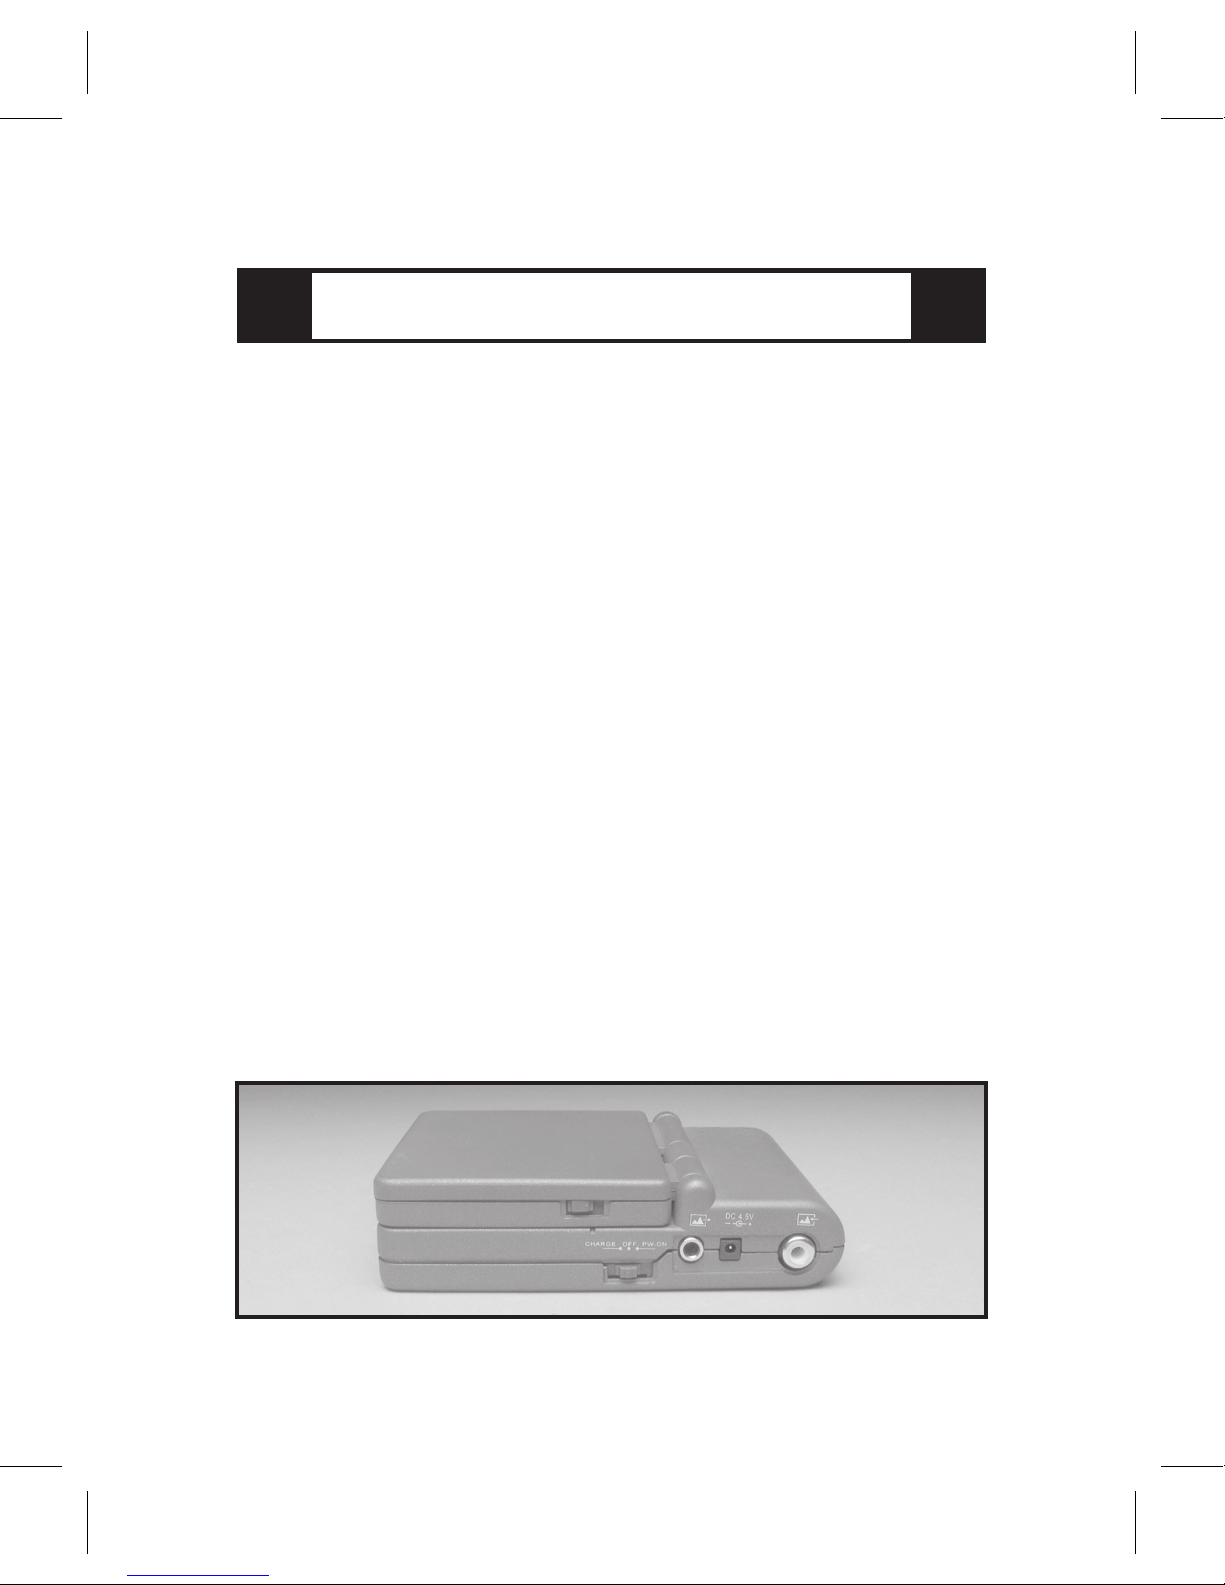
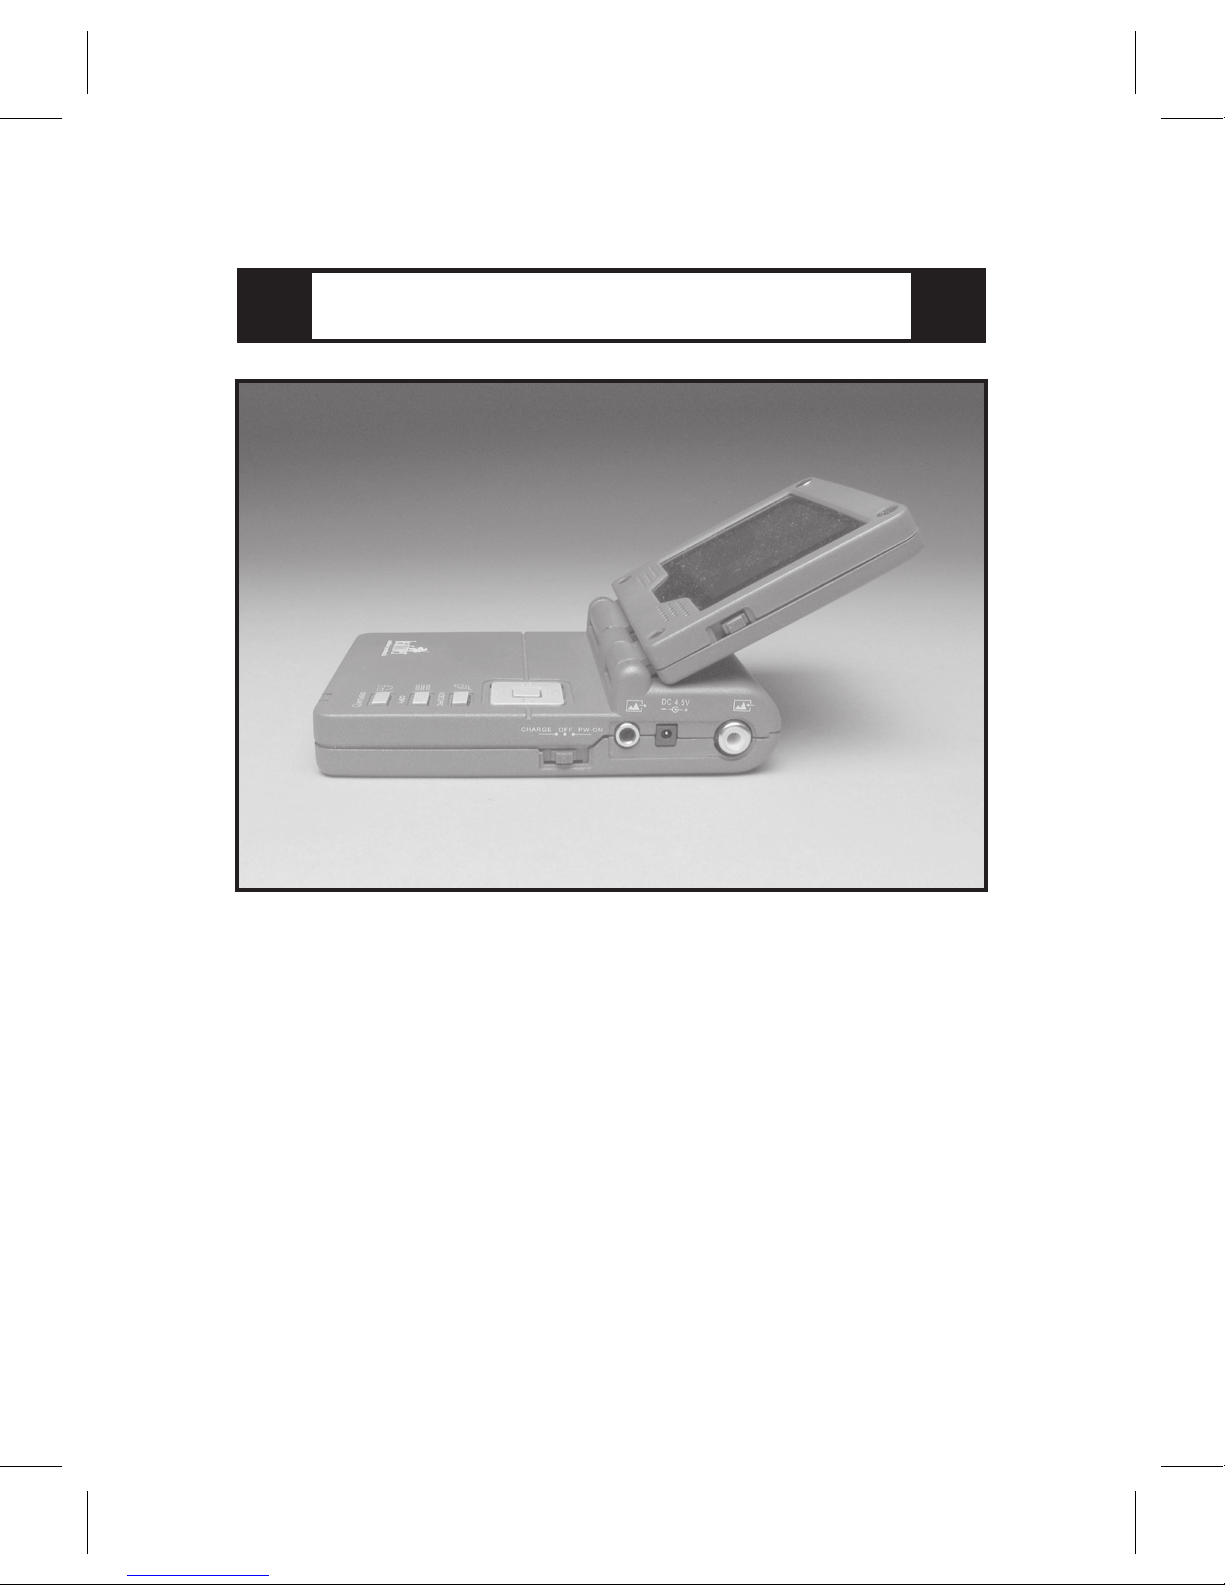
On the right side are the
Main Power-Charge
Switch [C], Video Out
[D] and Video In [E]
connections, and an
external DC power
supply port [F] [power
supply not provided].
On the left side is the
USB connection port
[G]. On the bottom is
the battery compart-
ment [H]. On the front
side are media card
slots [J] plus Power
and Charge indicator
lights [K].
Page 4

BATTERIES
Where do I start?
4
The Picture Viewer uses two AA batteries. We
recommend purchasing good quality rechargeable batteries, rated at 2000 mAh or better, plus
a recharger. To install batteries, open the battery
compartment door on the bottom. Put in two fresh
AA batteries following the diagram inside the compartment. We recommend purchasing a DC power
supply with an output of 4.5-6V 800-1800 mA.
Warning: Make sure your DC power supply has
a “center +positive” pin connection; otherwise
the Picture Viewer may be damaged.
When connecting or disconnecting an external
DC power supply, always turn the Picture
Viewer OFF. Set the Main Power switch to PWON to use the Picture Viewer; the Power light will
be ON. Set to Charge to recharge batteries; the
Charge light will be on. The Picture Viewer will not
display images while charging. Alkaline batteries
will work fine, but...
WARNING: Do not attempt to recharge alkaline
batteries.
If you use the Picture Viewer frequently,
it’s a good idea to have extra alkaline or
freshly recharged batteries handy.
TIP
Page 5
USING YOUR PICTURE VIEWER
How do I make it work?
5
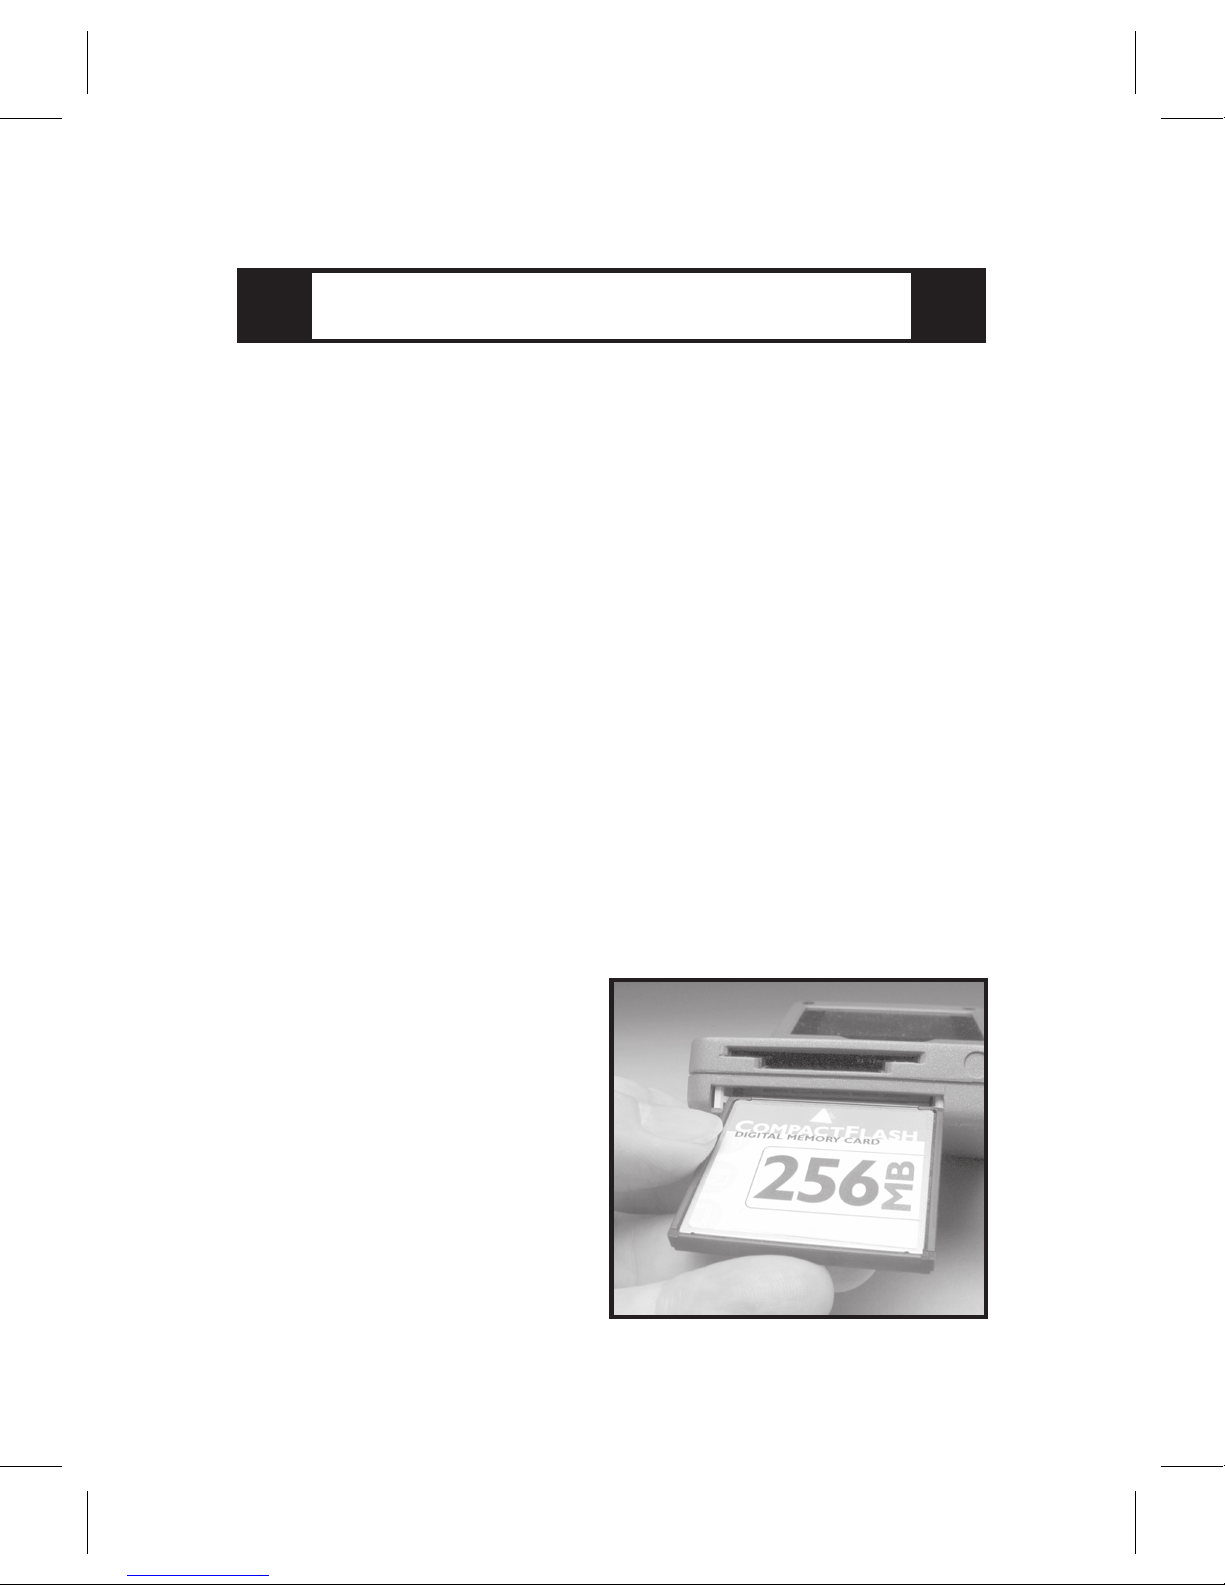
The Picture Viewer has two slots which can hold
two different types of media cards at the same
time. The bottom slot is for Compact Flash I & II
cards; the upper slot can hold one Multimedia,
Smart Media, Secure Digital card, or Memory
Stick. You may insert and remove cards any time,
whether the unit is Off or On. Insert cards label
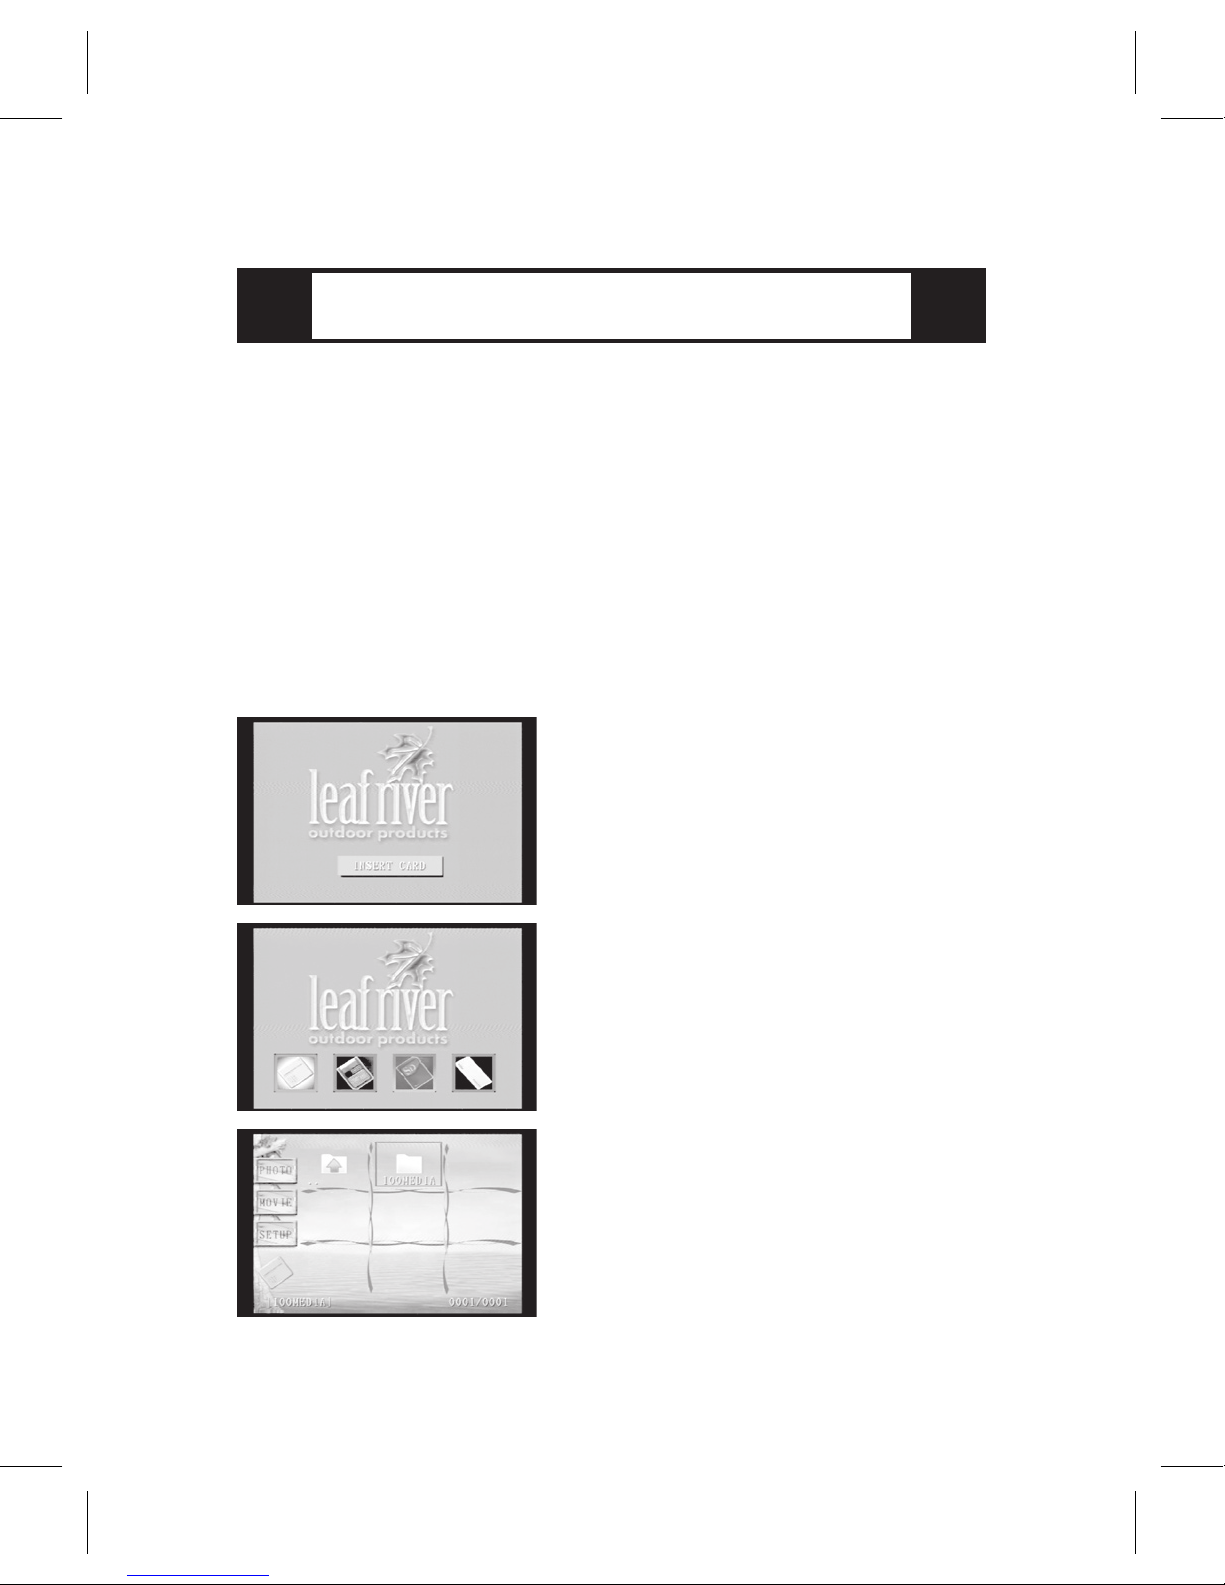
side up. When you first turn On the Picture Viewer,
one of three things will happen:
1. If no card is present, a
welcome screen asks you to
insert a card.
2. If two cards are present,
a screen asks you to select
which card you want to view.
3. If one card is present, the
Picture Viewer displays the
Index Screen.
Page 6
THE BUTTONS
What do the little pictures mean?
6
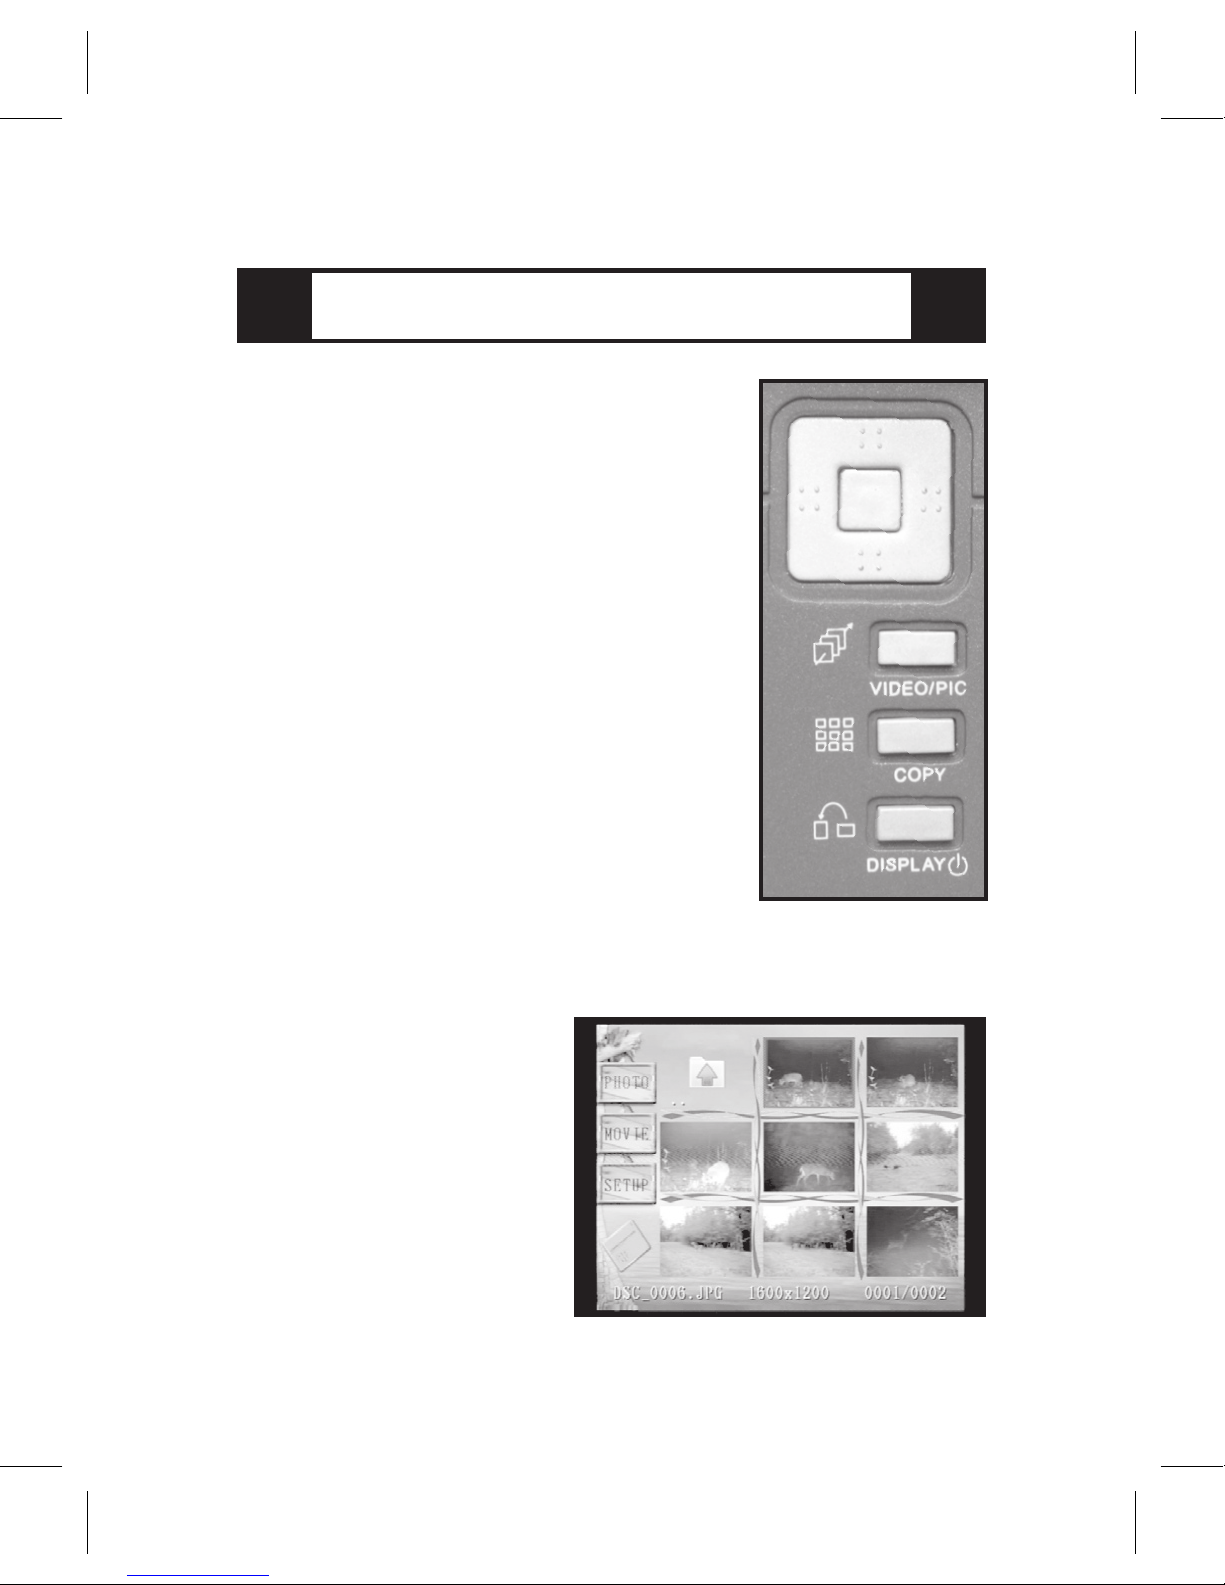
Navigator
Click the left, right, up, and down
keys to move the highlight cursor.
Click the center OK button briefly
to make a selection. Press and
hold OK to enter Setup mode.
The three small buttons below the
Navigator control various functions on the Picture Viewer:
Click Briefly Press and Hold
Slideshow Video/Pic
Index Screen Copy to CF card
Rotate Image 90º Screen On/Off
Index Screen
This displays a menu of folders and images on
your media card. Image and folder names longer
than eight characters are abbreviated.
The Index Screen
indicates whether
the Picture Viewer
is in Photo mode,
which lets you view
still images, or Video
mode, which lets you
view movie clips.
Page 7
VIEWING PICTURES
How do I see something?
7
Press and hold the Video/Pic button to change
between Video and Photo modes.
Click left or right keys to highlight an image or
folder. Click up or down to display more pages of
folders or photos. Highlight a folder and click OK
to display the contents of a folder. Highlight the
upper left arrow folder to go up to the next higher
folder level.
Photo Mode
Use the Navigator keys to highlight an image icon.
Click OK to view a photo.
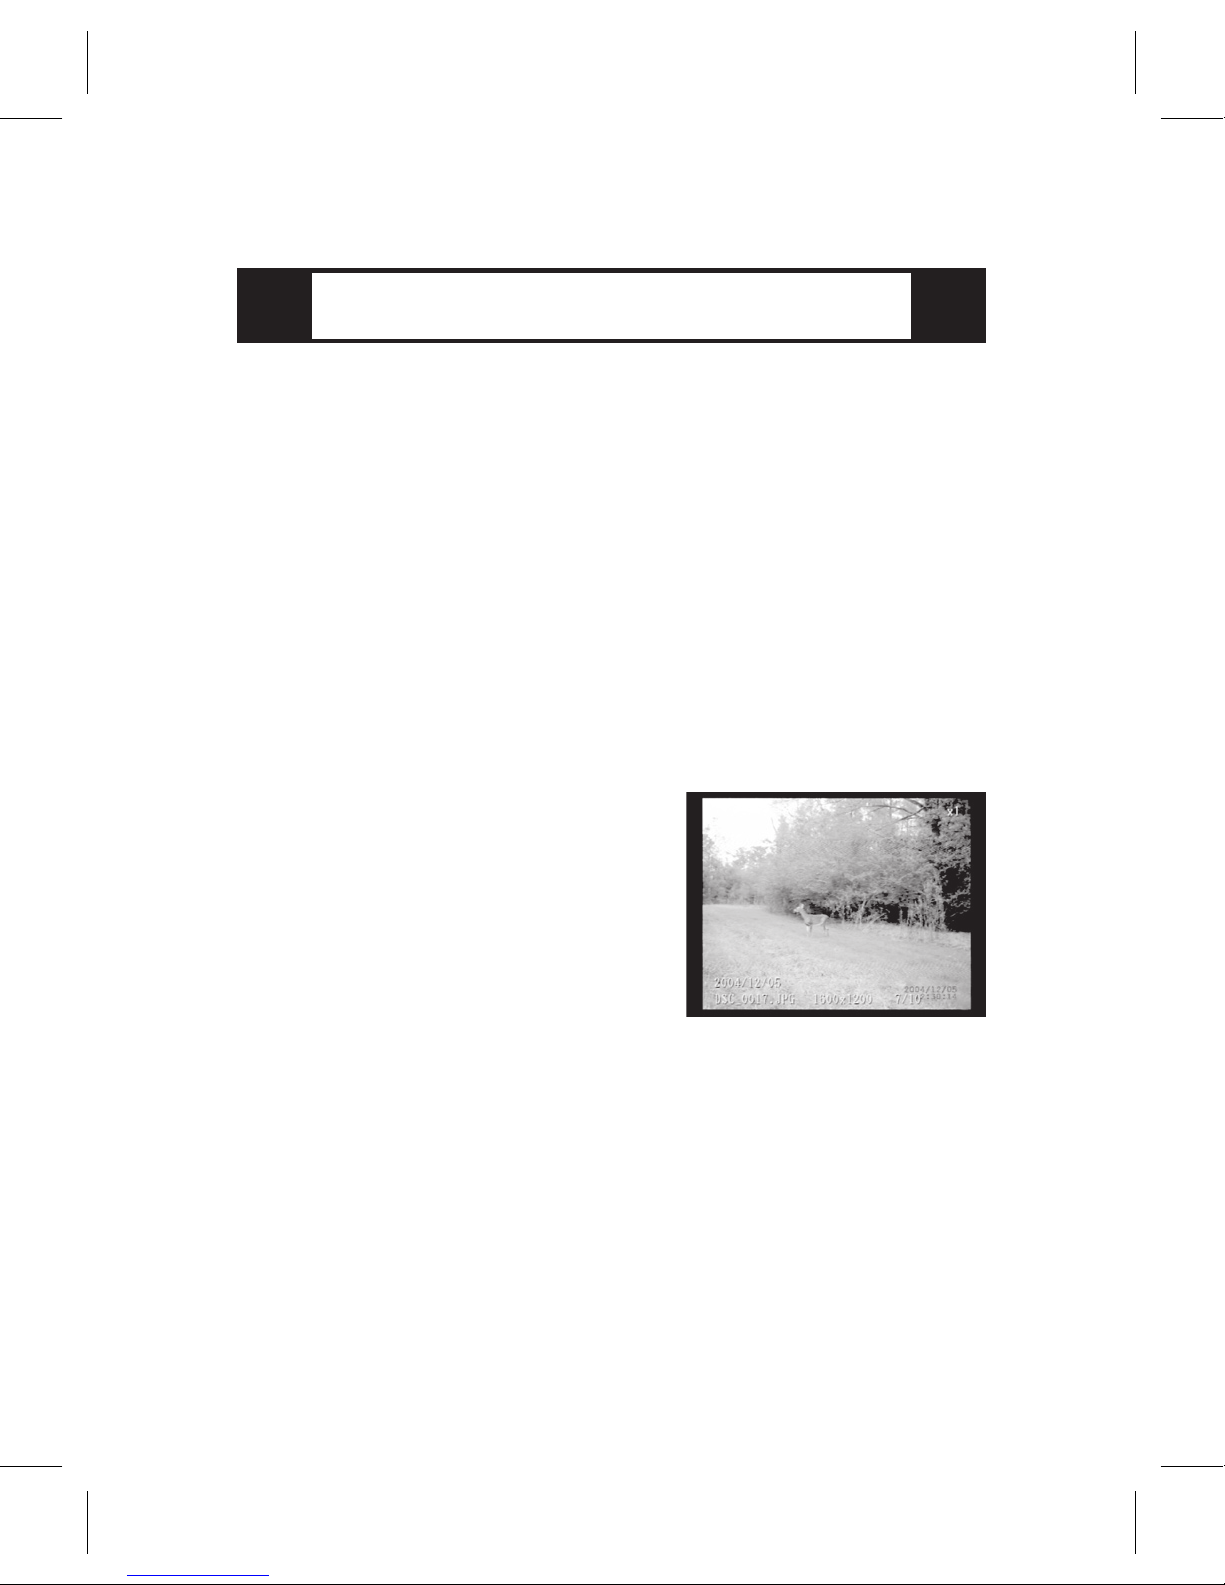
Photo mode shows file
name, image size, and
creation date. When viewing
a photo, click the left or right
keys to change
to the next photo.
Zoom
Click the up key to Zoom. The degree of magnification is indicated in the upper right of the viewer
screen. 1x means the entire image fills the screen.
2x indicates the image is enlarged two times. Click
the Up key to zoom in more. Max indicates the
photo is zoomed in as far as it will go.
Page 8
VIEWER OPTIONS
What else can it do?
8
Click the down key one or
more times to Zoom back out.
Pan
When a photo is zoomed in,
click OK to enter Pan mode.
A Pan icon will appear in the
upper left of the viewer
screen. Use the Navigator keys to change the view
left, right, up, or down. Click OK to return to Zoom
mode. Click down to return to full screen photo
mode.
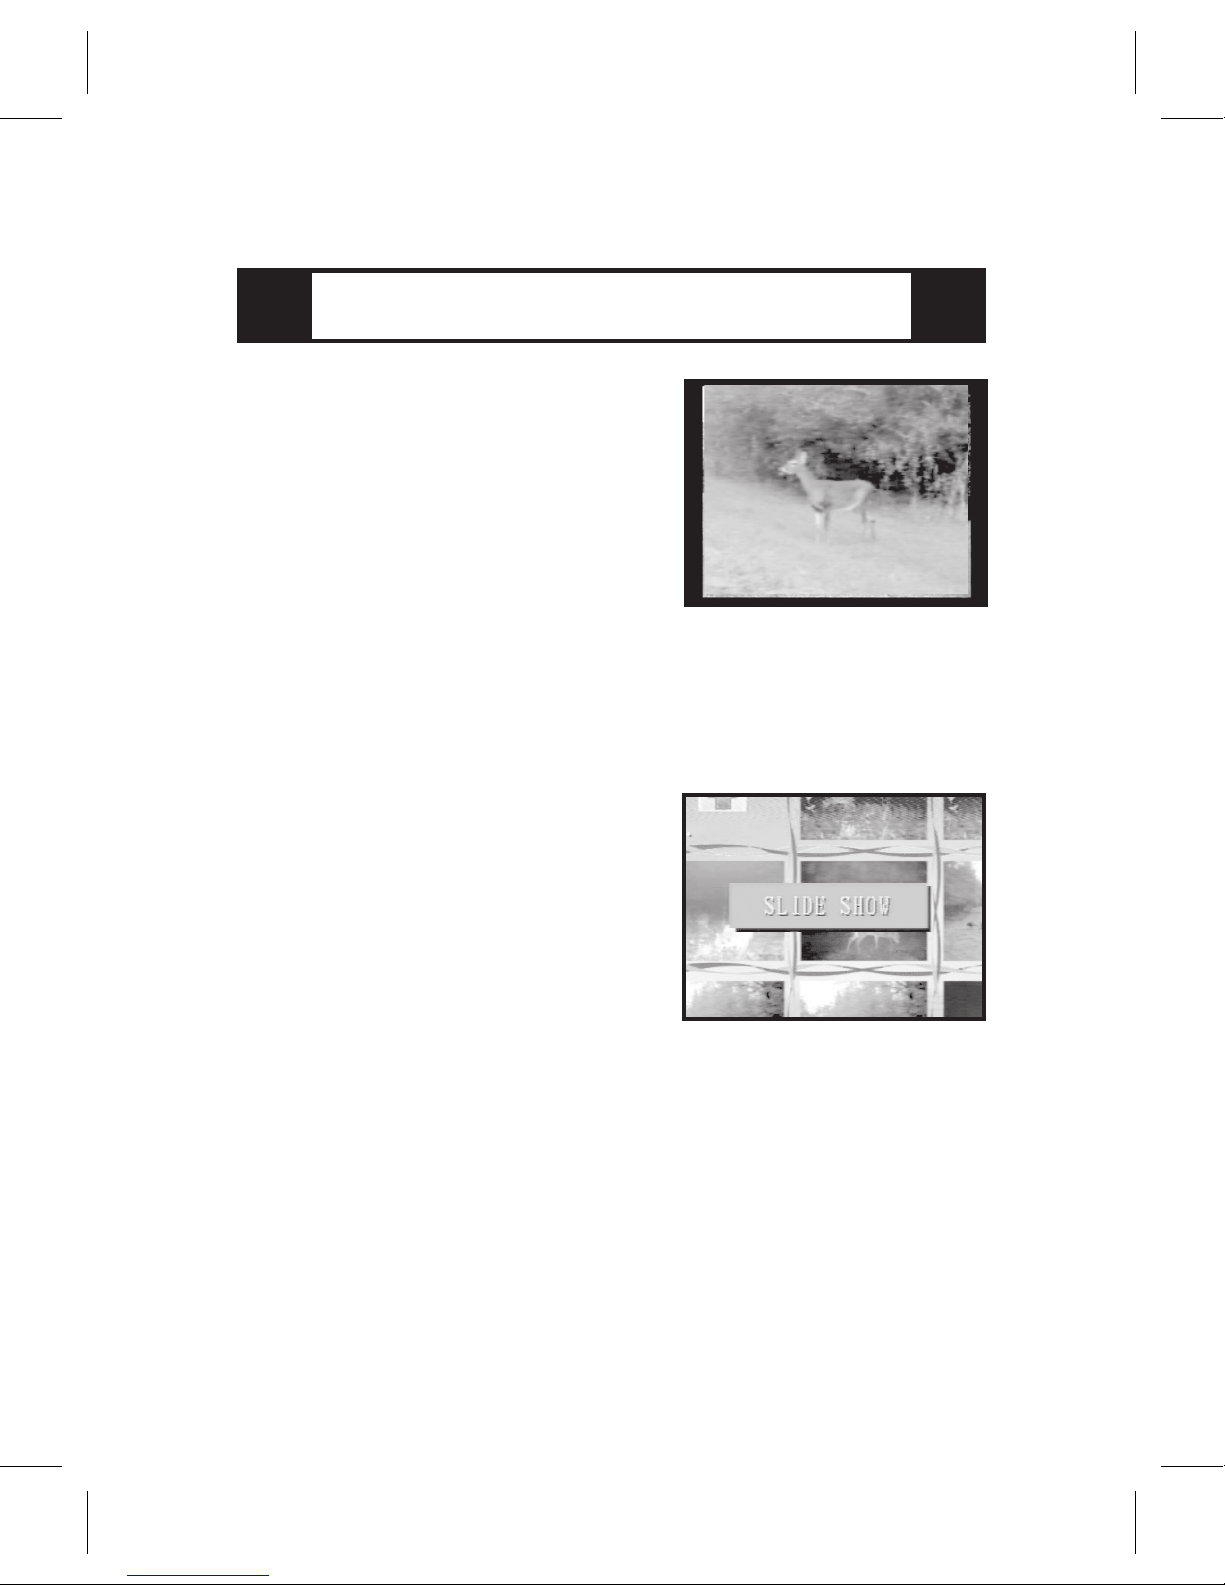
Slideshow
When an icon is highlighted
in the Index Screen or when
a photo is displayed full
screen, click the Slideshow
button to begin displaying all
the photos in a timed
sequence. Click Slideshow again to return to a full
screen still photo.
Movie Mode
At the Index Screen press and hold Video/Pic. All
available movie clips will be displayed. Click OK
to play a movie. Click the Index button to pause.
Click Index again to return to the Index Screen.
Page 9
SETUP MODE
How many options are there?
9
Movie Slideshow
In Movie mode highlight a movie icon on the Index
Screen and click Slideshow. All the movies on the
card will play in sequence. Click the Index button
to pause a movie. Click Index again to jump to the
next movie. To stop the Movie Slideshow, turn the
main power Off.
Setup Mode
From the Index Screen press and hold OK on
the Navigator. The Setup screen will have a solid
background. Click left or right to change Setup
topics. Click up and down to select a menu option
within a topic. Every screen has a default position
of Exit, so you can click OK to leave Setup mode.
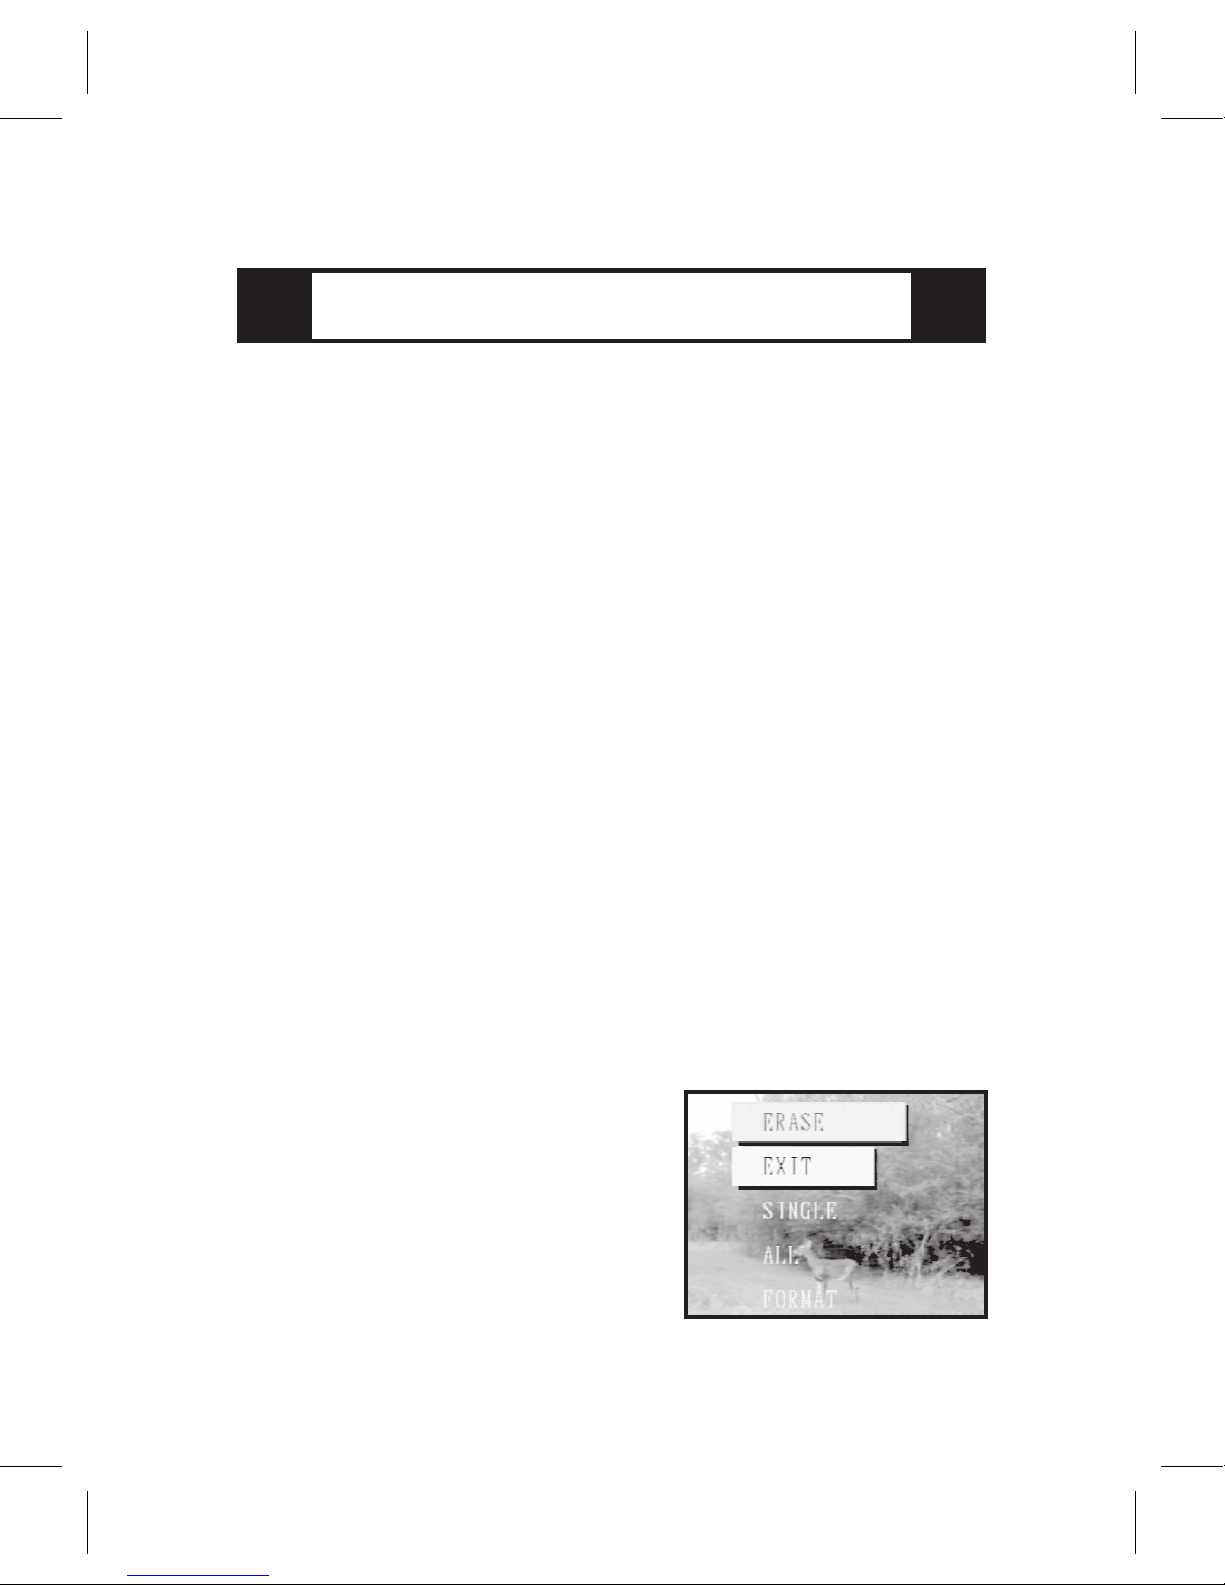
Erase
In Picture mode click OK to enter Setup. The
Setup topics appear over your photo. The first
topic is Erase. The options let you erase the current image or all images or format the media card.
If you want to delete folders
or other files, you will need to
do so from your computer’s
file browser when the Picture
Viewer is connected by the
USB cable to your computer
(see page 12).
Page 10
MORE SETUP MENUS
How many choices are there?
10
Slideshow
Interval lets you select the number of seconds
each photo will be shown before changing.
Effect lets you select whether to have a random
transition from one photo to the next.
TV Auto Off
This lets you select how long the Picture Viewer
will display an image before it goes into power
saving mode. You can select between 1 and 5
minutes. If the screen ever goes black because
the Picture Viewer is saving power, click Display
to turn the screen back on. You can press and
hold the Display button at any time to turn off the
display screen.
Update
This topic is for possible future software upgrades
of the Picture Viewer. If there is an upgrade on the
CF card, click Proceed. If an upgrade is not found,
the Picture Viewer will return to the top menu.
TV
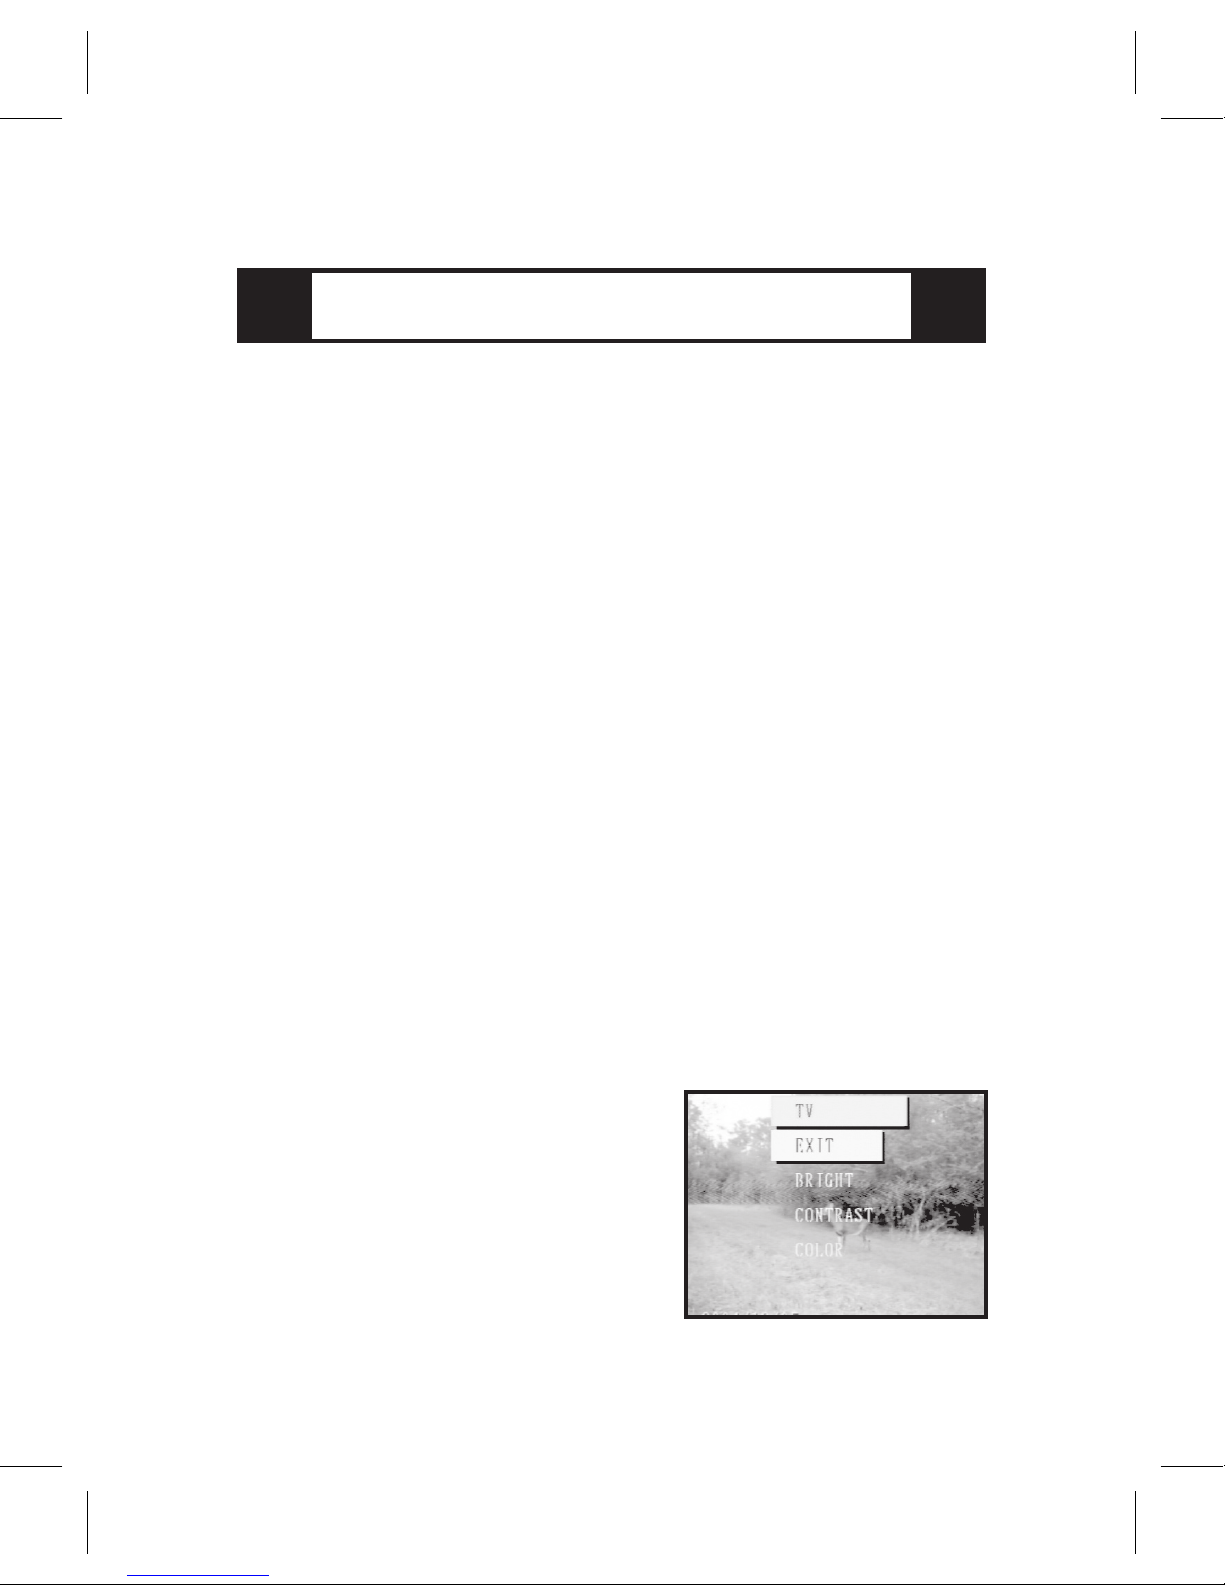
Options let you adjust Brightness, Contrast, and Color
of the Picture Viewer display.
Click up or down to highlight
an option. Click OK to enter.
Page 11
MORE SETUP MENUS
Is this the last of them?
11
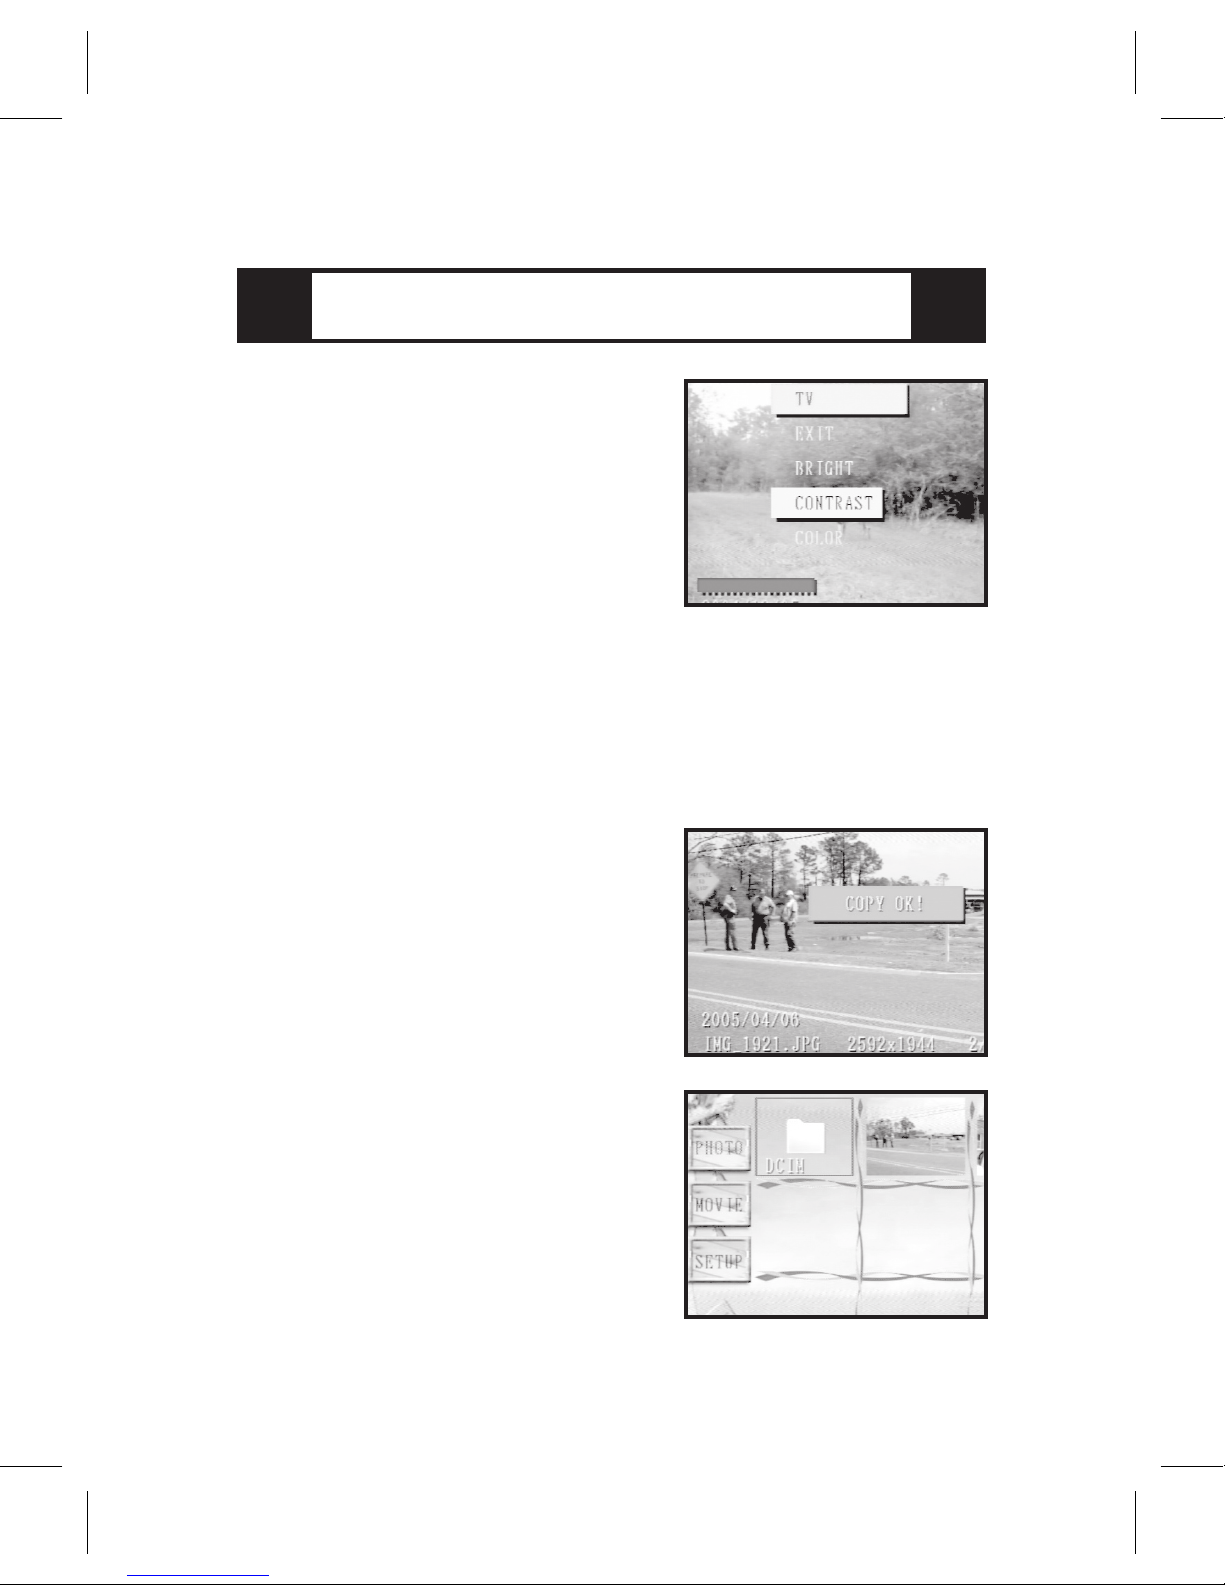
Click up and down to change
the value. You will see the
background image change;
a bar indicates the relative
amount of the change you
are making.
Background
This topic lets you choose whether to view the Setup menus superimposed over the current photo. It
has no effect on the solid color background when
Setup is entered from the Index Screen.
Copy
The Copy button allows you
to copy a photo or movie to
the top folder of the Compact
Flash card from any of the
other types of media cards.
Highlight an image icon in
the Index Screen or display
a photo in photo mode, then
press and hold Copy. When
the copy is complete, you will
see “Copy OK!” If a file with
the same name already exists or if there is no CF card,
you will see “Failed.”
Page 12
COMPUTER CONNECTION
How do I get images to my computer?
12
Copying files and folders is quicker and
easier when the Picture Viewer is connected to your computer.
TIP
Important
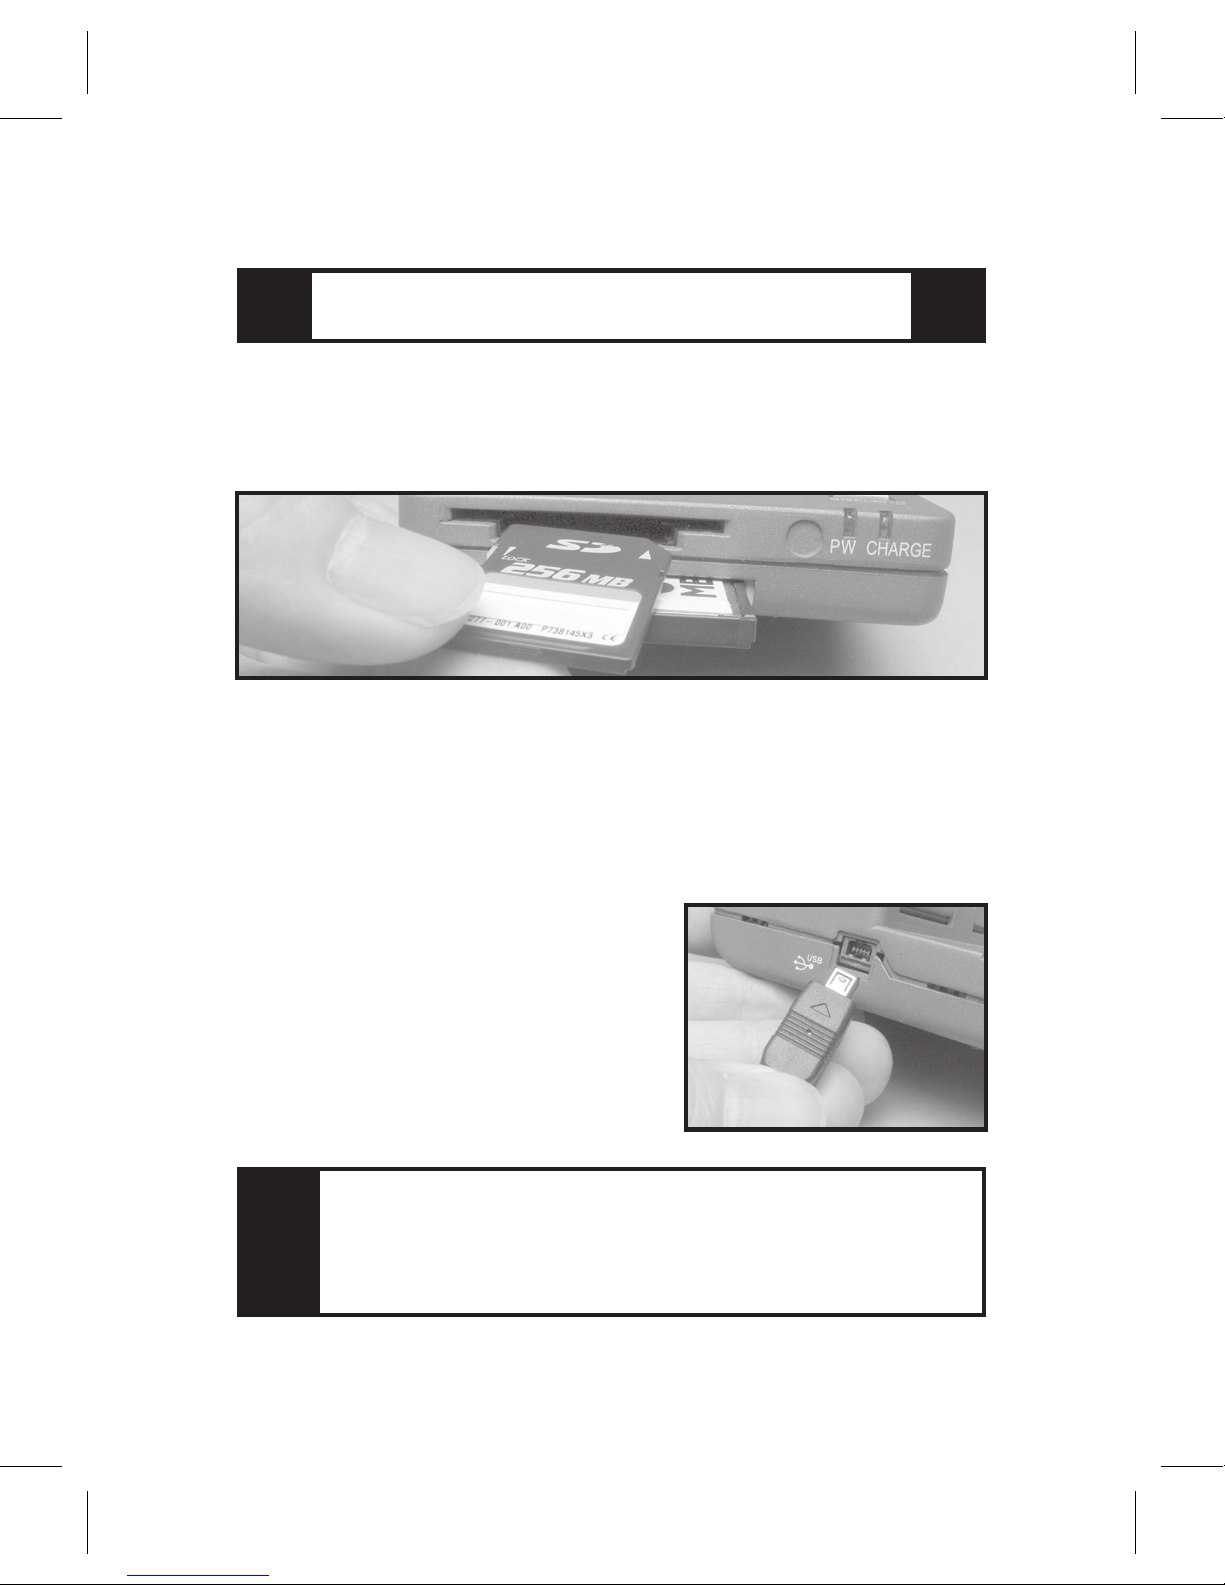
When inserting media cards, always have the label
side up and the arrow pointed toward the slot.
Connecting to a Computer
The USB port on the left side of the Picture Viewer
connects to a computer using the supplied USB
cable when power is On. The Picture Viewer display will turn off. Your PC or Mac sees the media
cards in your Picture Viewer
as external hard drives. You
can copy images, movies, or
other files between the media
cards and your computer
using Explorer on the PC or
Finder or iPhoto on the Mac.
Page 13
VIDEO IN & OUT
It works as a TV and plays on another TV?
13
Note for Win98 users: before connecting the USB
cable, run the setup program 810_DRV.EXE on
the included CDROM, then follow the instructions.
Video Input
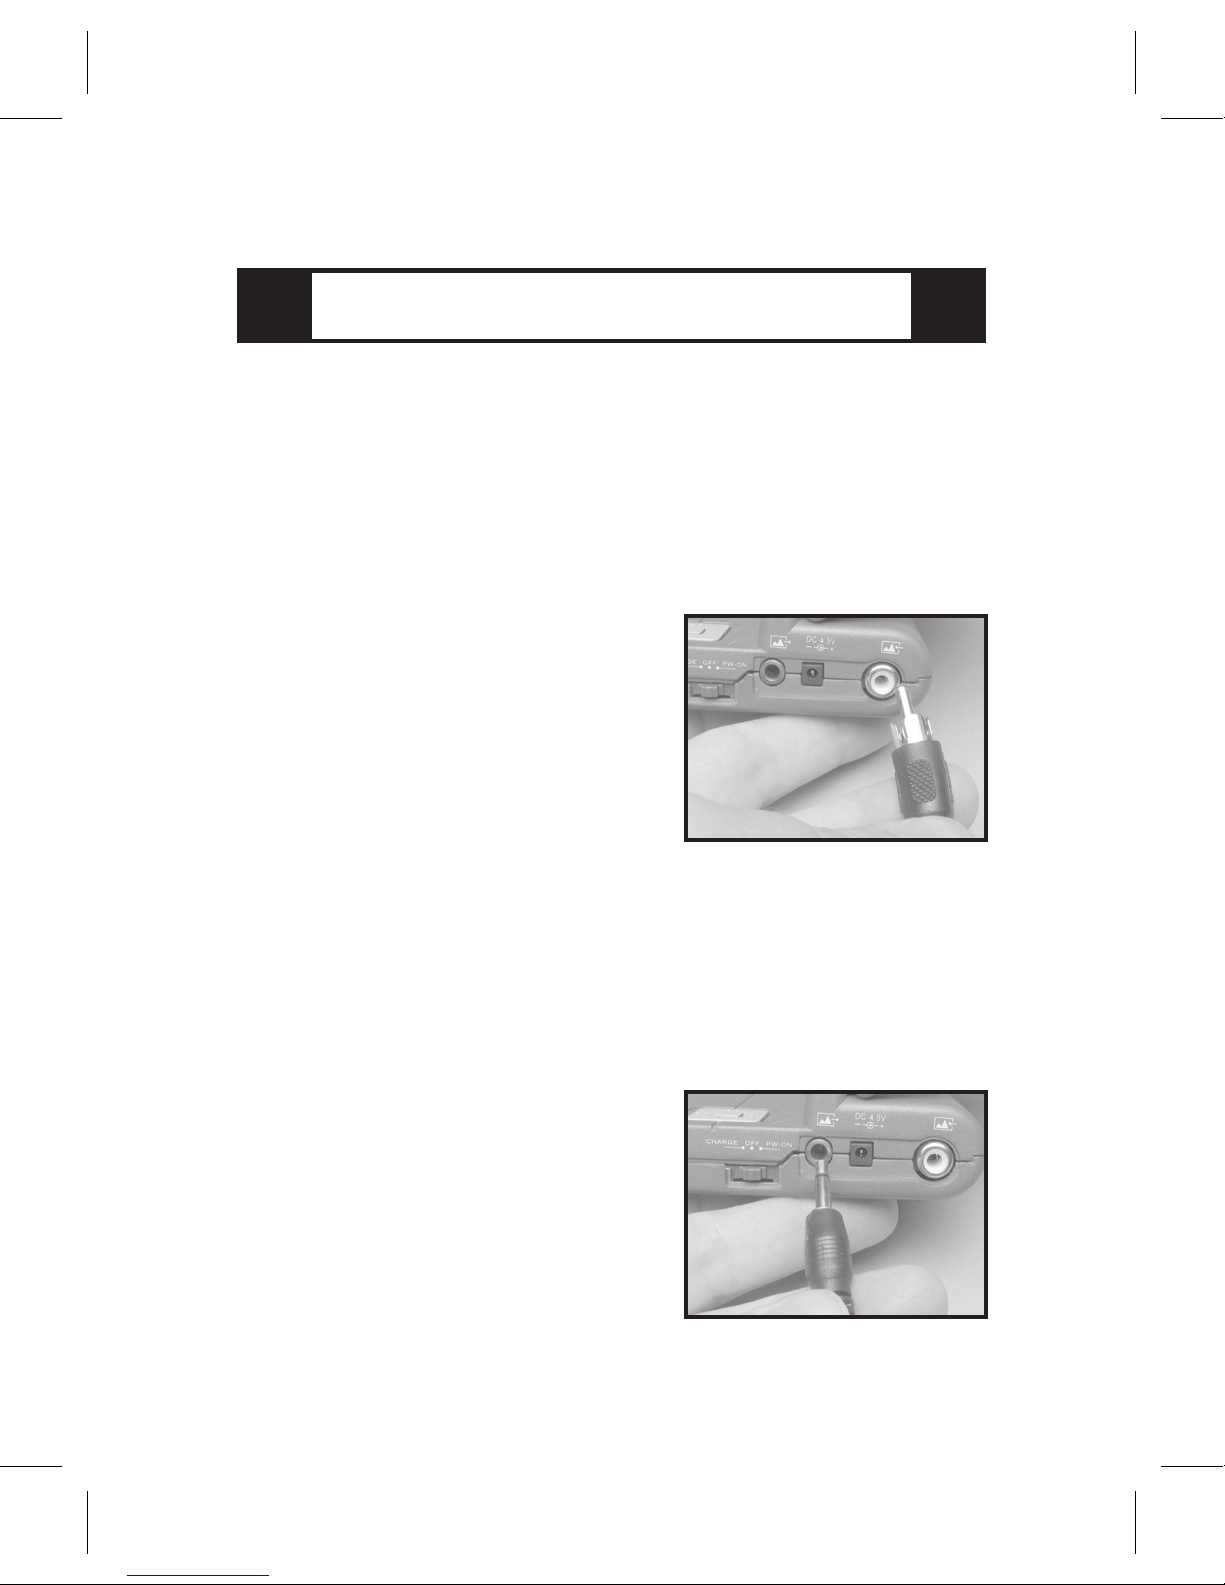
Connect an RCA cable from the TV Out of your
Game Cam or other video source to your Picture
Viewer. Follow the instructions in your Game Cam
guide to display the camera
image on a television. When
a cable is plugged in to the
Video Input, the Picture
Viewer display becomes a
TV monitor for the external video source and will
not display photos from the media cards.
Video Output
Connect the supplied RCA - mini cable from your
Picture Viewer to your television or VCR. The
Picture Viewer display will turn off and your television will display the Picture
Viewer Index Screen, photos,
slideshows, or movie clips.
The Navigator and control
buttons on the Picture Viewer
work just the same.
Page 14
WARRANTY and REPAIR
What if something goes wrong?
14
REPAIR SERVICE
Repair service for damage or other problems not
covered by warranty will be provided at a reasonable charge. We have designed the electronics of
the Leaf River Picture Viewer to minimize repair
cost and time.
LIMITED WARRANTY
Your Leaf River Picture Viewer is covered by a
Limited Warranty on parts and labor for a period
of one year from the date of purchase. The warranty applies to defects in materials and workmanship. The warranty does not apply to units that
have been damaged, abused, modified, serviced
by unauthorized persons, or exposed to extreme
temperatures below -20º C [-4º F] or above +60º
C [+140º F]. Your sales receipt is your proof of
purchase and should be presented if warranty
service is needed. Please call (601) 785-9854 for
warranty service.
Page 15
MULTI-CARD PICTURE VIEWER
Model PV-2.5
15
Page 16
MULTI-CARD PICTURE VIEWER
Model PV-2.5
16
THANKS!
We hope this manual helps you get started using
your Picture Viewer. We know you will enjoy your
new Picture Viewer and we hope you’ll look for
other quality items from:
Leaf River Outdoor Products
Vibrashine, Inc.
P.O. Box 557, 113 Fellowship Road, Taylorsville,
MS 39168
Phone (601) 785-9854 Fax (601) 785-9874
Web-site: www.vibrashine.com
 Loading...