

LEAB ABC 3200W User Manual
Rev.: 001
LEAB Automotive Thorshammer 6 DE-24866 Busdorf T: +49-4621-360667
www.leab.de
1
LEAB ABC 3200W
User Manual (GB) 2
Anweisungen für den Benutzer (D) 4

Rev.: 001
LEAB Automotive Thorshammer 6 DE-24866 Busdorf T: +49-4621-360667
www.leab.de
2
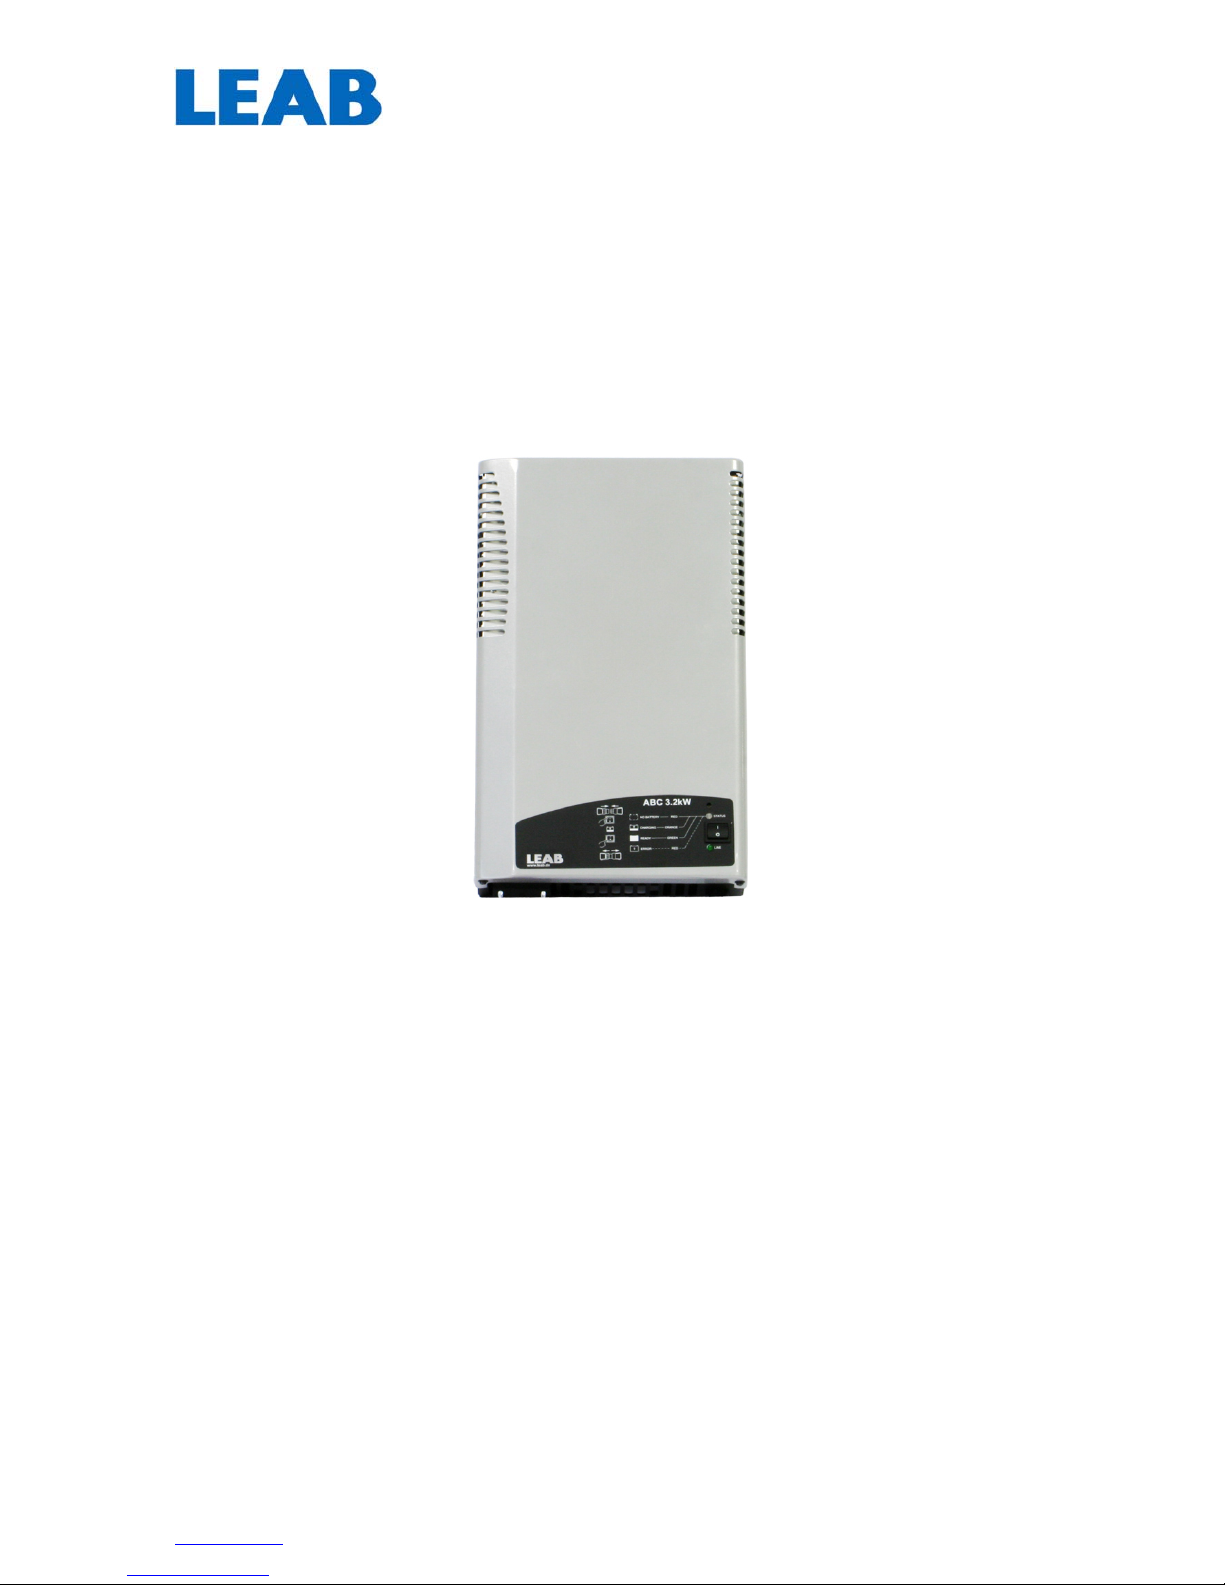
LEAB ABC Charger 3.2 kW
User Manual
• Read this instruction manual before operating the battery charger.
• Keep this manual within easy reach for the user of this battery charger
• Hydrogen gas will be produced when charging lead-acid batteries and hydrogen gas is explosive.
• Open flames and sparks should be kept away from batteries they may produce explosions.
• The charger should be switched off before the charger/battery plugs are connected and disconnected.
• It is related with real danger to touch any parts inside the charger. Do not do any repair work with the
main switch ON and to be real sure disconnecting the mains connector.
General
The ABC Charger is suitable both for Freely Ventilated- (Wet) and Valve Regulated- (Dry) lead/acid batteries.
The charger is small and is very light (8 kg.) and can therefore easily be fitted close to the battery. (The
charger can be delivered with program compensating for the equipment base load.)
The charger operates in high frequency and should be connected to a standard 230V mains connection with
ground. The built in micro controller controls the charging process according to the chosen charging
algorithm. .
During charging the charging progress is displayed with a status indicator LED on the front panel. The microcontroller is also controlling the charging progress with regards to temperature in the charger and time. If a
fault occurs in some cells or the temperature rises the charging current will be limited. If you have a special
requirement of charging algorithm or application, please contact LEAB AB.
Installation
The ABC Charger is mainly suited for indoor use.
It can be used positioned horizontally on a table or a shelf, hang on a wall using the free supplied bracket or
as a built-in charger in the vehicle or machinery. When it is built in it has to be shock absorbed.
The charger can be with fixed connection to the battery or with conventional connectors.
Position the charger in such a way that the air supply will not be obstructed.
When the charger is fitted on a wall or mounted in a vehicle it should be horizontal to limit dust and moisture
to enter it.
Function
Check that battery type and size correspond to the setting of the charger. Also check that the polarity between
the charger and the battery is right. Positive + to positive + and negative – to negative -.
Connect the battery to the charger and switch on the charger.
The charging will start after a few seconds and the status indicator, Orange LED, is lights up.
Orange LED remains on until the battery is fully charged. If the charger is connected to a fully charged battery
the charger will be charging for 1 hour. This is the minimum charging time.
Green LED, is lit up when the battery is ready to be used.
Maintenance charging will continue as long as the battery is connected.
ABC600/800: The charger will be reset as soon as the charger is switched off and then on.
1600W version is reset by the red knob on the front or by disconnecting the mains cable.
The charging time depends on the size of battery and the depth of discharge.
A freely ventilated battery (Wet) can be discharged to max. 80% and a valve regulated (Dry) with max 70%.
OBS: Switch off the charger before the battery is disconnected. If the battery is disconnected without
switching of the charger, sparks may be produces.
 Loading...