

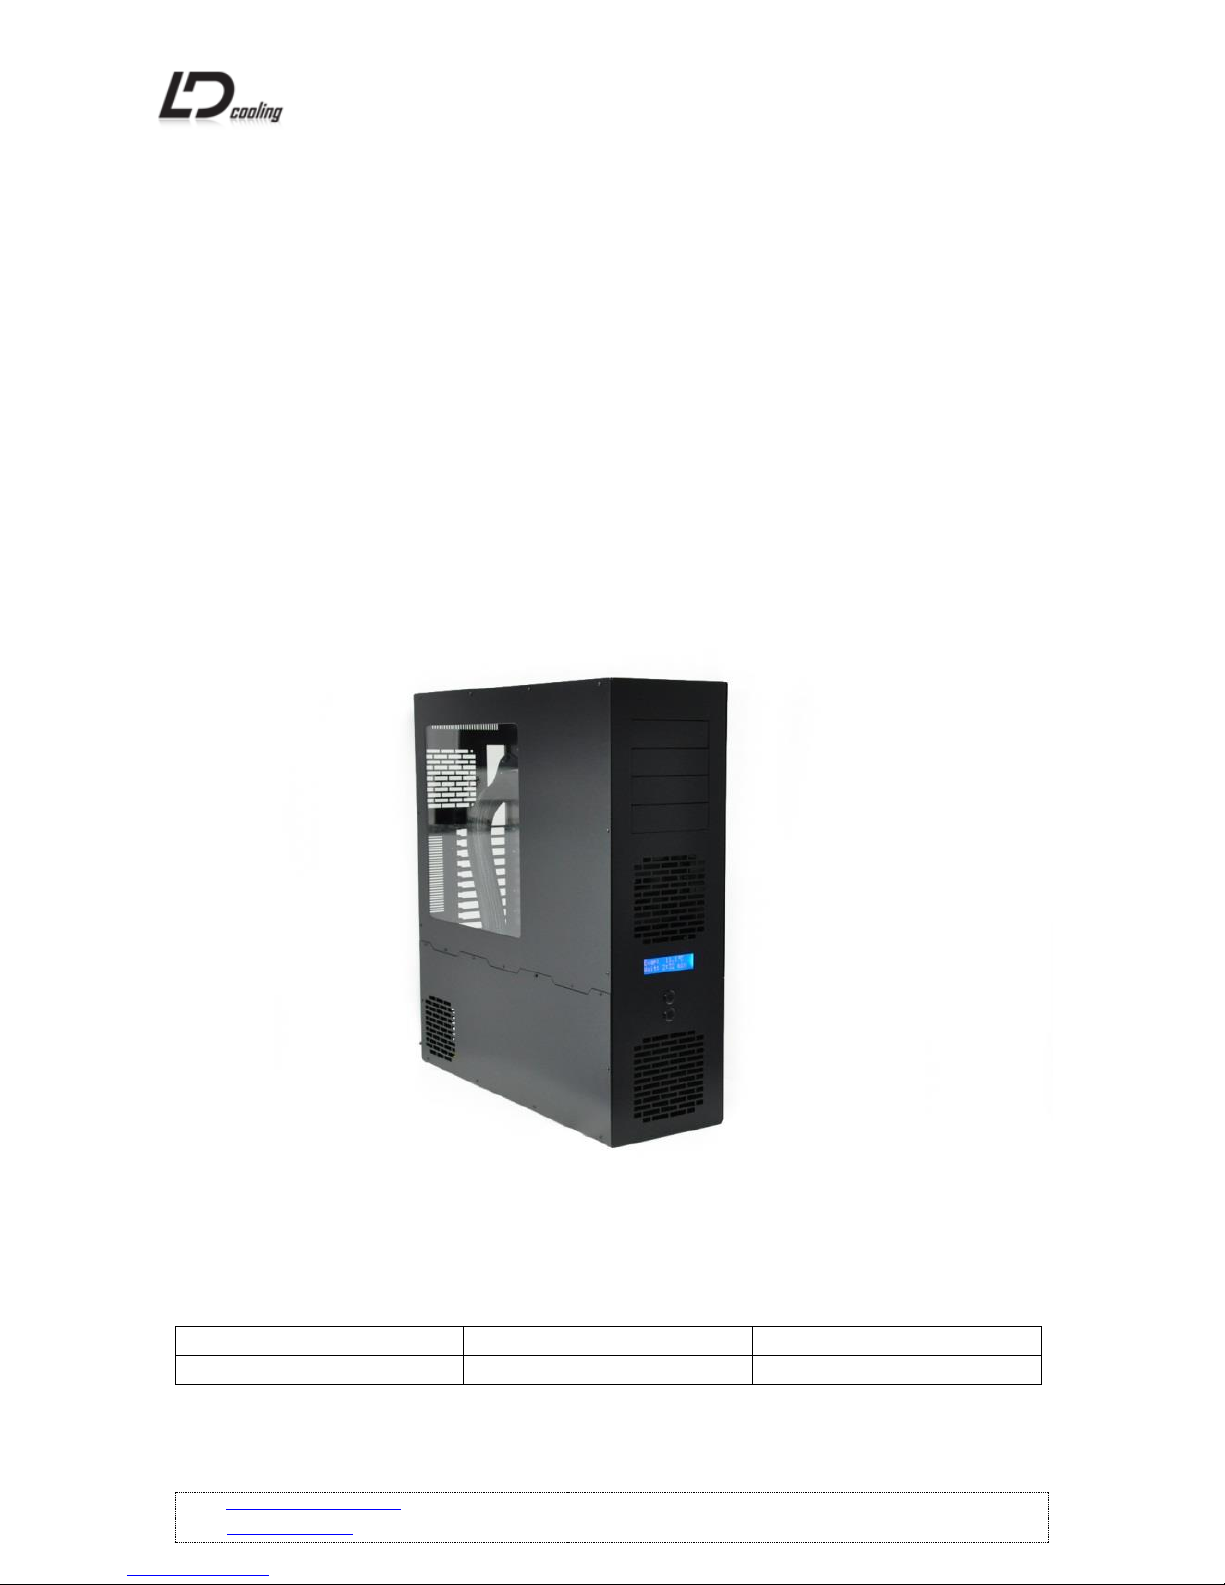
LD Cooling LD PC-V10 USA Phase Change, LD PC-V10 Reverse USA Phase Change Installation Manual
Page 1
WEB: http://www.ldcooling.com/
Page 1
Email: [email protected]
LD Cooling LD PC-V10 USA and LD PC-V10 Reverse USA Phase
Change
Installation manual
Date:
Version:
Comments:
1.1.2012
1.1
Page 2
WEB: http://www.ldcooling.com/
Page 2
Email: [email protected]
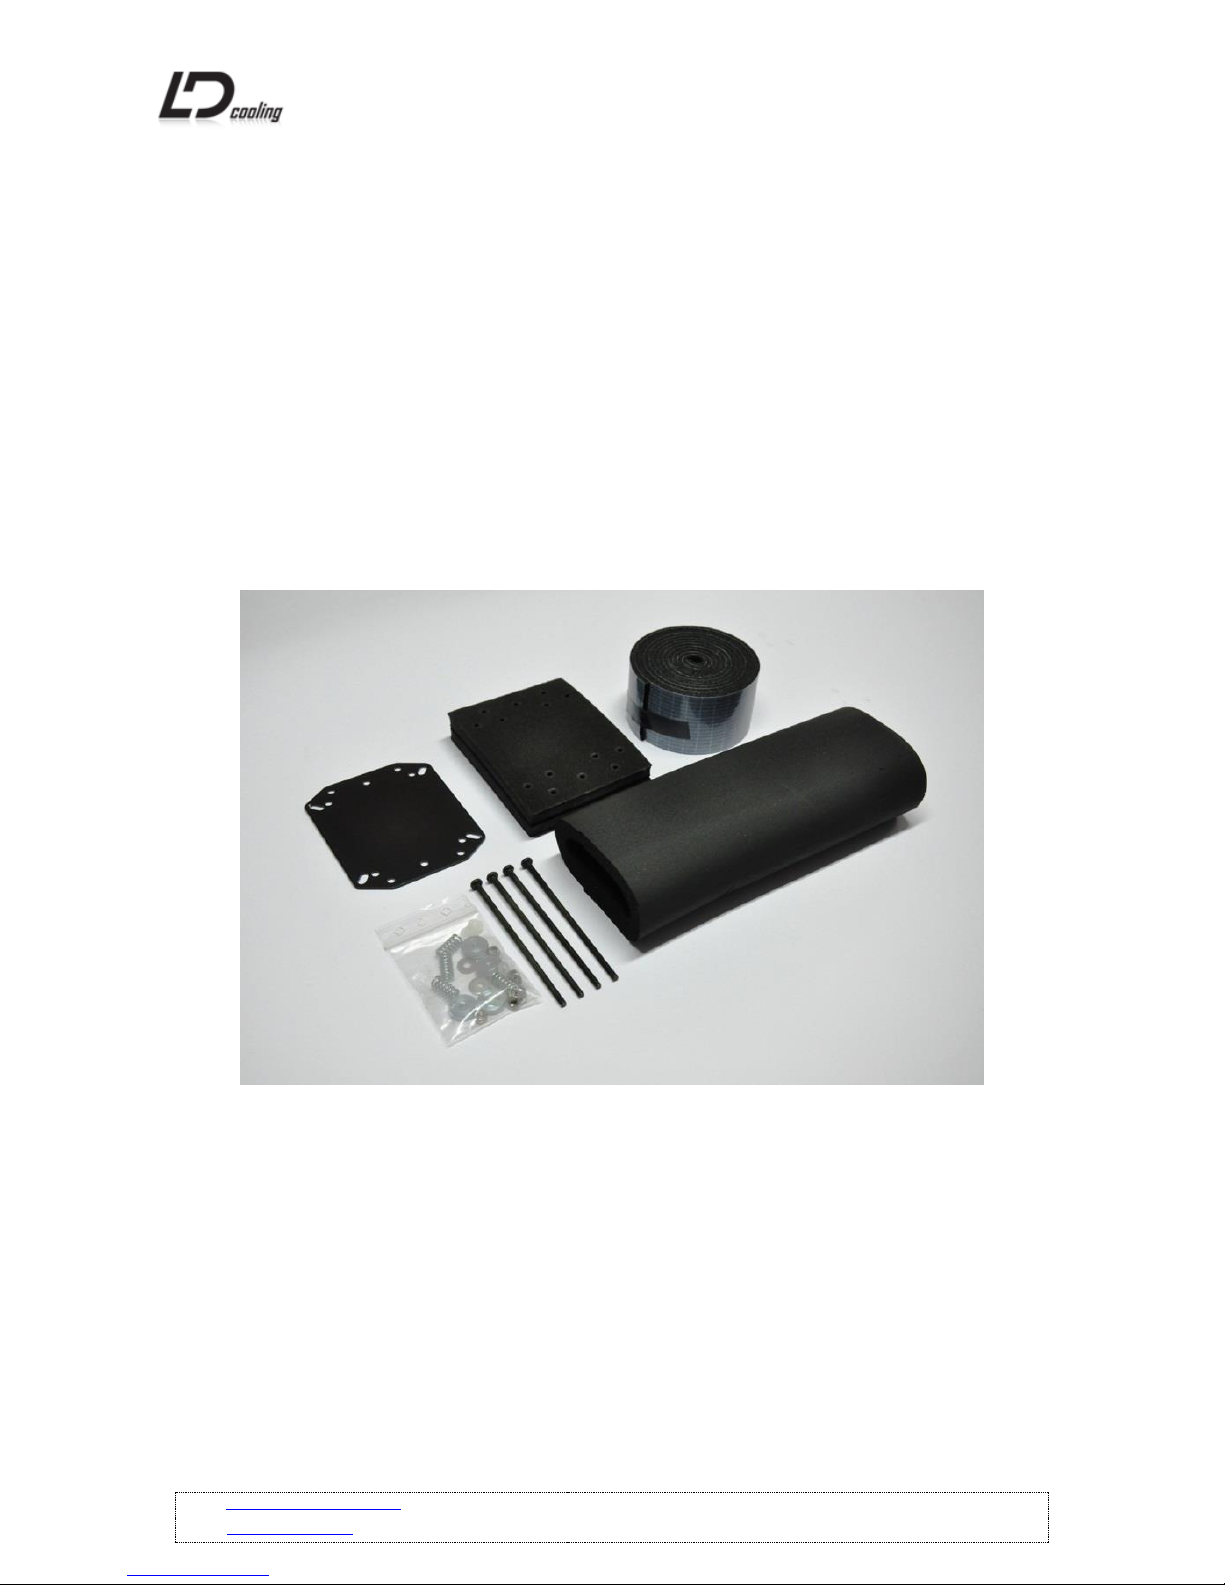
LD Cooling LD PC-V10, PC-V10 Reverse Phase Change include:
LD PC-V10 Phase Change with universal mounting kit for all sockets
Backplate for all sockets
Backplate insulation
150cm of Armaflex Insulation Tape with self adhesive backing
25cm of insulation tube
4 x Screws
4 x Nuts
8 x Stainless steel washers
4 x Plastic washers
4 x Springs
4 x Thumb Screws
Installation manual
Page 3
WEB: http://www.ldcooling.com/
Page 3
Email: [email protected]
Motherboard preparation:
We recomend to use really popular material for sub-zero aplication these days called »art eraser«,
»rubber eraser« or »kneaded eraser«. This material is not included, but you can purchase it
through our website or other shops.
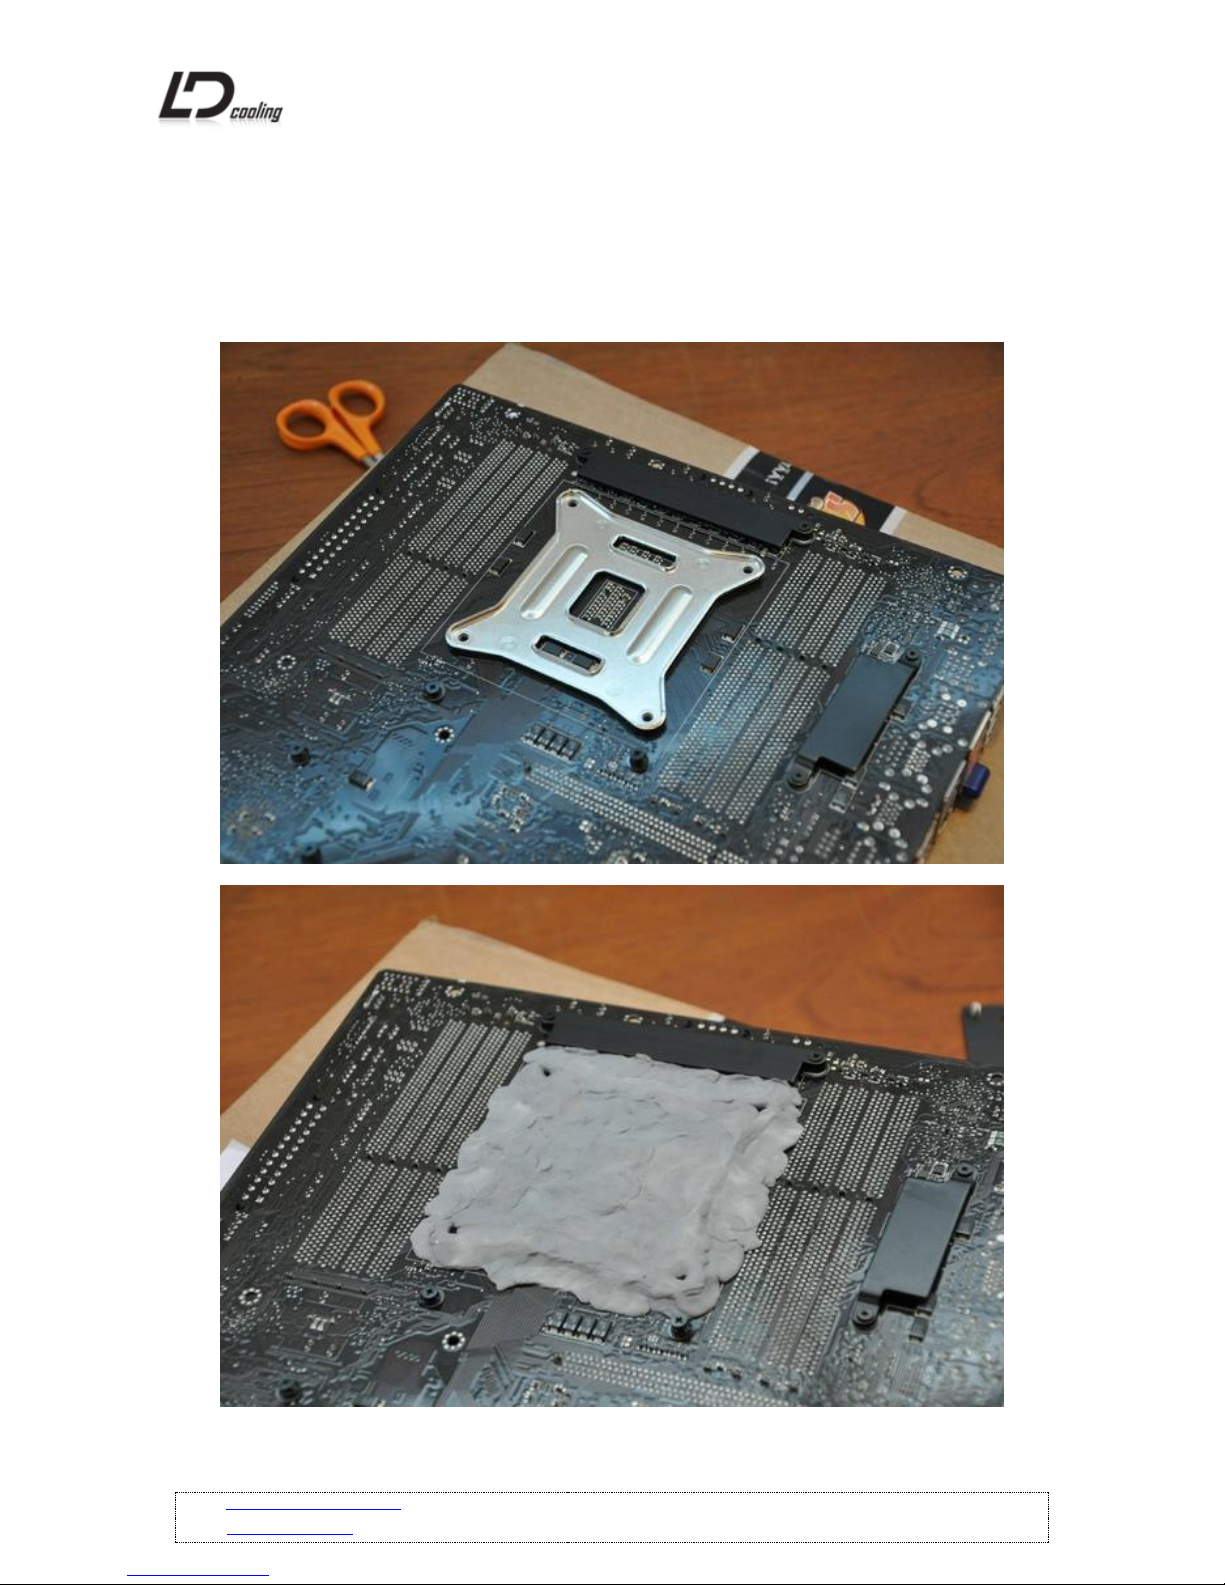
1. Use art aeaser on the backside of the motherboard.
Page 4
WEB: http://www.ldcooling.com/
Page 4
Email: [email protected]
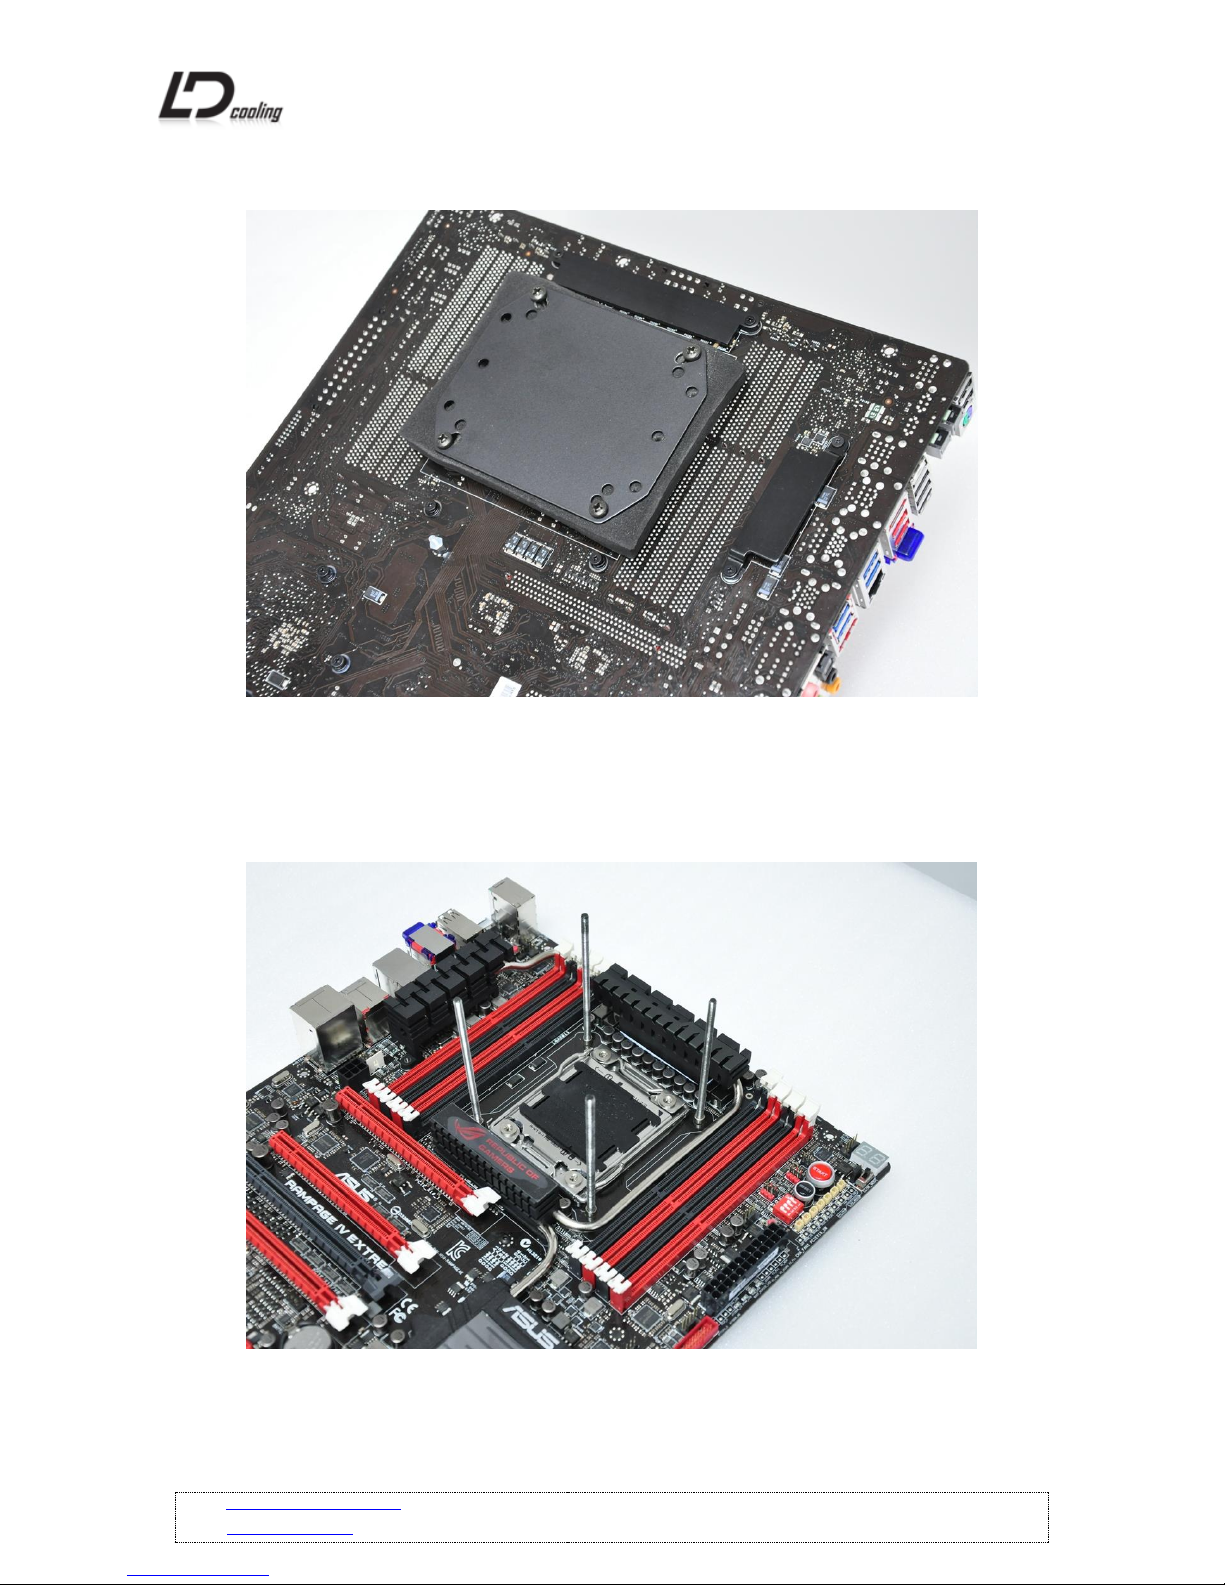
2. Than use backplate insulation which is included with mounting kit, put universal backplate
on it and install 4 x M4 screws through original motherboard backplate.
Socket 2011. Installed M4 screws through original motherboard backplate.
Page 5
WEB: http://www.ldcooling.com/
Page 5
Email: [email protected]
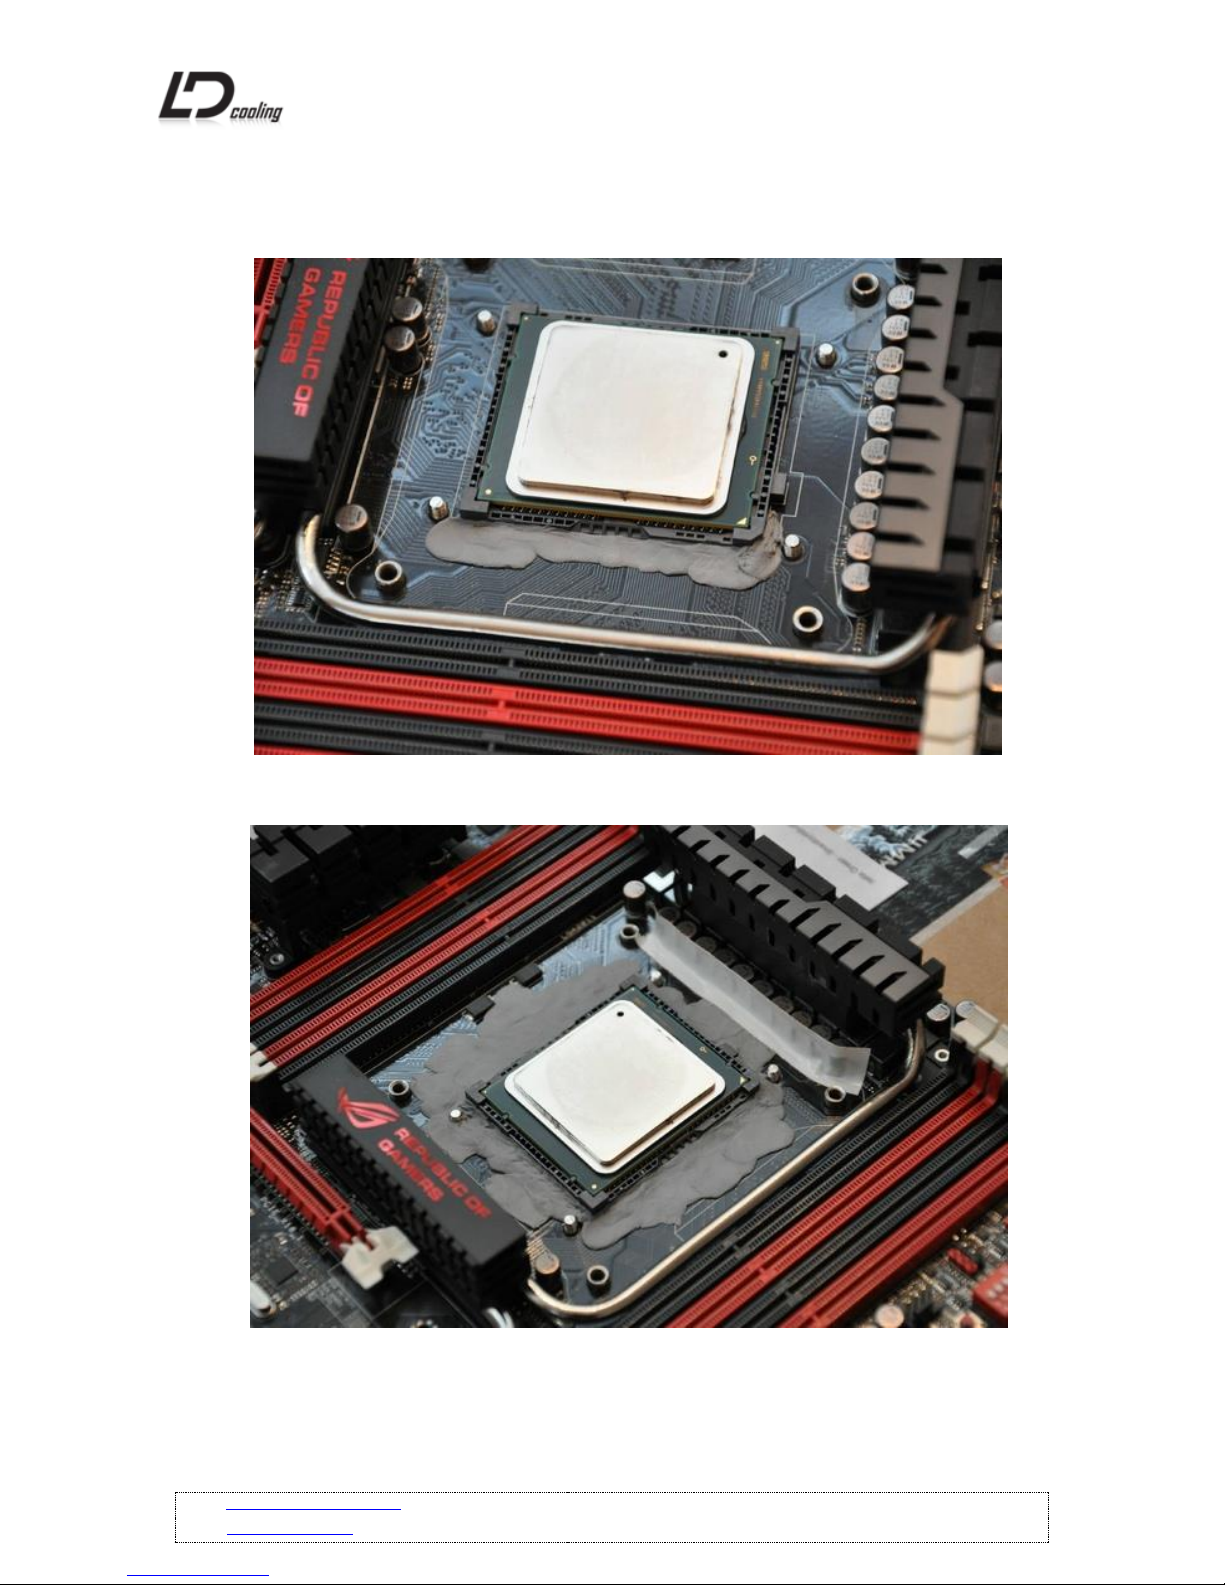
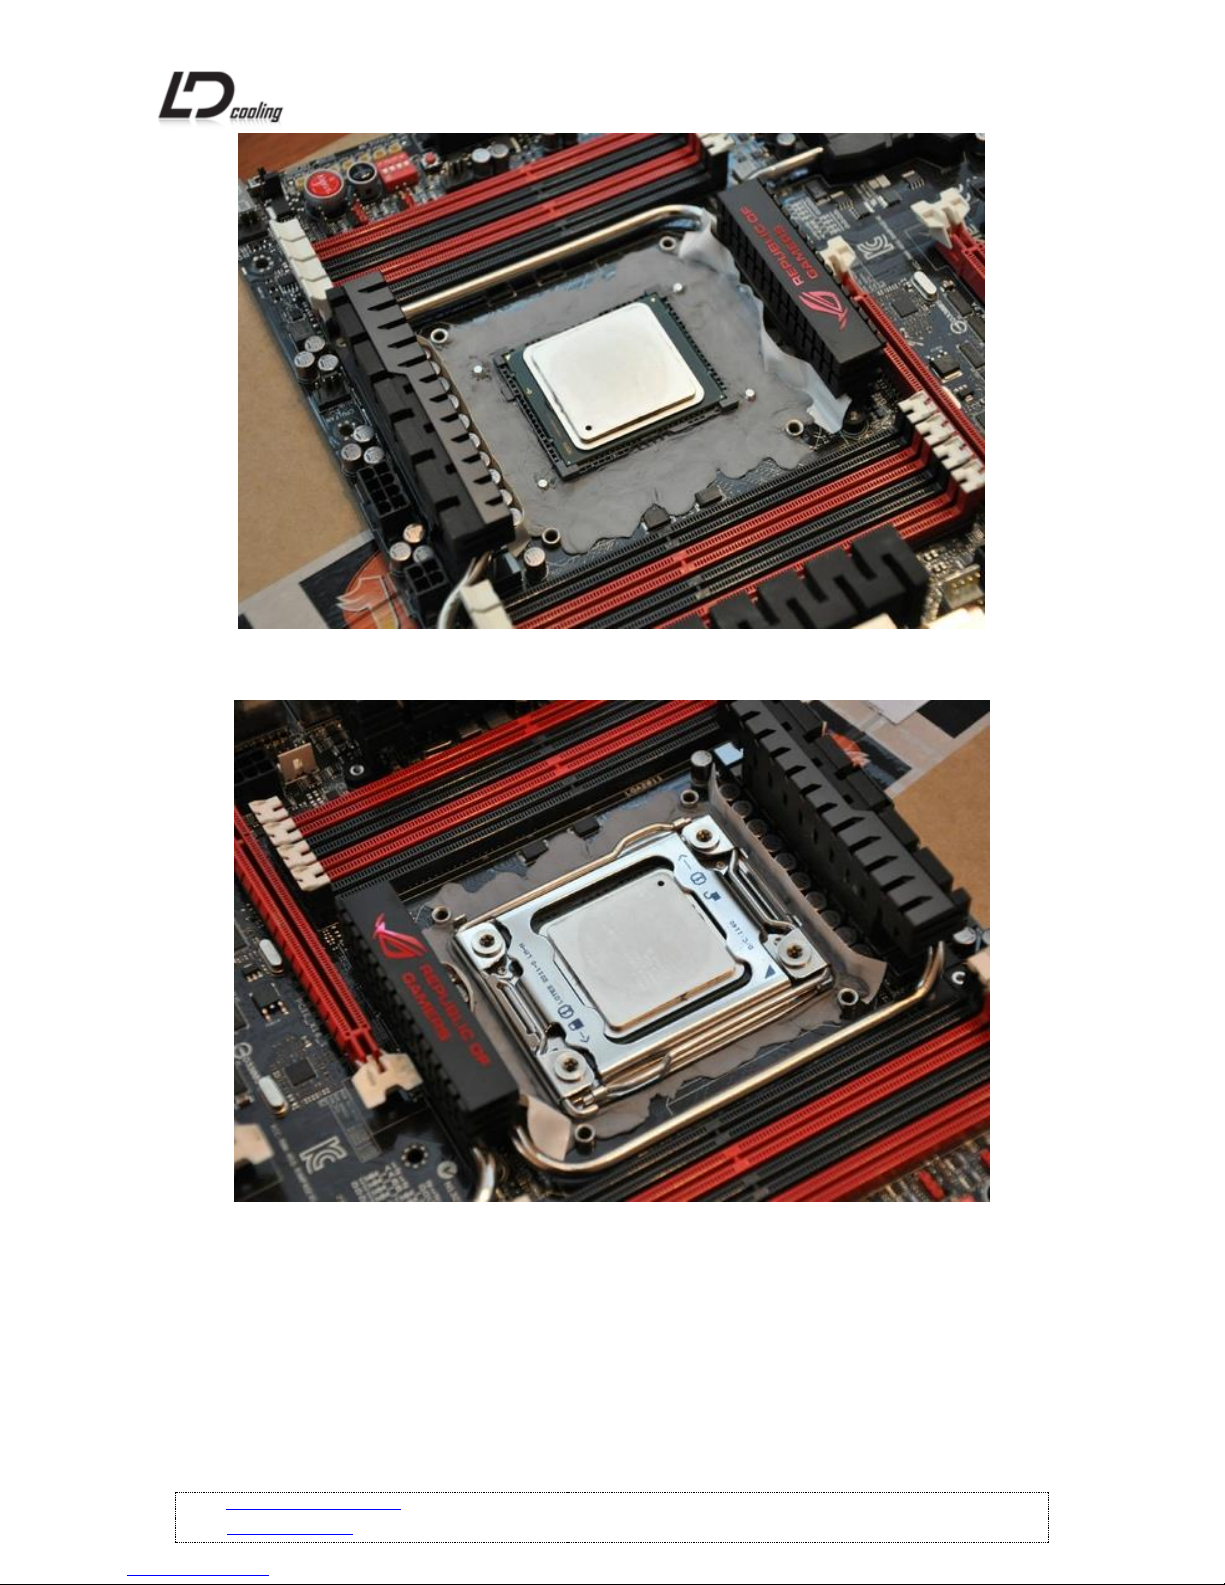
3. We recomend to remove CPU hold down assembly and use »art eraser« like you can see on
the pictures.
Add thin layer of »art eraser« around the socket.
You can protect condensor, memory slots on motherboard with tape.
Page 6
WEB: http://www.ldcooling.com/
Page 6
Email: [email protected]
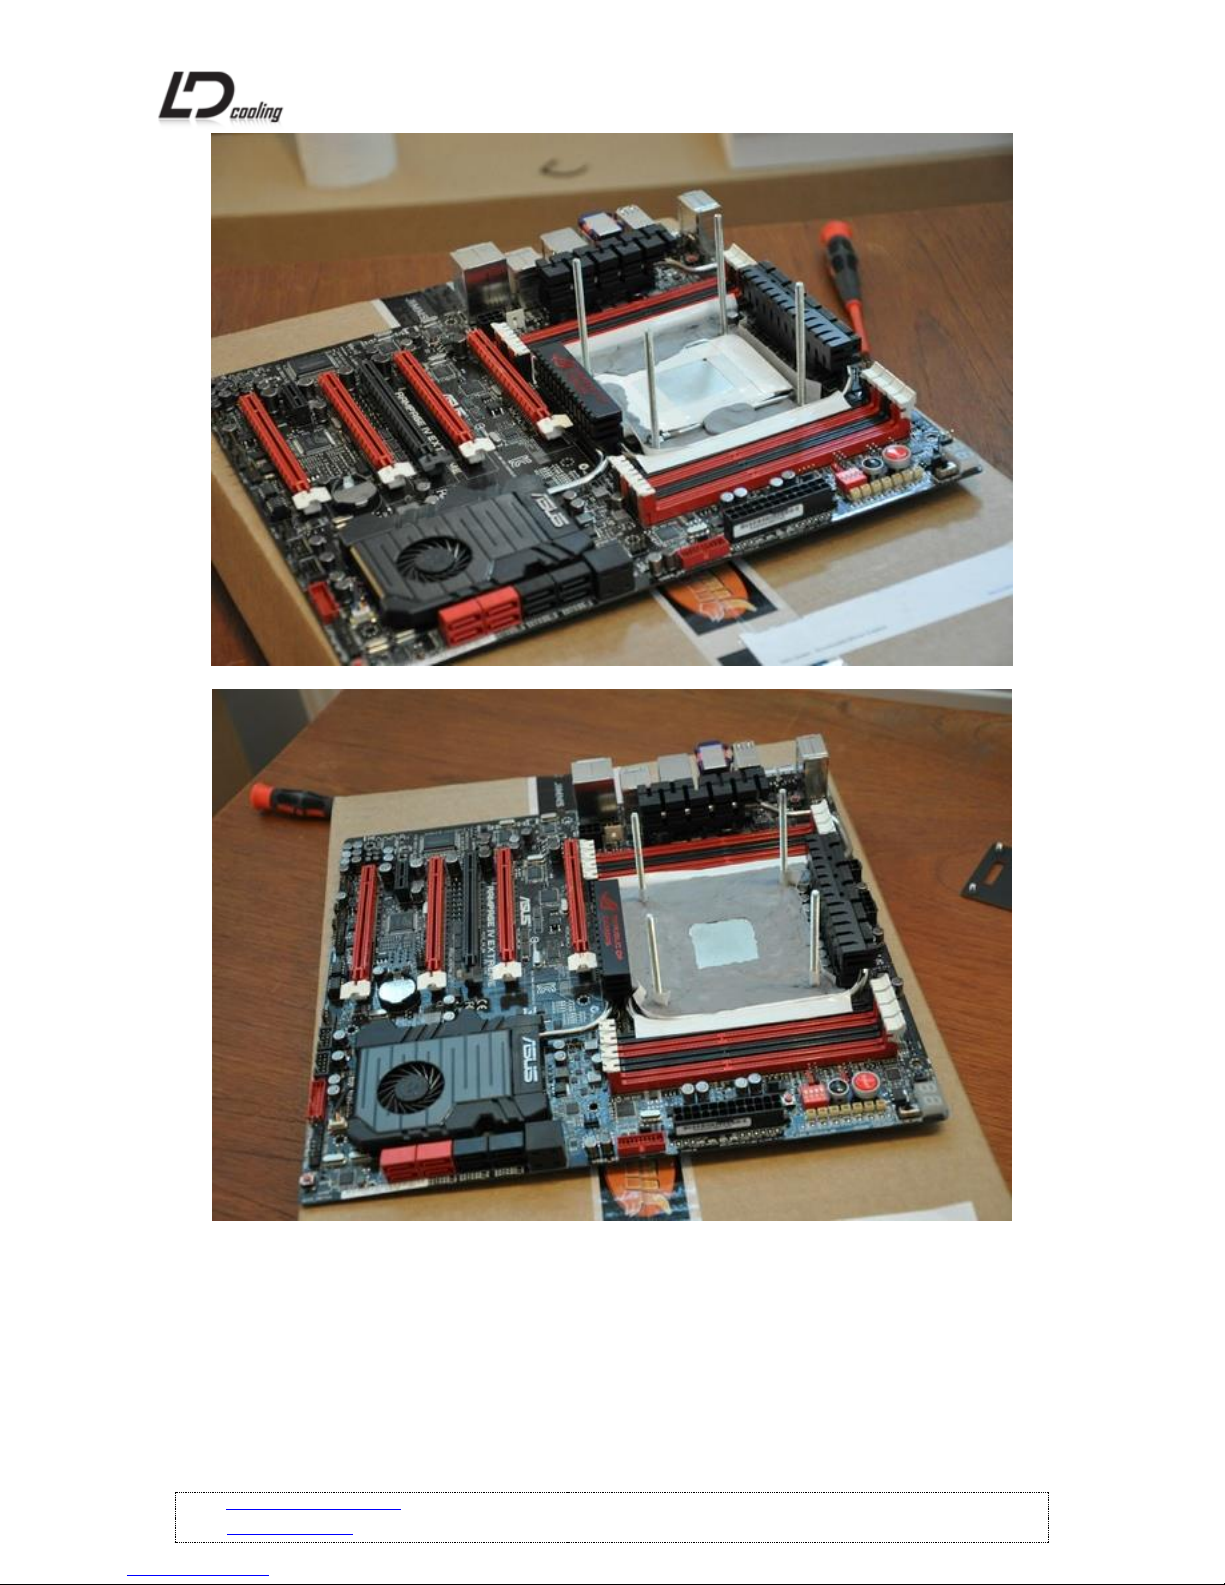
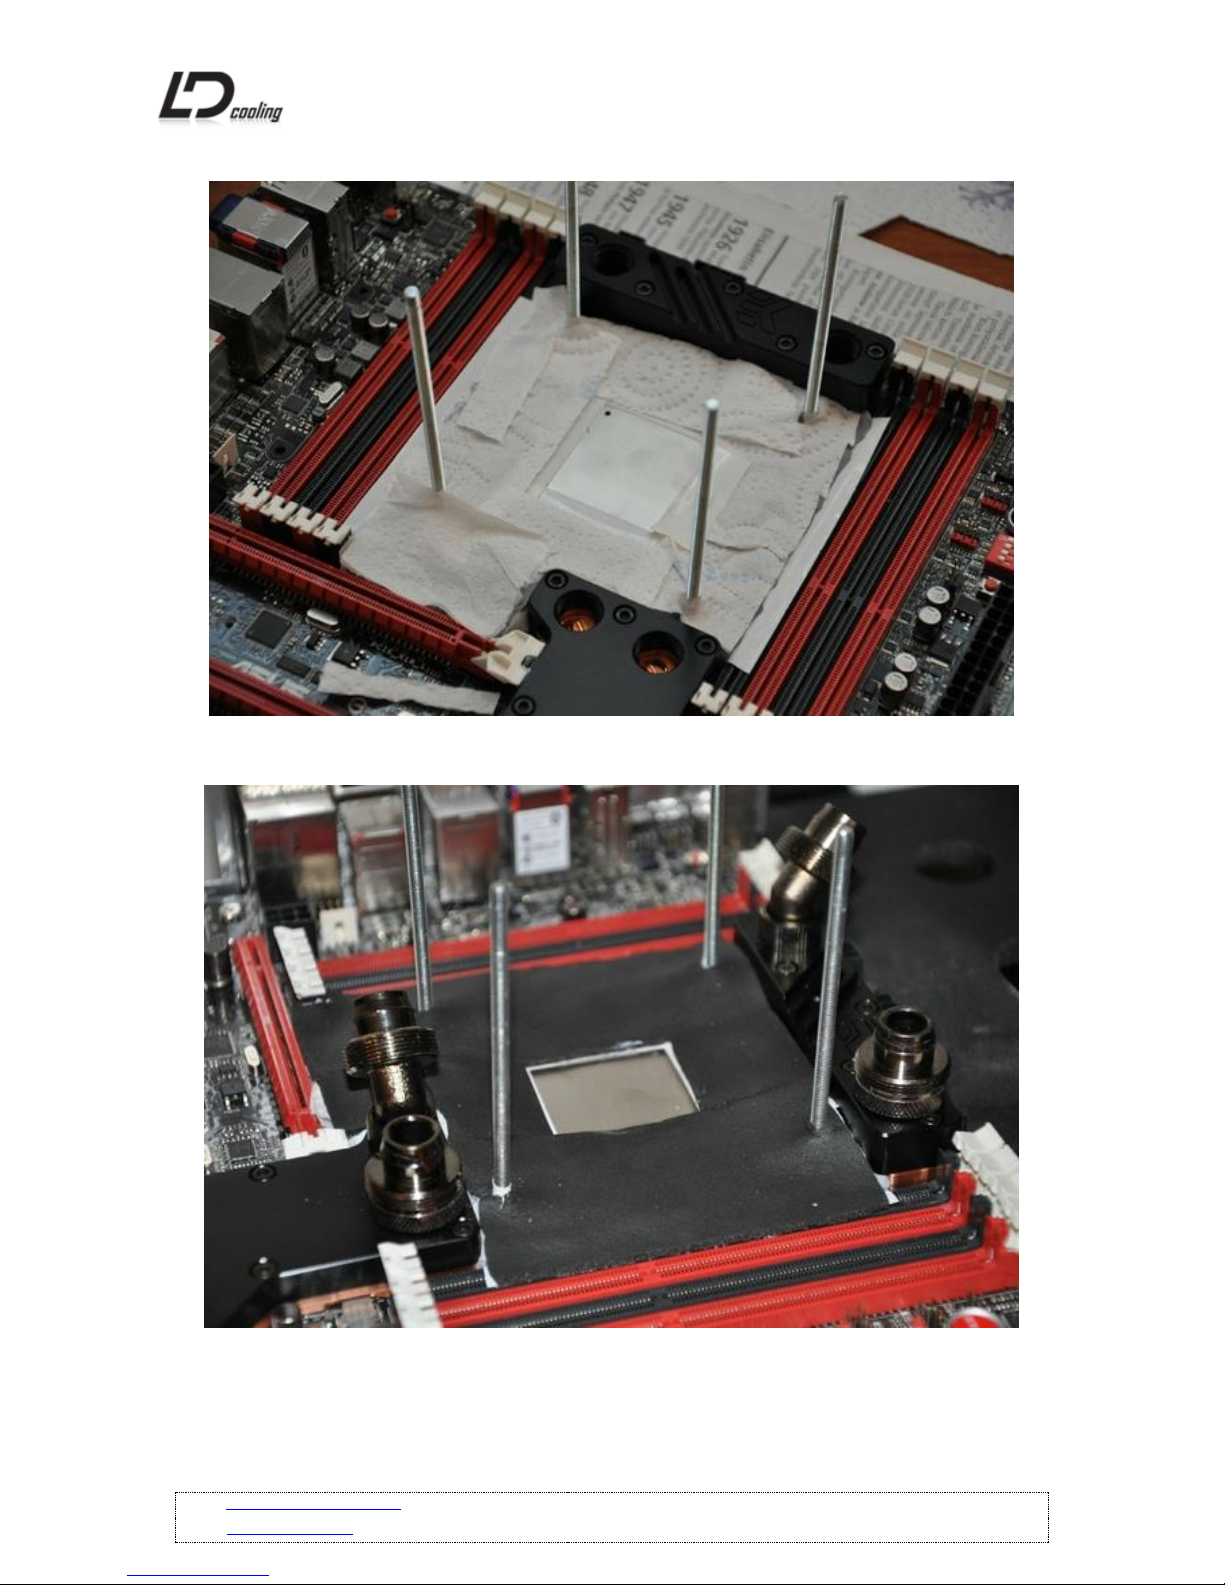
4. Install CPU hold down assembly back and continue adding »art eraser« around.
Page 7
Page 8
WEB: http://www.ldcooling.com/
Page 8
Email: [email protected]
5. Add one layer of »Kitchen/Bathroom Towel« on »art eraser«.
6. On the end use one layer of Armaflex Insulation Tape with self adhesive backing.
Page 9
WEB: http://www.ldcooling.com/
Page 9
Email: [email protected]
Mounting installation:
Once motherboard insulation is done, install it into the case and than you only need to do a few
more things and you are done.
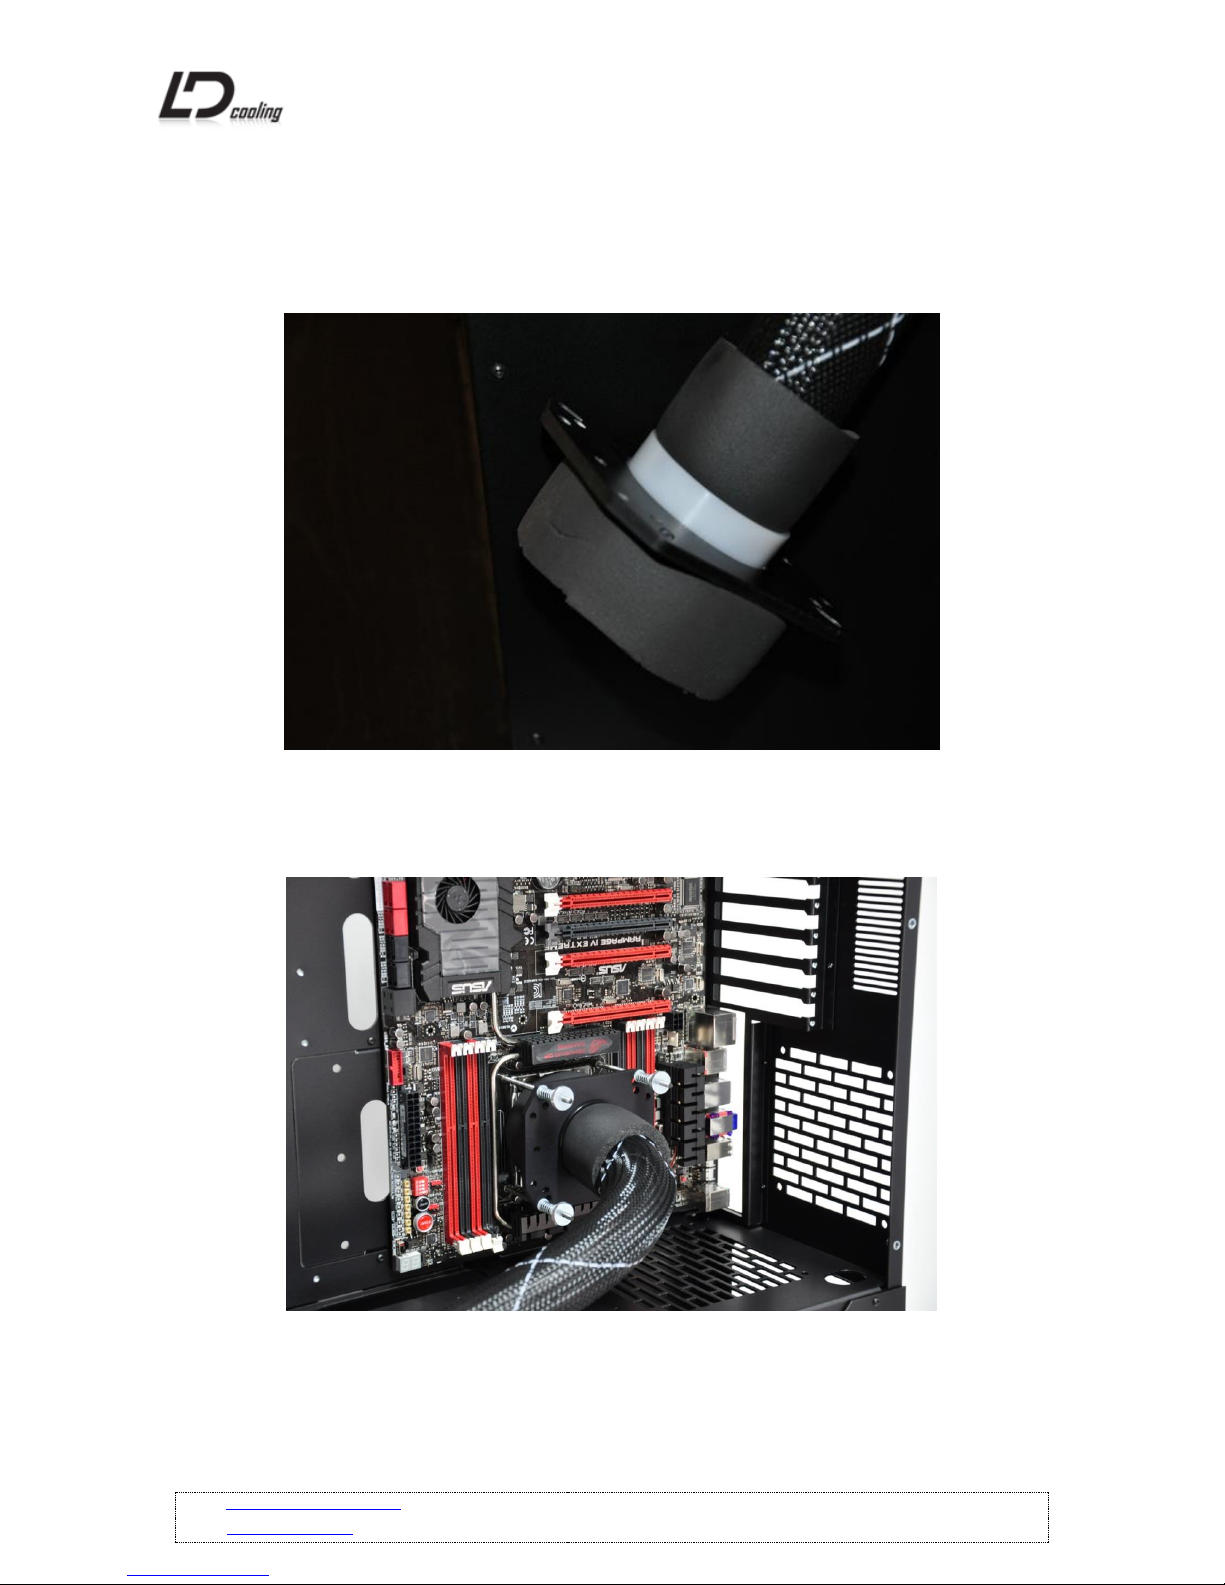
1. Cut insulation tube which is included and install it like you can see on the picture.
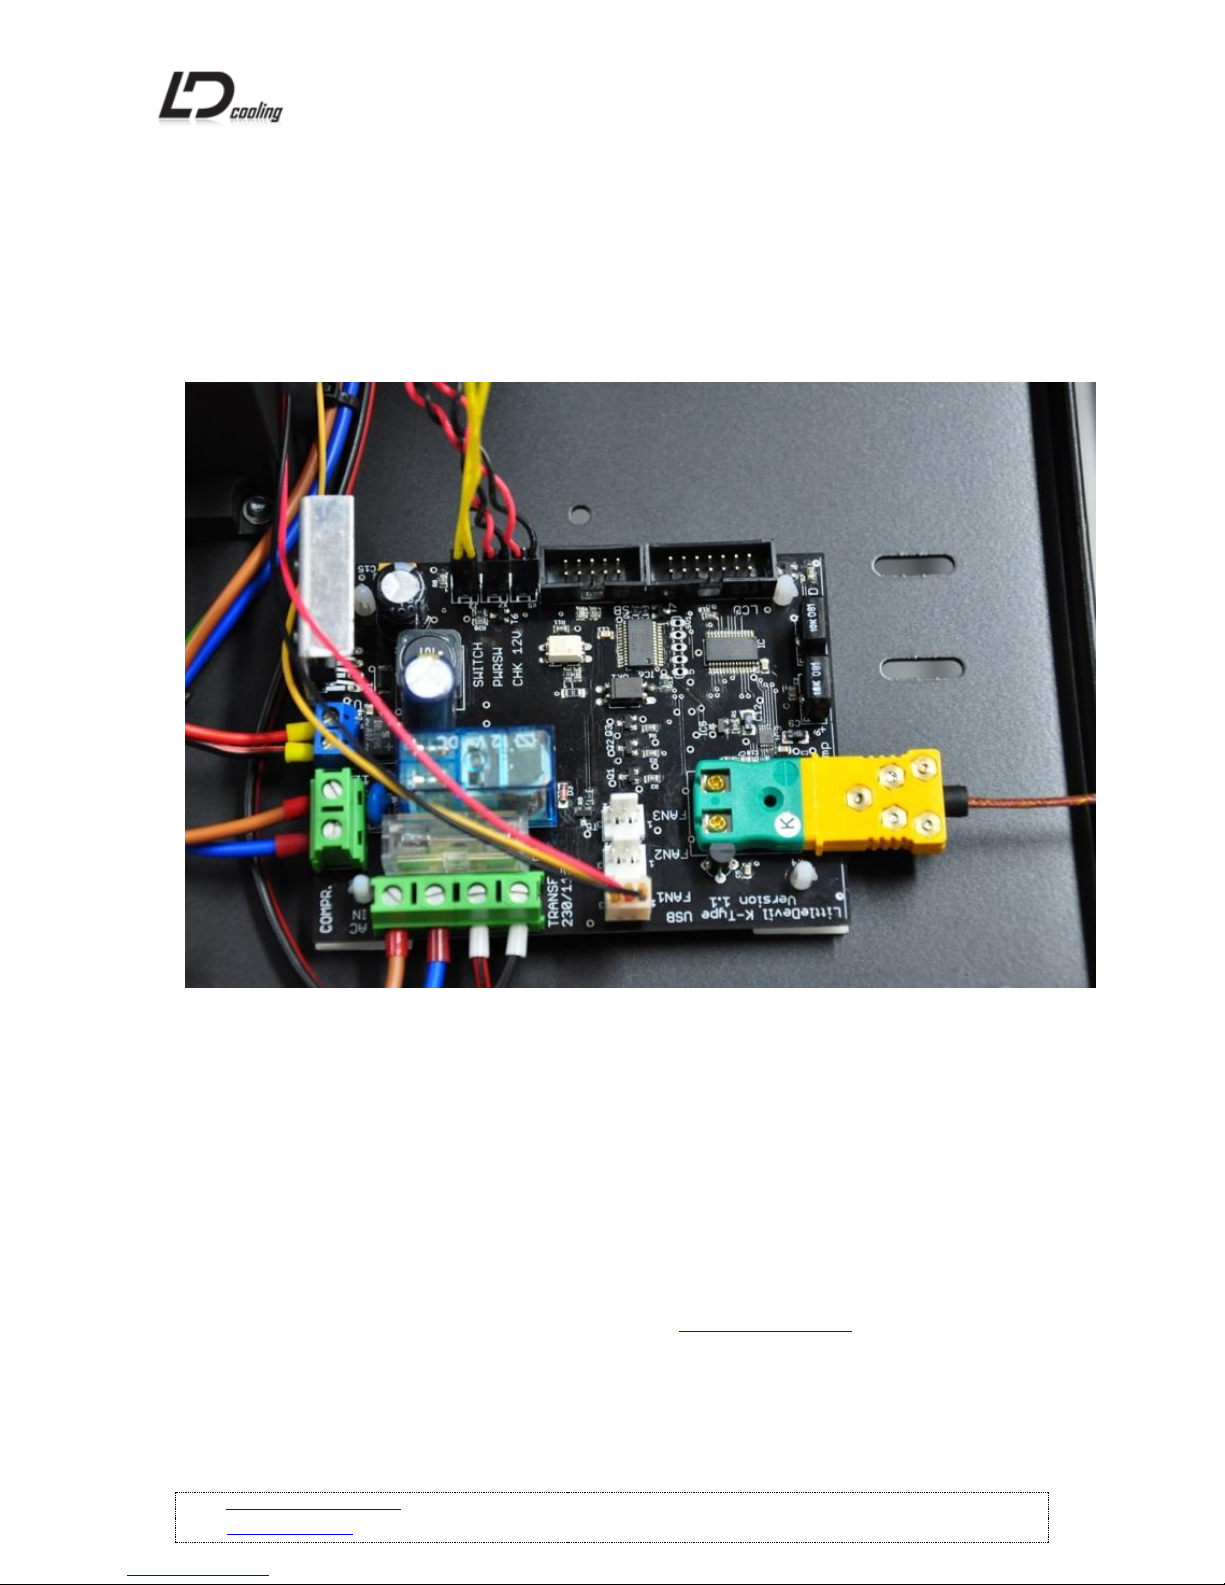
2. Now you only need to use some thermal paste (Artic Ceramique is recomended for sub-
zero temps) and install universal mounting kit on motherboard. Use washers, springs,
Thumb Screws and tighten them.
Page 10
WEB: http://www.ldcooling.com/
Page 10
Email: [email protected]
Installing LD PC-V10, PC-V10 Reverse:
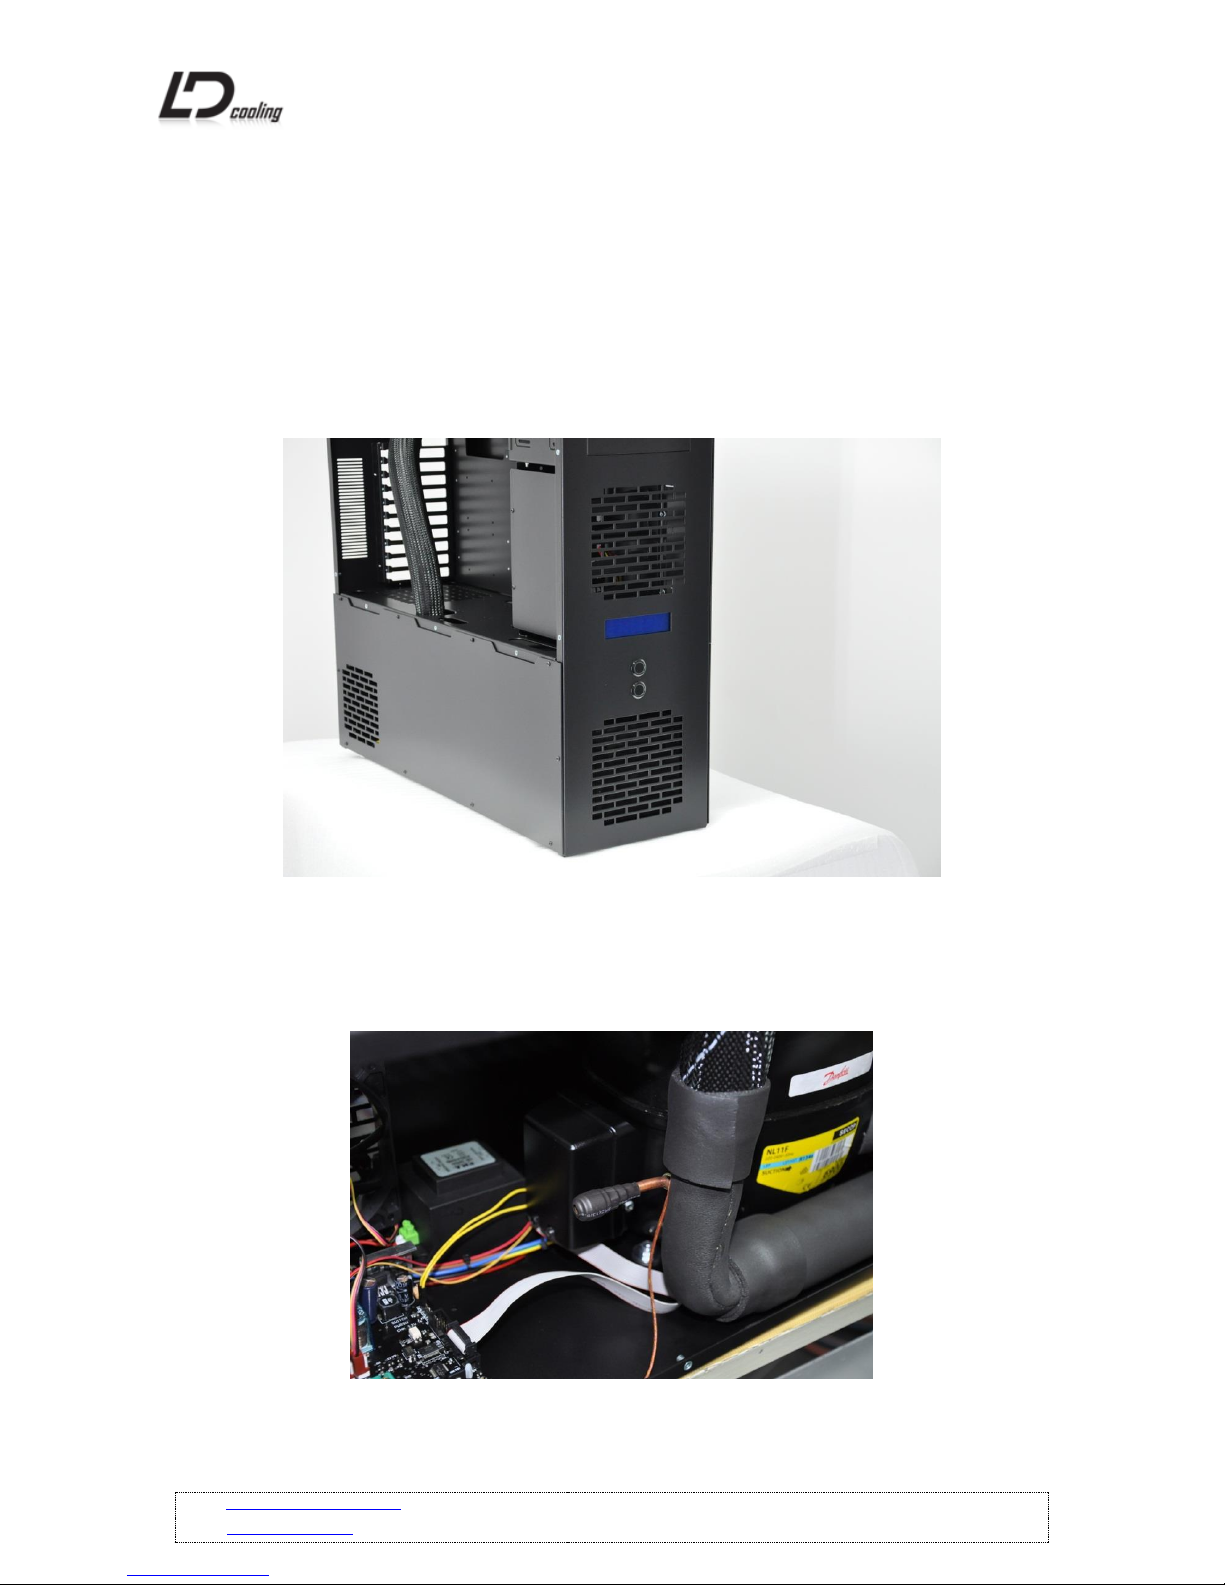
1. Connect 2 PIN cable from controler (PWRSW) to Motherboard (POWER SW) where you
normaly connect power button from computer case.
2. With second 2 PIN cable connect 12V line from controler (CHK 12V) to Power Supply - PSU
12V line (Yellow cable and Black cable) or even better on motherboard 3pin fan connector.
3. Now when everything is done, press power button in the front of the case and you will see,
that controler/LCD will start counting down from 4 min to 0 min. Once it arrive to 0 min,
phase change will start working. When evaporator temperature reach -25c, controler
automaticly start PC and also start checking for 12V line. If everyting is connected right,
controler will recognize 12V line (if not turn 2 PIN cable for 180 to change + and -) from PSU
and PC will operate normaly. If your 12V line is not connected, phase change controler will
shut down phase change in 12 secoonds.
If you have any other question you can send us email on: [email protected] or contact shop
where you bought it.
Page 11
WEB: http://www.ldcooling.com/
Page 11
Email: [email protected]
Maintenance:
If you want that Phase Change unit operate at maximum performance, we recomend to clean
condensor in the front of the unit every month. The best way to clean condensor is with vacuum
cleaner or compressed air.
Phase Change needs good airflow through condensor for best performance.
Warranty:
Warranty of LD PC-V10, LD PC-V10 Reverse is 12 months from the date of purchase. Warranty Void
if you remove heat-shrink from schrader valve and also if you bend suction line to break it!
 Loading...