

LAUREL J-700 Series User Manual
INTRODUCTION
Thank you very much for purchasing the “LAUREL J-700 series” friction currency counter.
This Instruction Manual contains its operating and necessary trouble shooting procedures.
Please read carefully and understand the Manual before operating the Machine.
Keep this Manual handy for ready reference.
Disposal of Old Electrical & Electronic Equipment (Applicable in the European Union and
other European countries with separate collection systems)
This symbol on the products or on its packing indicates that this product shall not be treated
as household waste. Instead it shall be handed over to the applicable collection point for the
recycling of electrical and electronic equipment. By ensuring this product is disposed of
correctly, you will help prevent potential negative consequences for the environment and
human health, which could otherwise be caused by inappropriate waste handing of this
product. The recycling of materials will help to conserve natural resources. For more detailed
information about recycling of this product, please contact your service partner.
This Manual is printed with SOY INK to save the earth.
Recycled Paper used.
© LAUREL BANK MACHINES CO., LTD. All rights reserved.
LAUREL, LAUREL logo are trademarks of LAUREL BANK MACHINES Co., Ltd.

1. SAFETY INSTRUCTIONS ······························································· 1
2. BEFORE OPERATING THE MACHINE ·········································· 3
2-1. Descriptions of other Marks illustrated in this Manual······· 3
3. OVERALL DESCRIPTIONS ···························································· 5
3-1. Names and Functions of Parts ········································· 5
3-2. Names and Functions of Keys ·········································· 7
4. MODES AND FUNCTIONS ····························································· 9
4-1. Modes ··············································································· 9
4-2. Functions ·········································································· 10
5. OPERATION ···················································································· 14
5-1. Notes ················································································ 14
5-2. Basic Operation ································································ 15
6. ACCESSORIES & OPTIONS ························································· 17
6-1. Accessories ······································································ 17
6-2. Options ············································································· 17
7. SPECIFICATIONS ··········································································· 17
8. DAILY CARE ··················································································· 18
9. ERRORS AND REMEDIAL MEASURES ········································ 19
CONTENTS
1
1. SAFETY INSTRUCTIONS
■ Be sure to read this “Safety Instructions” carefully before operation.
■ Important instructions to be reminded are described in the “Safety Instructions”. Be sure
to follow these instructions to use the Machine properly. Please note the Warning,
Caution marks and descriptions below:
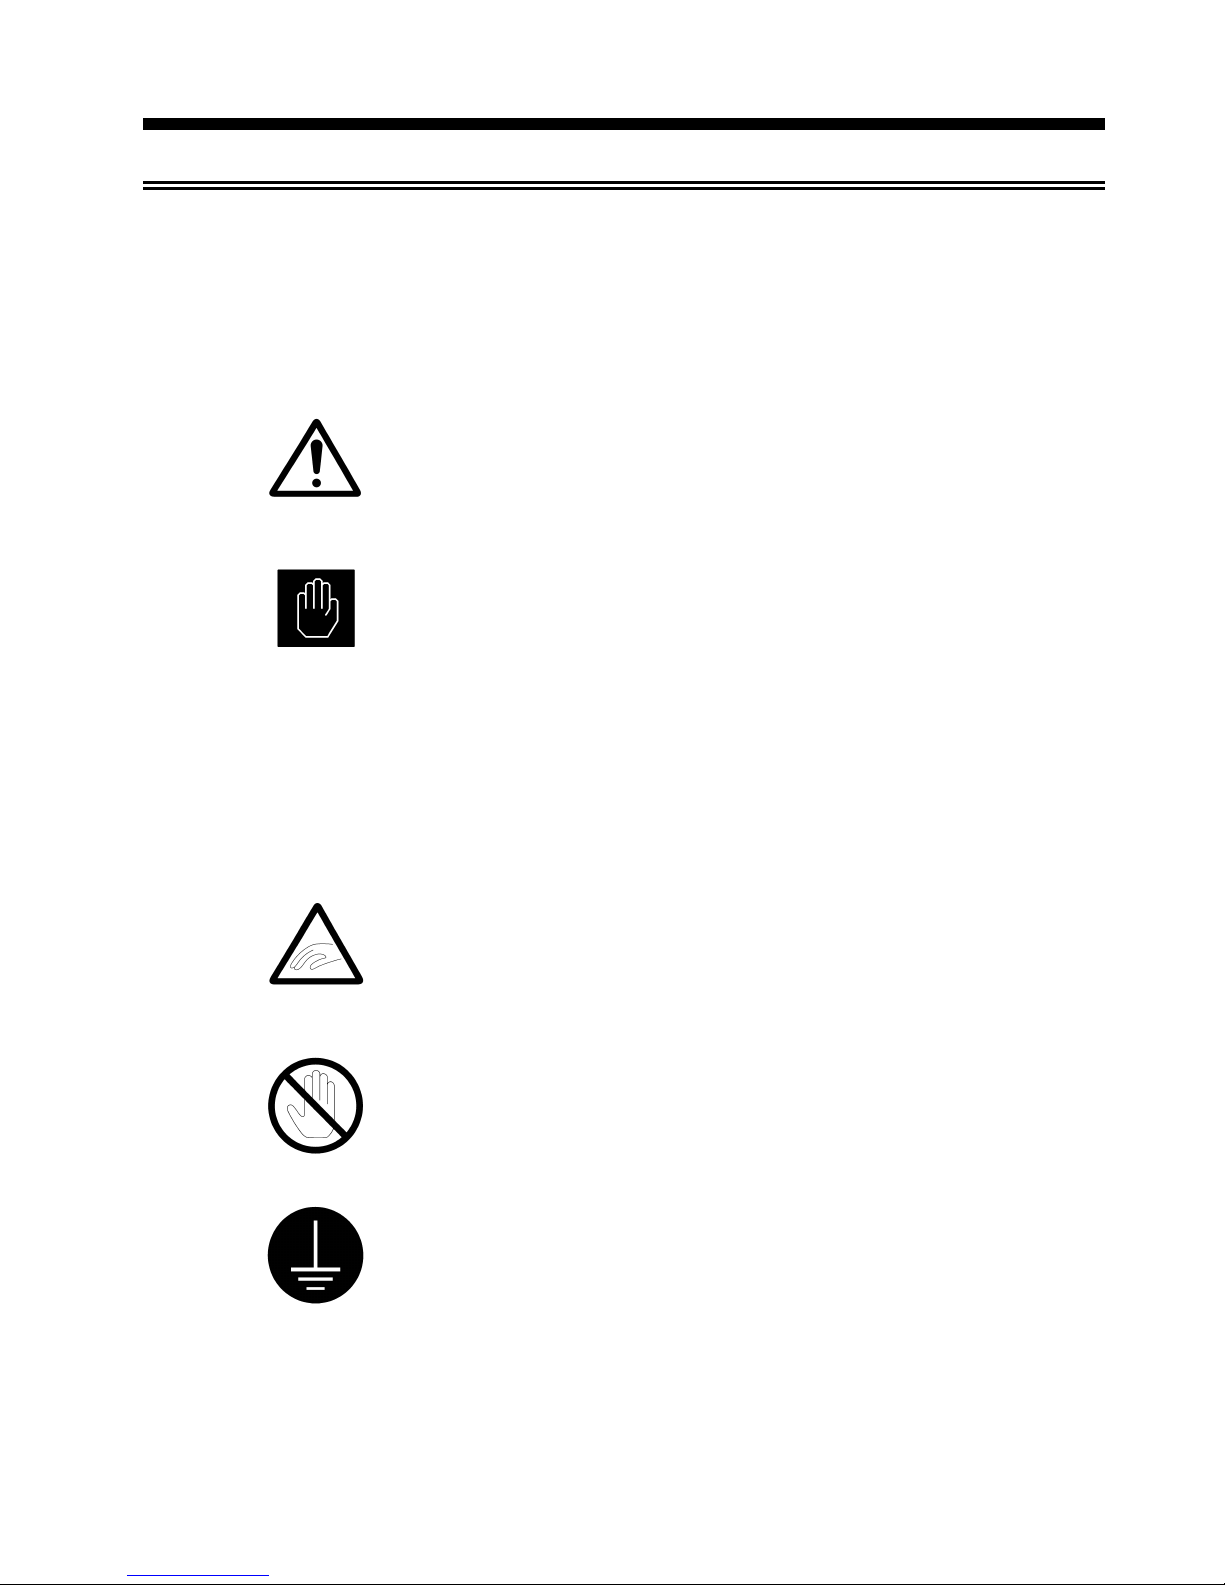
Warning
In case the Machine is wrongly operated without respect to this
mark, there is a possibility of fatal or serious injury to the operator.
Caution
In case the Machine is wrongly operated without respect to this
mark, there is a possibility of injury or material physical damage to
the Machine.
■ Examples and Meanings of Illustrations
This mark warns the operator to be cautious. The details are
specified in or near this mark.(the left mark warns that your hand
may get pinched)
This mark signifies prohibitions. The details of the prohibitions are
described in or near this mark.(This mark warns you not to “touch”)
The mark shows what must be done. The details are described in or
near the mark. (This mark shows the necessity of proper grounding)
2
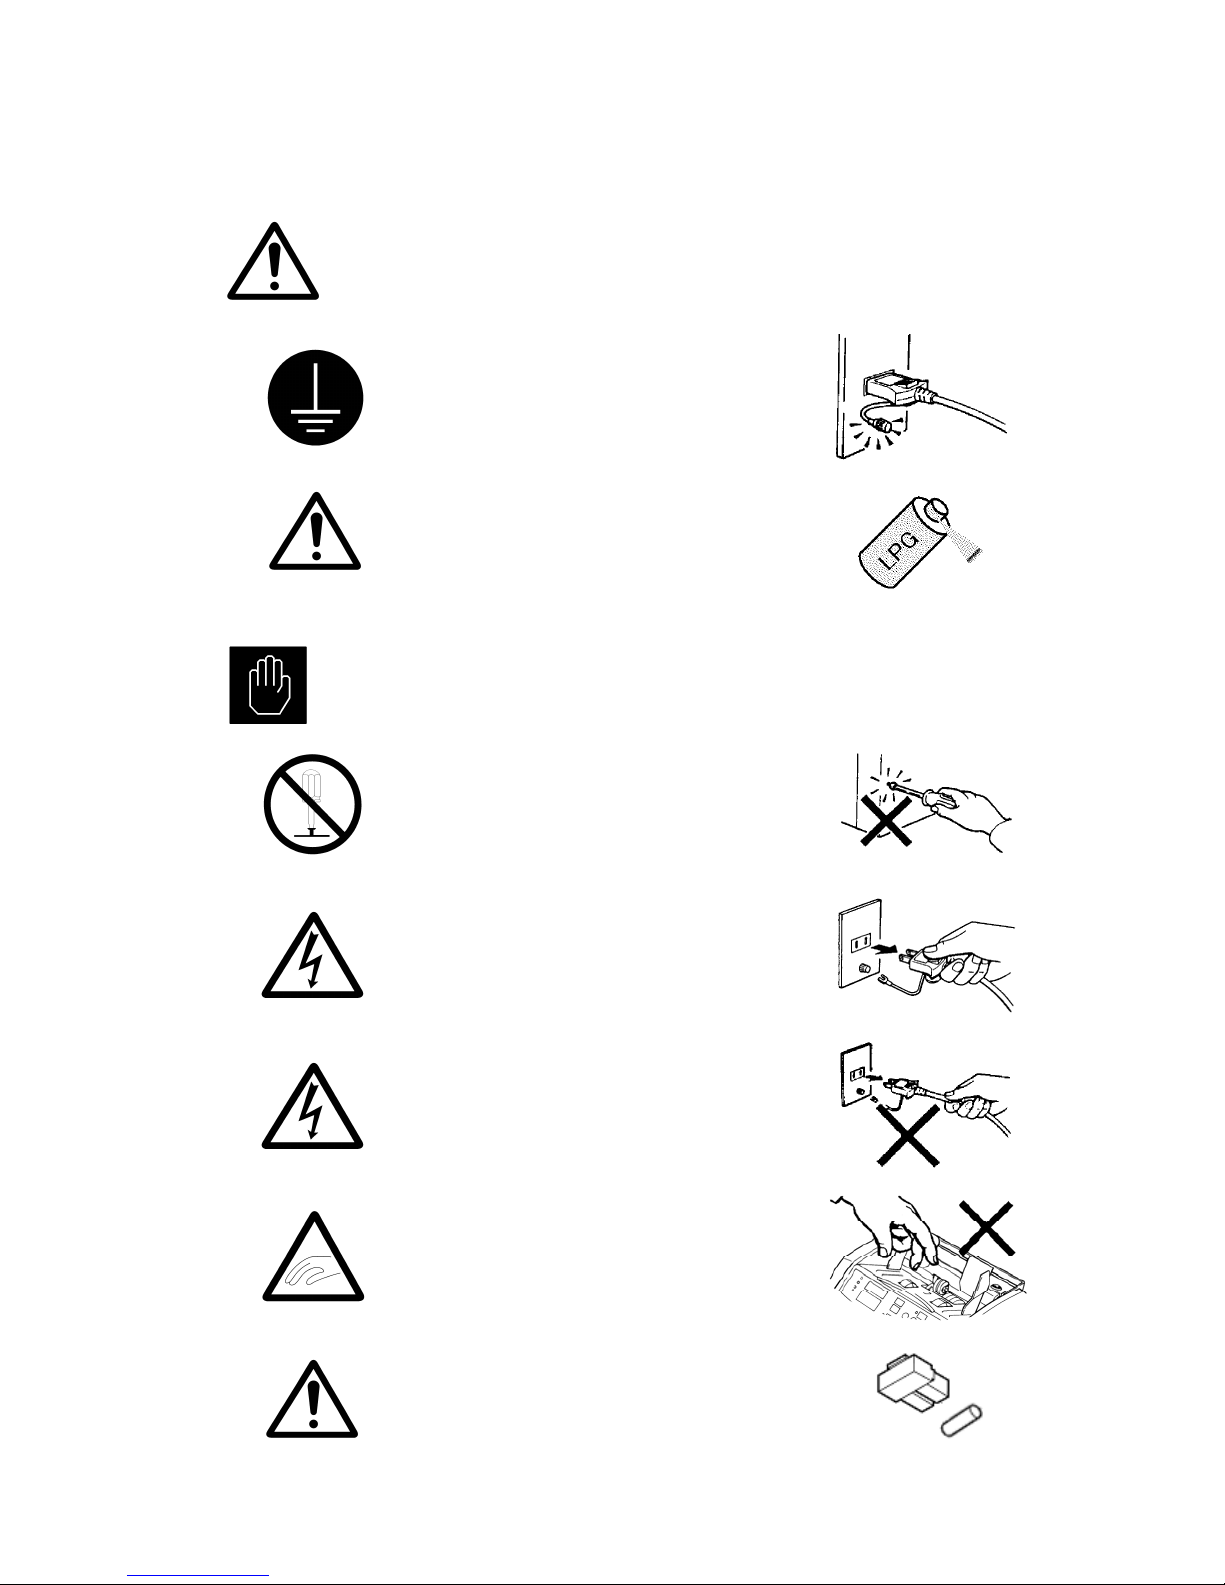
Warning
If an adapter is used, proper grounding will
be required. Without proper grounding,
there is an electric shock hazard if an
electric leakage occurs.
While cleaning the machine, it is strictly
prohibited to use of Air Spray Cleaner
contained flammable gas such as LPG.
Caution
Don’t repair or disassemble the Machine, or
an accident may occur.
When replacing a fuse, be sure to
disconnect the plug from the outlet. Without
disconnecting the plug, it may cause an
electric shock or an injury.
Don’t grasp the cable when disconnecting
the plug. It may cause an electric shock or a
fire due to short-circuiting.
While counting the notes, care should be
taken to prevent your hand, hair, tie, etc.
from getting into the Machine.
For continued protection against risk of fire,
replace only with same type and rating of
fuse
×
3
2. BEFORE OPERATING THE MACHINE
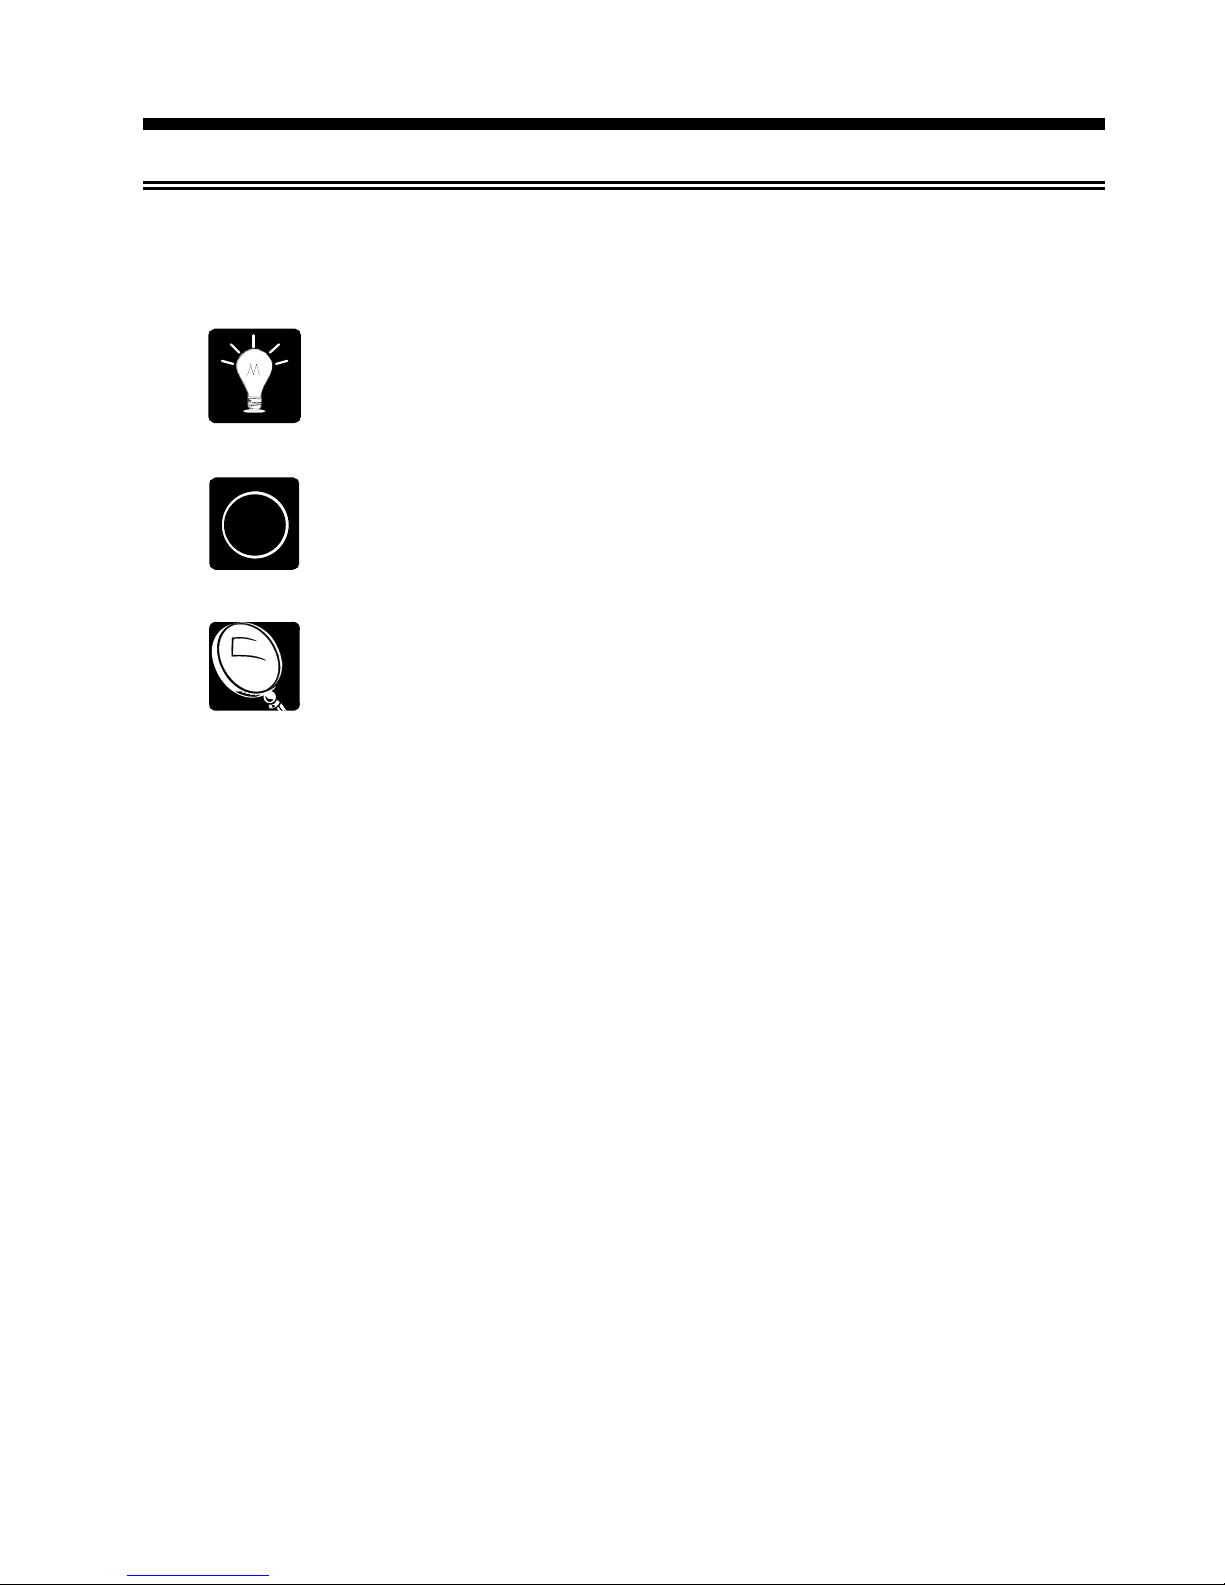
2-1. Descriptions of other Marks illustrated in this Manual
Supplementary instructions to give useful hints on operating the Machine.
?
Supplementary explanations for operating the Machine.
Refer to this mark if you have any problem while operating the Machine.
Your problem may be solved.
This mark shows reference page(s) of this Manual.
Step 1.
This mark shows the operational steps.

4
Notes
5
3. OVERALL DESCRIPTIONS
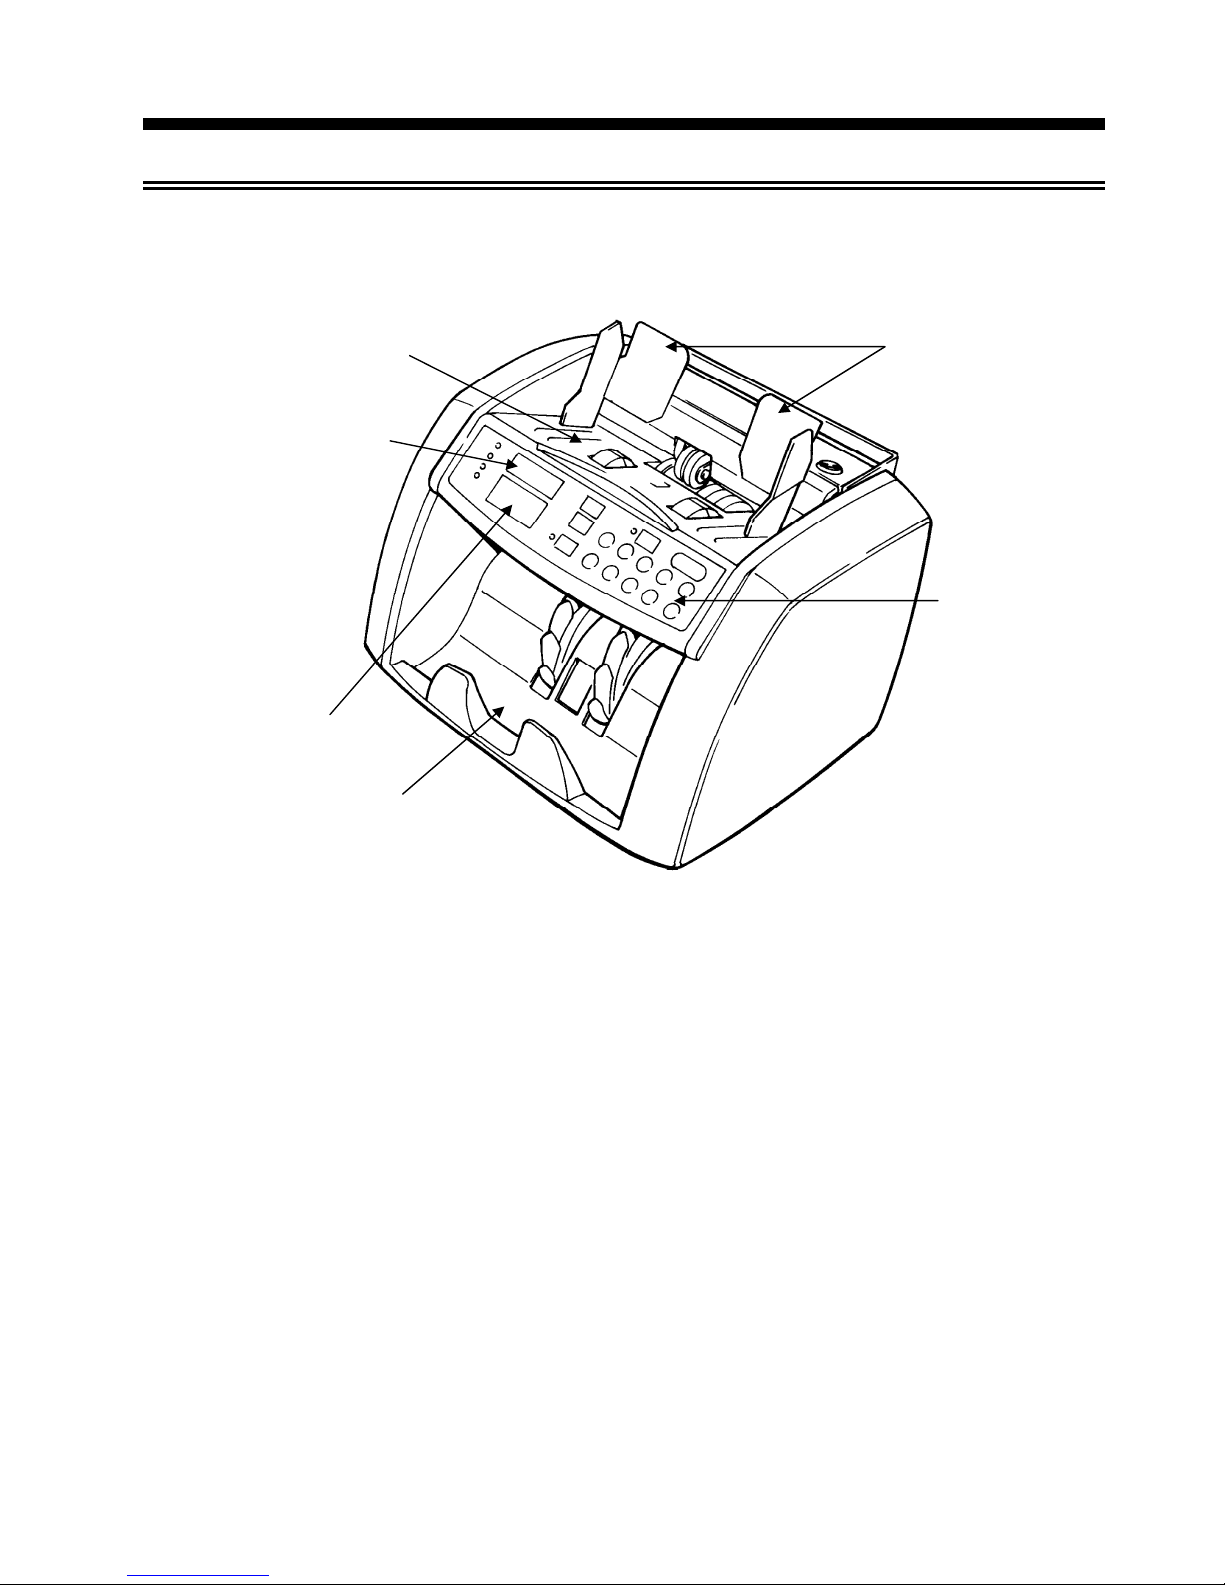
3-1. Names and Functions of Parts
■Front View
1. Hopper
Notes to be counted are loaded onto the Hopper.
2. Note Guides
Notes can be centered using the Note Guides.
3. Operation Keys
Refer to Page 7 for description of each key.
4. Preset Display
The Preset Display shows preset number, Count Mode sign and accumulated count on Add
Function.
5. Count Display
The Count Display shows count, Error Code and preset number on Preset Mode with Add
Function.
6. Stacker
Counted notes are stacked onto the Stacker.
3. Operation
Keys
1. Hopper
6. Stacker
2. Notes Guides
4. Preset Display
5. Count Display
6
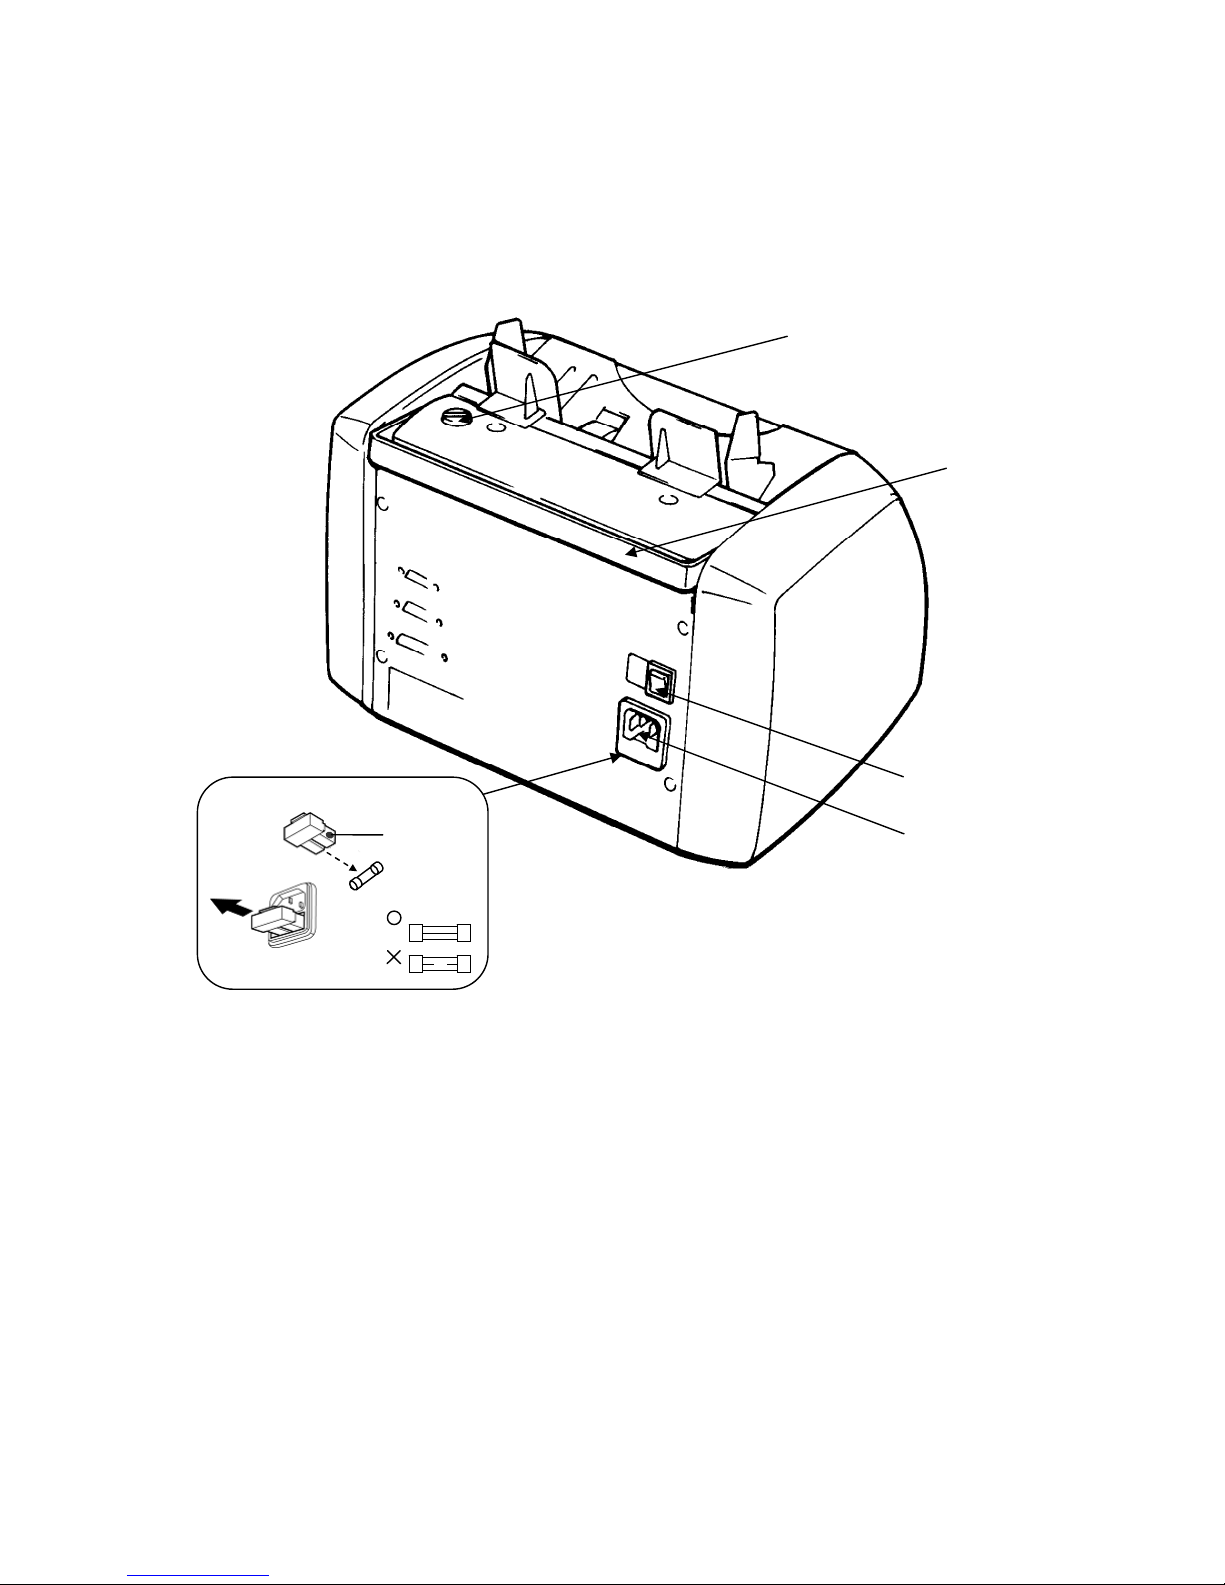
■Rear View
7. Thickness Adjustment Dial
The Dial is to adjust feeding condition. Use a coin to turn the Dial.
If the Display shows “CHn” or “dbL” error during normal counting operation,
adjust the Dial toward the “-“ sign. If the count is performed at an inconstant
speed, adjust the Dial toward the “+” sign.
8. Carrying Handle
It is used for carrying the machine.
9. Power Switch
It is to turn on and off.
10. Power Inlet
It is to connect the Power Cable.
11. Fuses
In case of the fuse is burnt out, use a Fuse with the same capacity for
replacement.
8. Carrying
Handle
7. Thickness Adjustment Dial
9. Power Switch
10. Power Inlet
11. Fuse
Spare Fuse
 Loading...