

Page 1
INTRODUCTION
Thank you very much for purchasing the “LAUREL J-700 series” friction currency counter.
This Instruction Manual contains its operating and necessary trouble shooting procedures.
Please read carefully and understand the Manual before operating the Machine.
Keep this Manual handy for ready reference.
Disposal of Old Electrical & Electronic Equipment (Applicable in the European Union and
other European countries with separate collection systems)
This symbol on the products or on its packing indicates that this product shall not be treated
as household waste. Instead it shall be handed over to the applicable collection point for the
recycling of electrical and electronic equipment. By ensuring this product is disposed of
correctly, you will help prevent potential negative consequences for the environment and
human health, which could otherwise be caused by inappropriate waste handing of this
product. The recycling of materials will help to conserve natural resources. For more detailed
information about recycling of this product, please contact your service partner.
This Manual is printed with SOY INK to save the earth.
Recycled Paper used.
© LAUREL BANK MACHINES CO., LTD. All rights reserved.
LAUREL, LAUREL logo are trademarks of LAUREL BANK MACHINES Co., Ltd.
Page 2

1. SAFETY INSTRUCTIONS ······························································· 1
2. BEFORE OPERATING THE MACHINE ·········································· 3
2-1. Descriptions of other Marks illustrated in this Manual······· 3
3. OVERALL DESCRIPTIONS ···························································· 5
3-1. Names and Functions of Parts ········································· 5
3-2. Names and Functions of Keys ·········································· 7
4. MODES AND FUNCTIONS ····························································· 9
4-1. Modes ··············································································· 9
4-2. Functions ·········································································· 10
5. OPERATION ···················································································· 14
5-1. Notes ················································································ 14
5-2. Basic Operation ································································ 15
6. ACCESSORIES & OPTIONS ························································· 17
6-1. Accessories ······································································ 17
6-2. Options ············································································· 17
7. SPECIFICATIONS ··········································································· 17
8. DAILY CARE ··················································································· 18
9. ERRORS AND REMEDIAL MEASURES ········································ 19
CONTENTS
Page 3
1
1. SAFETY INSTRUCTIONS
■ Be sure to read this “Safety Instructions” carefully before operation.
■ Important instructions to be reminded are described in the “Safety Instructions”. Be sure
to follow these instructions to use the Machine properly. Please note the Warning,
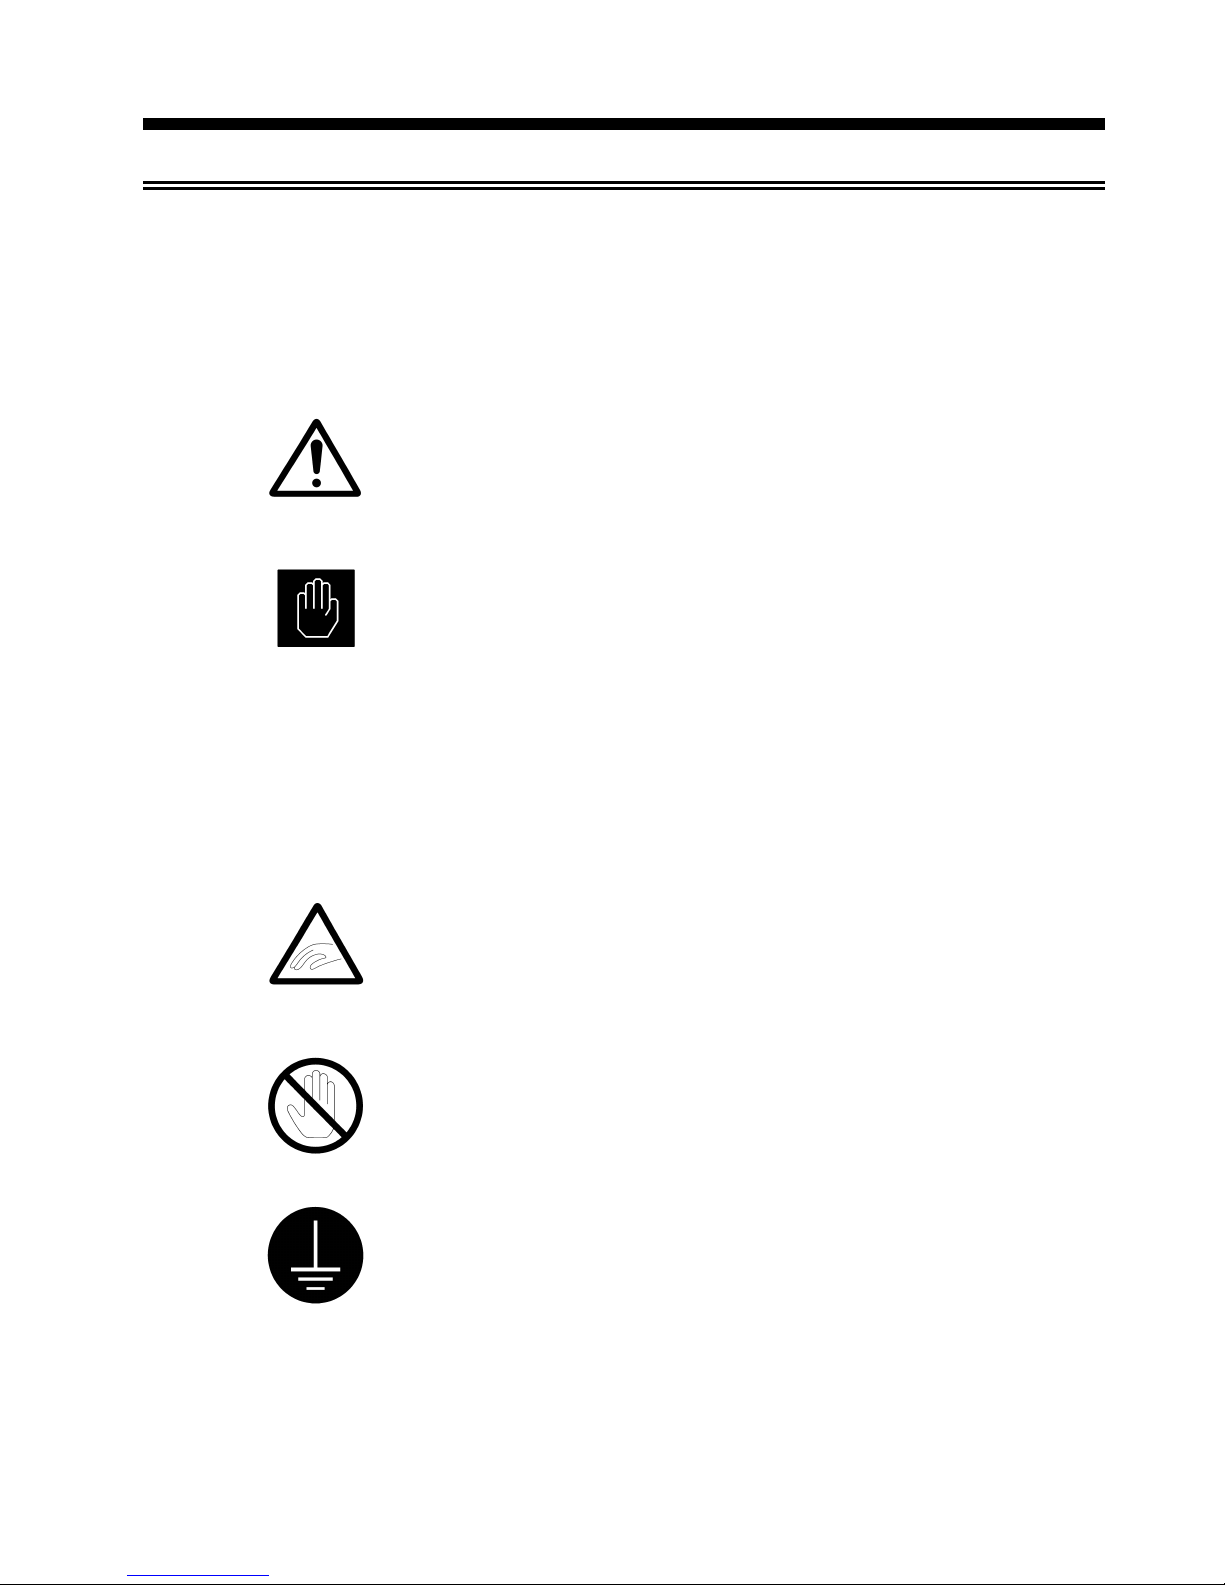
Caution marks and descriptions below:
Warning
In case the Machine is wrongly operated without respect to this
mark, there is a possibility of fatal or serious injury to the operator.
Caution
In case the Machine is wrongly operated without respect to this
mark, there is a possibility of injury or material physical damage to
the Machine.
■ Examples and Meanings of Illustrations
This mark warns the operator to be cautious. The details are
specified in or near this mark.(the left mark warns that your hand
may get pinched)
This mark signifies prohibitions. The details of the prohibitions are
described in or near this mark.(This mark warns you not to “touch”)
The mark shows what must be done. The details are described in or
near the mark. (This mark shows the necessity of proper grounding)
Page 4
2
Warning
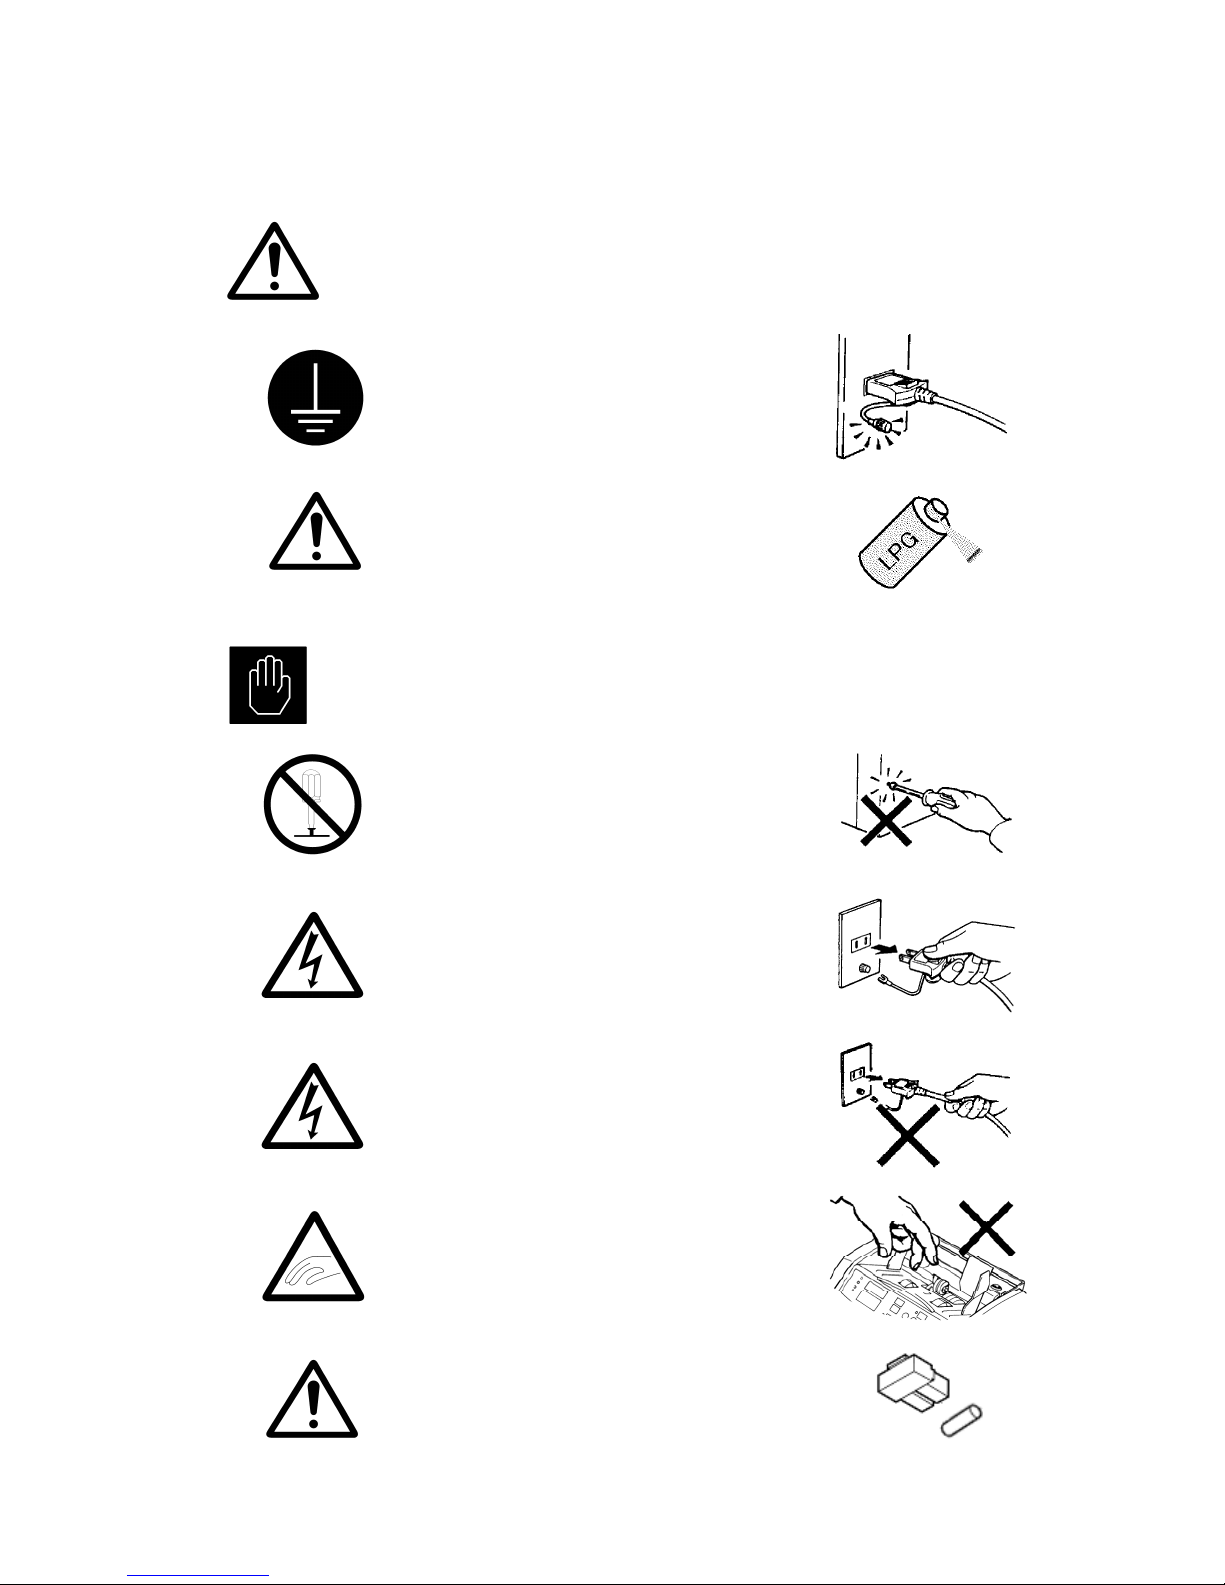
If an adapter is used, proper grounding will
be required. Without proper grounding,
there is an electric shock hazard if an
electric leakage occurs.
While cleaning the machine, it is strictly
prohibited to use of Air Spray Cleaner
contained flammable gas such as LPG.
Caution
Don’t repair or disassemble the Machine, or
an accident may occur.
When replacing a fuse, be sure to
disconnect the plug from the outlet. Without
disconnecting the plug, it may cause an
electric shock or an injury.
Don’t grasp the cable when disconnecting
the plug. It may cause an electric shock or a
fire due to short-circuiting.
While counting the notes, care should be
taken to prevent your hand, hair, tie, etc.
from getting into the Machine.
For continued protection against risk of fire,
replace only with same type and rating of
fuse
×
Page 5
3
2. BEFORE OPERATING THE MACHINE
2-1. Descriptions of other Marks illustrated in this Manual
Supplementary instructions to give useful hints on operating the Machine.
?
Supplementary explanations for operating the Machine.
Refer to this mark if you have any problem while operating the Machine.
Your problem may be solved.
This mark shows reference page(s) of this Manual.
Step 1.
This mark shows the operational steps.
Page 6

4
Notes
Page 7
5
3. OVERALL DESCRIPTIONS
3-1. Names and Functions of Parts
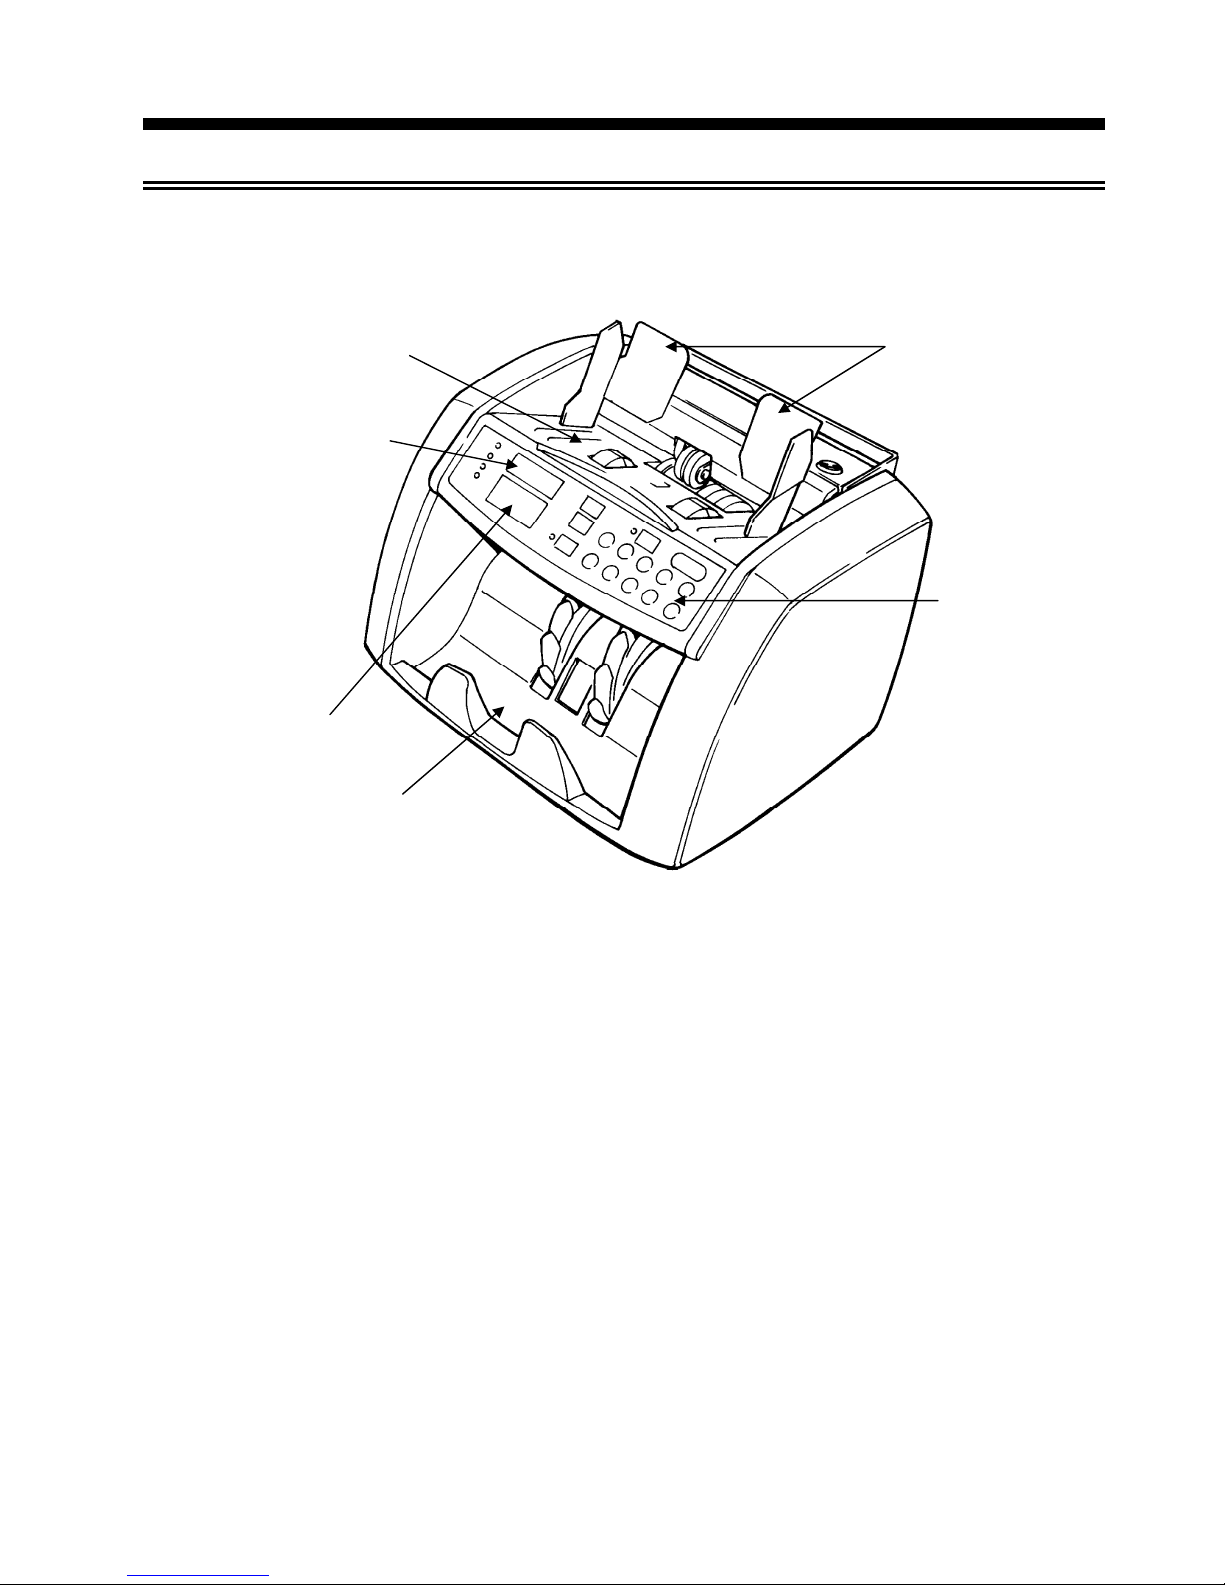
■Front View
1. Hopper
Notes to be counted are loaded onto the Hopper.
2. Note Guides
Notes can be centered using the Note Guides.
3. Operation Keys
Refer to Page 7 for description of each key.
4. Preset Display
The Preset Display shows preset number, Count Mode sign and accumulated count on Add
Function.
5. Count Display
The Count Display shows count, Error Code and preset number on Preset Mode with Add
Function.
6. Stacker
Counted notes are stacked onto the Stacker.
3. Operation
Keys
1. Hopper
6. Stacker
2. Notes Guides
4. Preset Display
5. Count Display
Page 8
6
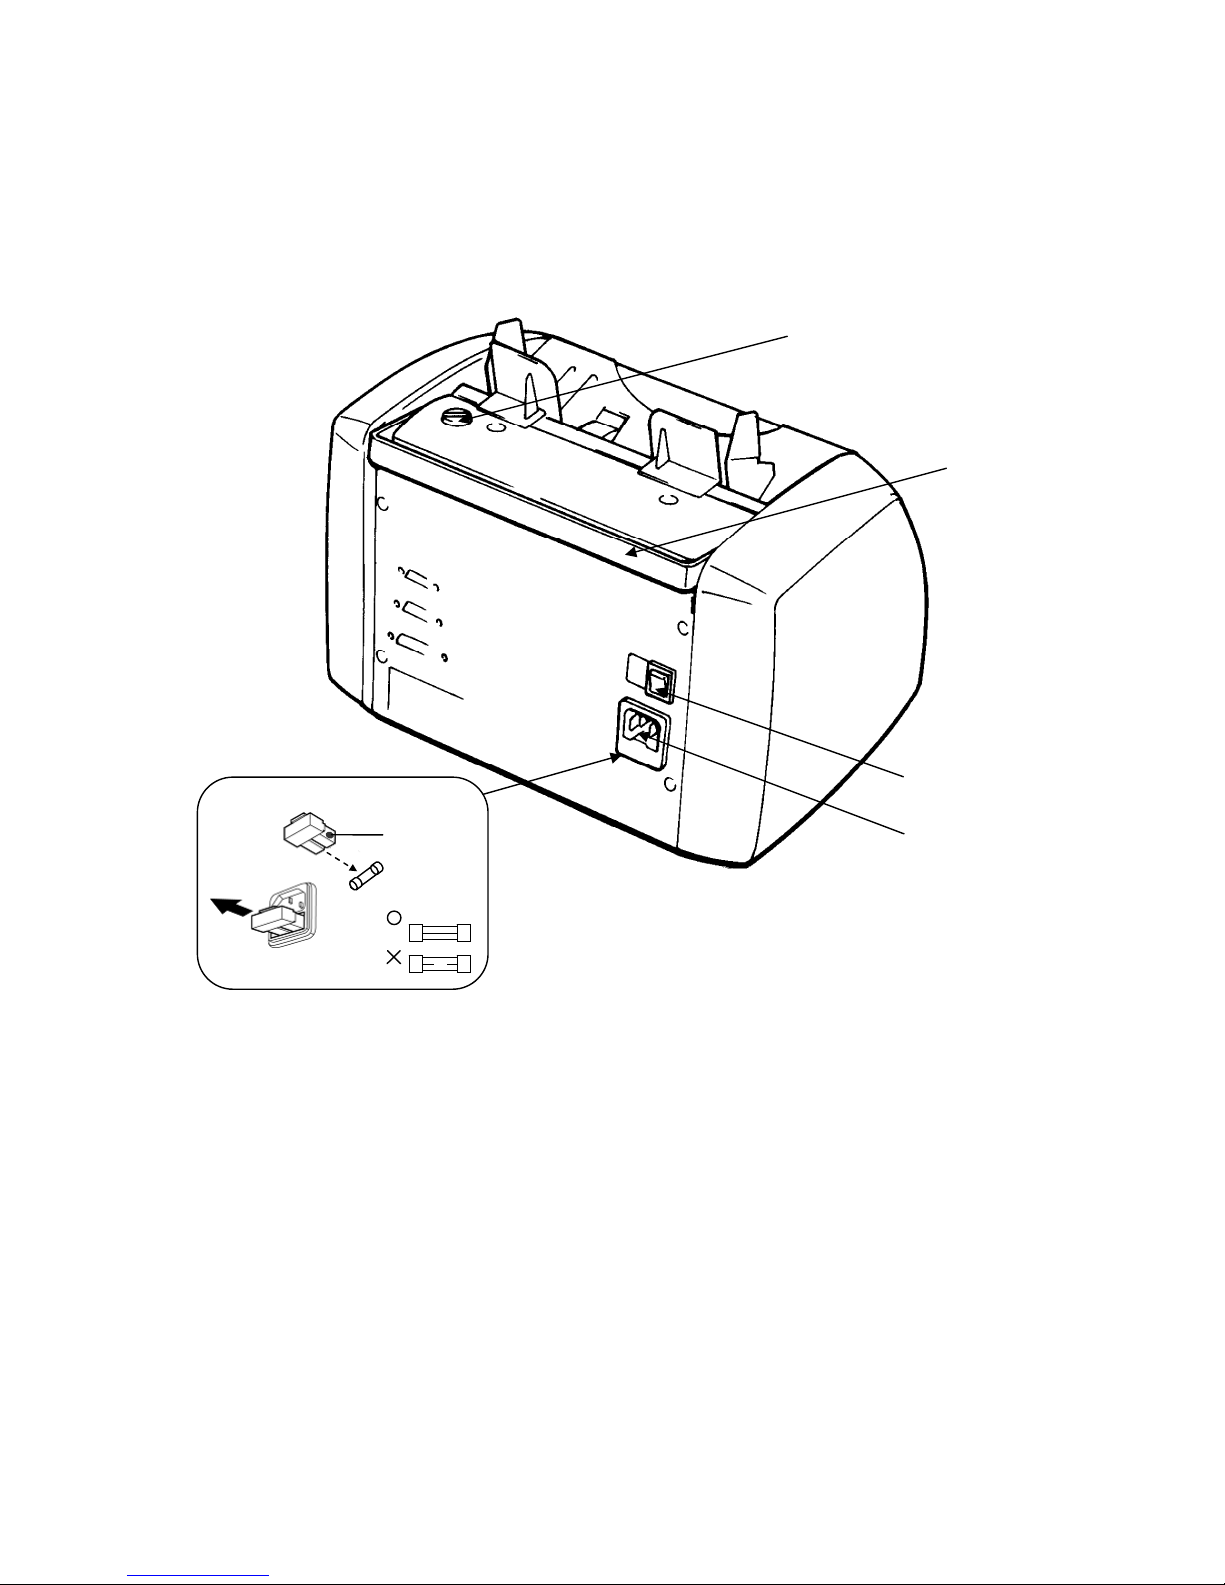
■Rear View
7. Thickness Adjustment Dial
The Dial is to adjust feeding condition. Use a coin to turn the Dial.
If the Display shows “CHn” or “dbL” error during normal counting operation,
adjust the Dial toward the “-“ sign. If the count is performed at an inconstant
speed, adjust the Dial toward the “+” sign.
8. Carrying Handle
It is used for carrying the machine.
9. Power Switch
It is to turn on and off.
10. Power Inlet
It is to connect the Power Cable.
11. Fuses
In case of the fuse is burnt out, use a Fuse with the same capacity for
replacement.
8. Carrying
Handle
7. Thickness Adjustment Dial
9. Power Switch
10. Power Inlet
11. Fuse
Spare Fuse
Page 9
7
3-2. Names and Functions of Keys
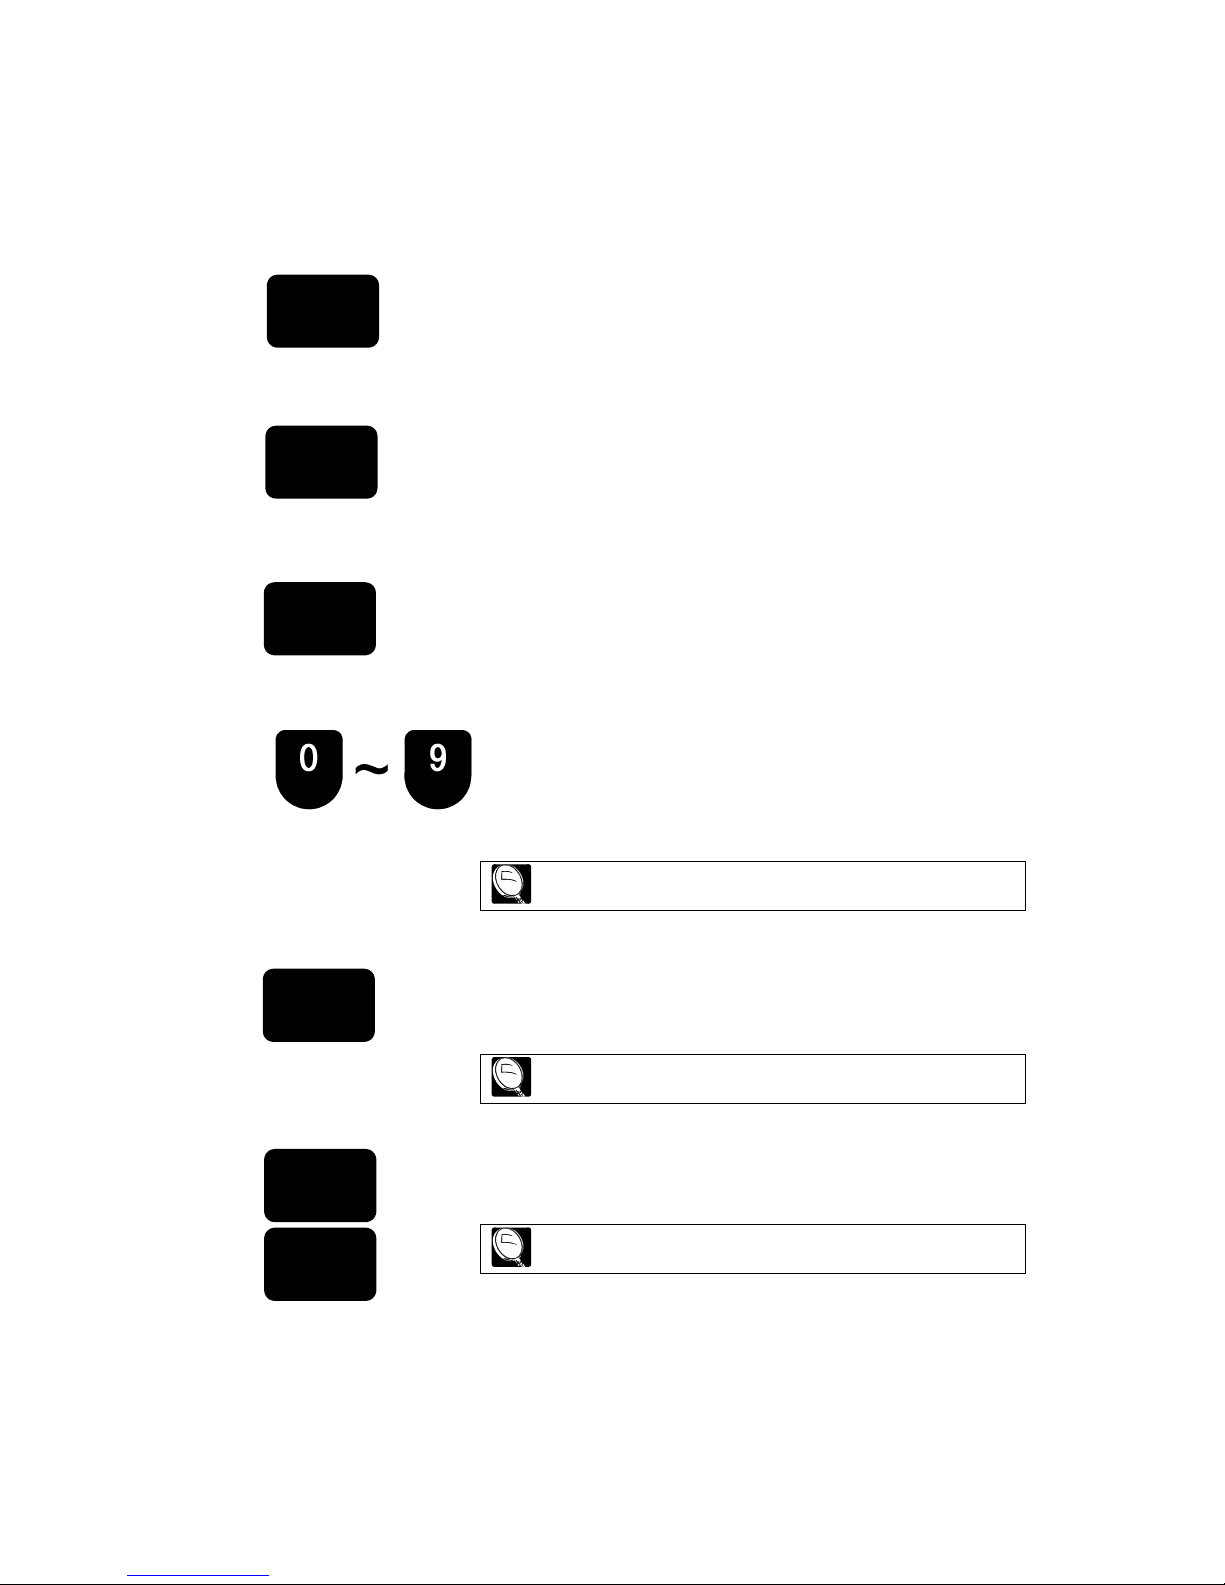
The Machine detects the Doubles Feeding and the detection level can be
selected with Level Key depending on the density of notes.
(Only J700 and J710)
Auto Start and Manual Start can be selected with Auto Key.
Preset Mode and preset number can be set with Preset Key.
(Other than J700)
Any Preset Number can be set with Ten Keys.
The setting of various functions can be made with pressing each
Ten Key with yellow make after pressing Start-Clear Key or
Function Key.
Refer to Page 11 to 13 for the various functions.
Every time the machine has completed counting, the count will be added
to the Preset Display with pressing Add Key.
Refer to page 10 for more detail.
(Only J700)
Plus and Minus Keys are used for setting any Preset Number.
Refer to page 9 for more detail.
LEVEL
AUTO
PRESET
ADD
+
_
Page 10
8
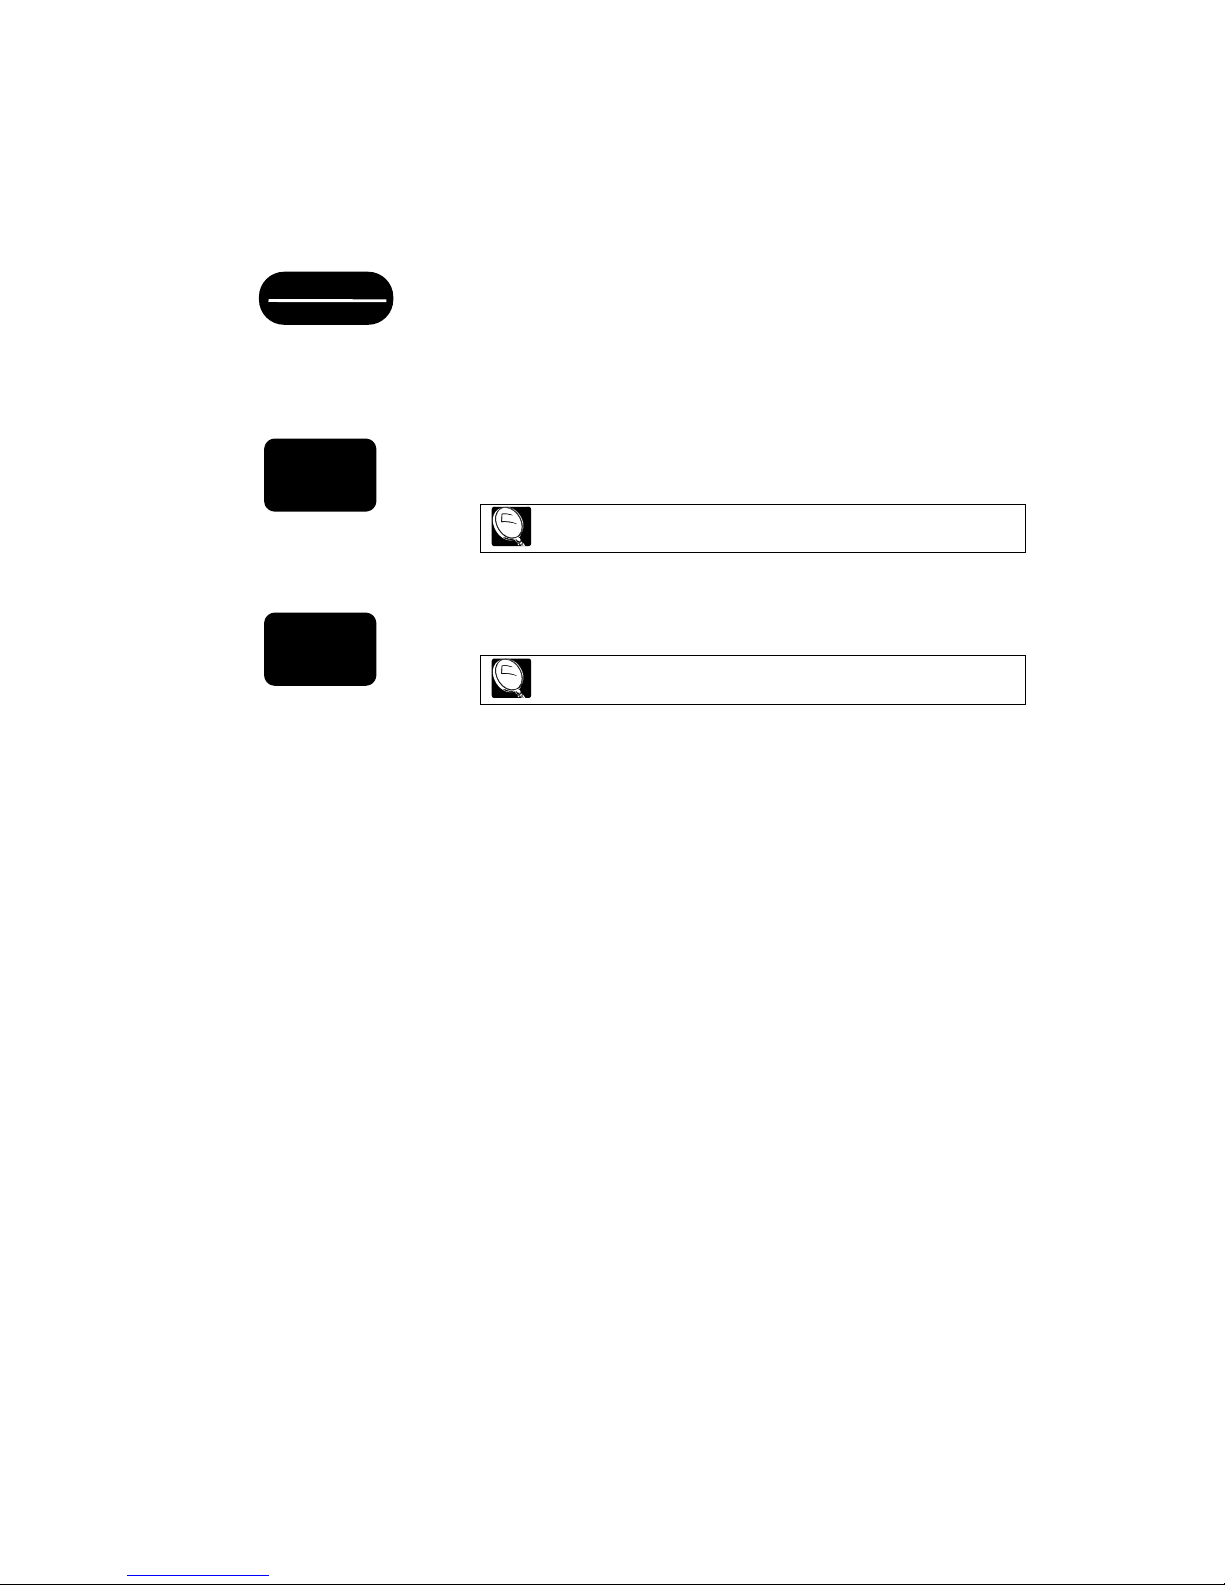
The count starts with pressing Start-Clear Key on Manual Start Function.
The Count and Error Code on the Display will be cleared with pressing
this Key.
To show count result in pieces for each denomination after counting
notes in Value Mode. (Only for J795)
(Other than J700 and J710)
The function of each Ten Keys with yellow mark is activated with
pressing Function Key.
Refer to page 11 to 13 for more detail.
(Only J730A)
This function is to detect the magnetism on notes.
Refer to page 12 for more detail.
FUNCTION
De
START/C
MG
Page 11
9
4. MODES AND FUNCTIONS
4-1. Modes
■COUNT Mode
The Preset Display shows “Co” on Count Mode.
The machine continues to count until the notes on the Hopper are exhausted.
Press Preset Key until the Display shows “Co”.
■PRESET Mode
The Preset Display shows “P” plus number on Preset Mode. (Ex. P 100)
The count stops after counting preset number of notes.
If the note on the Hopper is insufficient, the Count Display blinks and the machine
continues to count after loading additional notes on the Hopper.
●How to set Preset Number
+
_
(Only J700)
Press Preset Key to change Preset Number in following sequence:
Co(Count Mode)→P100→P 50→ P 25→P 20→P 10→ P5
Press + or – Key if any Preset number other than the fixed Preset
Number is required.
(Other than J700)
Press Preset Key to change Count Mode or Preset Mode
alternately. Press Ten Keys to set any required number.
Press “0” to change the Mode to Count Mode.
■VALUE Mode
●Normal Value Count
1. After pressing the Function Key and turn on the VALUE Function.
2. Count the notes.
3. The display indicates the count result in value.
4. It indicates the count result of each denomination in pcs. by pressing the
START/De key.
When J720 counted 100 Euro, 200Euro or 500 Euro , depress a Ten-key "8", "9"
or "0" corresponding to the denomination. It will be accumulated to the total
value. If the last note on the Stacker is not accumulated to the total amount,
remove the note from the Stacker and depress "START/C" key.
●Single Value Count (Value with DDC Function)
1. Press the VALUE key.
2. After pressing the FUNCTION key, turn on the DDC Functions.
3. Count the notes.
4. The machine performs Value Count only for single denomination identical to the
first counted note. When another denomination is counted, it generates ‘DDC’
error.
PRESET
Page 12
10
4-2. Functions
The function described in this manual may not be available depending on the Model.
■ADD Function
Add function is available in both Count Mode and Preset Mode.
Every time the machine has completed counting, the Count Display will show
present counted number and the Preset Display shows accumulated count.
Press Add Key to turn on or off the function.
Press Start-Clear Key for 2 seconds to clear the accumulated count.
■Doubles Detection Function
The Machine detects the Doubles Feeding and the detection level can be
selected with Level Key depending on the density of notes.
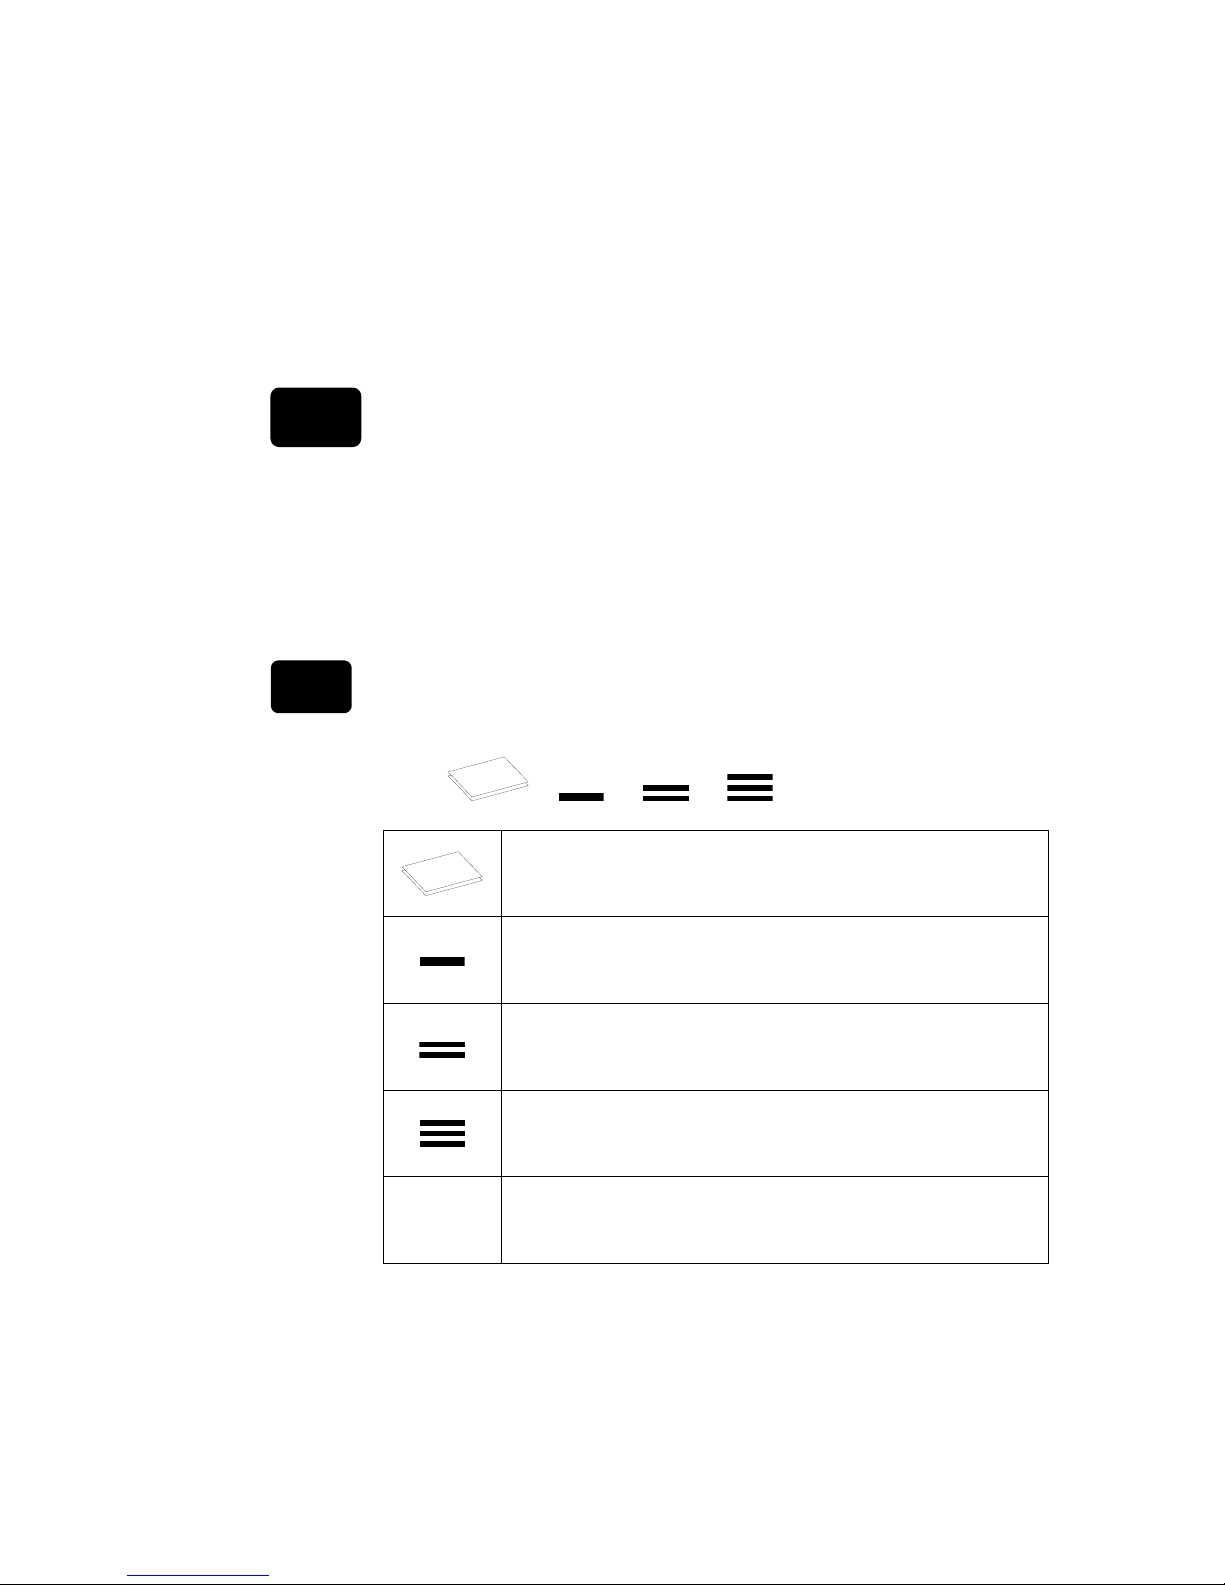
The Key functions to change four different levels in the following sequence:
→ → → → OFF(light-out)
Auto Level:
It will scan the first note and automatically set the right level.
Level 1:
To count for light colored (thin) notes.
Level 2:
To count notes with the middle of Level 1 and Level 3.
Level 3:
To count dark colored (thick) notes.
OFF
The function should be off when counting very dark color
notes or very thick notes. However the machine can not
detect the Doubles Feeding.
ADD
LEVEL
Page 13
11
■Count Speed Function
● The count speed can be set with this function.
Depending on key specification, operation is different as follow:
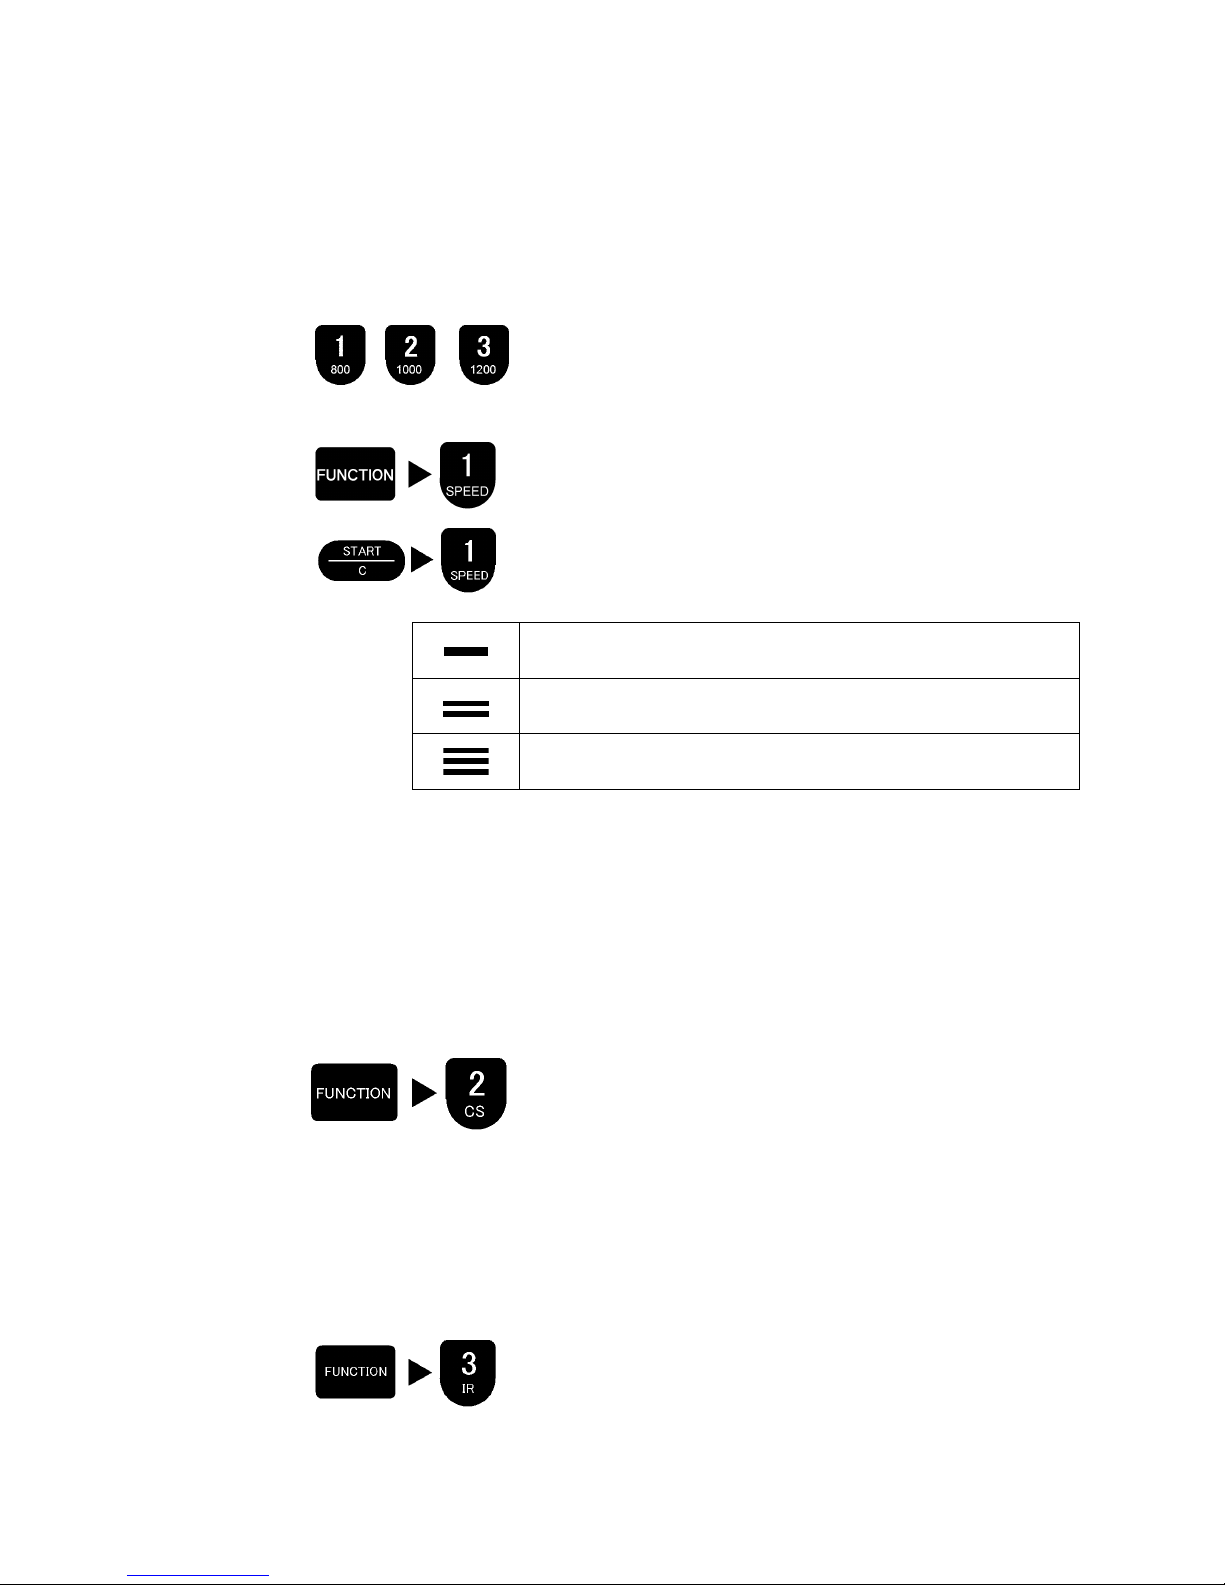
Remove the notes from the Hopper and Stacker and press
Start-Clear Key.
The Display shows present counting speed. (Ex. SP1000)
The speed can be changed with pressing 1 to 3 Ten Keys
while the Display showing present speeds.
The count speed changes with pressing Speed Key (1 Ten
Key) after pressing Function Key. The display indicates the
speed as following:
Each level of counting speed is different depending on the
model. Refer to ”7. SPECIFICATIONS” for further details.
Low speed
Mid speed
High speed
■Country Select Function (Only available, if according key is labeled)
CS Function is the function to select the currency. With selecting the currency, various
detection levels will be set automatically corresponding to the currency selected.
With this setting, the unit realized more precise detection result.
Press CS Key (2 Ten Key) after pressing Function Key.
The display indicates present currency setting.
The currency setting changes as per pressing CS key.
In case the currency setting was wrongly selected, it may
cause of detection error.
Available Currency on the Display:
“Euro” : Euro Currency
“US” : US Dollars
“Ru” : Russian Rubles
“LC” : Local Currency
■IR Detection Function (Only available, if according key is labeled)
●This function is to detect the specific property on notes.
When the LED is on, the IR detection Function is activated.
Page 14
12
■MG Detection Function
●This function is to detect the magnetism on notes.
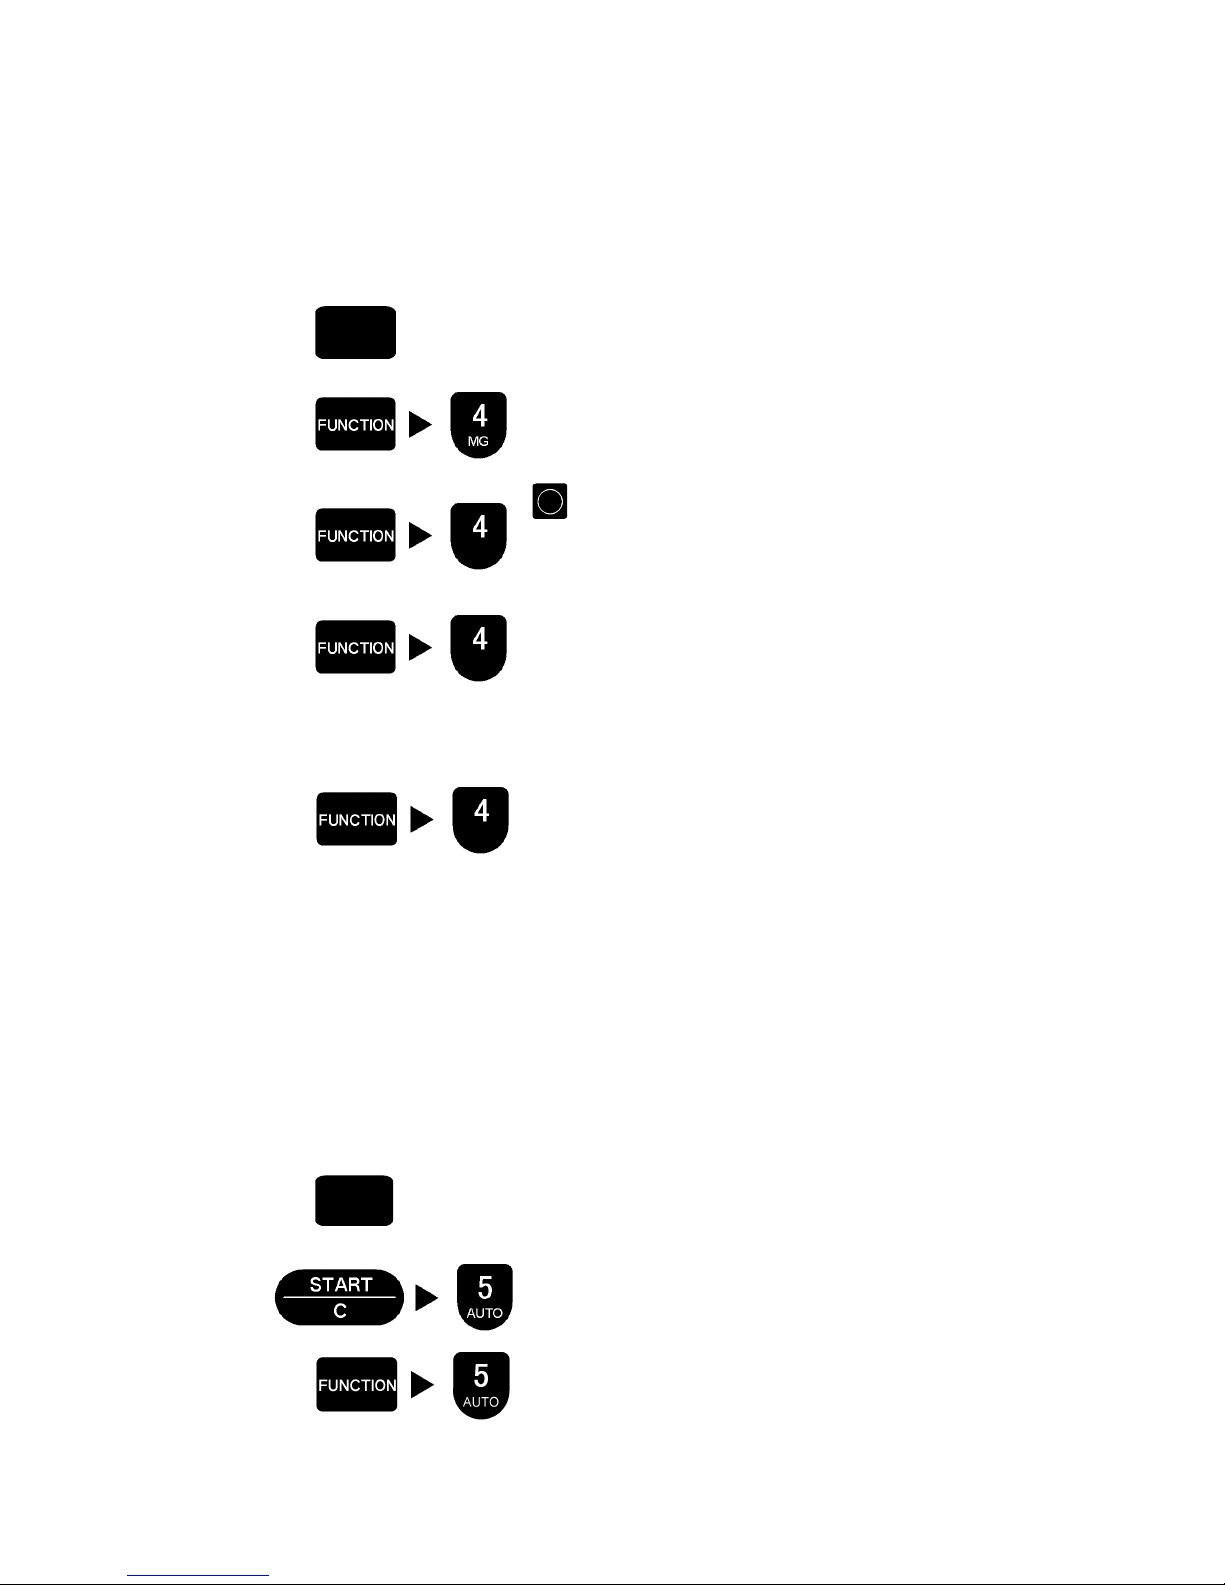
Depending on the model, operation is different as follow:
MG
When the LED is on, the MG detection Function is activated.
After pressing Function key, MG detection level can be
changed by pressing 4-Key.
The dot above each mark on the display turns on when it is
activated.
?
ICD(Intelligent Code Detection)
It provides the most accurate detection designed for Euro.
Detection level 1 and level 2 is selectable. Level 2 is more
sensitive than Level 1.
AMG (Advanced Magnetic Detection)
It provides more accurate MG detection by Advanced MG
detection system.
■Color and Size Check Detection
The count stops when machine detects different size or color
than Euro notes.
The dot above CSD mark turns on when the function is
activated.
■AUTO Start Function
●Auto Start
The count starts automatically after loading notes onto the Hopper.
●Manual Start
The count starts with pressing Start-Clear Key.
Depending on key specification, operation is different as follow:
Only J700 J710
AUTO
Auto Start and Manual Start can be selected with pressing
Auto Key.
When the light is on, the AUTO Start Function is activated.
Auto Start and Manual Start can be selected with pressing
Auto Key (5 Ten Key) after pressing START/C Key or
Function key depending on the model.
The Display indicates A when Auto Start is activated.
ICD
AMG
CSD
Page 15
13
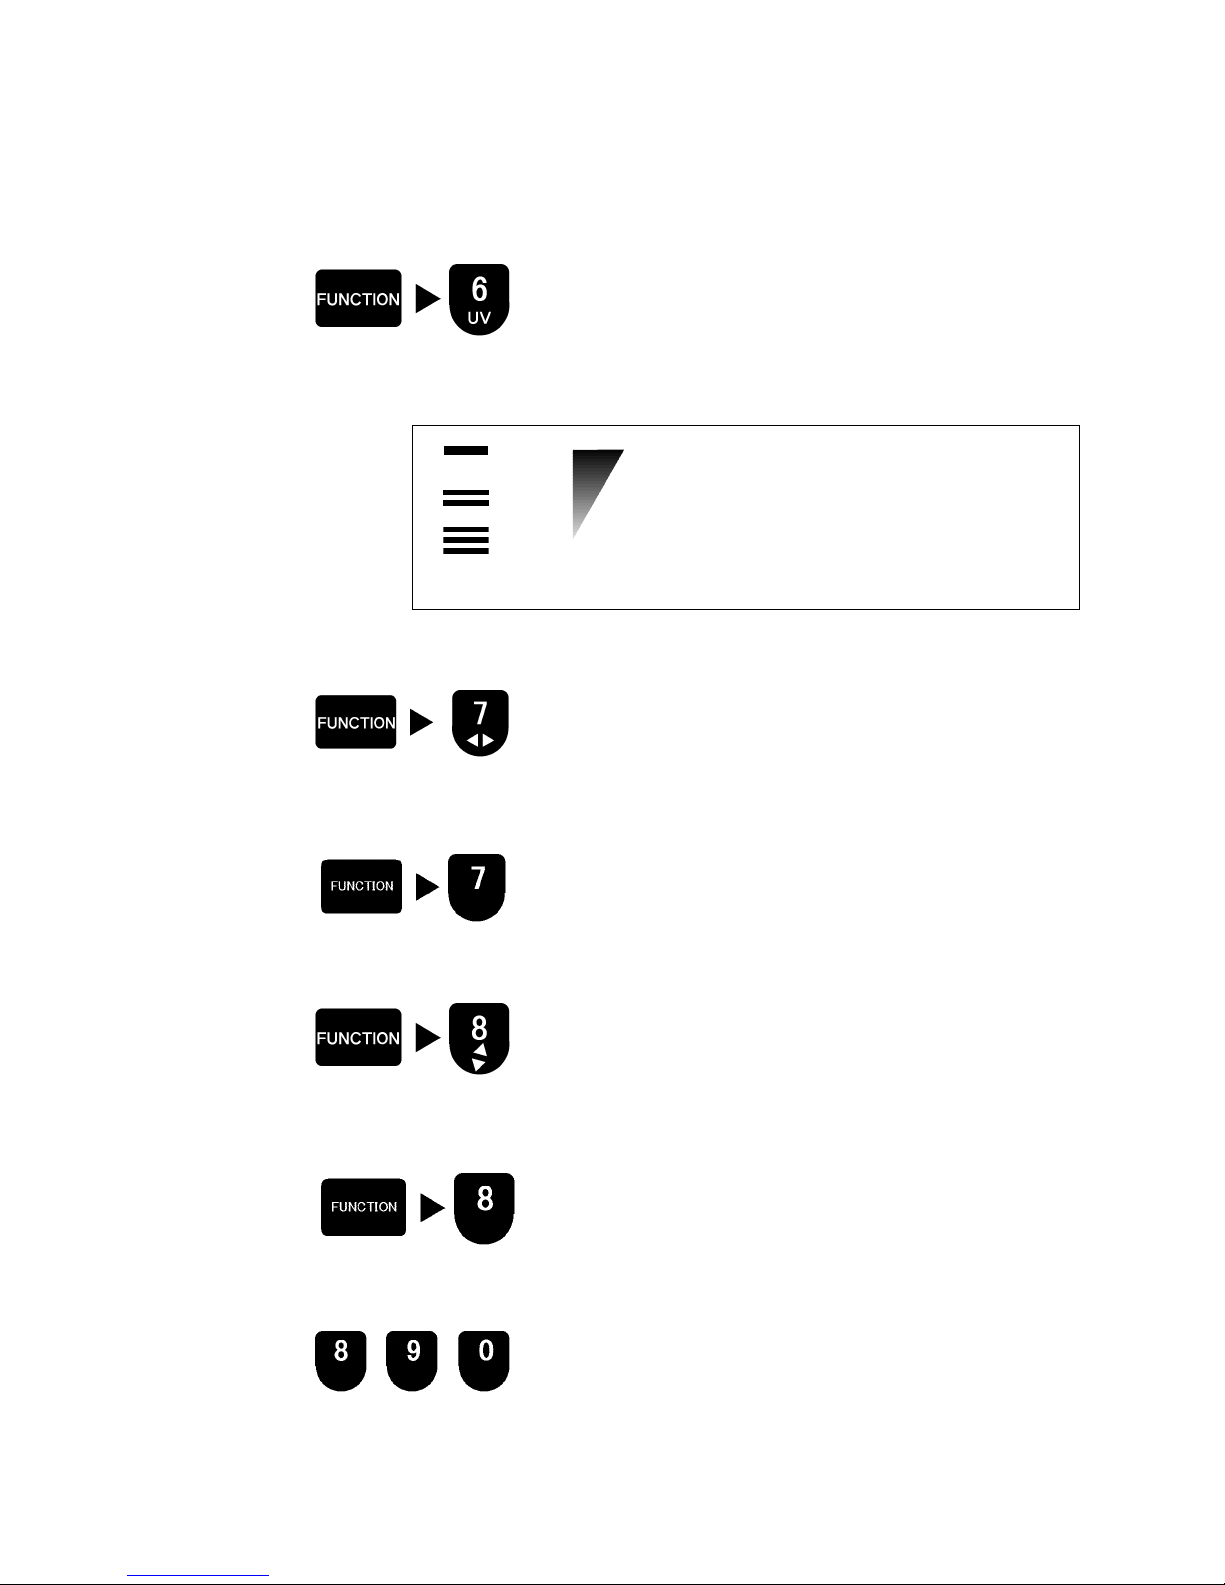
■UV Detection Function (Only available, if according key is labeled)
The count stops when a note with different UV reflection is
counted.
The dot above UV mark lights on when the function is
activated.
The detection level can be selected with pressing UV Key
(6 Ten Key) after pressing Function Key.
The Key functions to change four different levels in the
following sequence:
The most sensitive detection level
Less sensitive detection level
OFF
The function is OFF.
■Length Size Check Function (Only available, if according key is labeled)
The count stops when a note with different length is counted.
The dot above Length mark lights on when the function is
activated.
■Value Counting Function (Only available, if according key is labeled)
This mode is to show the count result in value.
The dot above Value mark lights on when the function is
activated.
■Width Size Check Function (Only available, if according key is labeled)
The count stops when a note with different width is counted.
The dot above Width mark turns on when the function is
activated.
■Difference Denomination Check (Only available, if according key is labeled)
The count stops when machine detects different
denominations than first counted Euro note.
The dot above DDC mark turns on when the function is
activated.
■Denomination Select Keys for J-720
The count stops when machine detects higher denominations
than 50 Euro note.
Press corresponding key to add the value of last counted
notes to total amount.
VALUE
DDC
500€ 200€ 100€
Page 16
14
5. OPERATION
5-1. Notes
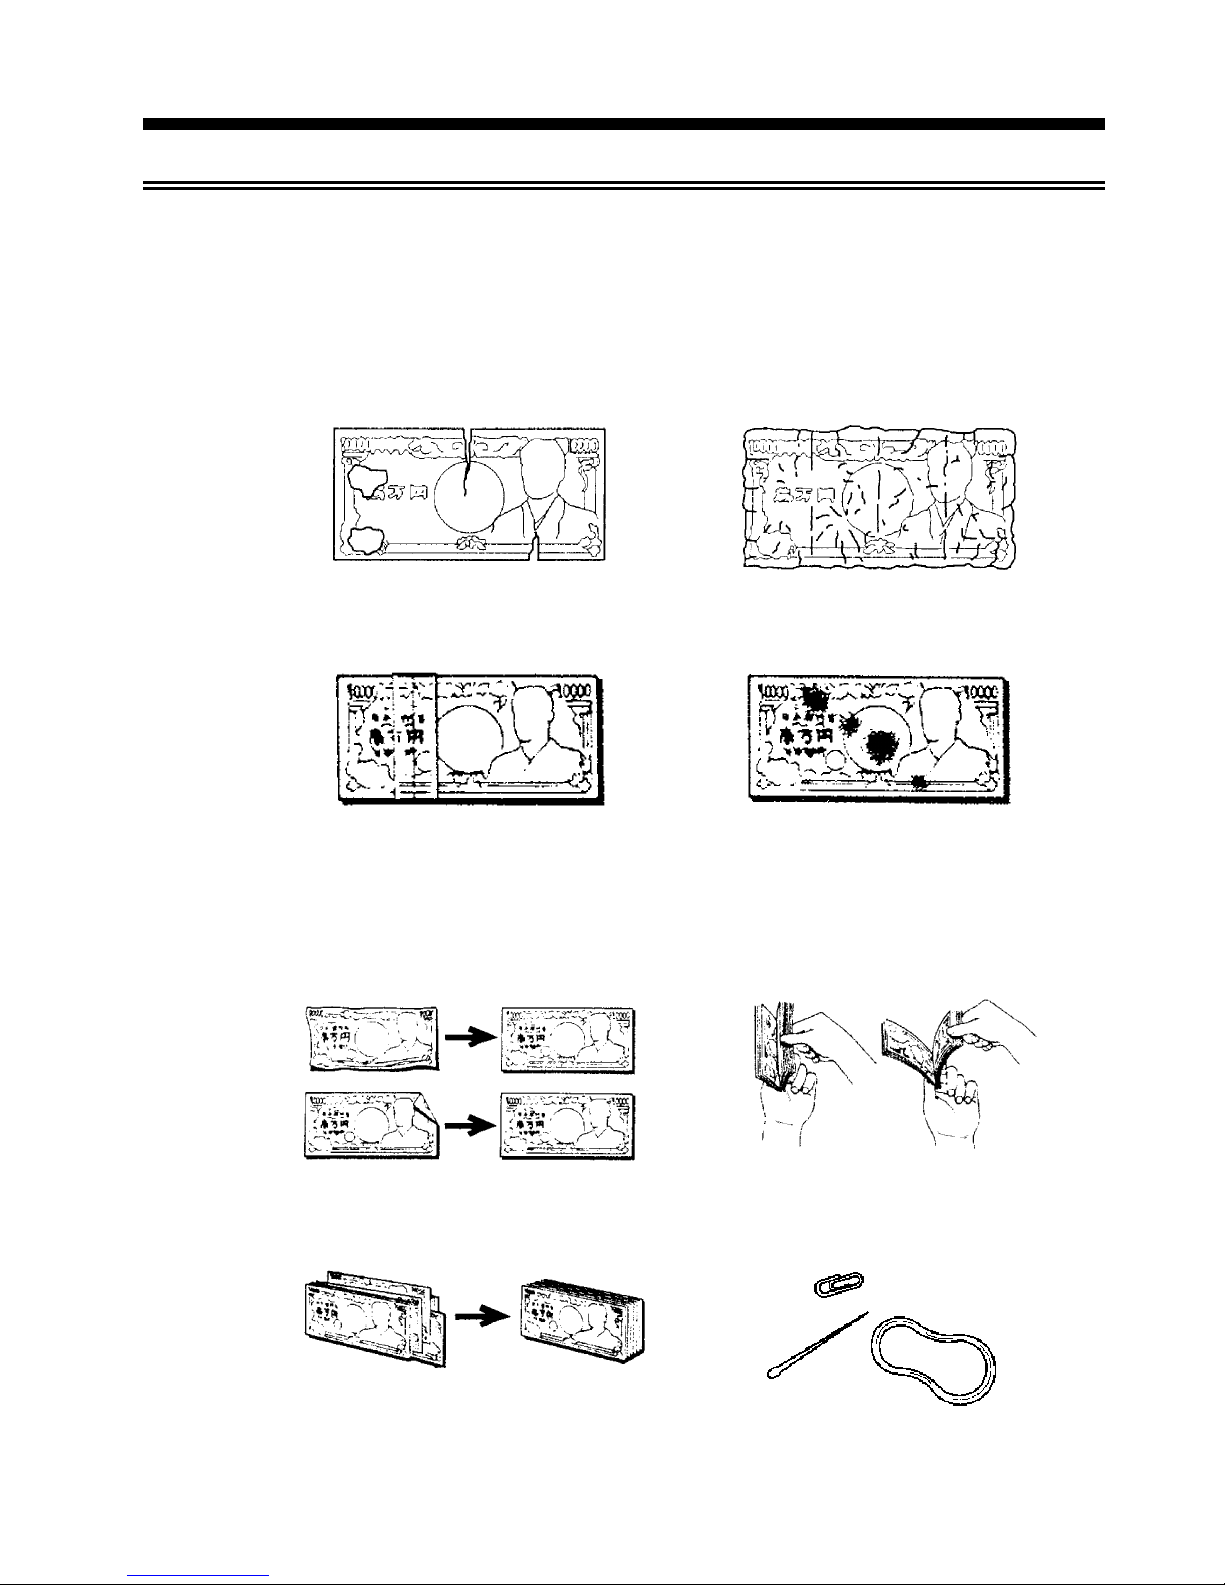
■Examples of bad notes
Do not count the following notes which may cause of jamming or count problems.
● Torn notes or notes with hole
● Worn-out or flabby notes
● Notes with tape
● Dirty notes
■Before loading notes
● Wrinkled note and dog ear note should
be flatten.
● Brick notes should be thumbed.
● Align well the edges of notes.
● Remove foreign matter from notes.
Page 17
15
5-2. Basic Operation
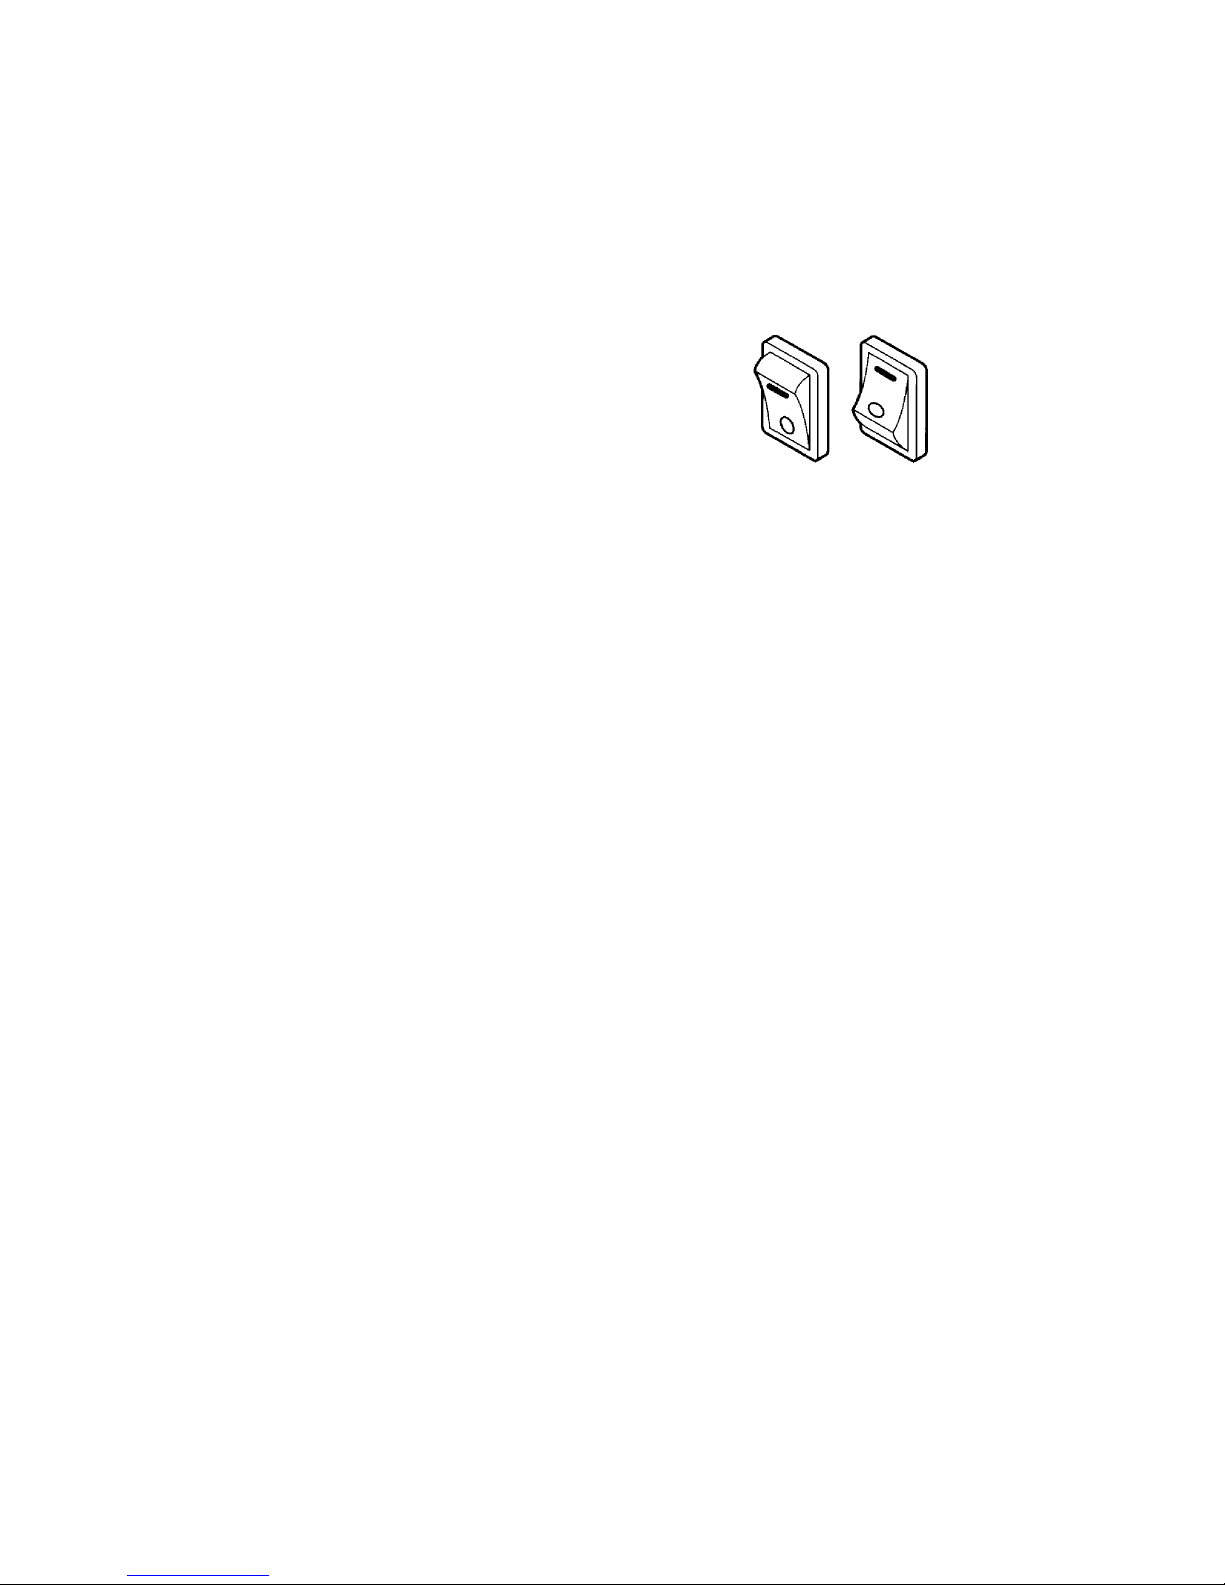
Step
1.
Turn on the Power Switch.
Step
2.
Set Counting Mode and Doubles Detection Level.
1. Select Count Mode . Set any preset number on Preset Mode if necessary.
2. Set the Doubles Detection Level with Level Key. The normal notes can be
counted with Auto Level, however, the level should be selected depending on
the characteristics of notes.
Step 3.
Set various functions if necessary.
1. Set Count Speed. Refer to page 11.
2. Set Auto Start Function. Refer to page 12.
3. Set CF Detection Function. Refer to page 11 and 12.
4. Set Length and Width Size Check Function. Refer to page 13.
ON OFF
Page 18
16
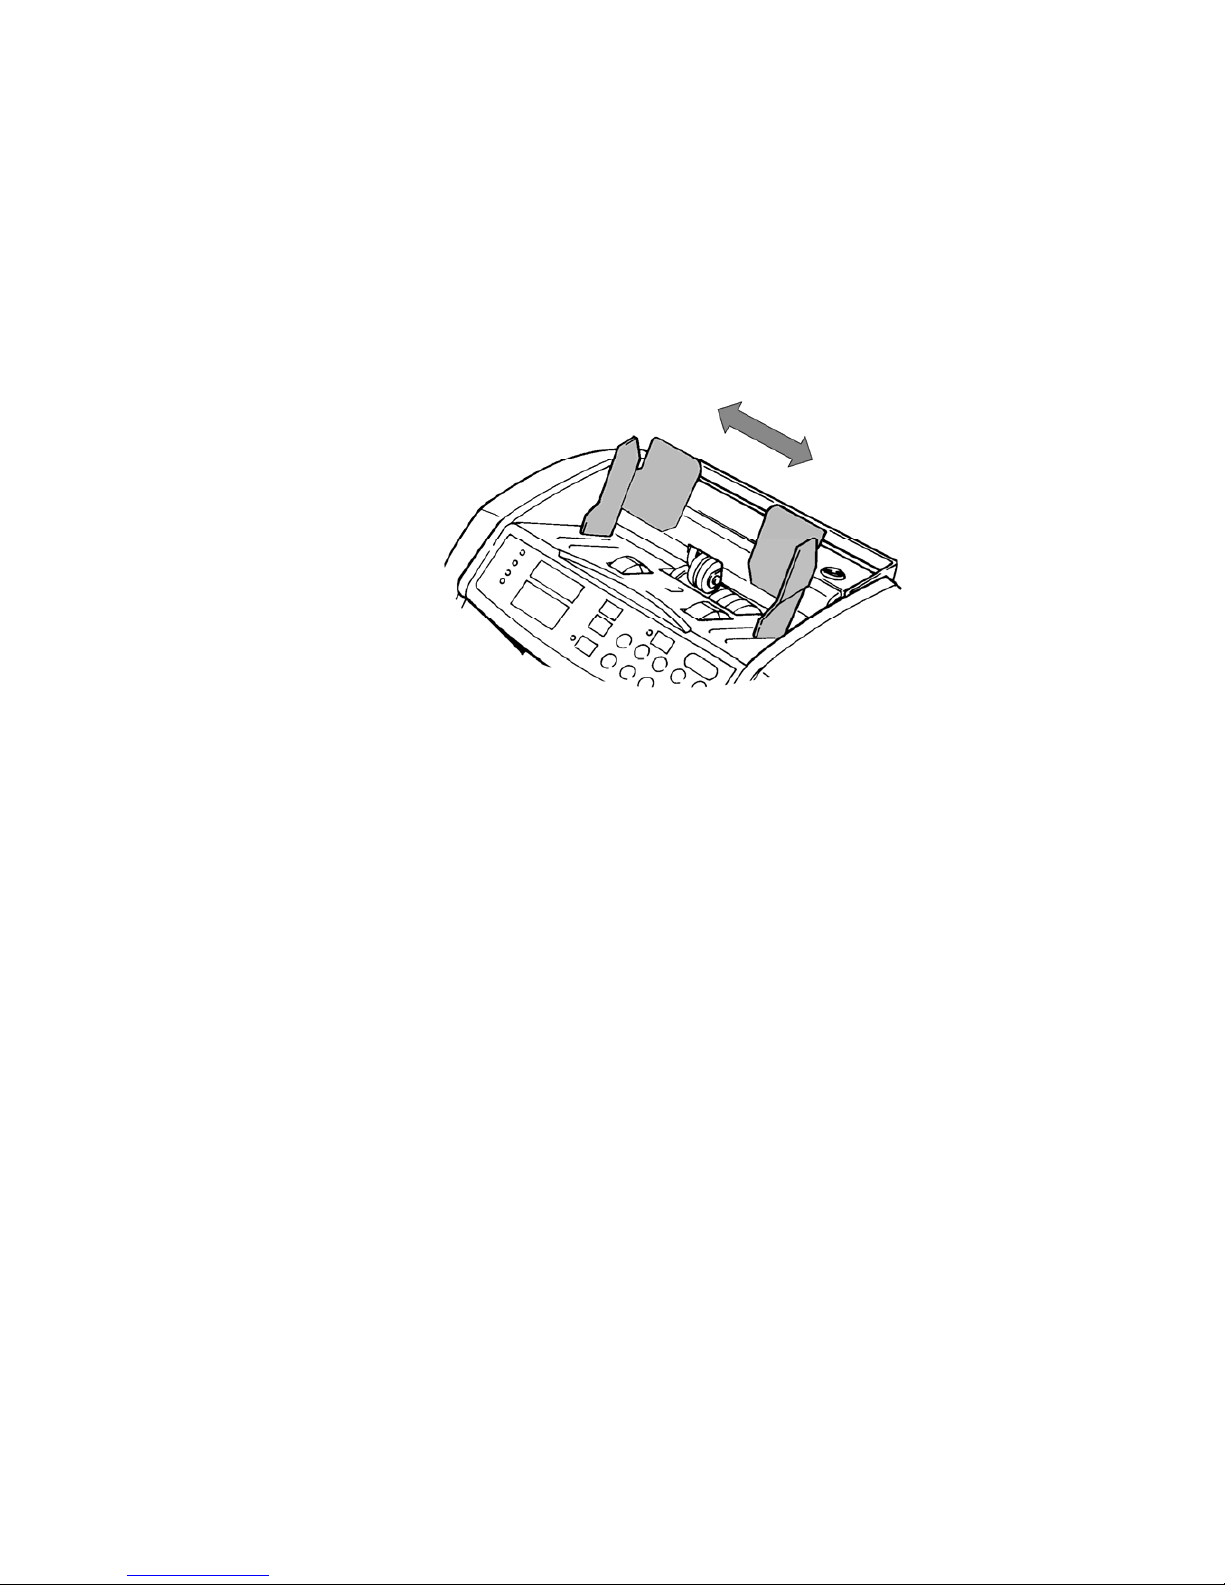
Step
4.
Set Note Guides to the notes to be counted.
Step 5.
Load the notes onto the Hopper and press Start-Clear Key to count if
necessary.
If Auto-Start is activated, count starts automatically after placing notes to
hopper.
Step 6.
Remove the counted notes from the Stacker after complete stop of
counting.
Page 19

17
6. ACCESSORIES & OPTIONS
6-1. Accessories
1. Power Cable ······························································· 1
2. Instruction Manual ······················································ 1
3. Quick Reference ························································· 1
6-2. Options
For details of options, please contact your local distributor.
1. External Display
2. RS-232C(Other than J-700,J-710/A and 730)
7. SPECIFICATIONS
1. Counting Speed J700 1200 notes per minute
J710 800/1000/1200 notes per minute
Other Model: 850/1250/1500 notes per minute
2. Hopper Capacity Approx. 500 notes
3. Stacker Capacity Approx. 200 notes
4. Note Size
Max. 185X100(mm) Min. 100X50(mm)
5. Note Thickness
0.08 ~ 0.15(mm)
6. Power Supply
100/110/220/240 V ±10%
50/60Hz
7. Operating Conditions
Temperature Operation : 5~35 ℃
Stand by : 5~55 ℃
(With dry condition)
8. Power Consumption Operation : 40W Stand by : 10W
9. Dimensions 282 mm (W) x 233 mm(D) x 190 mm (H)
10. Weight Approx. 7 kg
Page 20
18
8. DAILY CARE
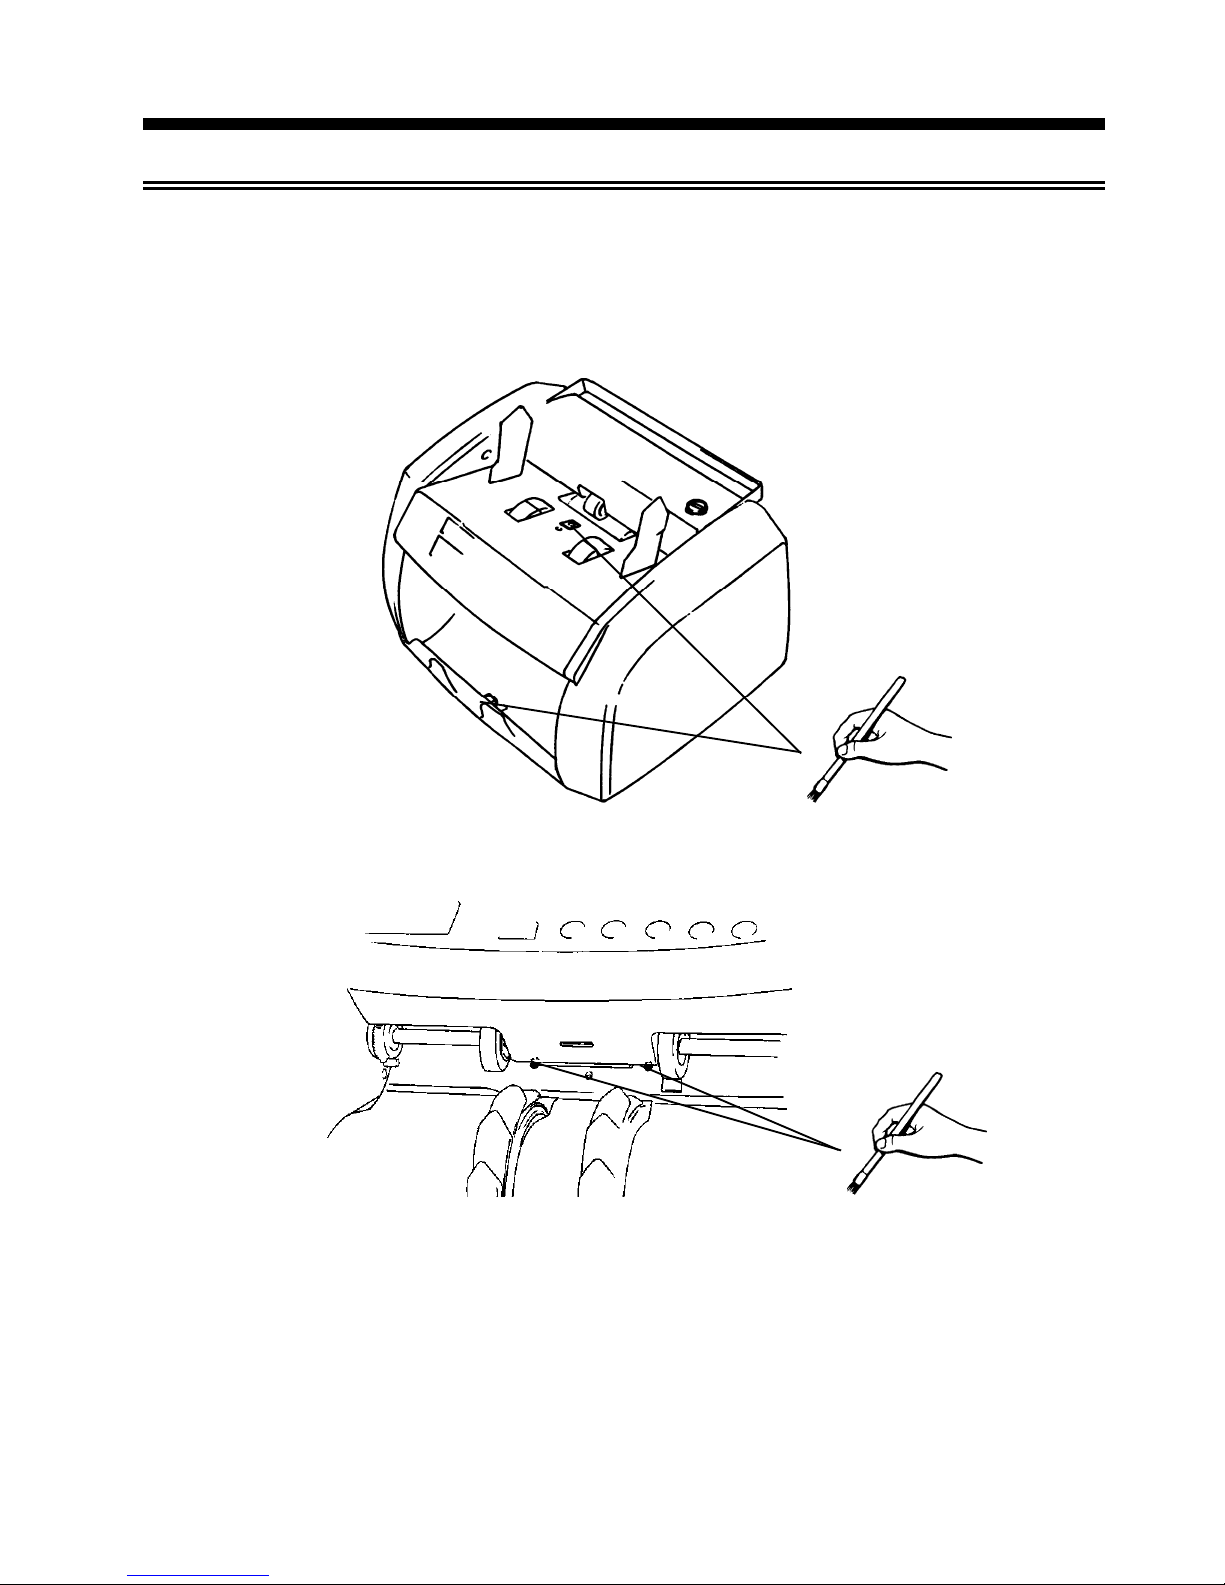
Clean the following Sensors with a brush periodically.
Use dry cloth to clean the outside cabinet.
●Stacker Sensor and Hopper Sensors
●Count Sensors
Page 21
19
9. ERRORS AND REMEDIAL MEASURES
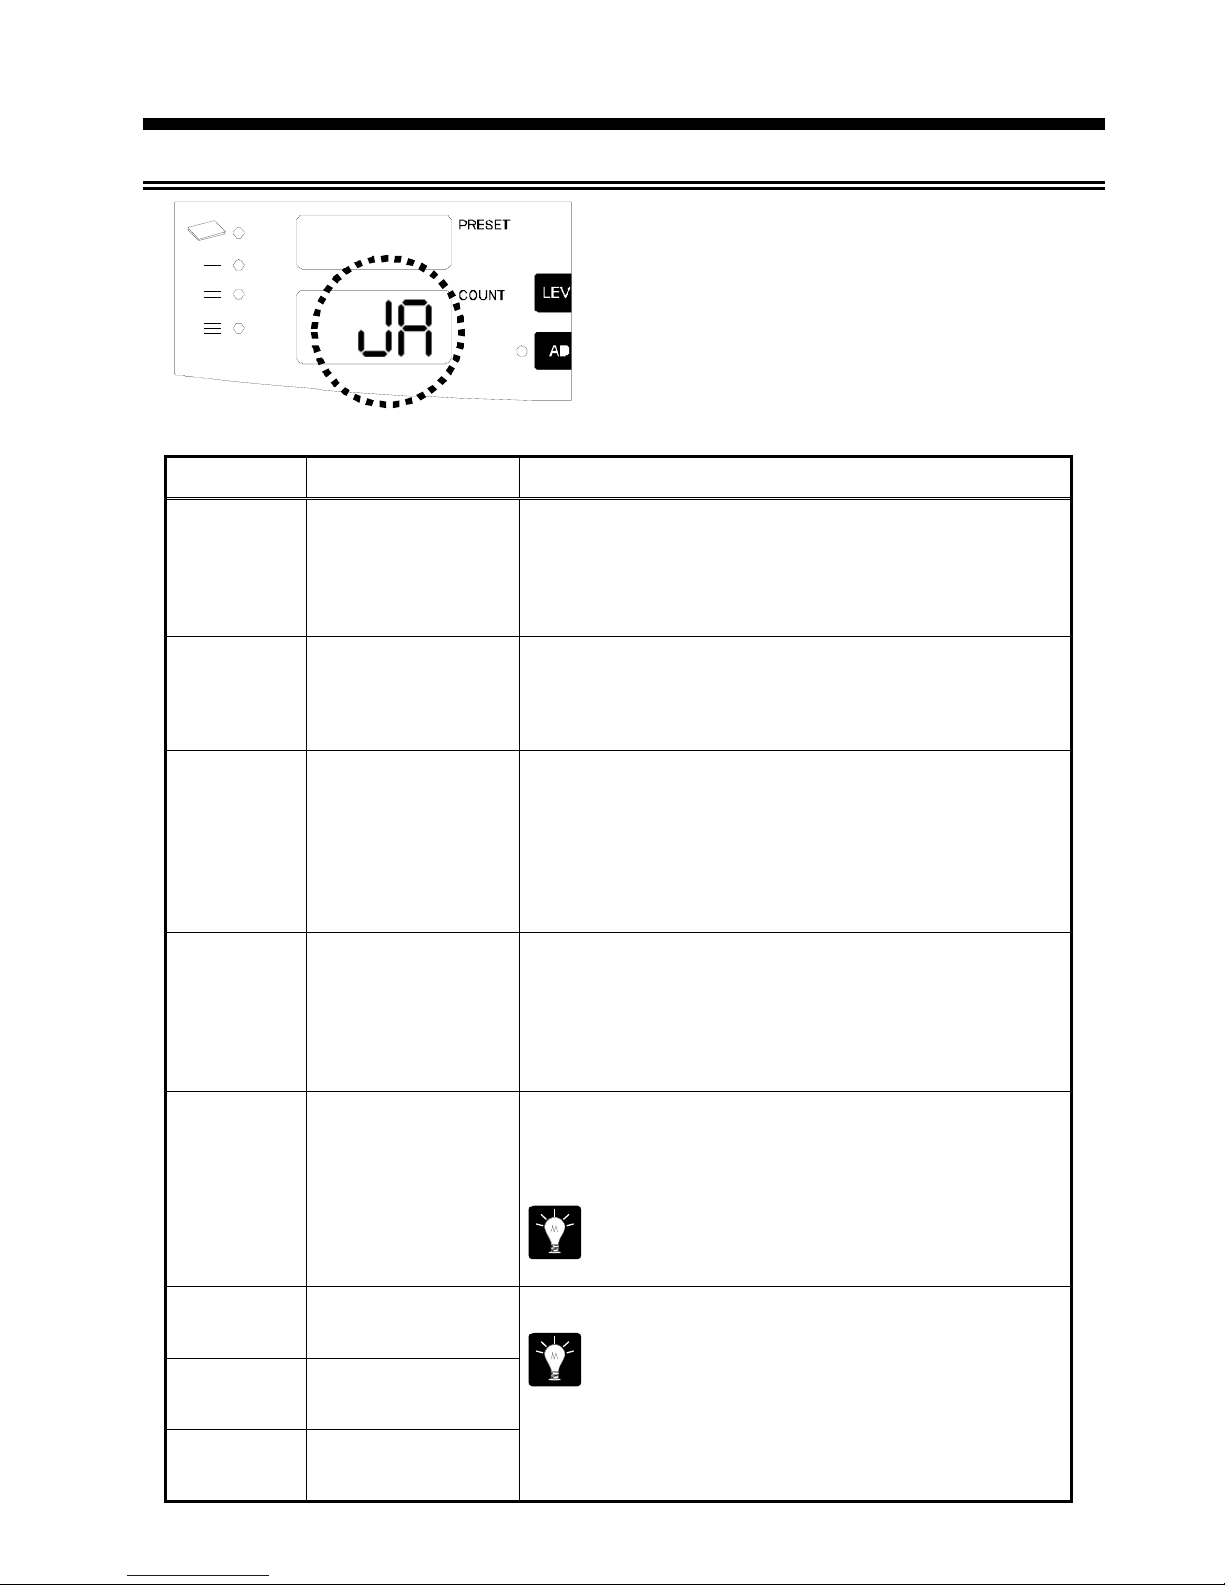
When an error occurs during counting, the Count
Display will flash the error code. Clear the error in
accordance with the following procedure.
Error Code Cause of Error Remedial Measures
Flashing of
displayed
number
Feeding Failure
When preset, the
number of counted
notes does not reach
the preset number.
Take out the note causing feeding failure from the Hopper
and reset it on the Hopper properly.
Put additional notes on the Hopper.
ASn
Notes are fed with a
excessive angle.
1. Take away the last note from the Stacker and make sure
that it is the same note as the others.
2. Depress “START/C” Key.
3. Recount all the notes taken away from the Stacker.
bi
100, 200 or 500 Euro
note was counted in
value mode.
(Only for J-720)
1. Check the last note on the Stacker.
2. If the last note on the Stacker is not accumulated to the
total amount, remove the note from the Stacker and
depress "START/C" key
3. When the last note on the Stacker is accumulated to the
total amount, depress Ten-key "8", "9" or "0"
corresponding to the denomination.
Cd 1
Cd 2
Color of note is
different than the Euro
note.
1. Display indicates ”LASt-XX”.
2. Remove the number of notes indicated by ‘XX’ from the
top of the notes in the Stacker. Make sure the notes are
OK or not.
3. Press the START/C key to continue the counting.
CHn
Excessively long
(shorter side) note or
overlapped notes are
fed.
1. Take away the last note from the Stacker and make sure
that it is the same note as the others.
2. Depress “START/C” Key.
3. Recount all the notes taken away from the Stacker.
When this error happens very often,
Readjust thickness level with Thickness Adjustment Dial.
CLL
Left Line Sensor is
dirty.
1. Clean the Line Sensor specified by Error Code.
If the Error is not cleared, take following measure.
Turn off the Length Size Check Function.
Open the Note Guide to the maximum position.
Count the notes several times for cleaning with placing notes
either side of Hopper according to the Error Code.
CLr
Right Line Sensor is
dirty.
CLt
The left / right line
sensor is dirty.
Page 22
20
Error Code Cause of Error Remedial Measures
CF-X
Suspected note is fed.
Other than J730A and J795
1. Remove the last note to be counted from the Stacker.
2. Depress “START/C” Key to continue the count.
Only for J730A
1. Take away the last note from the Stacker and make sure
that it is the same note as the others.
2. Depress “START/C” Key.
3. Recount all the notes taken away from the Stacker.
Only for J795
1. The display indicates flashing “CF-2” and ”LASt-XX”. (XX
= 1 or 2)
2. Remove the number of notes indicated by ‘XX’ from the
top of the notes in the Stacker. Make sure the notes are
OK or not.
3. If the notes are OK, place again the notes onto the
Hopper.
4. Press the START/C key to continue the counting.
dbL
Two notes are fed at a
time or a dirty note is
fed.
1. Take away the last note from the Stacker and make sure
that it is not a dirty note.
2. Depress “START/C” Key.
3. Recount all the notes taken away from the Stacker.
When this error happens very often,
1. Readjust thickness level with Thickness Adjustment Dial.
2. Clean Count Sensors.
HF
Half-size note is fed
1. Take away the last note from the Stacker and make sure
that it is the same note as the others.
2. Depress “START/C” Key.
3. Recount all the notes taken away from the Stacker.
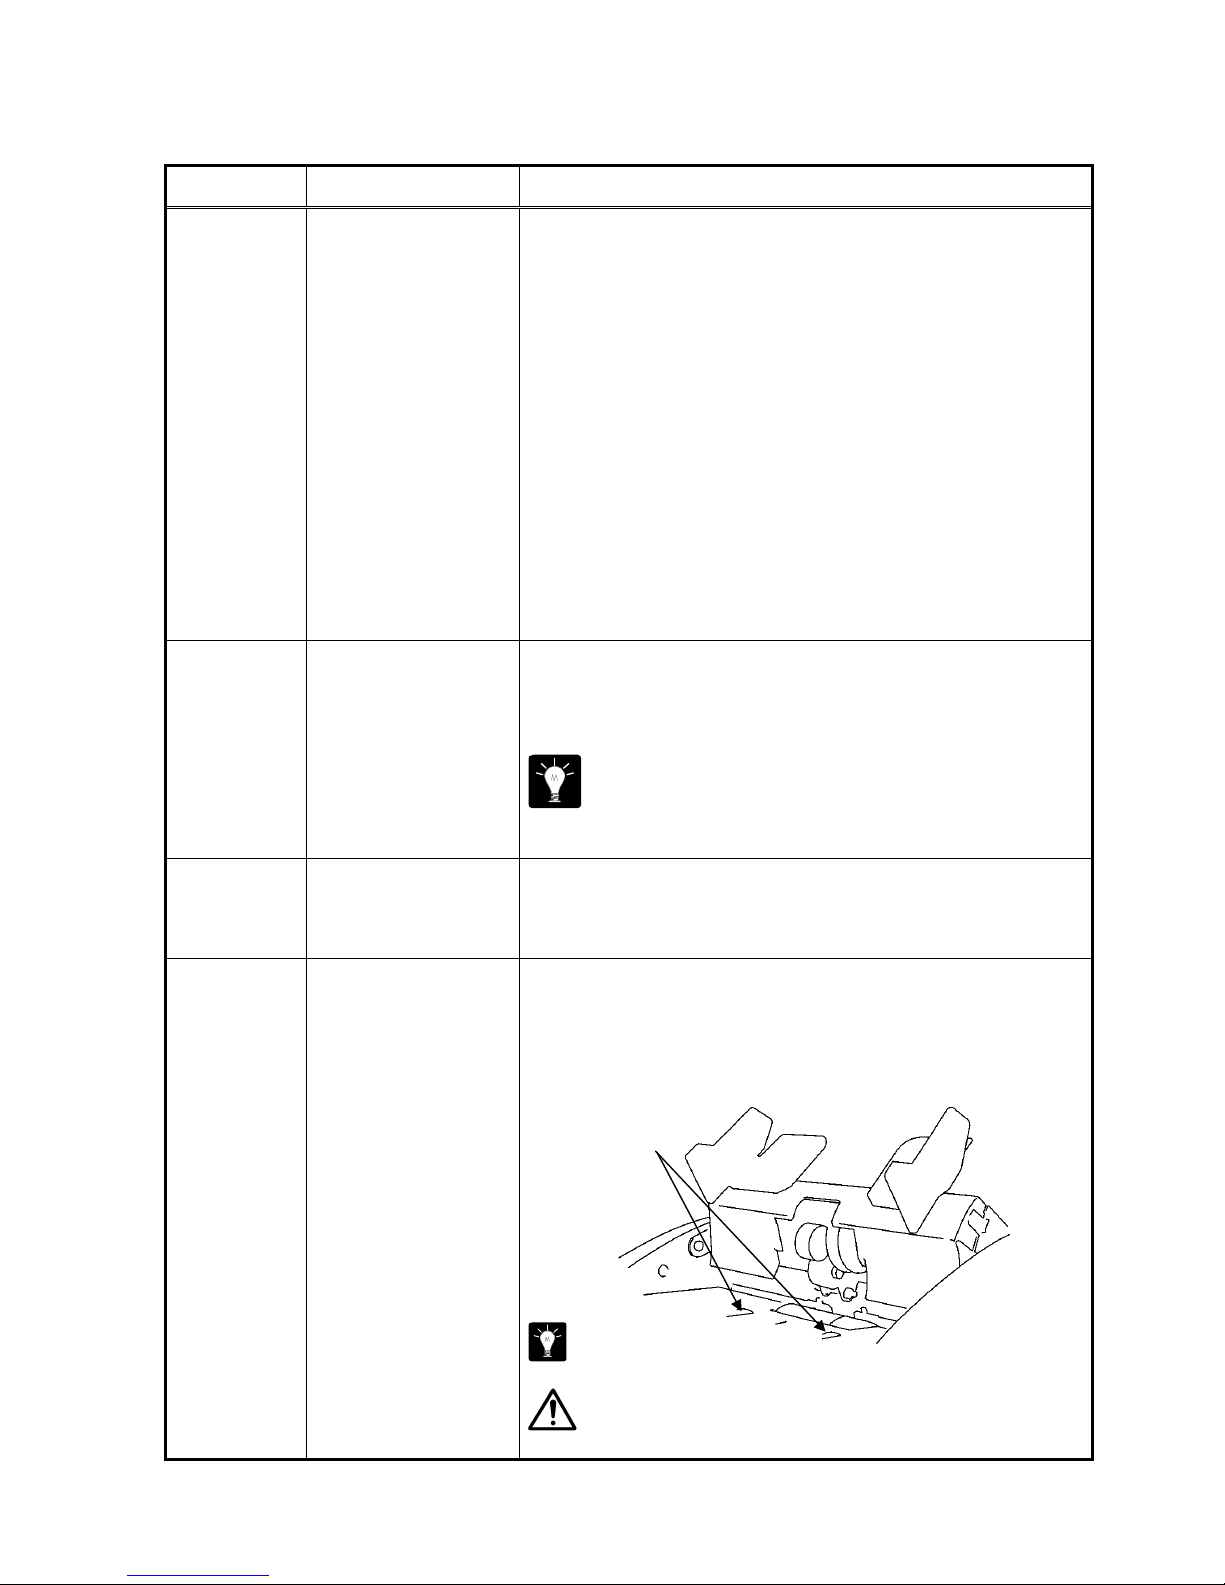
JA
Notes jammed in the
roller.
1. As illustrated below, lift up the feeding part by hand and
take away jammed note(s). When there is a difficulty in
taking away jammed notes, turn Kick Rollers by hand.
2. Depress “START/C” Key.
3. Recount all the notes taken away from the Stacker.
When this error happens very often, please clean
Sensors. (Refer to page 18 for more detail.)
While removing the notes, care should be taken to
prevent your fingers to be pinched.
Kick Rollers
Page 23
21
Error Code Cause of Error Remedial Measures
LP
UV lamp is working
abnormally
1. Turn off and on the Power Switch.
2. If the error can not be cleared, please contact to your
service partner.
SH
Excessively short
(shorter side) note is
fed.
1. Take away the last note from the Stacker and make sure
that it is the same note as the others.
2. Depress “START/C” Key.
3. Recount all the notes taken away from the Stacker.
SC-1
Length (longer side)
of note is longer than
the first note or
shorter than the first
note.
4. Check the last note on the Stacker.
(denomination, length)
5. Take out the last note from the Stacker.
6. Depress “START/C” Key to continue the counting.
SC-2
Width of note is
shorter than the first
note.
1. Check the last note on the Stacker.
(denomination, width)
2. Take out the last note from the Stacker.
3. Depress “START/C” Key to continue the counting.
SC-3
Width of note is longer
than the first note.
1. Check the last note on the Stacker.
(denomination, width)
2. Take out the last note from the Stacker.
3. Depress “START/C” Key to continue the counting.
oPE
Miss-Operation
When there are notes on the Stacker and “START/C” Key is
depressed, this error is shown. Take away all the notes
from the Stacker.
When this error happens without any notes on the
Stacker,
1. Clean the Stacker sensor.
oC
Over-Count
1. Take away the last note from the Stacker and make sure
that it is the same note as the others.
2. Depress “START/C” Key.
3. Recount all the notes taken away from the Stacker.
When this error happens very often,
1. Adjust thickness level with Thickness Adjustment Dial.
?
If the Machine is still out of order even after the above remedial measures are taken,
call your serviceperson and inform of the detail.
Page 24

22
Notes
Page 25

Friction Currency Counter
J-700 Series
INSTRUCTION MANUAL
PUBLISHING DATES: 14th Edition: June, 2010
PUBLISHED BY: LAUREL BANK MACHINES CO., LTD. JAPAN
INTERNATIONAL OPERATIONS
• This manual is subject to change without notice.
• No part of this manual may be reproduced without prior permission of the publisher.
• It is to be understood that we assume no responsibility for losses, lost profit opportunities,
or any claim from third parties based on the use of this machine.
• We also assume no responsibility for losses, lost profit opportunities, etc. arising from the
loss of any sentences due to troubles, repairs, wears, etc.
Printed in Japan
No.: J70080717-B14
 Loading...