

Page 1
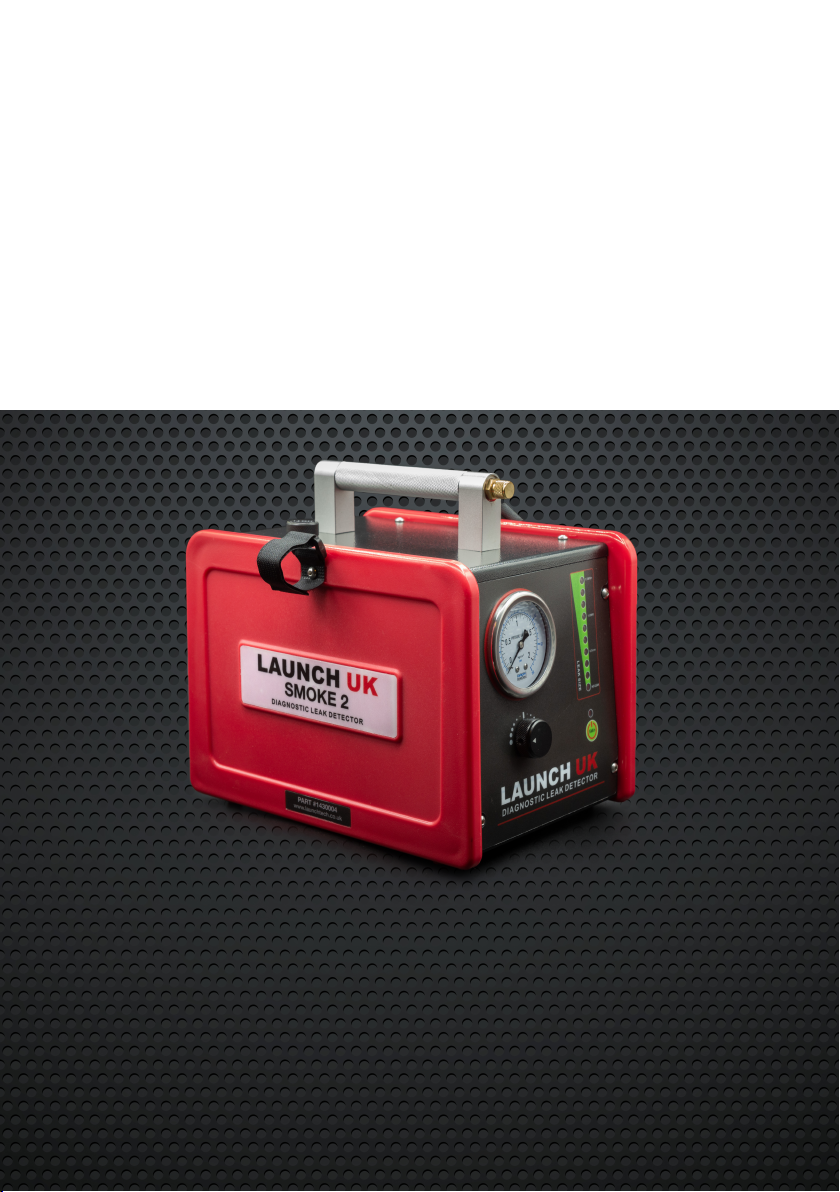
LAUNCH UK
Smoke 2 v2
User Manual
Pro Series Diagnostic Leak Tester
Part #1430004
www.launchtech.co.uk
Page 2
Introduction
Congratulations on your purchase of the Launch UK Smoke 2.
These instructions for the Smoke2 equipment contain important information regarding the correct
and safe operation of the product. Only use this product for the uses described. If the product is
passed on, please ensure this document is also passed on.
Intended use
The Launch UK Smoke 2 is intended for professional use in the finding of leaks in automotive
systems, including those found in cars, motorcycles, light duty trucks and marine applications.
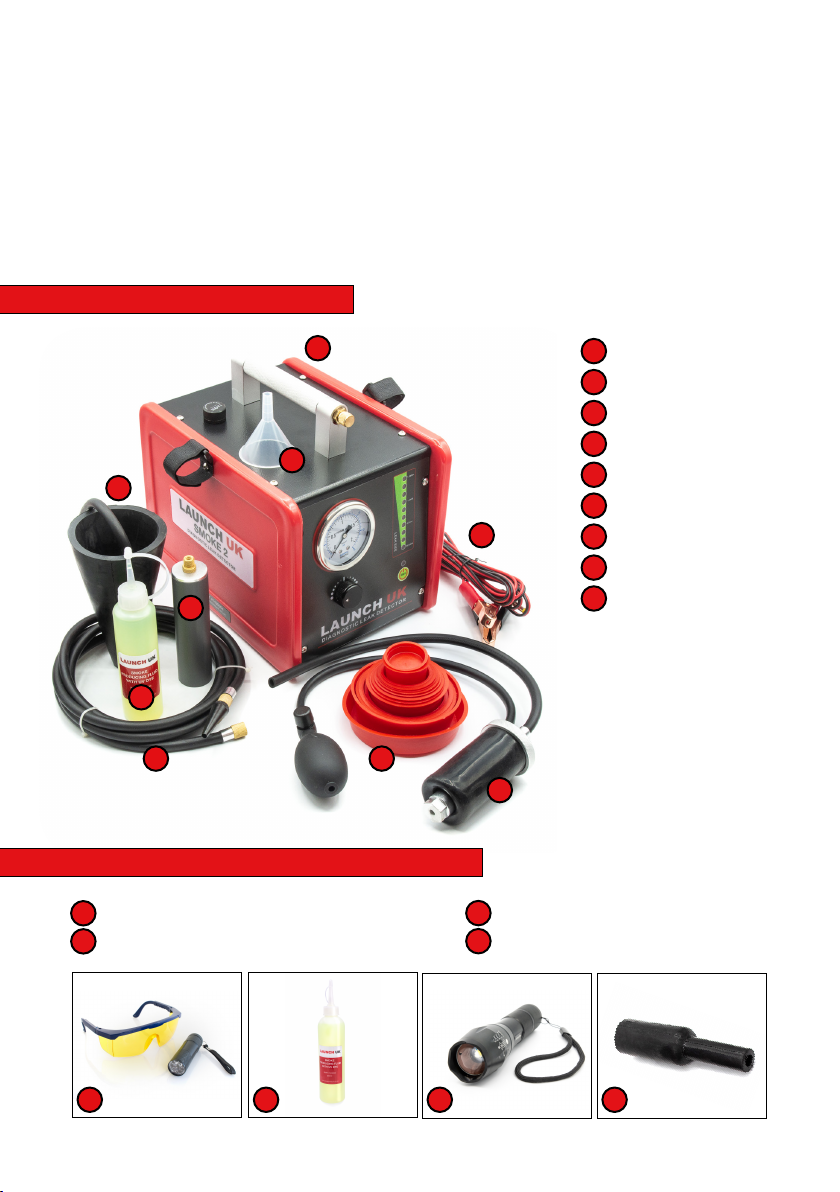
Package Contents
1
2
3
4
5
6
8
Optional accessories and spare parts
- UV kit (UV light and goggles)
1
- 250 ml smoke fluid
2
- Smoke 2 main unit
1
- Filling funnel
2
- Adapter cone
3
- Diffuser
4
- Smoke fluid 100ml
5
- Smoke tube
6
9
- Universal bladder
7
- Cap blanking set
8
- 12v power cables
9
7
- White light
3
- Replacement bladder
4
1
+441752 344 989
[email protected]
2
3
4
www.launchtech.co.uk
Page 3
7
6
8
5
4
9
Operation
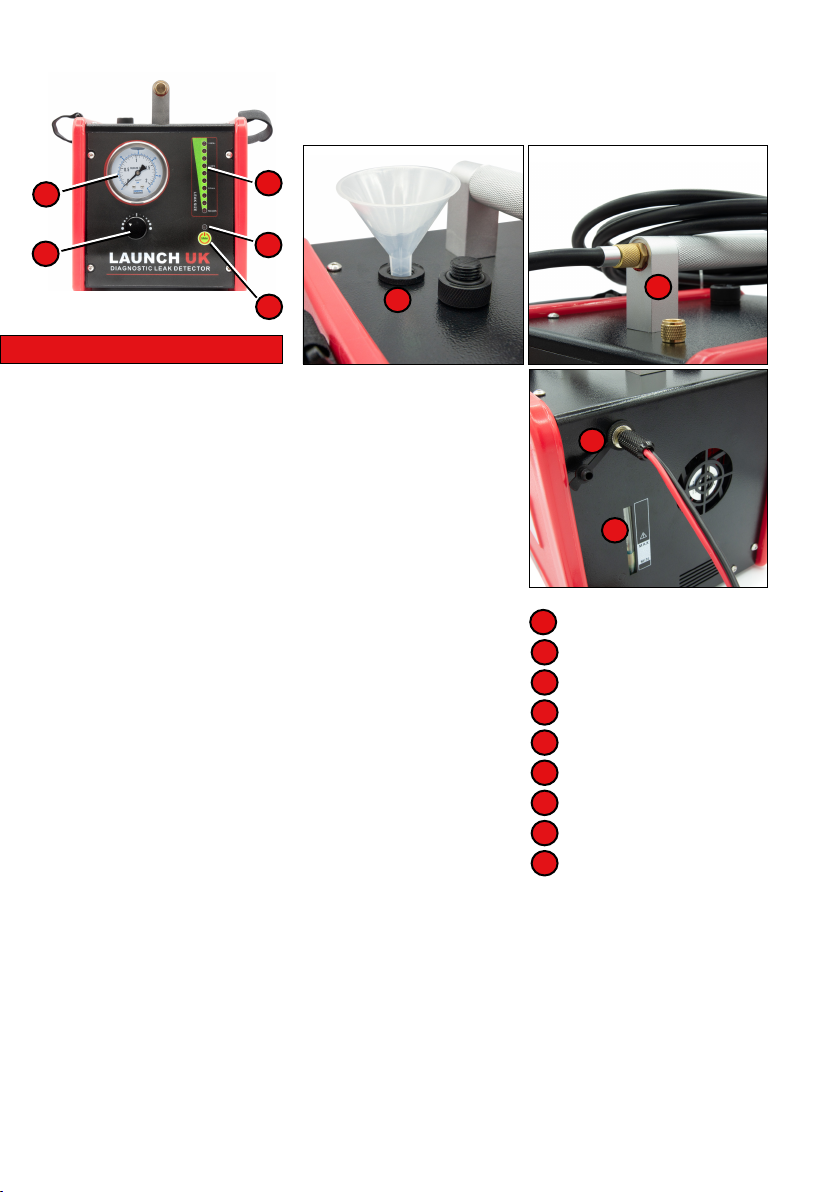
Open the Smoke fluid refill port (9) slowly and carefully add the
supplied smoke fluid taking care not to exceed the MAX line on
the level gauge (3), if the level is at minimum or below in normal
use please top up. If the unit is overfilled, invert the Smoke2 and
drain off excess fluid.
Remove the blanking plug from the smoke outlet port (1) and
retain. Mount the smoke hose to the smoke outlet port.
Fit the power cable connector to the power socket (2), connect
the power cable clamps to a 12V battery. Note; Red clamp to
the +ve and black to the -ve posts. Ensure the battery is fully
charged.
Do NOT use a 12V switched supply, only connect to a 12V
battery.
Pressure test:
On connecting the leads the flow indicator LED’s will illuminate,
press the start/stop button to start the pressurised air flow, allow
30 seconds for the system to pressurise.
Temporarily block the end of the smoke hose, the pressure gauge
will indicate the system pressure, or reference value.
During a leak test if the pressure gauge reaches the reference
value there is no leak.
If the pressure gauge drops below the reference value there is
a leak, an indication of the level of leak can be taken from the
number of LED’s lit on the LED flow gauge.
1
2
3
- Smoke outlet port
1
- Power socket
2
- Smoke fluid level gauge
3
- Start/stop button
4
- LED status indicator
5
- LED Leak indicator
6
- Pressure gauge
7
- Flow dial
8
- Smoke fluid refill port
9
Smoke test:
The Smoke2 operates in two modes:
Air pressure only, or air pressure plus smoke.
On start-up the cooling fan will run, and all LED leak indicator LED’s will light.
To start air pressure mode, press and hold the stop/start button (4) until the LED (5) turns green. To
continue to smoke mode press and hold the start/stop button (4) until the LED turns red.
To go straight to smoke mode, press the start stop button until the LED turns red, the Smoke 2 will
now generate smoke and stop automatically after completing a five-minute cycle. To switch back to air
pressure mode press and hold the start/stop button until the LED turns green. To stop smoke output
immediately press the stop /start button and the LED will turn off.
Page 4
Basic Testing Method
Note: All testing is carried out with the engine
and ignition OFF.
Connect to the system under test using the
smoke tube alone or with one of the accessories.
Press the start /stop button until the status LED
(5) turns green, the unit will start to produce
pressurised air; allow approx. 30 seconds for
the pressure to stabilise. If the pressure gauge
reading is less than the previously established
reference value, there is a leak in the system.
To help nd the leak, remove the smoke tube,
press the start/stop button until the LED turns
red. The unit will start generating smoke, for an
automatic ve-minute cycle. re-attach the smoke
hose to the system under test, wait around two
minutes before checking for leaks.
Use a bright white light source to check for
smoke exiting a leak.
The size of leak can be visualised by the
displayed pressure value, and the number of
LED’s lit on the ow gauge (6). One LED being
no leak to eight indicating a substantial leak. The
ow control dial (8) is used to vary smoke output
as too much smoke can make it harder to nd
small leaks.
For small hard to nd leaks an ultraviolet torch
with a 365mn light output used with yellow safety
goggles will help nd a leak either by illuminating
the exiting smoke or by identifying a trace left at
the leak exit point.
The Launch smoke uid contains a tracer dye
which shows up under UV light.
After testing, turn off smoke generation by
pressing the start /stop button and allow the unit
to blow out any residual smoke.
Please note: Smoke testing should not be used
on oil sensitive components such as headlight
housings.
Other tests
The Smoke2 can be used to nd leaks in almost
any closed system, examples include leaks in
cooling systems, engines, transmissions, EGR
valves, vacuum systems, etc.
ACCESSORIES
The adapter cone: Used to seal openings from
approximately 20mm to 70mm.
The cap blanking set: These various sized
caps can used to seal off openings in a system
under test while smoke is introduced to the one
remaining opening.
The smoke diffuser: Used to nd air/water leaks
in the vehicle cabin.
Smoke is not introduced to the vehicle cabin, the
ventilation is set to fresh air, not recirculating, the
blower output is set to maximum, to pressurise
the cabin. The diffuser will output a steady stream
of smoke, the diffuser is slowly passed around
door and window seals, any leak will cause the
smoke to be disturbed thereby identifying the
area for attention. This test must be carried out
in still air.
Technical Specicifactions
Power Supply: 12.5V Vehicle battery, 5Amp
Output Pressure: up to 1.2 bar /17.4 psi
Flow Rate: Up to 7
Smoke Adjustment: Yes
Leak Status Indication: Yes
Modes: Air pressure / Smoke
Auto-stop cycle: 5 mins
Smoke fluid capacity: 100ml
l/min
Trouble shooting
No fan, or lights on
No air pressure
Smoke uid in delivery tube
Poor/erratic smoke output
+441752 344 989
[email protected]
Check power supply voltage is >12.5 V
Faulty air pump
Smoke uid overlled, blow through delivery tube and adjust uid level
Excess smoke uid check/adjust level
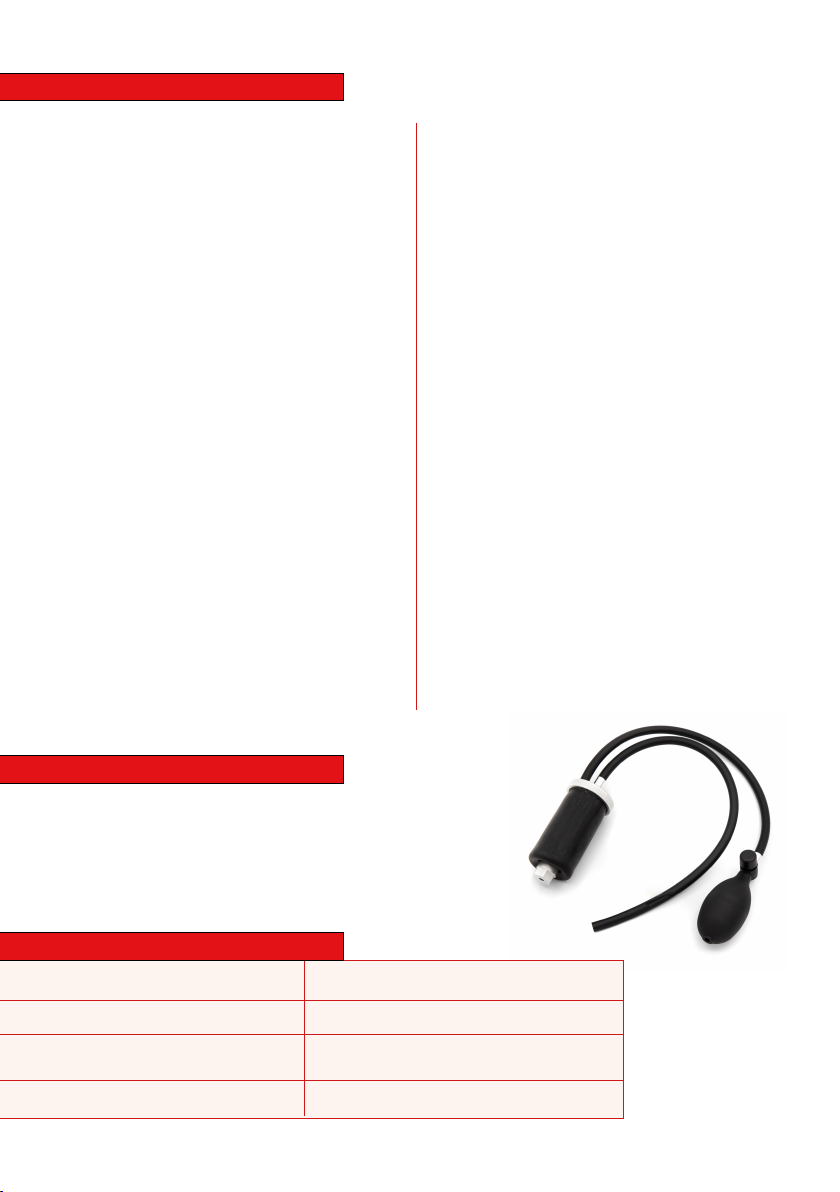
Bladder accessory
www.launchtech.co.uk
 Loading...