

Page 1

Bluetooth Chest Strap Heart Rate Sensor : Instruction Manual
A93806 ART12 0256 Project no:MKT12023 Prepared by: Grace Copyright: Latitude Limited Date: 07 Aug 2012
-
90 mm 90 mm
75 mm
Size 90 x 75 mm
:
Type : book type
Cover page : 4 pages
Bo dy: 8 page s
Total page : 12 pages
colo r: 1C+1C (Black)
paper: 10 0 gsm w hite wood fr ee paper
Binding: Sa d dle wire
Pape r: Wood fre e paper
Pape r weight: 100 gs m
saddle wire
foldin g line
Pr epared by:
Ch ecked by:
Approved by:
Date:
Date:
Date:
Page 2

Bluetooth Chest Strap
Heart Rate Sensor
Instruction
Manual
Ba c k Cover
Fro nt Cov e r
Page 3
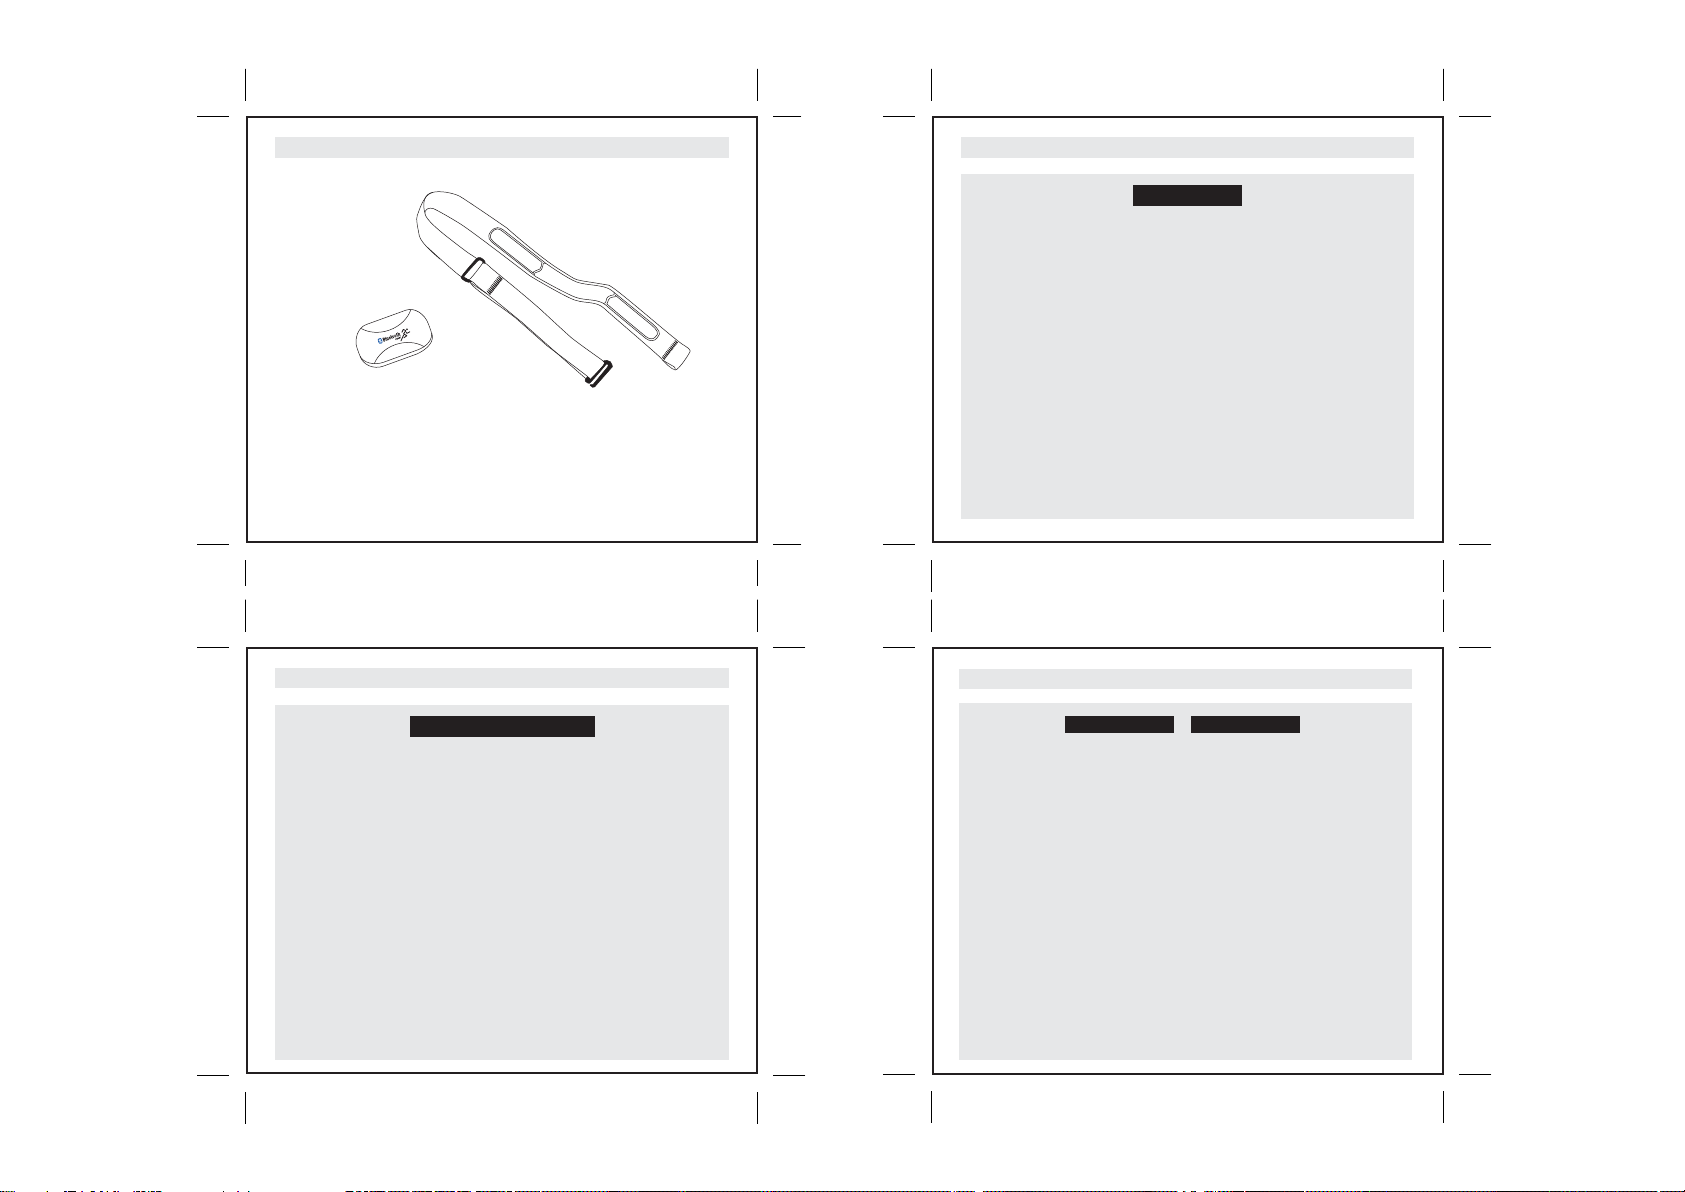
A. Introduction: A-01
Thank you for purchasing this Bluetooth Chest Belt Heart Rate Sensor.
This product enables training in a group without interference from other heart
rate sensors.
A. Introduction: A-02
WARNING!
Make sure that fully understand the functions and limitations of
this product before using it.
Consult a doctor or trainer for setting the zone prior to undergo
an serious Cardio-fitness training.
This product is an supplementary device for heart rate
measurement, and it is NOT a substitute for getting the heart
rate reading from a doctor.
If the heart rate condition is in doubt, consult your doctor.
Avoid exposing the product to the extreme conditions.
Avoid rough uses or severe impacts to the product.
A. Introduction: A-03
FCC Compliance Statement
- This device complies with Part 15 of the FCC Rules. Operation is subject to the
following two conditions: (1) This device may not cause harmful interference, and (2)
This device must accept any interference received, including interference that may
cause undesirable operation.
- WARNING: Changes or modifications to this watch not expressly approved by
the party responsible for compliance could void the user’s right to operate the
equipment.
- NOTE: This equipment has been tested and found to comply with the limits for
a class B digital device, pursuant to Part 15 of the FCC Rules. These limits are
designed to provide reasonable protection against harmful interference in a
residential installation. This equipment generates, uses and radiates radio
frequency energy. If it is not installed and used in accordance with the
instructions, it may cause harmful interference to radio communications.
- However, there is no guarantee that interference will not occur in a particular
installation. If this equipment does cause harmful interference to radio or television
reception, which can be determined by turning the equipment off and on, the user is
recommended to reduce the interference by one or more of the following measures:
- Reorient or relocate the receiving antenna.
- Increase the separation space between the watch and the receiver.
- Consult the dealer or an experienced radio/TV technician for help.
(For US)
A. Introduction: A-04
CARE
This heart rate sensor is a high-tech instrument that should be handled with care.
Follow the caring instructions to ensure reliable measurement and to maximize
the life span of the heart rate sensor. It is advisable to use the unit and the chest
strap in conformity with the following instructions:
Connector: Detach the connector from the strap after every use and dry it with a
Strap: Rinse the strap under running water after every use and hang to dry. Clean
Dry and store the strap and the connector separately to maximize the heart rate
sensor battery lifetime. Keep the heart rate sensor in a cool and dry place. Do not
store the heart rate sensor wet in non-breathing material, such as a sports bag,
to prevent snap oxidation. Do not expose the heart rate sensor to direct sunlight
for extended periods.
Remove the battery from the battery case when the unit or the chest strap WILL
NOT be used for a long time.
soft towel. Clean the connector with a mild soap and water solution
when needed. Never use alcohol or any abrasive material such as
steel wool or cleaning chemicals.
the strap gently with a mild soap and water solution when needed. Do not
use moisturising soaps as they can leave reside on the strap. Do not soak,
iron, dry clean or bleach the strap. Do not stretch the strap or bend the
electrode areas sharply.
MAINTENANCE
Page 4
A. Introduction: A-05
B. Setting Up: B-01
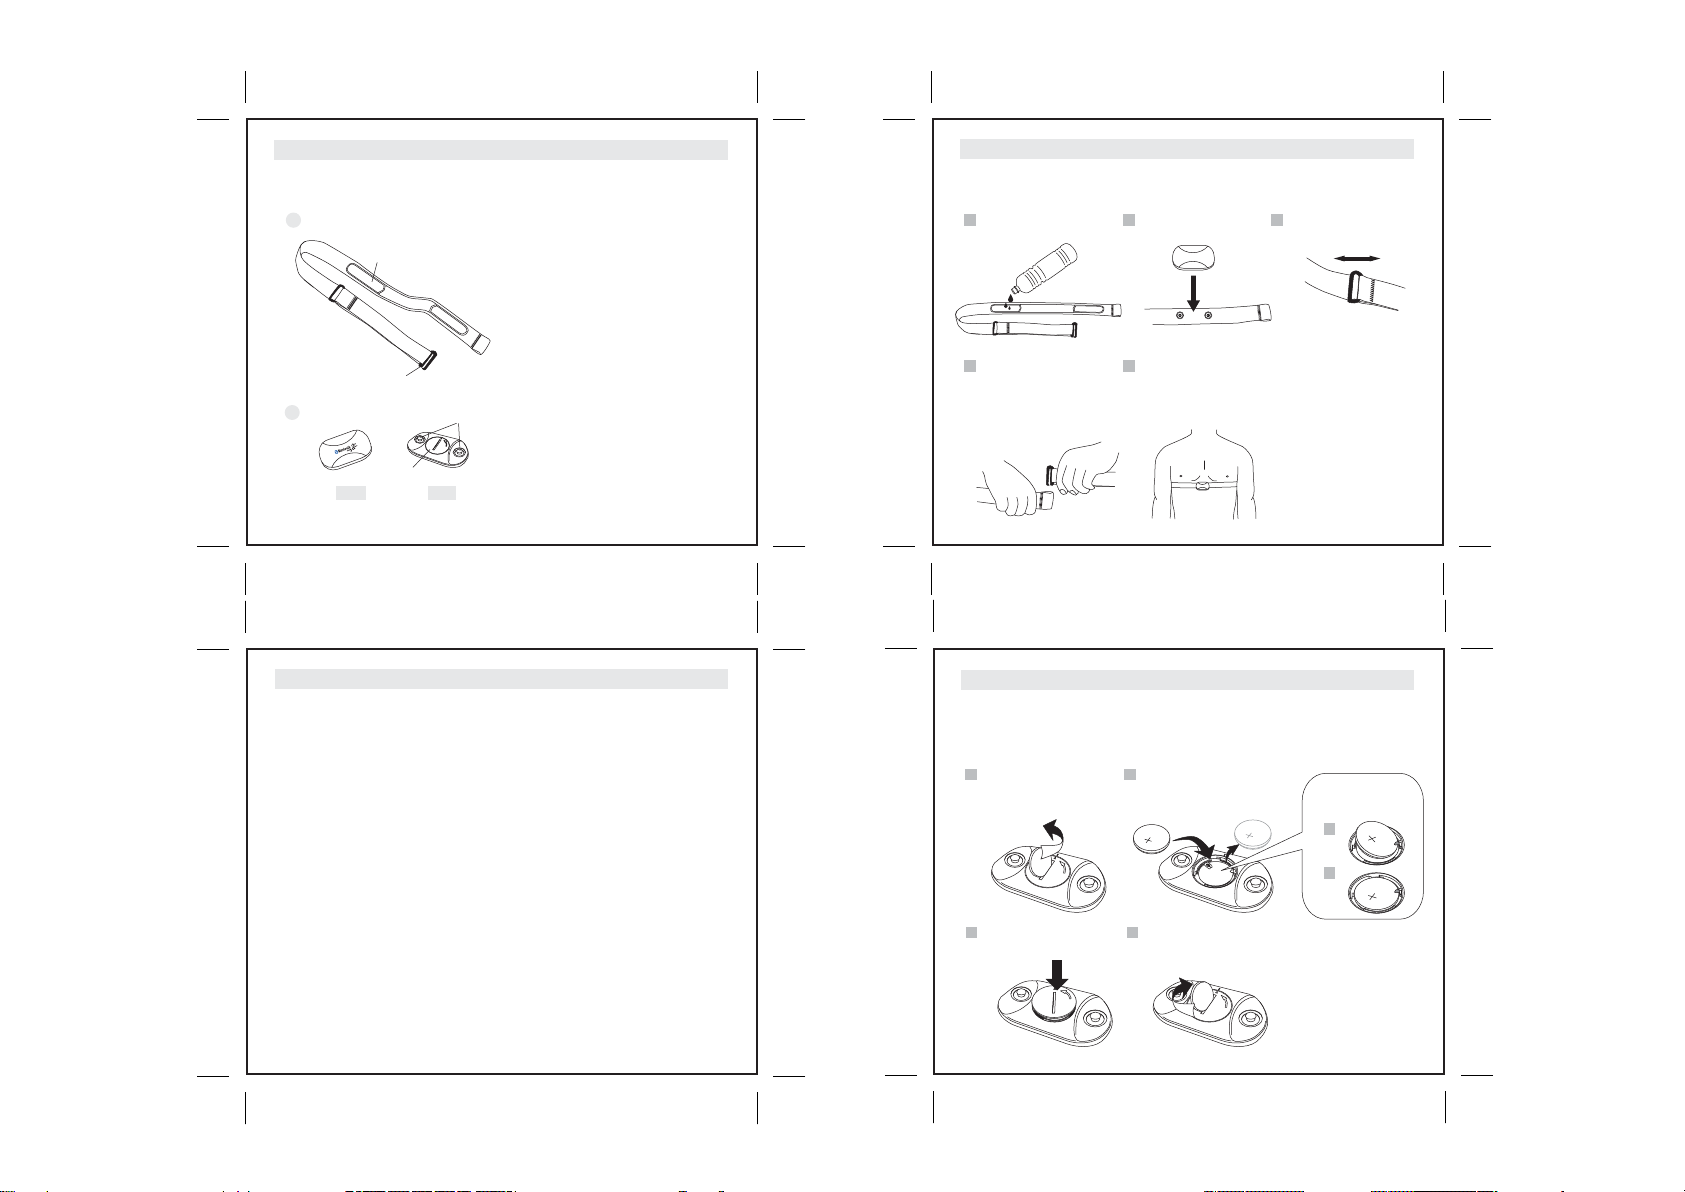
Naming of the parts:
1 Chest Strap
Electrode areas
This product includes 2 parts:
Chest Strap: To be tied around the body
Connector: To send the heart rate
signal to the receiving
device.
Electrode areas: To detect heart rate.
Hook: To fix the strap on user’s chest
2 Connector
Front Back
Hook
Battery door
Buttons
O
P
E
N
Buttons: To attach the connector to the
strap
Battery door: To cover the battery
compartment
B. Setting Up: B-02
Getting Started:
®
The heart rate sensor is compatible with Bluetooth
ready devices. It may require a separate application to view heart rate data on the
receiving device, such as a watch or a mobile phone.
Pair the heart rate sensor with the receiving device when using it for the first time.
Keep the receiving device in front of you to ensure sufficient transmission range from
the heart rate sensor to your device, such as in a front pocket or fixed on a belt.
DO NOT wear the receiving device on your back, such as in a back pocket or
backpack.
smart and Bluetooth® smart
Wear the Heart Rate Sensor:
Moisten the electrode areas
1
of the strap.
Tie the strap around your
4
chest just below the chest
muscles, and attach the
hook to the other end of the
strap.
Attach the connector to the
2
strap.
Check that the moist
5
electrode areas are firmly
against your skin and that
the logo of the connector is
in a central and upright
position.
Adjust the strap length to fit
3
tightly but comfortably.
NOTE:
Detach the connector
from the strap and rinse
the strap under running
water after every use.
Sweat and moisture may
keep the electrodes wet
and the transmitter
activated. This will reduce
the transmitter battery life.
B. Setting Up: B-03
Batteries:
All connectors have user changeable batteries. To change the battery yourself, follow
the instructions below, and see the markings on the connector.
Turn the cover counter-
1
clockwise with a coin gently
until it pops out.
O
P
E
N
Remove the exhausted
2
battery and insert a new one
(CR2032) with (-) side
against the metal contact.
CR2032
CR2032
Make sure the battery
is placed under the
golden slot.
CR2032
2a
2b
CR2032
O
P
E
N
Press the cover back into
3
the connector.
O
P
E
N
Turn the cover clockwise
4
with the coin again until the
little arrow pointed to the dot.
O
P
E
N
NOTE: Keep batteries
away from children. If
swallowed, contact a
doctor immediately.
CAUTION: Risk of
explosion if battery is
replaced by an incorrect
type.
Page 5

Operating temperature : -10°C to +50°C
*** CAUTION
Battery Safety Information
- Exhausted batteries are to be removed
- Do not dispose of product or batteries in fire; batteries may explode or leak
- If this product will not be used for an extended period of time, remove the
batteries from the product
- The supply terminals are not to be short-circuited
- Batteries are to be inserted with correct polarity
- Clean the battery contacts and also those of the product prior to battery installation
- As always, dispose of batteries in an eco-friendly manner
This product is compliant with Directives 1999/5/EC.
 Loading...