

RDH4
HYBRID DETECTOR AND CLAMP
INSTRUCTION MANUAL

SAFETY
Read the following safety instructions before attempting to operate
this product.
SAVE ALL WARNINGS AND INSTRUCTIONS FOR FUTURE
REFERENCE.
!
WARNING: Read and understand all instructions.
▪ Use the detector only with the specically designated battery.
▪ Store the detector out of reach of children and other untrained
persons.
▪ Use only accessories that are recommended for your model.
▪ Tool service must be performed only by qualied repair personnel.
Repairs, service or maintenance performed by unqualied personnel
will void the warranty. Only approved and authorised service
technicians can carry out warranty repairs.
!
WARNING: DO NOT DISASSEMBLE THE DETECTOR.
There are no user serviceable parts inside. Disassembling the
detector will void all warranties on the product. Do not modify the
product in any way.
2
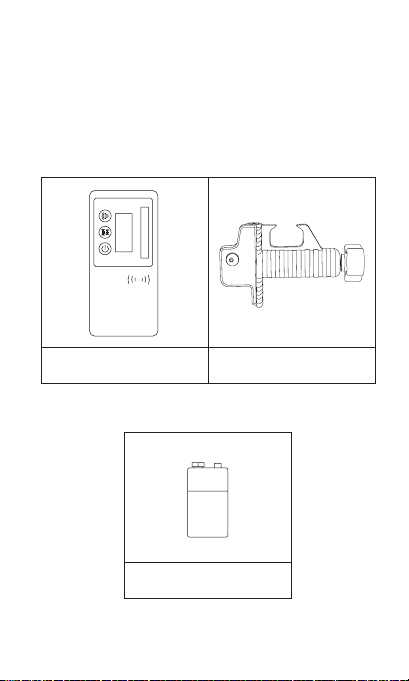
ITEM CHECKLIST
Please ensure the following items are included with your detector. If
anything is missing please contact your retailer.
Lasertec RDH4 detector Sta clamp
Alkaline battery
3

PRODUCT OVERVIEW
DETECTOR FRONT
Laser sensor
LCD display screen
Speaker on / off
Detection mode
Power on / off
Speaker
4

DETECTOR BACK
LCD display screen
Staff clamp thread
Battery compartment
5

DISPLAY SCREEN
Detection mode: fine
Arrow indicator
Centre alignment
Arrow indicator
Battery indicator
Speaker indicator
Detection mode: course
6

USING YOUR DETECTOR
POWER SUPPLY
▪ The instrument is supplied with one 9v alkaline battery as its
standard power source.
Removing & inserting the alkaline battery
▪ Remove the battery cover door and the battery.
▪ Insert the battery according to polarity and replace the battery door.
SET UP
Mounting the staff clamp
▪ Insert the staff clamp screw into the staff clamp thread.
▪ Rotate the nut until the clamp is secured in place.
OPERATION
Powering on / off
▪ Switch the detector on by pressing the power button. The LCD
screen will turn on and the speaker will emit a small tone to indicate
the instrument is operating.
▪ The LCD screen will display the battery level, detection mode,
alignment indicator and speaker function.
▪ Press and hold the power button for three seconds to turn the
detector off.
Changing detection mode
▪ The detection mode can be changed between coarse and fine
mode. Press the detection mode button to cycle through the
detection modes.
7

Speaker function
▪ Press the speaker button to tur n the speaker off. Press again to
turn the speaker on and cycle between the speaker volumes.
Operation with a rotary laser level
▪ Move the detector into the path of the laser beam.
▪ Hold the detector upright for horizontal beams or rotate 90° for
vertical beams.
▪ The direction arrows or centre alignment line on the LCD screen will
indicate the position of the laser beam.
This instrument is compatible with all Lasertec red and green
i
beam rotary laser levels and most 3rd party red and green
beam laser levels.
8

Detector position for horizontal beams
Detector position for horizontal beams
9

WARRANTY
The Lasertec RDH4 comes with a 1 year manufacturers warranty.
AUSTRALIA
"Our goods come with guarantees that cannot be excluded under the
Australian Consumer Law. You are entitled to a replacement or refund
for a major failure and for compensation for any other reasonably
foreseeable loss or damage. You are also entitled to have the goods
repaired or replaced if the goods fail to be of acceptable quality and
the failure does not amount to a major failure."
For more information please visit consumerlaw.gov.au
NEW ZEALAND
For more information please visit consumerprotection.govt.nz
CUSTOMER SUPPORT
To assist you with any queries or technical questions please contact
customer support
Australia: 1300 658 338
New Zealand: 0800 367 527
10

SPECIFICATIONS
Specications Lasertec RDH4
Product code 91830
Warranty 1 Year
Detection mode Course, ne
Speaker decibel (maximum) 70
Battery type 1x 9v
Weight (kg) 0.148
Dimensions (mm) 135 x 63 x 23
11

www.spoton.com.au
 Loading...