

LaserPoint Plus 2 Quick Start Manual
LaserPoint s.r.l. - Plus 2 - Quick Start Guide - All Rights Reserved 1
Quick Start Guide
Edition 01 – July 2014
Laserpoint srl - Via Burona, 51 - 20090 Vimodrone (Milano) - Italy
Phone +39 02 27 400 236 - Fax +39 02 25 029 161-www.laserpoint.eu

LaserPoint s.r.l. - Plus 2 - Quick Start Guide - All Rights Reserved 2
1. Q
UICK REFERENCE
The Plus 2 is a portable and lightweight Power Meter designed to measure the optical
power/energy of lasers and other light sources.
It supports Laserpoint Thermopile Head Sensors and Laserpoint Photodiode Sensors. Laserpoint
products list is available at www.laserpoint.eu.
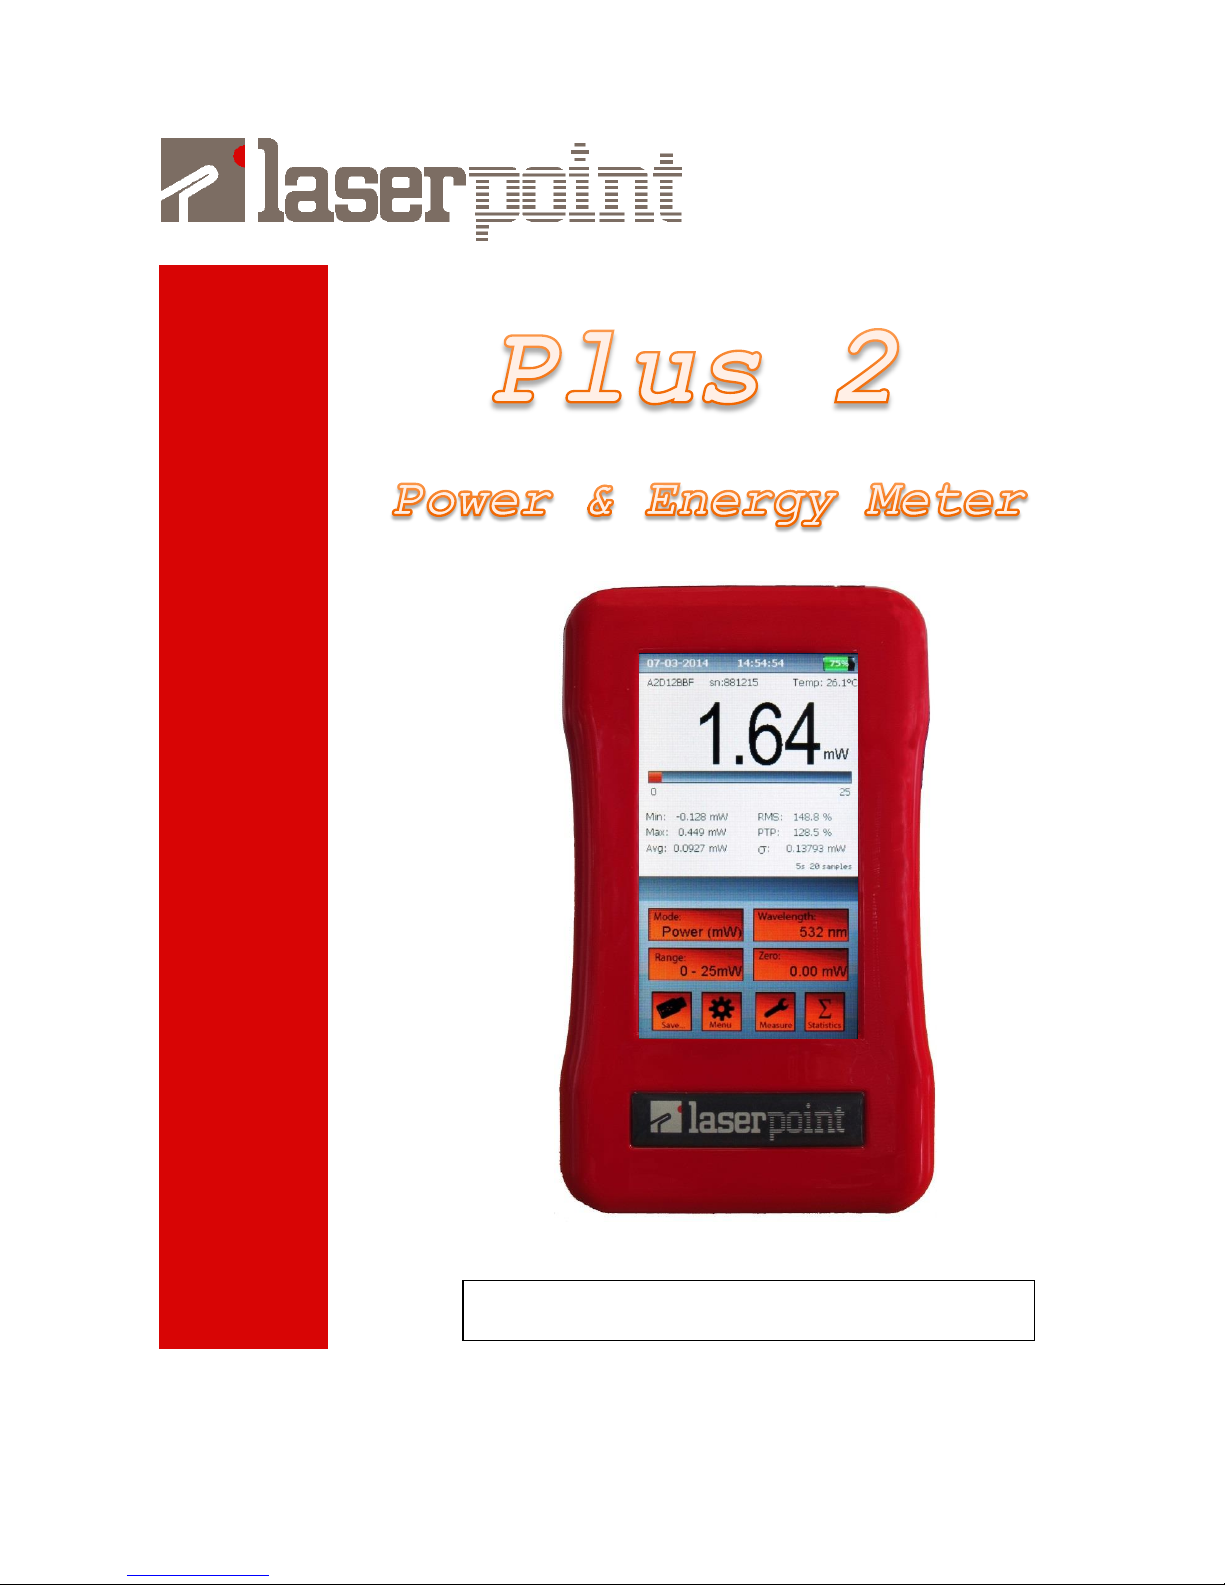
The Plus 2 is equipped with a 4.3” color touch screen display and an intuitive and ergonomic
Graphical User Interface (Figure 1), that makes all the features quickly available with just one or
two touches.
The Plus 2 offers also a configurable Analogue output, Data logging to USB memory stick, and a
USB powered and rechargeable lithium battery with a runtime up to 15hrs.
2. Q
UICK START
2.1. T
HE PLUS 2 DISPLAY
As shown in Figure 1, the touch screen display of Plus 2 is divided in horizontal sections with a
specific content:
Figure 1
The touch screen display
a) Date - Time - Battery/network icons
b) Sensor Head name and Serial number; Sensor Head
temperature (°C)
c) Numerical 4 digits display and units of measure
d) Analog bar graph tailored on the selected full scale
e) This section is meant to display statistical elaboration
of measurement (if selected), a sample counter and
the elapsed time of statistics elaboration.
This area is also used for warnings and alarms/alert
messages
f) Area for displaying the duration of the data logging
and specific measurement settings
g) Four self-explanatory function buttons: Mode,
Wavelength, Range and Zero .
h) Four functional buttons: Save, Menu, Measure and
Statistic offer a quick access to specific sub-menus.
a
b
c
d e f
g
h
LaserPoint s.r.l. - Plus 2 - Quick Start Guide - All Rights Reserved 3
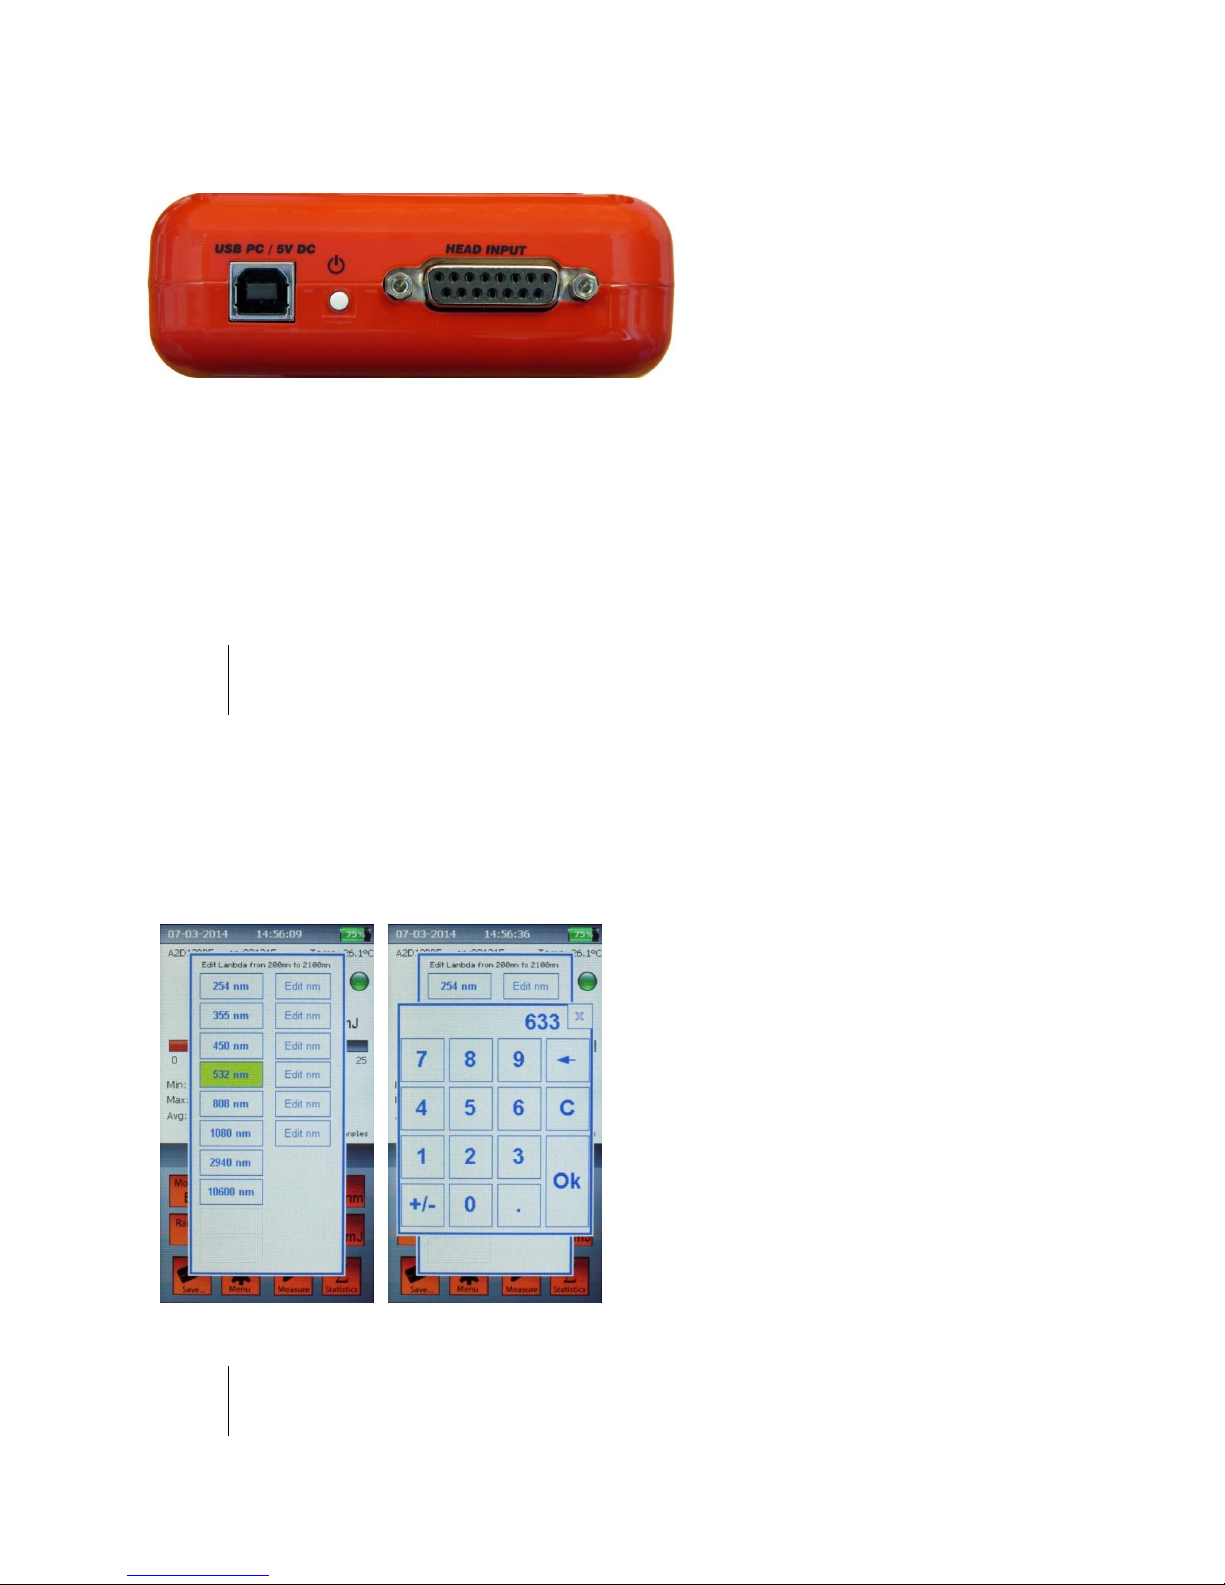
2.2. C
ONNECTING THE HEAD TO THE PLUS 2
Insert the measuring head IIS
Connector (Intelligent Identification
System) into the socket marked "Head
Input" on the top panel of the Plus 2.
(Figure 2)
Figure 2
Top Panel View
2.3. S
WITCHING ON /
OFF
THE PLUS 2:
Press the on-off button on the top panel (Figure 2) to switch on the Plus. The main screen will be
shown as in Figure 1.
Note:
The head must be plugged in before the unit is switched on. Otherwise the blinking writing "NO HEAD"
will appear and the Plus 2 will turn off in a few seconds (while in battery mode).
To turn off the Plus 2 press the on-off button for 2-3 seconds, then release it. The current Plus 2
configuration will be automatically saved.
2.4. S
ETTING THE WAVELENGTH OF LASER BEING USED
:
a) Touch the Wavelength button on the
screen of the Plus 2.
b) The “edit lambda” menu (Figure 3) will
be displayed.
c) Select a lambda from the list, or touch
“edit nm” to input the wavelength you need
(Figure 4). The wavelength must be within
the available range, that is shown on top of
the wavelength menu.
Figure 3 Figure 4
Note:
The wavelengths available, and the editable wavelength range depend on the Sensor head
characteristics and the Sensor head calibration.
 Loading...