

Page 1
on: +44 (0) 1926 818186.
Airbag Removal Warning
• You MUST follow the vehicle manufacturer’s documentation and
instructions on how to remove the airbag.
• Vehicle battery must be disconnected for at least 30 minutes (or follow
manufacturer’s recommendation) before removing airbag (remember
radio code).
• Do not probe the connectors on the airbag itself.
Our products are designed to be used correctly and with care for the purpose
for which they are intended. No liability is accepted by the Tool Connection for
incorrect use of any of our products, and the Tool Connection cannot be held
responsible for any damage to personnel, property or equipment when using the
tools. Incorrect use will also invalidate the warranty.
If applicable, the applications database and any instructional information provided
has been designed to offer general guidance for a particular tool’s use and while
all attention is given to the accuracy of the data no project should be attempted
without referring first to the manufacturer’s technical documentation (workshop or
instruction manual) or the use of a recognised authority such as Autodata.
It is our policy to continually improve our products and thus we reserve the right to
alter specifications and components without prior notice. It is the responsibility of
the user to ensure the suitability of the tools and information prior to their use.
Part No. 6323
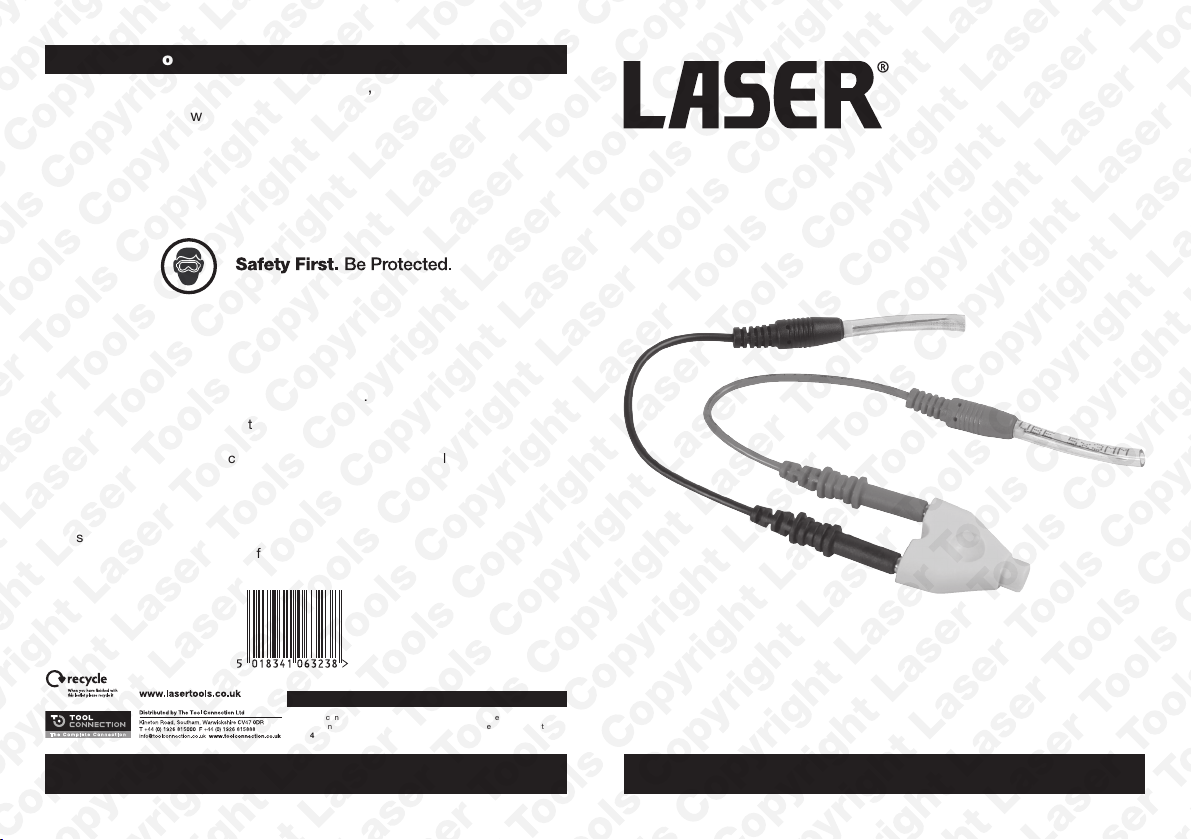
Airbag Test Resister Set
Guarantee
This item contains consumable elements that are NOT covered by the Tool
Connection Guarantee. For spares contact our service department direct
www.lasertools.co.uk www.lasertools.co.uk
Page 2
Introduction
This tool is used to assist in the diagnosis of an airbag light being
constantly on. Thus it assists in the diagnosis of a failed airbag unit,
failed airbag clock spring, seat-belt pre-tensioners, etc.
New Airbag MoT Legislation
In the UK, new legislation came into force on March 20th 2013 meaning
that MoTs become stricter in relation to airbags. From this date all
airbag warning lights (SRS malfunction warning lights) on the dashboard
must light up when the ignition is turned on and must go out once the
car is started. If the SRS malfunction warning light indicates a system
malfunction then the vehicle will fail the MoT test.
Using the Tool
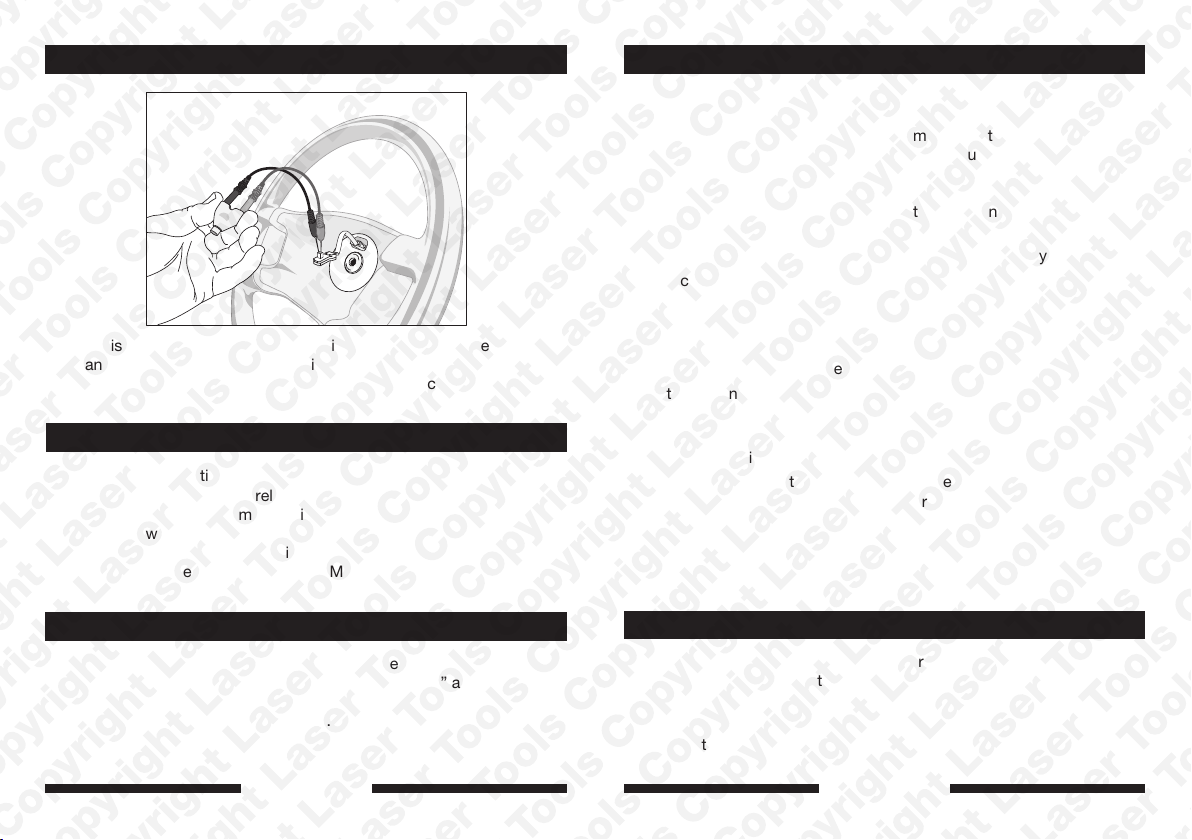
The set consists of the resistor unit, plus a positive (red) and a negative
(black) pin probe. They are connected together via the 4mm ‘banana’
type connectors. This type of connector means that the two pin probes
can also be connected to a suitably equipped multimeter for further
testing and diagnosis.
As an example of one of the many ways the tool can be used to
diagnose faults in the airbag system:
• Airbag warning light is ON (airbags have not been deployed).
• Fault codes indicate airbag circuit fault.
• Remove airbag (refer to warning section below before removing
airbag).
• Place pin probes onto airbag terminal connectors (terminal on steering
column). Position of positive or negative probes is not important.
• Switch on ignition and allow diagnostic system to go through the selfcheck procedure.
• If airbag warning light goes out, then the diagnostic test has shown
that the airbag itself is faulty.
• If airbag warning light is still illuminated, then further diagnosis is
required (wiring, connectors, or other airbag system components).
Using the Tool
The tool is a 2.5 ohms resistor with two pin probes and when connected
to the associated wiring effectively becomes a “dummy” airbag, and
allows the vehicle’s diagnostic system to identify the fault. It is used in
conjunction with a suitable code reader.
www.lasertools.co.uk www.lasertools.co.uk
2 3
Caution
• The resistance for the air bag circuits are 2.5 ohms; some other
circuits may vary so this tool is for main airbag circuit testing.
• Wear eye and hand protection when using the pin probes, they are
extremely sharp. Always replace the plastic covers over the pin probes
when not in use.
 Loading...