

Page 1
5547
Caution
• Always wear gloves, safety goggles and safety boots.
• Always tighten components to the manufacturers
recommended torque settings.
• The Tool Connection Ltd cannot accept any
responsibility for damage to the engine or personnel
through use of this tool however used.
Guarantee
If this product fails through faulty materials or workmanship, contact our service
department direct on: +44 (0) 1926 818186. Normal wear and tear are excluded as
are consumable items and abuse.
Distributed by The Tool Connection Ltd
Kineton Road, Southam, Warwickshire CV47 0DR
T +44 (0) 1926 815000 F +44 (0) 1926 815888
[email protected] www.toolconnection.co.uk
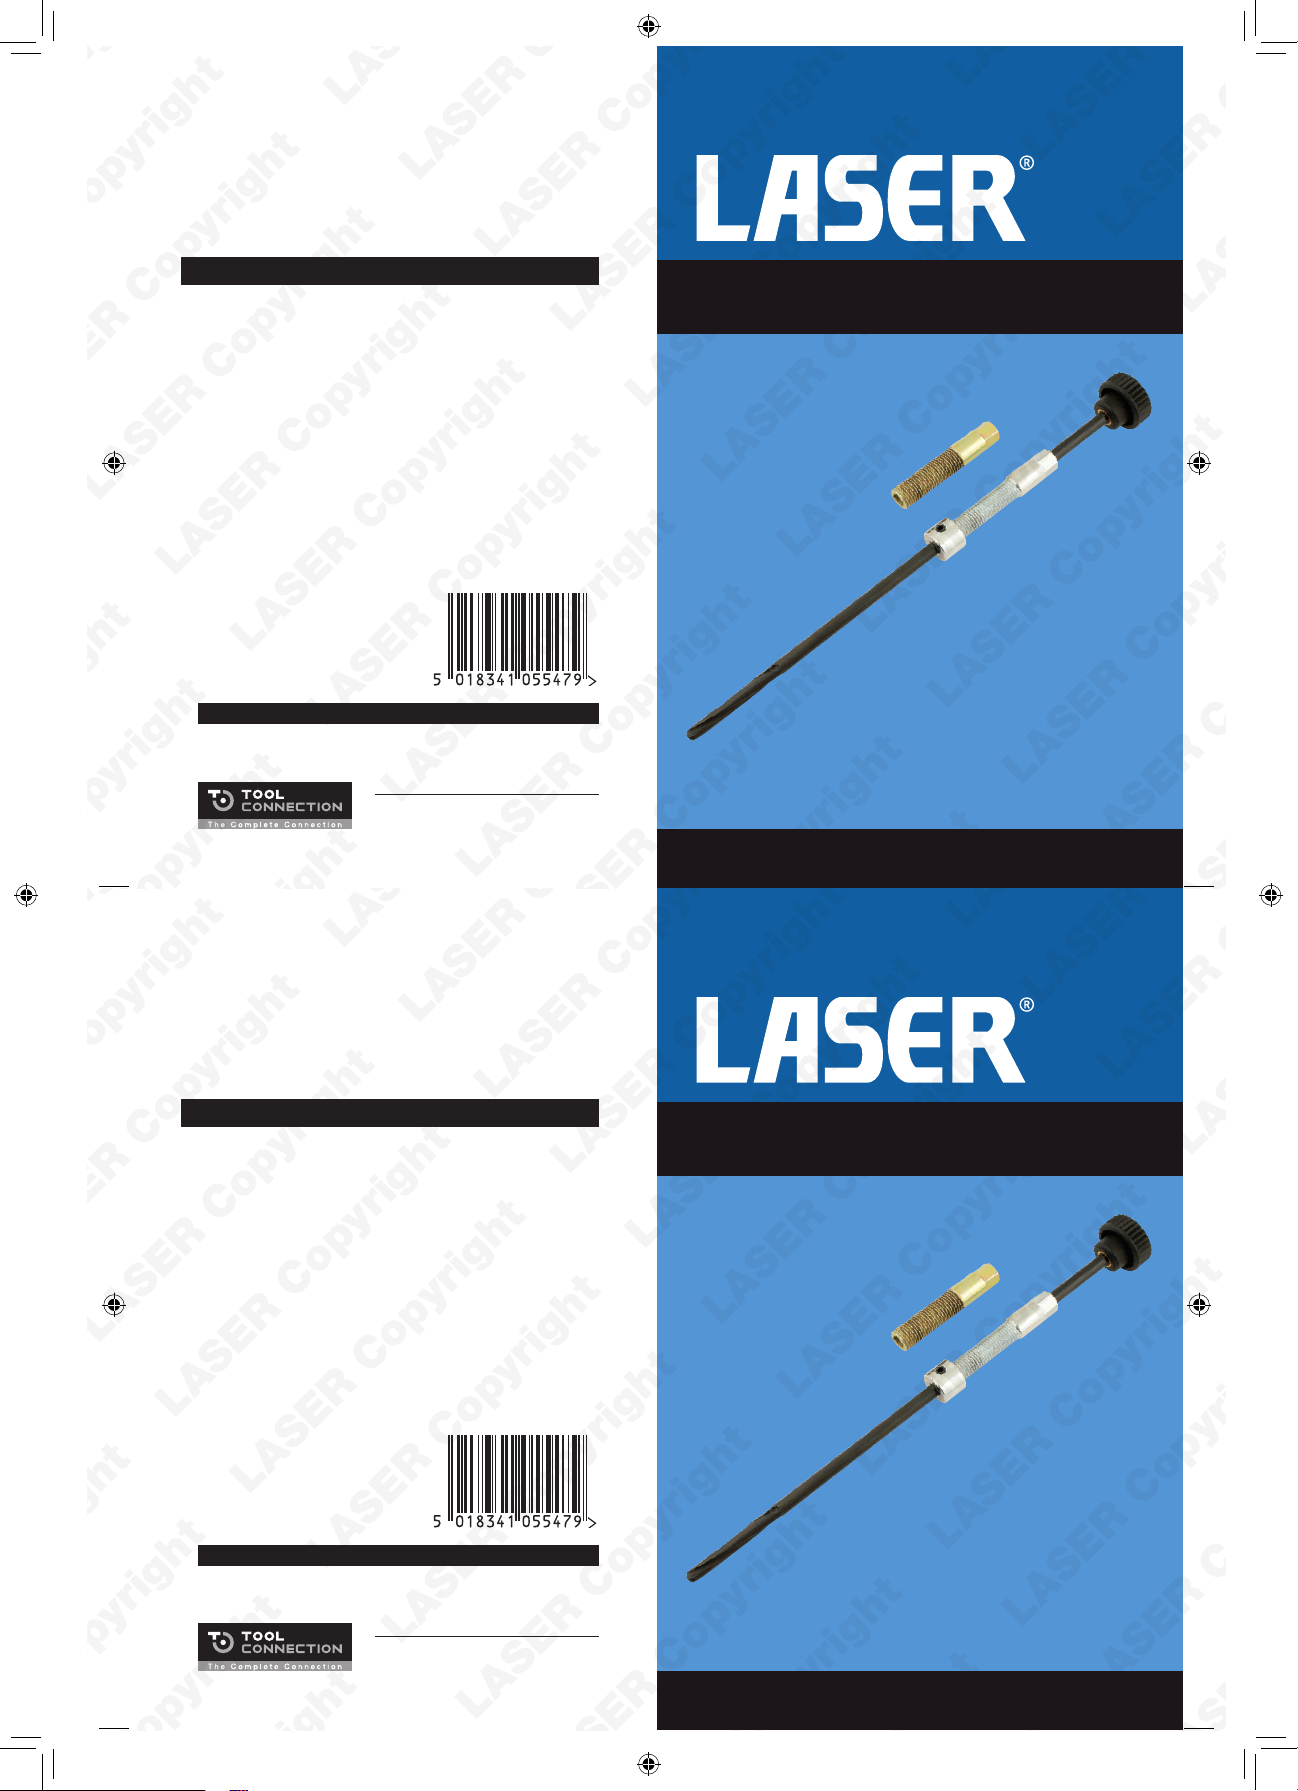
Glow Plug Aperture Cleaner
- M8 | M9
Caution
• Always wear gloves, safety goggles and safety boots.
• Always tighten components to the manufacturers
recommended torque settings.
• The Tool Connection Ltd cannot accept any
responsibility for damage to the engine or personnel
through use of this tool however used.
www.lasertools.co.uk
5547
Glow Plug Aperture Cleaner
- M8 | M9
Guarantee
If this product fails through faulty materials or workmanship, contact our service
department direct on: +44 (0) 1926 818186. Normal wear and tear are excluded as
are consumable items and abuse.
Distributed by The Tool Connection Ltd
Kineton Road, Southam, Warwickshire CV47 0DR
T +44 (0) 1926 815000 F +44 (0) 1926 815888
[email protected] www.toolconnection.co.uk
www.lasertools.co.uk
Page 2
Glow Plug Aperture Cleaner - M8 | M9
When glow plugs (diesel heater plugs) require replacing it is
best practice to properly clean out the glow plug aperture
within the cylinder head particularly around the area of the
glow plug heater element tip.
This kit has been designed to offer an adjustable cleaning
solution for M8 and M9 glow plug aperture, for use where
the original glow plugs have been removed successfully.
Not suitable for drilling out or extracting broken glow plugs.
Instructions for use:
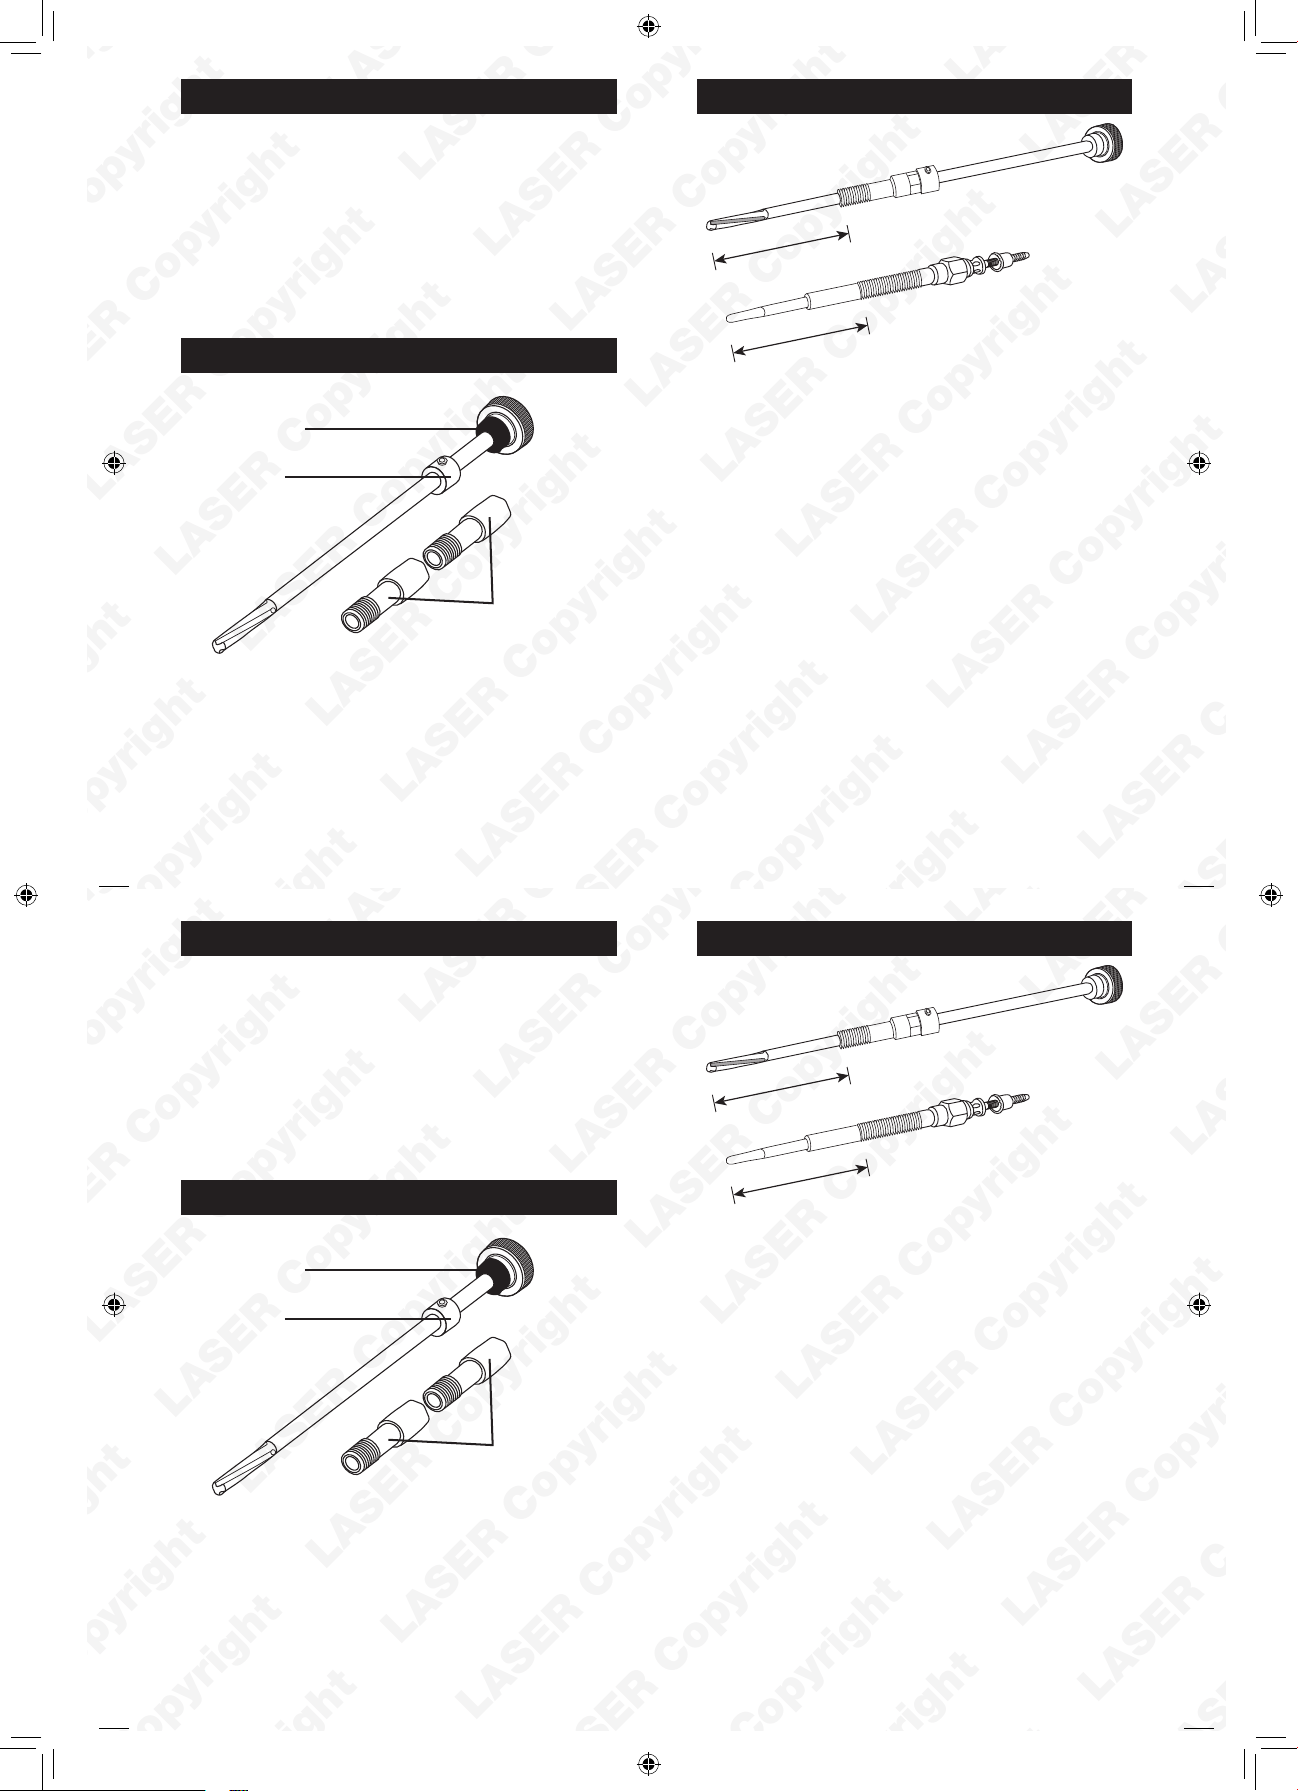
Cleaner Shaft
Depth Stop
Guide bushes
(M 8 x 1.0 and
M9 x 1.0)
Instructions for use:
X
X
4. Ensure the glow plug aperture threads are clean and
free from debris before fitting the threaded guide into
the aperture.
5. Slide the threaded guide off and screw it carefully into
the glow plug aperture.
6. Fill the flutes of the cleaning shaft with clean grease and
insert into the threaded guide whilst turning the shaft in
a clockwise direction.
7. Continue to turn the cleaning shaft until the stop
touches the top of the threaded guide.
8. Continue turning the cleaner shaft in a clockwise
direction as the shaft is removed.
X = the length from the
bottom of the glow plug
thread to the tip of the
glow plug.
1. Identify the appropriate threaded guide bush by
matching the threads to the new glow plug
2. Slide the depth stop onto the cleaning shaft followed by
the appropriate threaded guide
3. By comparing the length of the new glow plug to the
assembled tool, set the cleaner length so that the tip of
the cleaner shaft matches the length of the glow plug
and tighten the grub screw in the depth stop.
Glow Plug Aperture Cleaner - M8 | M9
When glow plugs (diesel heater plugs) require replacing it is
best practice to properly clean out the glow plug aperture
within the cylinder head particularly around the area of the
glow plug heater element tip.
This kit has been designed to offer an adjustable cleaning
solution for M8 and M9 glow plug aperture, for use where
the original glow plugs have been removed successfully.
Not suitable for drilling out or extracting broken glow plugs.
Instructions for use:
Cleaner Shaft
Depth Stop
Guide bushes
(M 8 x 1.0 and
M9 x 1.0)
Note:
Whilst the use of grease on the cleaner shaft will help
any dirt and carbon to stick to the shaft it cannot be
guaranteed that carbon will not drop into the cylinder. To
further help prevent this it is advised that the injectors be
removed and a suitable air adaptor fitted so compressed
air can be forced into the cylinder which will in turn help
push any loose carbon deposits out of the glow plug
aperture.
Instructions for use:
X
X
4. Ensure the glow plug aperture threads are clean and
free from debris before fitting the threaded guide into
the aperture.
5. Slide the threaded guide off and screw it carefully into
the glow plug aperture.
6. Fill the flutes of the cleaning shaft with clean grease and
insert into the threaded guide whilst turning the shaft in
a clockwise direction.
7. Continue to turn the cleaning shaft until the stop
touches the top of the threaded guide.
8. Continue turning the cleaner shaft in a clockwise
direction as the shaft is removed.
X = the length from the
bottom of the glow plug
thread to the tip of the
glow plug.
1. Identify the appropriate threaded guide bush by
matching the threads to the new glow plug
2. Slide the depth stop onto the cleaning shaft followed by
the appropriate threaded guide
3. By comparing the length of the new glow plug to the
assembled tool, set the cleaner length so that the tip of
the cleaner shaft matches the length of the glow plug
and tighten the grub screw in the depth stop.
Note:
Whilst the use of grease on the cleaner shaft will help
any dirt and carbon to stick to the shaft it cannot be
guaranteed that carbon will not drop into the cylinder. To
further help prevent this it is advised that the injectors be
removed and a suitable air adaptor fitted so compressed
air can be forced into the cylinder which will in turn help
push any loose carbon deposits out of the glow plug
aperture.
 Loading...