

Page 1
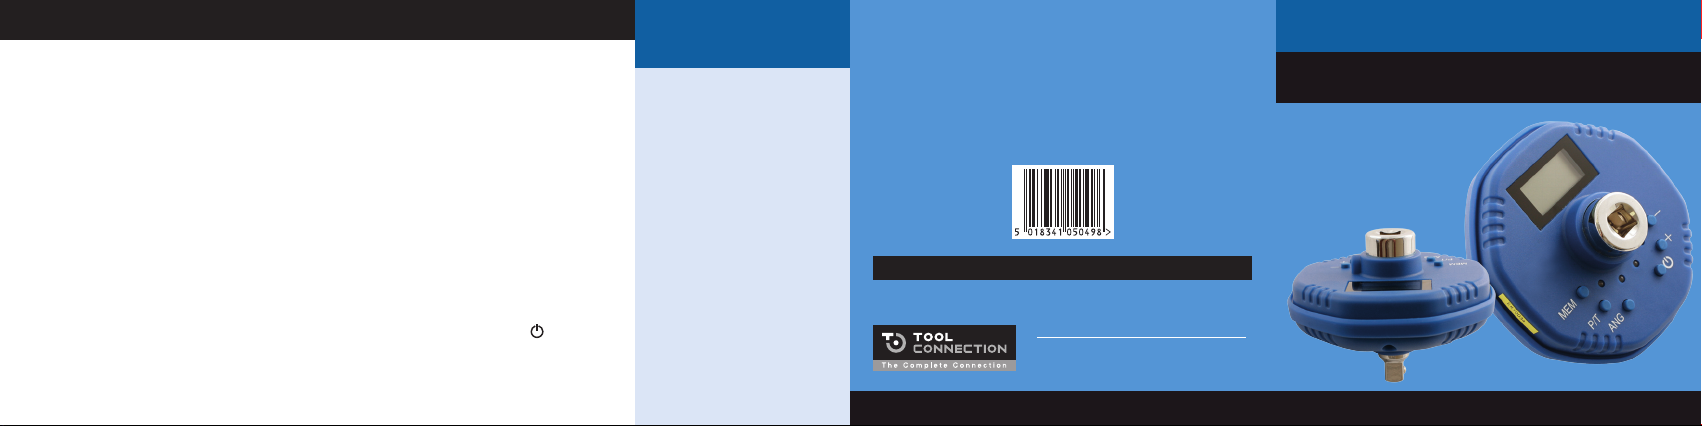
Ho w to us e Digit a l Torq u e An g l e Ada p t o r – 3 / 8 "D
Using the Torque
Adaptor
1. When you start to use the
adaptor the indicator will
flash GREEN
2. When you reach 20%
from target the adaptor
will flash YELLOW and an
intermittent buzzer will be
heard.
3. When the target is
reached a RED light will
appear and the buzzer
will be continuous.
Peak and Trace
With the adaptor switched
on by pressing the P/T button
you can select Peak or Trace
Peak
This will give the value as
detailed above
Trace
This will show the increase
in increments on the display
until the targeted value is
reached
Angle Functions
1. After torque loading
has been applied the
additional angular
movement can be
achieved
2. Place adaptor on a flat
surface
3. Press and release the ANG
(Angle) button
4. The display will show 0°
5. Turn the adaptor clockwise
for positive angle (+5)
6. Turn the adaptor
anti-clockwise for negative
angle readings (-5)
7. Stop when the correct
angle reading is displayed
Memory
The adaptor can hold up to 50
readings
To display the Memory
1. Turn on the adaptor
2. Press MEM for 1 sec and
release
3. By pressing this button the
adaptor will run through
the last 50 stored readings
(Latest P01- Oldest P50)
Recalibration
To recalibrate the torque
angle adaptor hold MEM
(Memory) and
together
(Power)
Safety precautions
– PLEASE READ
• Store in a clean dry place
• Use a soft, dry cloth to
clean the adaptor and
display panel
• Never submerge the
adaptor in water
• Only use the adaptor for
the purpose it is intended
• Do not exceed the
permitted torque
• D o not use the adaptor
if it appears to be
malfunctioning
• Do not disassemble the
adaptor
• Do not expose the adaptor
to extreme temperatures,
humidity, direct sunlight
or shock
• Recalibrate when
necessary
Guarantee
If this product fails through faulty materials or workmanship, contact our service department
direct on: +44 (0) 1926 818186. Normal wear and tear are excluded as are consumable
items and abuse.
Distributed by The Tool Connection Ltd
Kineton Road, Southam, Warwickshire CV47 0DR
T +44 (0) 1926 815000 F +44 (0) 1926 815888
[email protected] www.toolconnection.co.uk
www.lasertools.co.uk
5049
Digital Torque Angle Adaptor - 3/8"D
Part No. 5048
www.lasertools.co.uk
Page 2
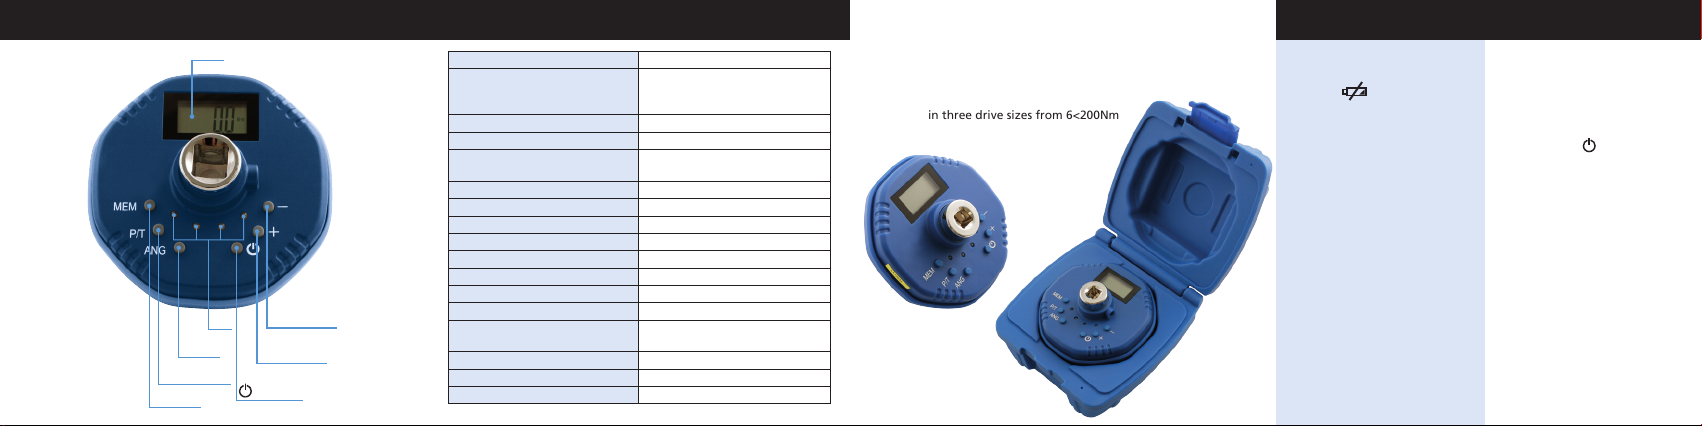
Components & Features Specifications
LCD
Angle
Peak / Trace
Memory
LED
- (Decrease)
+ (Increase)
(Power)
Torque Accuracy ±2%
Angle Accuracy
Memory 50 readings
Display resolution Torque : 0.1 Angle : 1
Display range
Drive 3/8”D
Operation Mode Peak/Trace
Unit Selection Kg-m | Lb-ft | Nm
Dimension 75mm
Width 101mm
Weight 270gms
Battery AA x 2 (supplied)
Battery Life 110hrs (coninuous operation)
Ambient Temperature (Oper-
ating)
Storage Temperature -20ºC - 70ºC (-4ºF - 157.9ºF)
Relative humidity (Operating) 15 to 90% (non-condensing )
Auto shut off when not in use 80secs
(± 1% of reading) + (± 1% @
angular velocity > 10º/sec < 180º/
sec) +(± 1% of Text Texture)
27<135Nm, (19.9-99.6 Lb-ft)
Angle 5<360º
-10ºC - 60ºC (13.9ºF - 139.9ºF)
This digital torque angle adaptor combines a torque wrench
27-135Nm and 5-360° angle gauge.
Developments in modern technology have resulted in specifications
for tightening fasteners to a lower torque threshold and then
rotating the fastener through a further specified angle, thus the
use of this tool is now essential.
Available in three drive sizes from 6<200Nm
How to use Digital Torque Angle Adaptor – 3/8"D
Low battery warning
1. When the battery is low
2. Typical battery life if
3. Always remove the battery
4. The adaptor will
) light will appear
the (
110hours at continuous
use
if stored for long periods
automatically shut down if
unused for 80 secs
To replace the battery
1. Turn off power
2. With Ph1 precision
screwdriver remove the
2 screws from the square
plate on the drive side of
the adaptor
3. Remove the batteries and
discard in accordance with
local authority guide lines
4. Replace the batteries with
Negative (-) end towards
the spring
5. Replace the cover & screws
Power On
1. Press the ( ) button
2. After 2 seconds the
adaptor will show 0.0 and
the torque measurement
selected
3. By pressing MEM and P/T
together you can scroll
through the selection of
torque measurements,
stopping at the selected
torque required.
Select Target Torque Value
1. To increase or descrease
the target torque required
press the + or – button
2. After 10 seconds the value
will display 0.0
 Loading...