

Landmann 0054 Assembly Instruction Manual
1
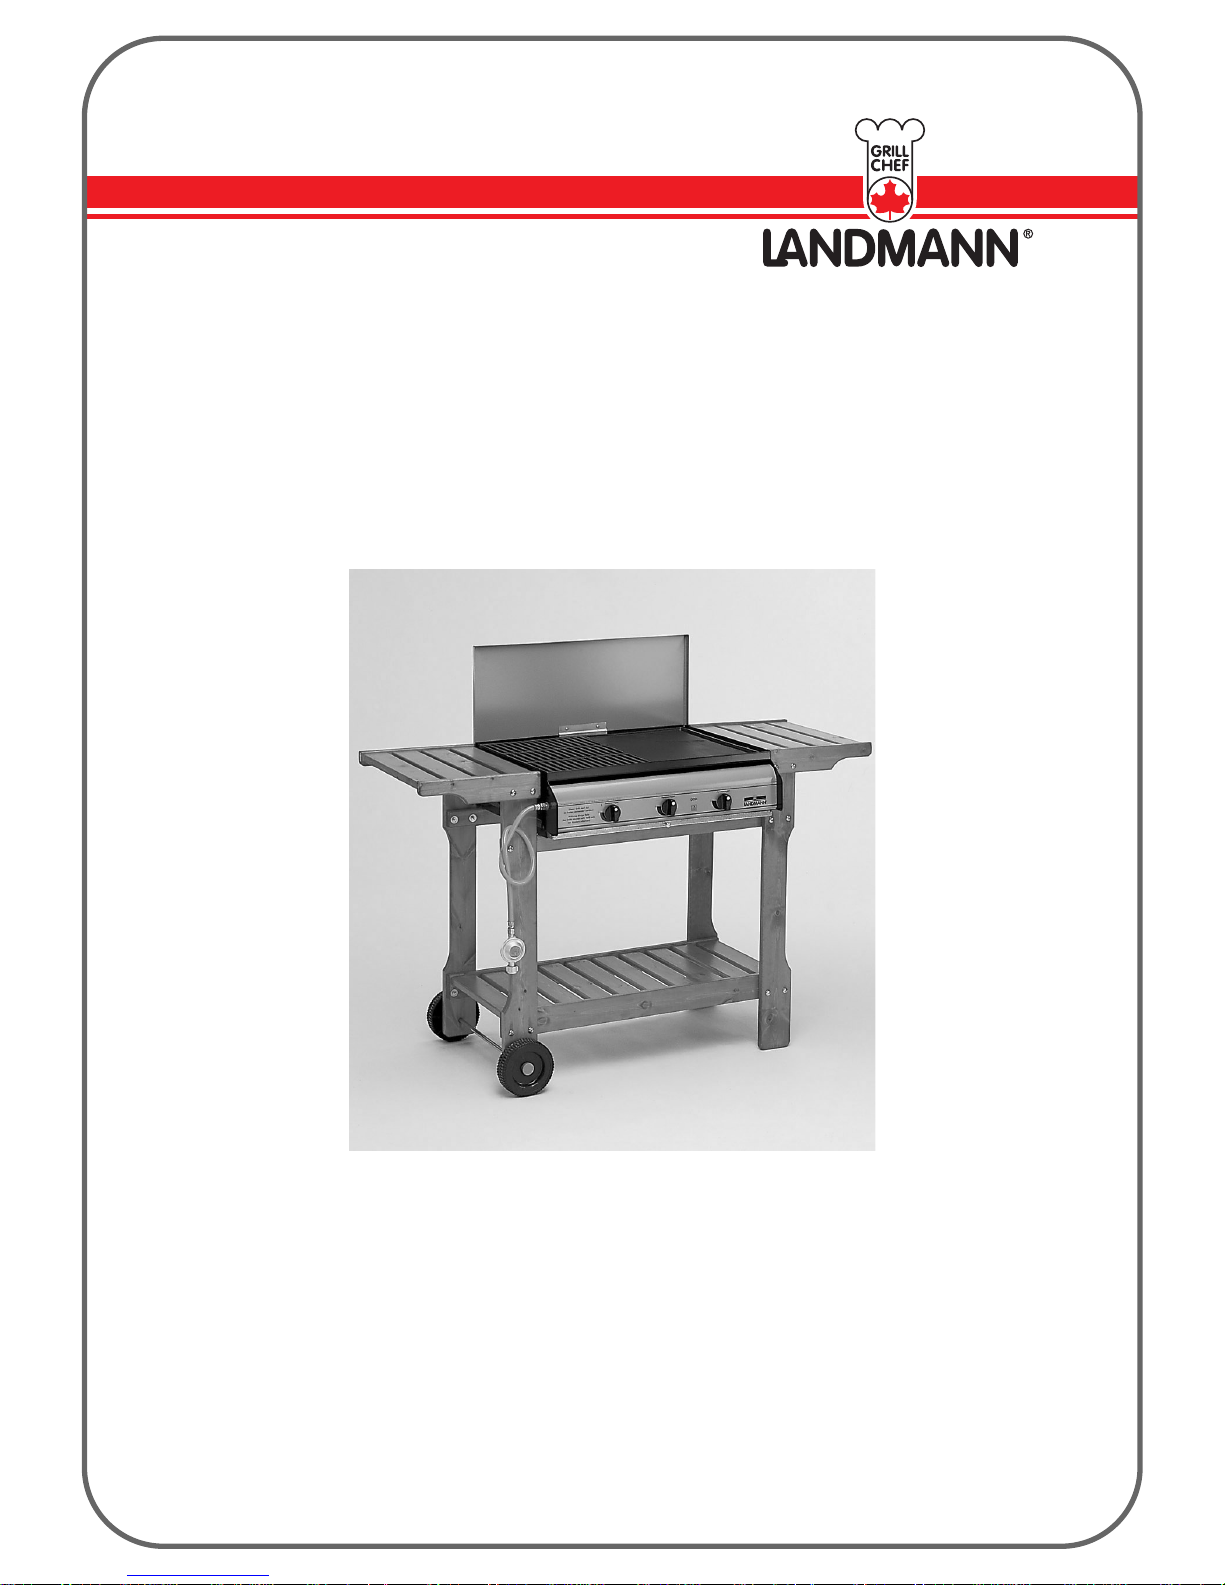
Assembly Instruction for
flat bed BBQ Art.-No. 0054
0054UK 10/04bt-rk
IMPORTANT:
READ ALL INSTRUCTIONS AND OPERATIONS
BEFORE OPERATING THIS UNIT.
FOLLOW THE CORRECT LIGHTING AND USAGE
PROCEDURES. HANDLE MET AL PARTS WITH CARE
TO AVOID INJURIES. FOLLOW ALL STEPS IN
ORDER. NEVER ALLOW CHILDREN TO OPERATE
THIS UNIT.

2
Contents:
1.: Technical data
2.: Function
3.: Single part list & exploring drawing
4.: Mounting Steps
5.: Preparation
6.: Installation
7.: Warning and safety points
8.: Safety precautions
9.: Lighting instructions
10.: Storage
11.: Cleaning instructions
12.: Barbecue Safety Hints
Warnings:
Ensure to use this appliance outdoors.
Do not attempt to move this appliance during
operation. Never leave fuel cylinder attached to
regulator if disconnected from burner tube.
Attention:
Some parts of this appliance become
very hot, take special care when children or elderly are present
For your safety:
Do not store or use gasoline or methylated fuels
or any other flammable vapours and liquids in the
vicinity of this or any other appliance.
Never light a barbecue with gasoline or
comparable fluids !

3
1.:Technical Data
Gas: LPG (Propane)
Gas Bottle: Propane Gas Bottle with 27mm Clip valve
Pressure: Propane at 37 Mbar
3+ (28-30/37)
Consumption: 1,2 kg / h
Power: approx. 16,5 kW
Weight: approx. 18 kg
Overall dimensions: approx. W 134 cm, D 59 cm, H 59,8 cm
Cooking Area: approx. 64 x 49 cm
Burner set: adjustable
Ignition: Piezo Ignitor
Lava rocks: 1 Bag
The capacity of a 15 kg Butane Gas Bottle is sufficient for
a heating period of approx. 12,5 hours with full power.
You have purchased a high quality LANDMANN
Gas Appliance. This appliance has been made with
regard to the European Gas Standard (EN 498)
and bears the certification no.
CE - 0085.
The gas hose assembly that is enclosed with this
appliance conforms to British Standard BS 3212.2.

4
2.: Function
a) Pilot Gas Control Ignition:
With all gas controls on the Barbecue in the 'OFF' position, turn the gas cylinder valve
to the on position on the regulater. Push in the Barbecue ignition gas control knob and
turn anticlockwise until spring resistance is felt. Hold in this position for 3-5 seconds
to allow gas flow, and then continue to turn anticlockwise to 'HIGH"' position. Keep
the knob pressed in until the burner is seen to be alight. When the burner is alight,
adjacent burners will cross light when their controls are turned to 'HIGH'.
b) Manual Ignition:
With all the gas controls in the 'OFF' position, turn the gas cylinder valve on the regulator
to the on position. Lift out one of the cast iron cooking grills and holding a lighted taper
or gas match alongside the burner, push in and turn the gas control knob for that burner
to 'HIGH'. The burner will light in seconds. Replace the cast iron cooking grille. Once
the first burner is alight, adjacent burners will cross light when their gas controls are turned
to 'HIGH'.
At 'HIGH' setting the burner flame should be approximately 12-20mm long with a
minimum of yellow tipping. Turn the gas control fully anticlockwise for minimum setting.
Should you have any difficulty lighting your barbecue following the above steps, contact
your dealer for advice.

5
3.: Single part list / Exploring drawing
1. Raincover 1
2. Handle clip 1
3. Raincover handle 1
4. Cooking grill 1
5. Hot plate 1
6. Burner 3
7. BBQ body (pre-assembled) 1
8. R Clip 3
9. Knob 3
10. Cross Lighting tube 2
11. Front panel 1
12. Regulator 1
13. Hose 1
14. Gas control bar 1
15. Valve with ignitor 1
16. Valve 2
17. Drip pan 1
18. Drip pan handle 1
19. Gas Hose connection 1
20. Screw Ø4x10 with washer 2 Self tappers
21. Bolt M6x12 1
22. Nut M6 1
23. Screw Ø5x6 1
24. Screw Ø4x10 with washer 2
25. Lava rocks 1 Bag
26. Lava rock grid 1
 Loading...