Lainox CEV 4 x GN 2/3, CME 4 x GN 2/3, CVE 4 x GN 2/3, CVG 4 x GN 2/3, CEV 6 x GN 2/3 User guide

...

USER’S MANUAL

COMBINATION OVEN WITH DIRECT STEAM AND WITH STEAM GENERATOR

C O M PA C T

V E R S I O N S

EN

Technical service

90026410rev01

MODELS

CEV ....

CME .... / CVE .... / CVG ....

CAPACITY

4 x GN 2/3

(024)

6 x GN 2/3

(026)

6 x GN 1/1

(061)

10 x GN 1/1

(101)


Lainox CEV 4 x GN 2/3, CME 4 x GN 2/3, CVE 4 x GN 2/3, CVG 4 x GN 2/3, CEV 6 x GN 2/3 User guide

CONTENTS


PAGE

1

• GENERAL REMINDERS

4

2

• POINTS TO REMEMBER

5

3

• DESCRIPTION OF KEYS

6

4

• MANUAL SETTINGS FOR ONE-PHASE COOKING

8

5

• SETTING THE OVEN MANUALLY FOR COOKING WITH TWO OR MORE CYCLES IN SEQUENCE

10

6

• ENTERING AND SAVING A PROGRAM

12

7

• SELECTING AND STARTING A SAVED PROGRAM

13

8

• DELETING A SAVED PROGRAM

14

9

• TEMPORARILY ALTERING A SAVED PROGRAM

14

10

• SELECTING AND STARTING A PRE-STORED RECIPE

15

11

• TEMPORARILY CHANGING A STORED RECIPE

16

12

• SETTING THE CORE PROBE

17

13

• AUTOMATIC HUMIDITY CONTROL SYSTEM

19

14

• PARTICULAR PROGRAMS

20

15

• OPERATING DETAILS

23

16

• USEFUL TIPS

24

17

• ROUTINE MAINTENANCE

25

18

• NON-ROUTINE MAINTENANCE

25

19

• SETTING THE DATE AND TIME

26

20

• DOWNLOAD HACCP LOG

27

21

• IMPORT/EXPORT RECIPES

28


• SPECIAL PROGRAMS

29

22

• SPECIAL PROGRAMS - CALOUT

30

23

• SPECIAL PROGRAMS - MC CAL - HC CAL

31


• SPECIAL PROGRAMS - MANUAL AND AUTOMATIC CLEANING

32

24

• SPECIAL PROGRAMS - MANUAL CLEANING

33

25

• SPECIAL PROGRAMS - WASHING KIT

34

26

• DESCALING THE BOILER

36

27

• SELF-DIAGNOSIS AND FAULT IDENTIFICATION

38

28

• PRE-STORED RECIPES

42

VERSIONS

S - Manual electronic controls - Programmable with 99 programs, with automatic 4-cycle sequence - Dedicated key for managing 4 cycles, with displaying LED - Alphanumerical displays - Over 90 tested and memorized recipes (Version S with core probe) - Direct access key to programs and recipes - AUTOCLIMA with automatic vent - Fast-Dry: Rapid humidity evacuation system - Self-diagnosis - Autoreverse (automatic inversion of direction of fan rotation) - Standard semi-automatic washing program - USB interface for software update, cooking programs and HACCP data download - Controls for: humidifier, quick cavity cooling with door open, cavity lights, manual vent control (Fast-Dry system).

OPTIONAL: - Core probe - 2 speed fan - Hand shower - Automatic washing system

The manufacturer accepts no liability for any inaccuracies in this manual attributable to printing or copying errors. We reserve the right to modify our products as we deem fit, without impairing their basic features.

The reproduction or copying of any part of this manual by any means whatsoever is strictly forbidden unless authorized previously in writing by the manufacturer.

- ORIGINAL INSTRUCTIONS -

3

90026410rev01

1 • GENERAL REMINDERS

Repairs may become necessary over time; these and all major servicing operations must be performed exclusively by technicians employed by the manufacturer or an authorized service centre.

1.1• Carefully read the directions given in this manual; they contain important information on safety during installation, operation and maintenance.

Keep this manual in a safe place for future consultation!

1.2• This appliance must only be used as specified in the design: i.e. cooking foods. Any other type of use is improper and therefore dangerous.

1.3• Only suitably trained kitchen personnel should be allowed to use the appliance.

1.4• The oven must not be left unattended during operation.

1.5• There are surfaces of the oven that become hot during operation. Take care!

1.6• Ask the installer for information on correct operation and use of the water softener; incorrect or incomplete maintenance is at the origin of the formation of scale, which would badly damage the oven.

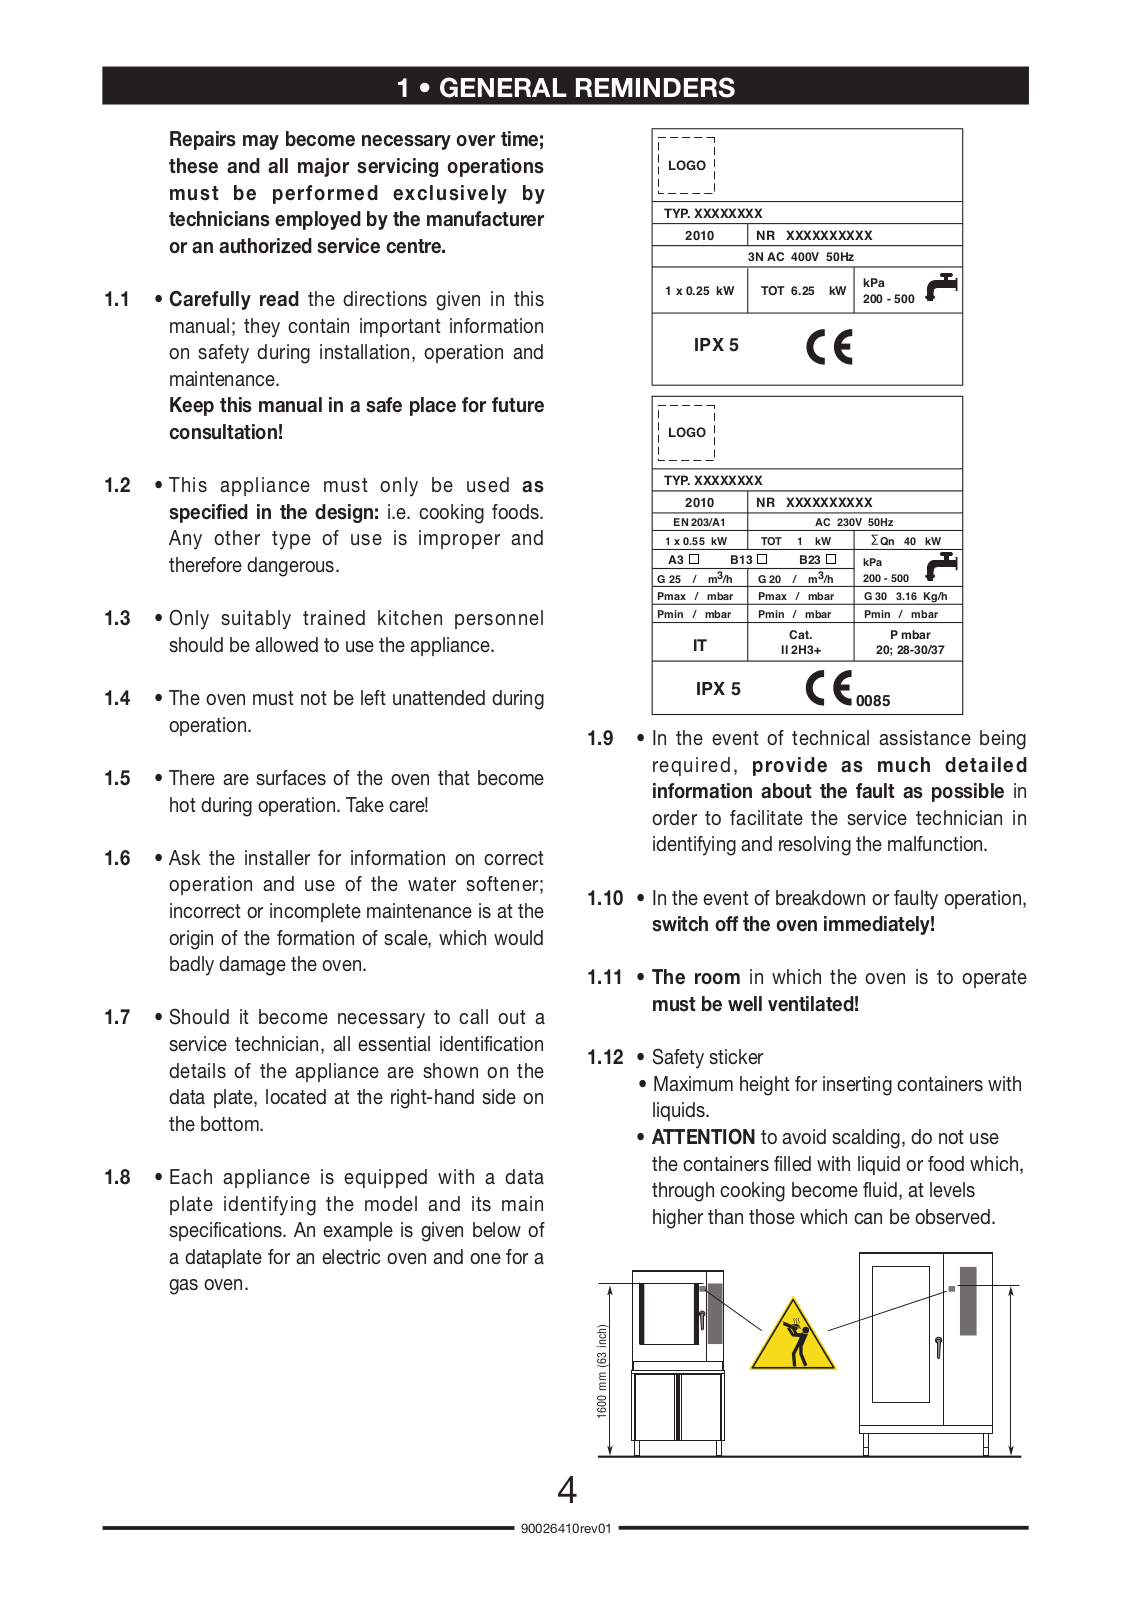
1.7• Should it become necessary to call out a service technician, all essential identification details of the appliance are shown on the data plate, located at the right-hand side on the bottom.

1.8• Each appliance is equipped with a data plate identifying the model and its main specifications. An example is given below of a dataplate for an electric oven and one for a gas oven.

LOGO

TYP. XXXXXXXX

2010 NR XXXXXXXXXX

3N AC 400V 50Hz

1 x 0.25 kW

TOT 6.25 kW

kPa


200 - 500


IPX 5

LOGO

TYP. XXXXXXXX


2010


NR XXXXXXXXXX


EN 203/A1


AC 230V 50Hz


1 x 0.55 kW


TOT

1

kW

Qn

40 kW

A3


B13


B23

kPa


G 25

/

m3/h


G 20

/

m3/h

200 - 500


Pmax

/

mbar


Pmax

/

mbar

G 30

3.16 Kg/h

Pmin

/

mbar


Pmin

/

mbar

Pmin

/ mbar


IT


Cat.

P mbar


II 2H3+

20; 28-30/37


IPX 5

0085


1.9• In the event of technical assistance being required, provide as much detailed information about the fault as possible in order to facilitate the service technician in identifying and resolving the malfunction.

1.10• In the event of breakdown or faulty operation, switch off the oven immediately!

1.11• The room in which the oven is to operate must be well ventilated!

1.12• Safety sticker

Maximum height for inserting containers with liquids.

ATTENTION to avoid scalding, do not use the containers filled with liquid or food which, through cooking become fluid, at levels higher than those which can be observed.

<![if ! IE]>

<![endif]>1600 mm (63 inch)

90026410rev01

2 • POINTS TO REMEMBER

2.1• Before any food is cooked in a new oven, the interior must be thoroughly cleaned (see “Daily Cleaning”).

2.2• At the end of the working day, clean the oven thoroughly inside and out; this will ensure smooth operation of the appliance and prolong its useful life.

2.3• Do not use high pressure water jets when cleaning the oven!

2.4• For daily cleaning, use only alkali based products suitable for the purpose. Do not use abrasive materials or products as they will damage the oven surfaces.

2.5• Always switch off the appliance when work is finished, shutting off all utilities (electricity, water, and gas if connected).

!

2.9 • CAUTION

No cooking with alcohol added is permitted!

2.10• Failu re t o observ e basi c safety guidelines may jeopardize the smooth operation of the oven and expose the operator to serious danger!

The manufacturer accepts no liability if the original function of the oven is altered or there is tampering or failure to observe the instructions given in the manuals.

2.6• Avoid any operation that might cause cooking salt to be deposited on the steel surfaces of the oven; if salt is accidentally spilled, rinse off thoroughly without delay.

2.7• After steam cooking, open the door carefully to avoid being hit by the rush of residual steam escaping from the oven.

Failure to observe this warning may be dangerous for the operator.

2.8 • To ensure safe operation of the oven, do not obstruct the vents or any other opening on the oven!

2.11• To ensure long term efficiency and reliability of the oven, scheduled servicing should be carried out at least once a year. With this in mind, customers are recommended to sign a service agreement.

90026410rev01

3 • DESCRIPTION OF KEYS

3.1

• CYCLES (KEY 1)

3.8 • AUTOMATIC HUMIDITY


Allows to set, recall and display the cooking

CONTROL KEY (KEY 12)


cycles.

This key also performs the function of a


The LEDs on with a fixed light indicate the

manual humidifier when pressed with


cycles set.

cooking in progress (key light on).


The flashing LED indicates the cycle in

This function is useful for foods that


progress.

require added humidity when cooking.


Press the key and hold for as long as it is

3.2

• CONVECTION (KEY 2)

wished to let moisture into the oven, the


CONVECTION cooking mode key.

corresponding LED will light up for as long


as the key is pressed.

3.3

• STEAM (KEY 3)


STEAM cooking mode key.

Note: The appliance is fitted with


a n automati c syste m fo r reducing

3.4

• COMBI (KEY 4)

the cavity temperature in all cooking


COMBI cooking mode key.

modes. If the temperature exceeds the


display setting by 30°C, the humidifier

3.5

• FAN SPEED (KEY 5)

automatically directs cold water into


Fan speed selection key, normal with light

the oven and the temperature is rapidly


off, reduced speed and power with light

lowered. This precludes the possibility


on.

that food could start cooking with too

3.6

• RECIPES (KEY 6)

high a temperature in the oven. In


Allows to set, recall and display the cooking

addition, the added moisture prevents


programs, the memorised recipes and

foods from drying up.


service programs (e.g. washing the oven).


3.7

• CORE PROBE (KEY 11)


Used to activate the core probe cooking


setting.


90026410rev01

3 • DESCRIPTION OF KEYS

3.9• OVEN STEAM EXTRACTION VENT KEY (KEY 13)

This function is only activated in convection mode. Pressing the key opens the cavity vent, allowing the escape of moisture from the cavity. (LED on = vent open; LED off = vent closed, flashing LED = vent in operation).

The position of the vent (vent open/vent closed) can also be saved in several cycles of a program.

3.10 • OVEN LIGHT KEY (KEY 14)

Pressing this key switches on the oven light, permitting the operator to check the progress of the cooking.

3.11• MAIN SWITCH - START-STOP (KEY 15) 

Press button 15 for 3 seconds

Allows the activation of the control panel, activates selfdiagnosis.

START-STOP button: allows to start and stop the cooking in progress.

Button light on: START, cooking started.

Flashing button light: TEMPORARY STOP obtained by opening the door. Cooking and remaining time stop. By closing the door, cooking starts again.

Button light off: DEFINITIVE STOP obtained by pressing key 15: cooking stops definitively as if the time has expired.

90026410rev01

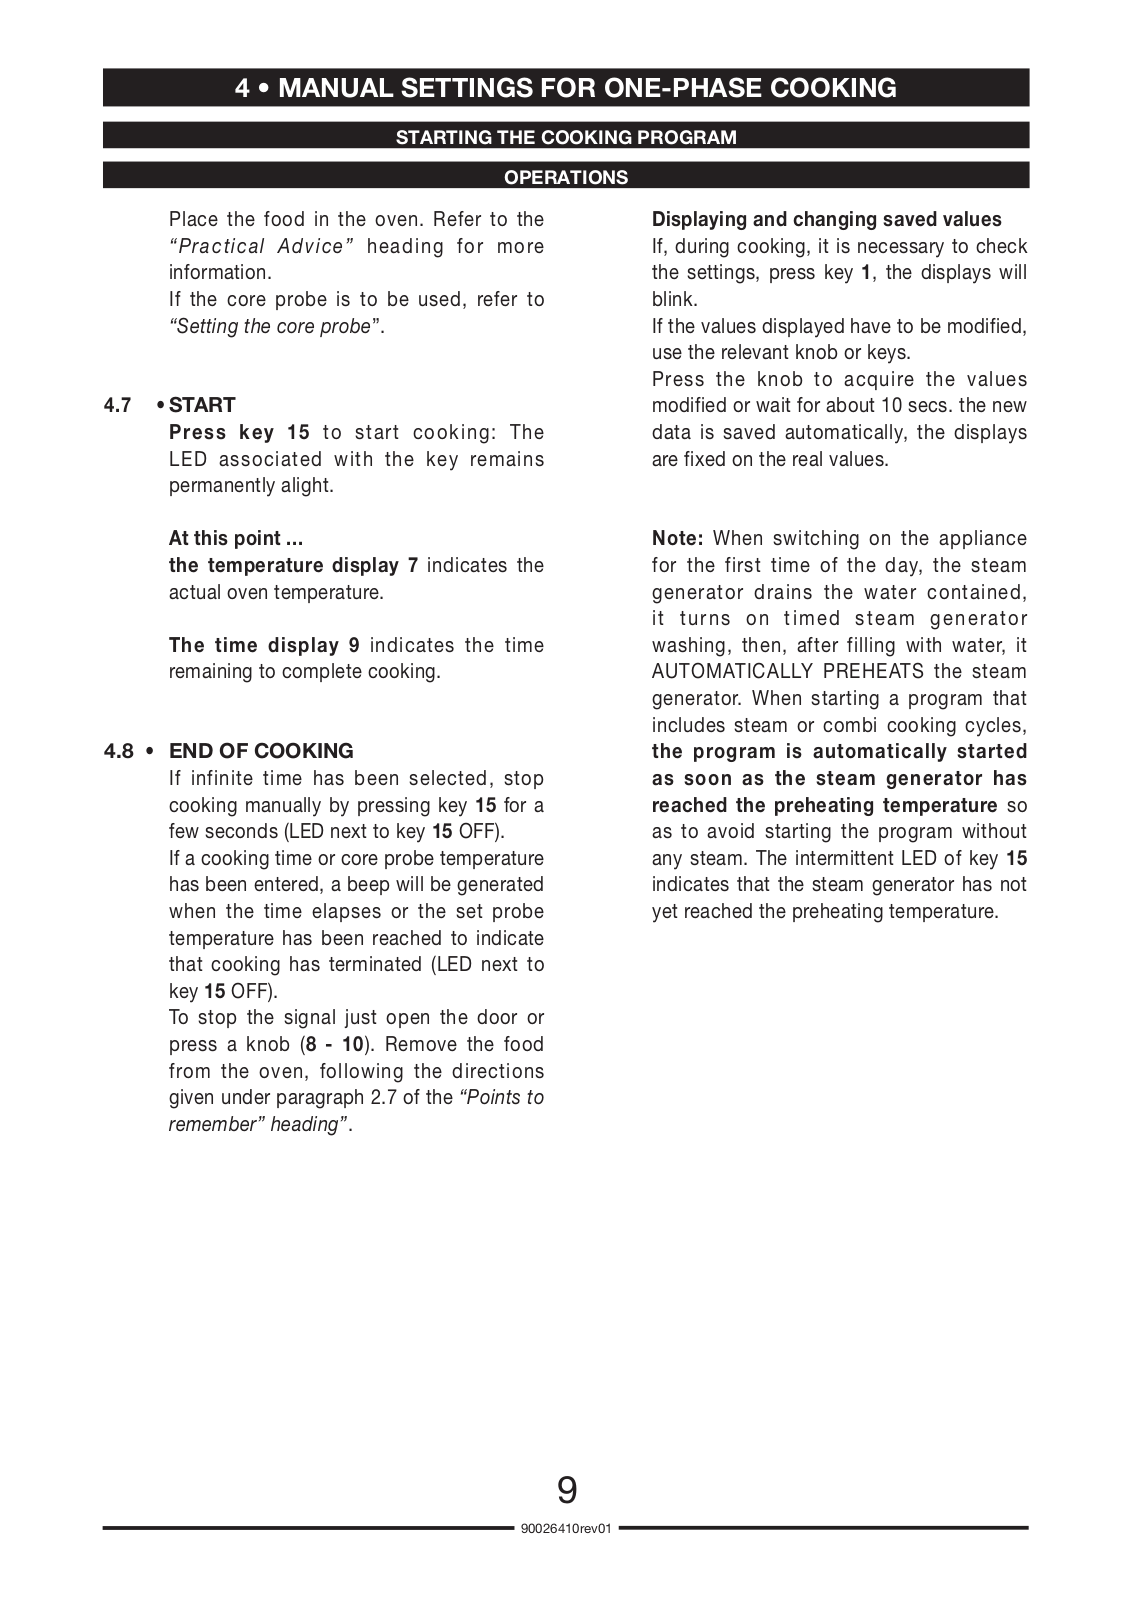
4 • MANUAL SETTINGS FOR ONE-PHASE COOKING

OPERATIONS

4.1 •

SWITCH ON

Note: Approximatel y 1 0 sec. after


Press button 15 for 3 seconds. Whenever a

releasing the knob, the display will revert


symbol appears in the anomalies display

to the actual oven temperature.


(display 7-9) see the “Selfdiagnosis and


anomalies key” chapter.


4.4A • SET THE TIME


The time display 9 shows [ InF ].

4.2 •

COOKING MODE SELECTION

Turn knob 10:


The cooking mode buttons LEDs flash:

- to the right to set the cooking time;


press the button of the desired cooking

- to the left to set infinite time [ InF ].


mode (2 - 3 - 4). The selected cooking


mode LED will remain on with a fixed light.

Or


4.4B • SET CORE PROBE

4.3 •

SET THE TEMPERATURE

See “Setting the core probe”.


The temperature display shows a value

The settings are saved approx. 10 seconds


of 130°C. Turn knob 8 to set the

after the last setting.


temperature (to the right increases, to the


left decreases), which will be shown in the


display.

4.5 • SETTING A NEW COOKING


If you wish to program a new cooking, the

previous cooking must be reset by pressing button 1 for 3 seconds, after which the cooking mode LEDs flash to indicate it has been reset.

4.6 • SAVING THE COOKING MODE

If you wish to save the cooking, press knob

10 for 3 seconds.

The first free program will appear on display 7, select the desired program number by turning knob 8 and confirm by pressing knob 8.

90026410rev01

4 • MANUAL SETTINGS FOR ONE-PHASE COOKING

STARTING THE COOKING PROGRAM

OPERATIONS


Place the food in the oven. Refer to the

Displaying and changing saved values


“Practical Advice” heading for more

If, during cooking, it is necessary to check


information.

the settings, press key 1, the displays will


If the core probe is to be used, refer to

blink.


“Setting the core probe”.

If the values displayed have to be modified,


use the relevant knob or keys.


Press the knob to acquire the values

4.7

•START

modified or wait for about 10 secs. the new


Press key 15 to start cooking: The

data is saved automatically, the displays


LED associated with the key remains

are fixed on the real values.


permanently alight.


At this point ...

Note: When switching on the appliance


the temperature display 7 indicates the

for the first time of the day, the steam


actual oven temperature.

generator drains the water contained,


it turns on timed steam generator


The time display 9 indicates the time

washing, then, after filling with water, it


remaining to complete cooking.

AUTOMATICALLY PREHEATS the steam


generator. When starting a program that


includes steam or combi cooking cycles,

4.8 •

END OF COOKING

the program is automatically started


If infinite time has been selected, stop

as soon as the steam generator has


cooking manually by pressing key 15 for a

reached the preheating temperature so


few seconds (LED next to key 15 OFF).

as to avoid starting the program without


If a cooking time or core probe temperature

any steam. The intermittent LED of key 15


has been entered, a beep will be generated

indicates that the steam generator has not


when the time elapses or the set probe

yet reached the preheating temperature.


temperature has been reached to indicate


that cooking has terminated (LED next to key 15 OFF).

To stop the signal just open the door or press a knob (8 - 10). Remove the food from the oven, following the directions given under paragraph 2.7 of the “Points to remember” heading”.

90026410rev01

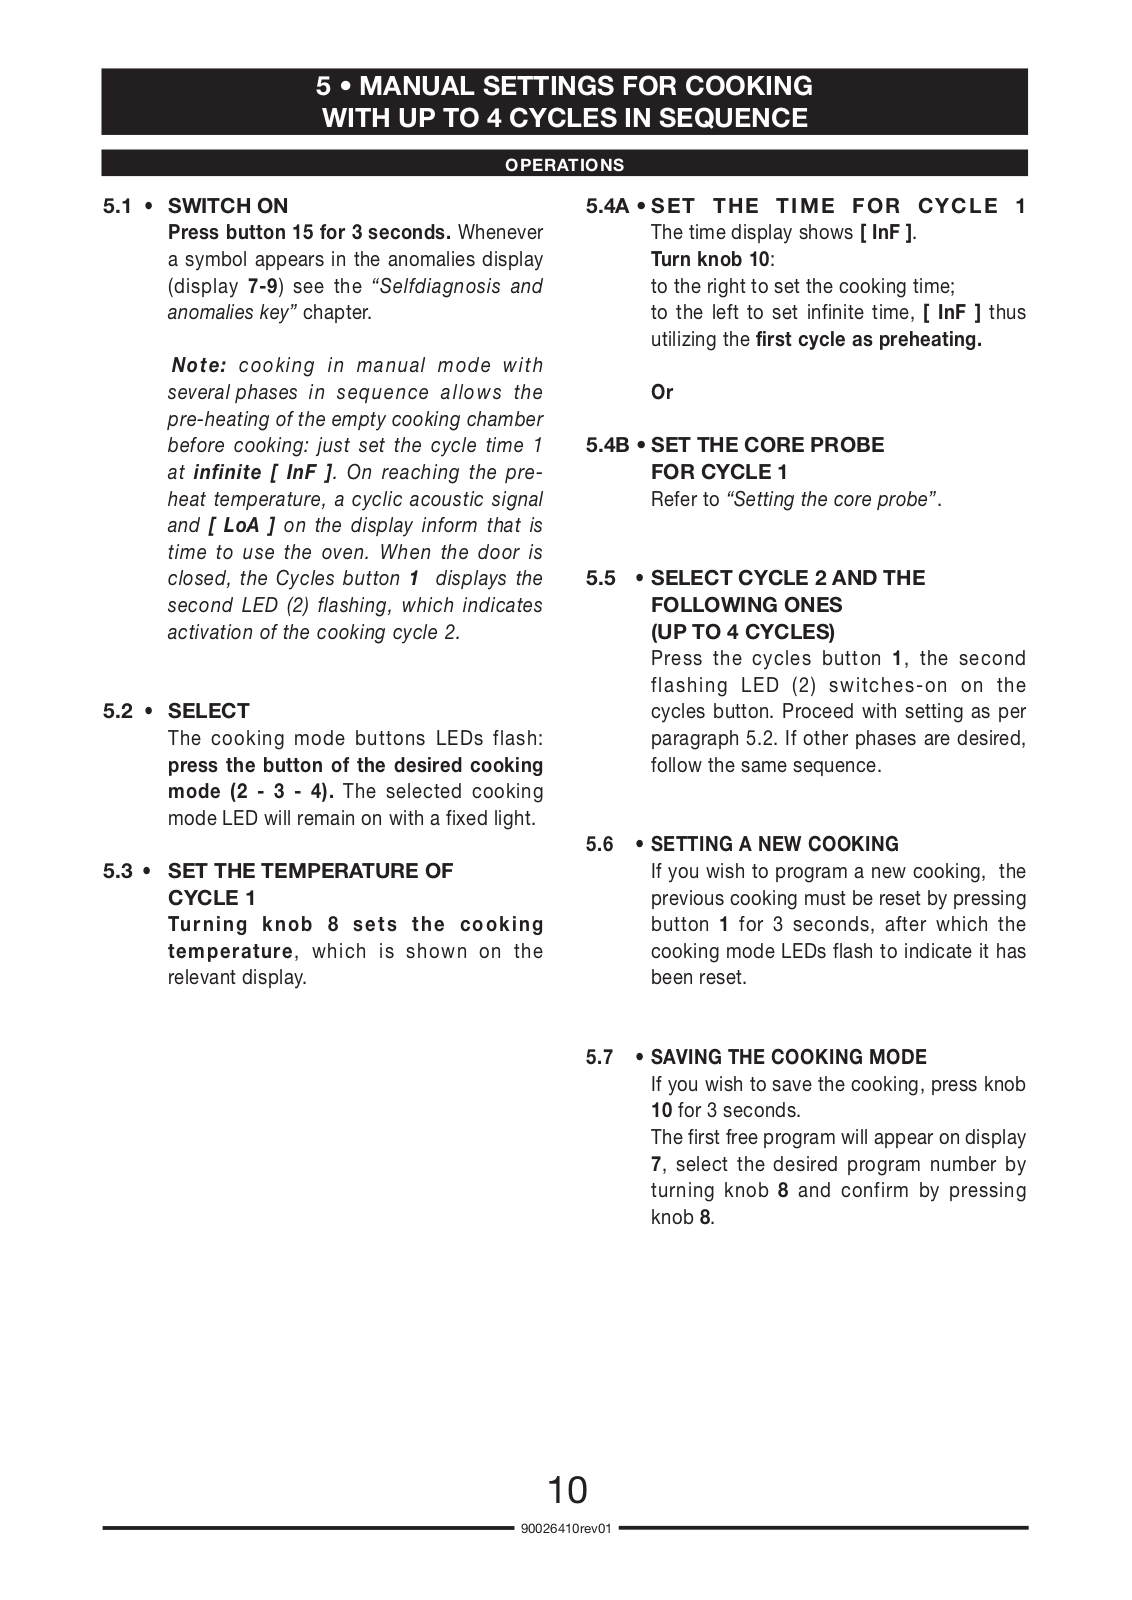
5 • MANUAL SETTINGS FOR COOKING WITH UP TO 4 CYCLES IN SEQUENCE

OPERATIONS

5.1 •

SWITCH ON

5.4A • SET THE TIME FOR CYCLE 1


Press button 15 for 3 seconds. Whenever

The time display shows [ InF ].


a symbol appears in the anomalies display

Turn knob 10:


(display 7-9) see the “Selfdiagnosis and

to the right to set the cooking time;


anomalies key” chapter.

to the left to set infinite time, [ InF ] thus


utilizing the first cycle as preheating.


Note: cooking in manual mode with


several phases in sequence allows the

Or


pre-heating of the empty cooking chamber


before cooking: just set the cycle time 1

5.4B • SET THE CORE PROBE


at infinite [ InF ]. On reaching the pre-

FOR CYCLE 1


heat temperature, a cyclic acoustic signal

Refer to “Setting the core probe”.


and [ LoA ] on the display inform that is


time to use the oven. When the door is


closed, the Cycles button 1 displays the

5.5 • SELECT CYCLE 2 AND THE


second LED (2) flashing, which indicates

FOLLOWING ONES


activation of the cooking cycle 2.

(UP TO 4 CYCLES)


Press the cycles button 1, the second


flashing LED (2) switches-on on the

5.2 •

SELECT

cycles button. Proceed with setting as per


The cooking mode buttons LEDs flash:

paragraph 5.2. If other phases are desired,


press the button of the desired cooking

follow the same sequence.


mode (2 - 3 - 4). The selected cooking


mode LED will remain on with a fixed light.


5.6 • SETTING A NEW COOKING

5.3 •

SET THE TEMPERATURE OF

If you wish to program a new cooking, the


CYCLE 1

previous cooking must be reset by pressing


Turning knob 8 sets the cooking

button 1 for 3 seconds, after which the


temperature, which is shown on the

cooking mode LEDs flash to indicate it has


relevant display.

been reset.

5.7 • SAVING THE COOKING MODE

If you wish to save the cooking, press knob

10 for 3 seconds.

The first free program will appear on display 7, select the desired program number by turning knob 8 and confirm by pressing knob 8.

10­

90026410rev01

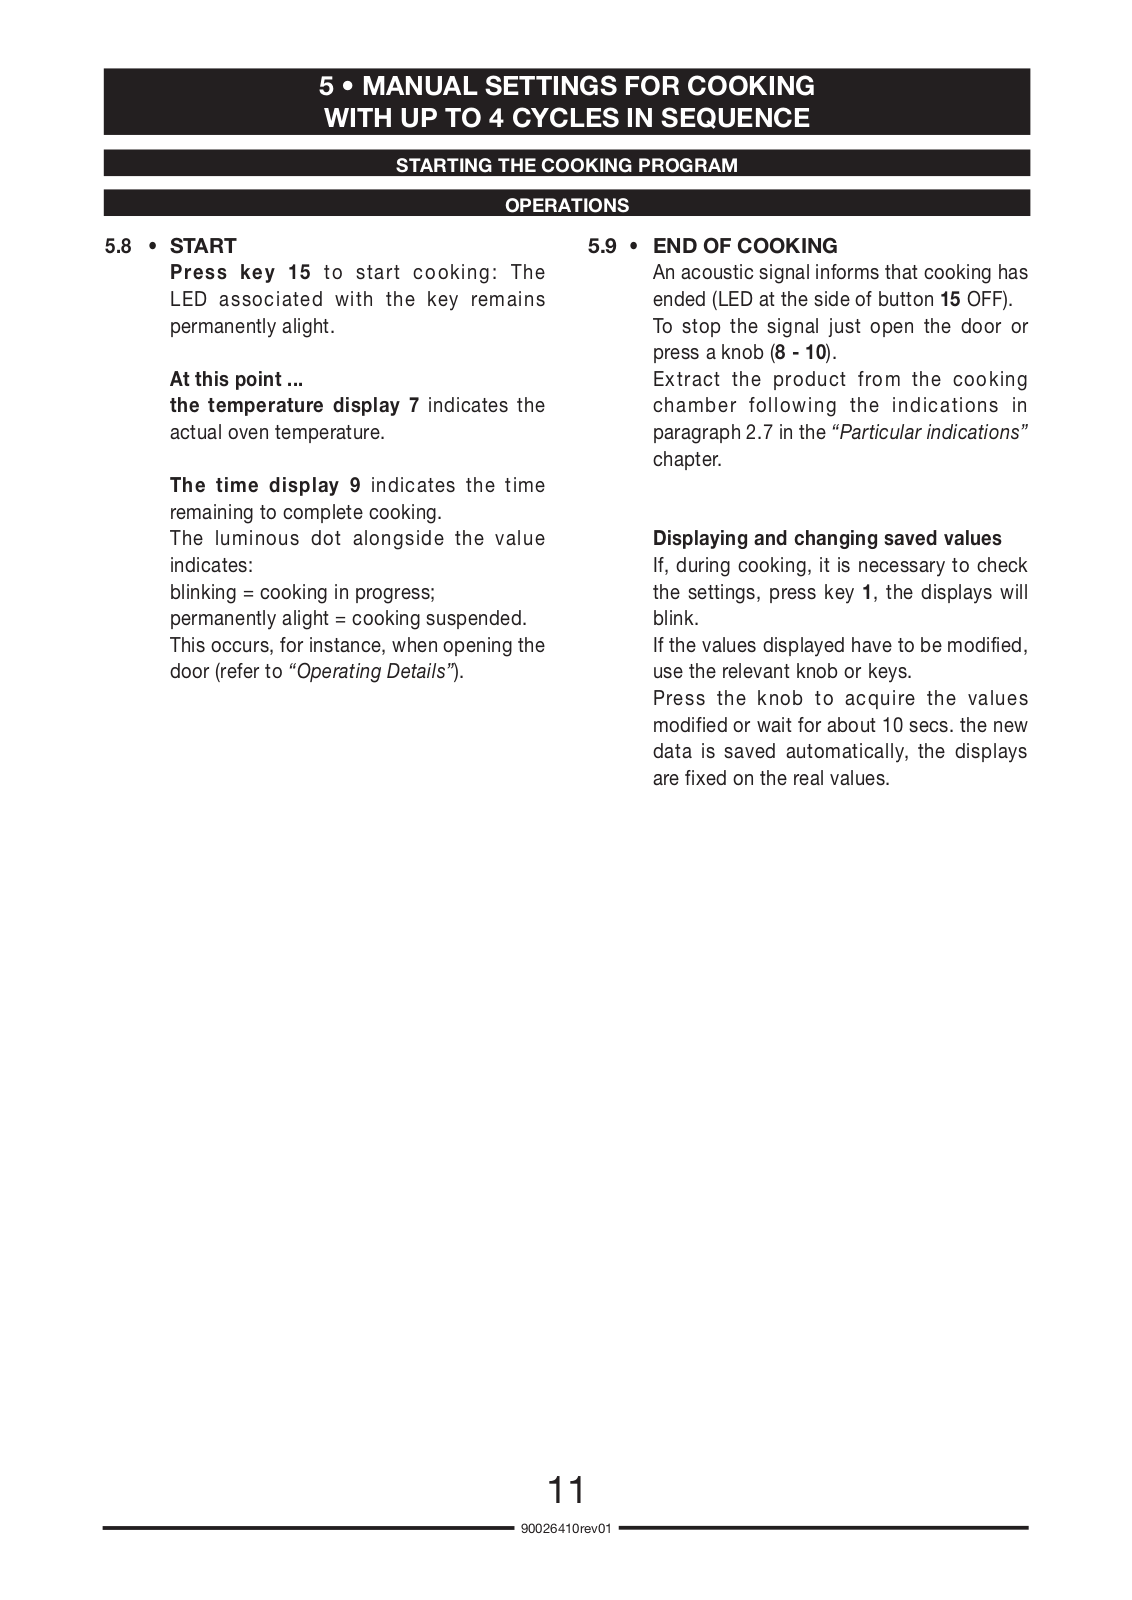
5 • MANUAL SETTINGS FOR COOKING WITH UP TO 4 CYCLES IN SEQUENCE

STARTING THE COOKING PROGRAM

OPERATIONS

5.8 • START

5.9 • END OF COOKING

Press key 15 to start cooking: The

An acoustic signal informs that cooking has

LED associated with the key remains

ended (LED at the side of button 15 OFF).

permanently alight.

To stop the signal just open the door or


press a knob (8 - 10).

At this point ...

Extract the product from the cooking

the temperature display 7 indicates the

chamber following the indications in

actual oven temperature.

paragraph 2.7 in the “Particular indications”


chapter.

The time display 9 indicates the time


remaining to complete cooking.


The luminous dot alongside the value

Displaying and changing saved values

indicates:

If, during cooking, it is necessary to check

blinking = cooking in progress;

the settings, press key 1, the displays will

permanently alight = cooking suspended.

blink.

This occurs, for instance, when opening the

If the values displayed have to be modified,

door (refer to “Operating Details”).

use the relevant knob or keys.


Press the knob to acquire the values


modified or wait for about 10 secs. the new


data is saved automatically, the displays


are fixed on the real values.

11­

90026410rev01

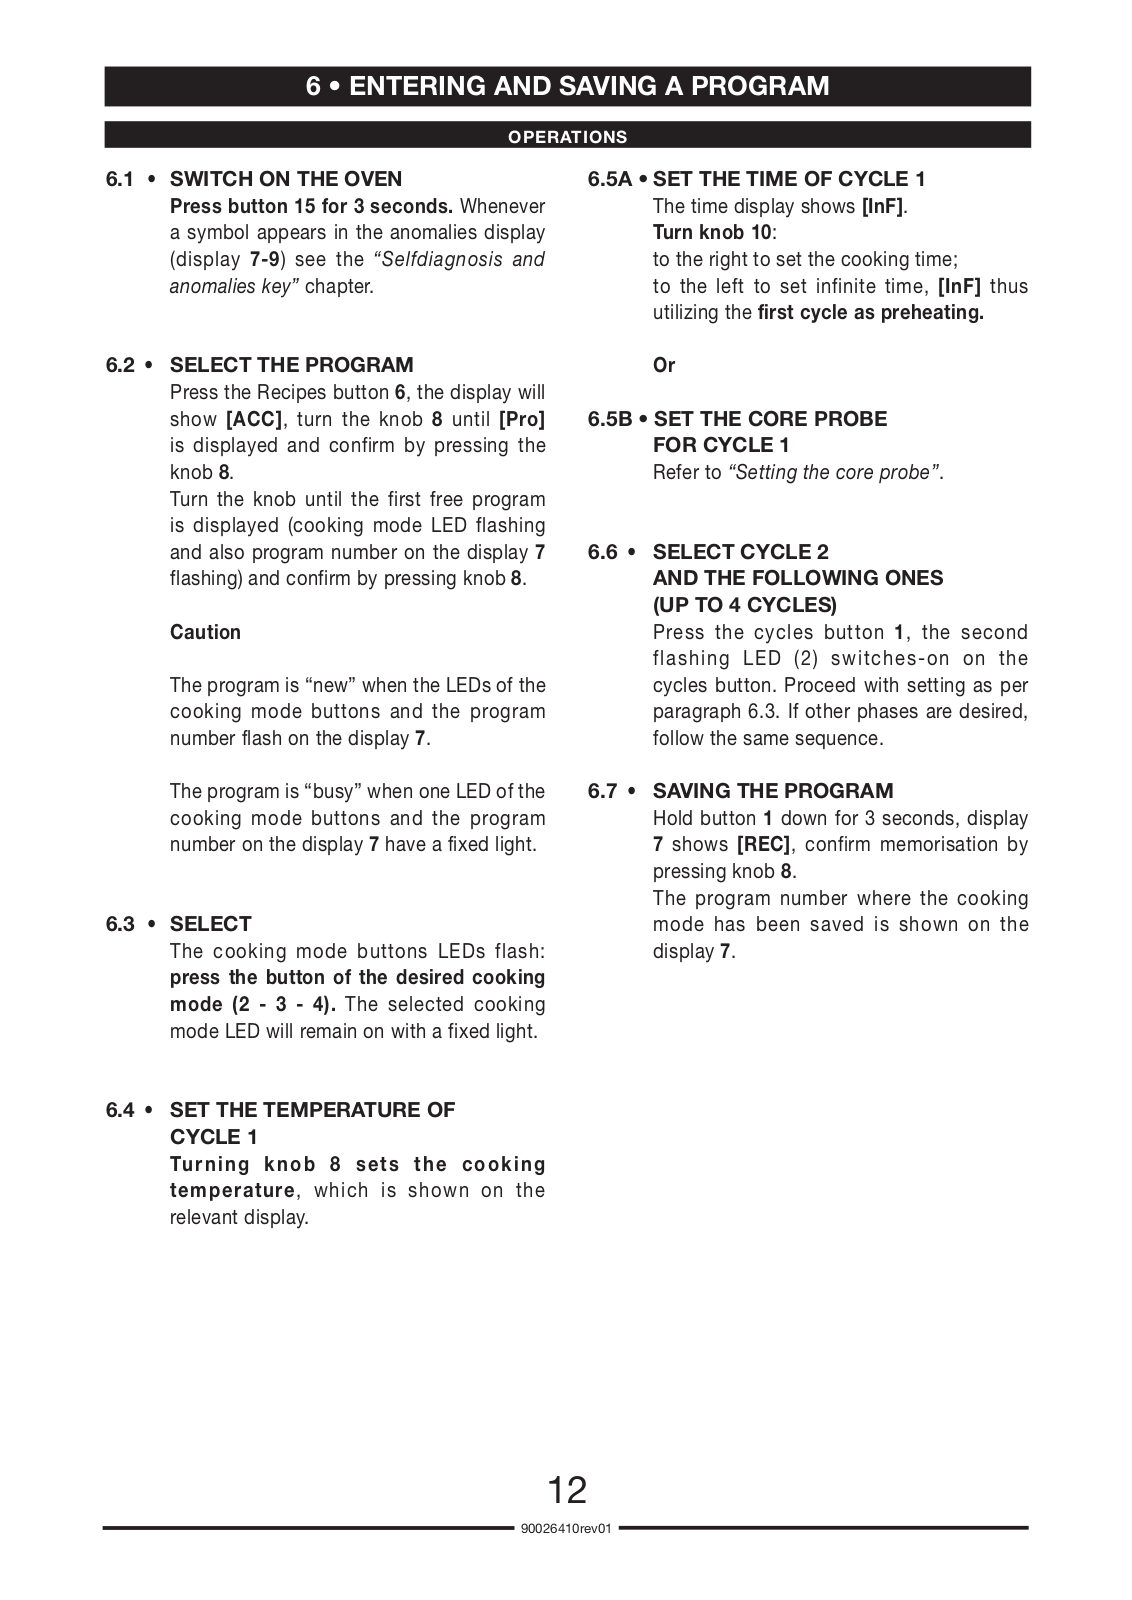
6 • ENTERING AND SAVING A PROGRAM

OPERATIONS

6.1 •

SWITCH ON THE OVEN

6.5A • SET THE TIME OF CYCLE 1


Press button 15 for 3 seconds. Whenever


The time display shows [InF].


a symbol appears in the anomalies display


Turn knob 10:


(display 7-9) see the “Selfdiagnosis and


to the right to set the cooking time;


anomalies key” chapter.


to the left to set infinite time, [InF] thus


utilizing the first cycle as preheating.

6.2 •

SELECT THE PROGRAM


Or


Press the Recipes button 6, the display will


show [ACC], turn the knob 8 until [Pro]

6.5B • SET THE CORE PROBE


is displayed and confirm by pressing the


FOR CYCLE 1


knob 8.


Refer to “Setting the core probe”.


Turn the knob until the first free program


is displayed (cooking mode LED flashing


and also program number on the display 7

6.6 •

SELECT CYCLE 2


flashing) and confirm by pressing knob 8.


AND THE FOLLOWING ONES


(UP TO 4 CYCLES)


Caution


Press the cycles button 1, the second


flashing LED (2) switches-on on the


The program is “new” when the LEDs of the


cycles button. Proceed with setting as per


cooking mode buttons and the program


paragraph 6.3. If other phases are desired,


number flash on the display 7.


follow the same sequence.


The program is “busy” when one LED of the

6.7 •

SAVING THE PROGRAM


cooking mode buttons and the program


Hold button 1 down for 3 seconds, display


number on the display 7 have a fixed light.


7 shows [REC], confirm memorisation by


pressing knob 8.


The program number where the cooking

6.3 •

SELECT


mode has been saved is shown on the


The cooking mode buttons LEDs flash:


display 7.


press the button of the desired cooking


mode (2 - 3 - 4). The selected cooking


mode LED will remain on with a fixed light.


6.4• SET THE TEMPERATURE OF CYCLE 1

Turning knob 8 sets the cooking temperature, which is shown on the relevant display.

12­

90026410rev01

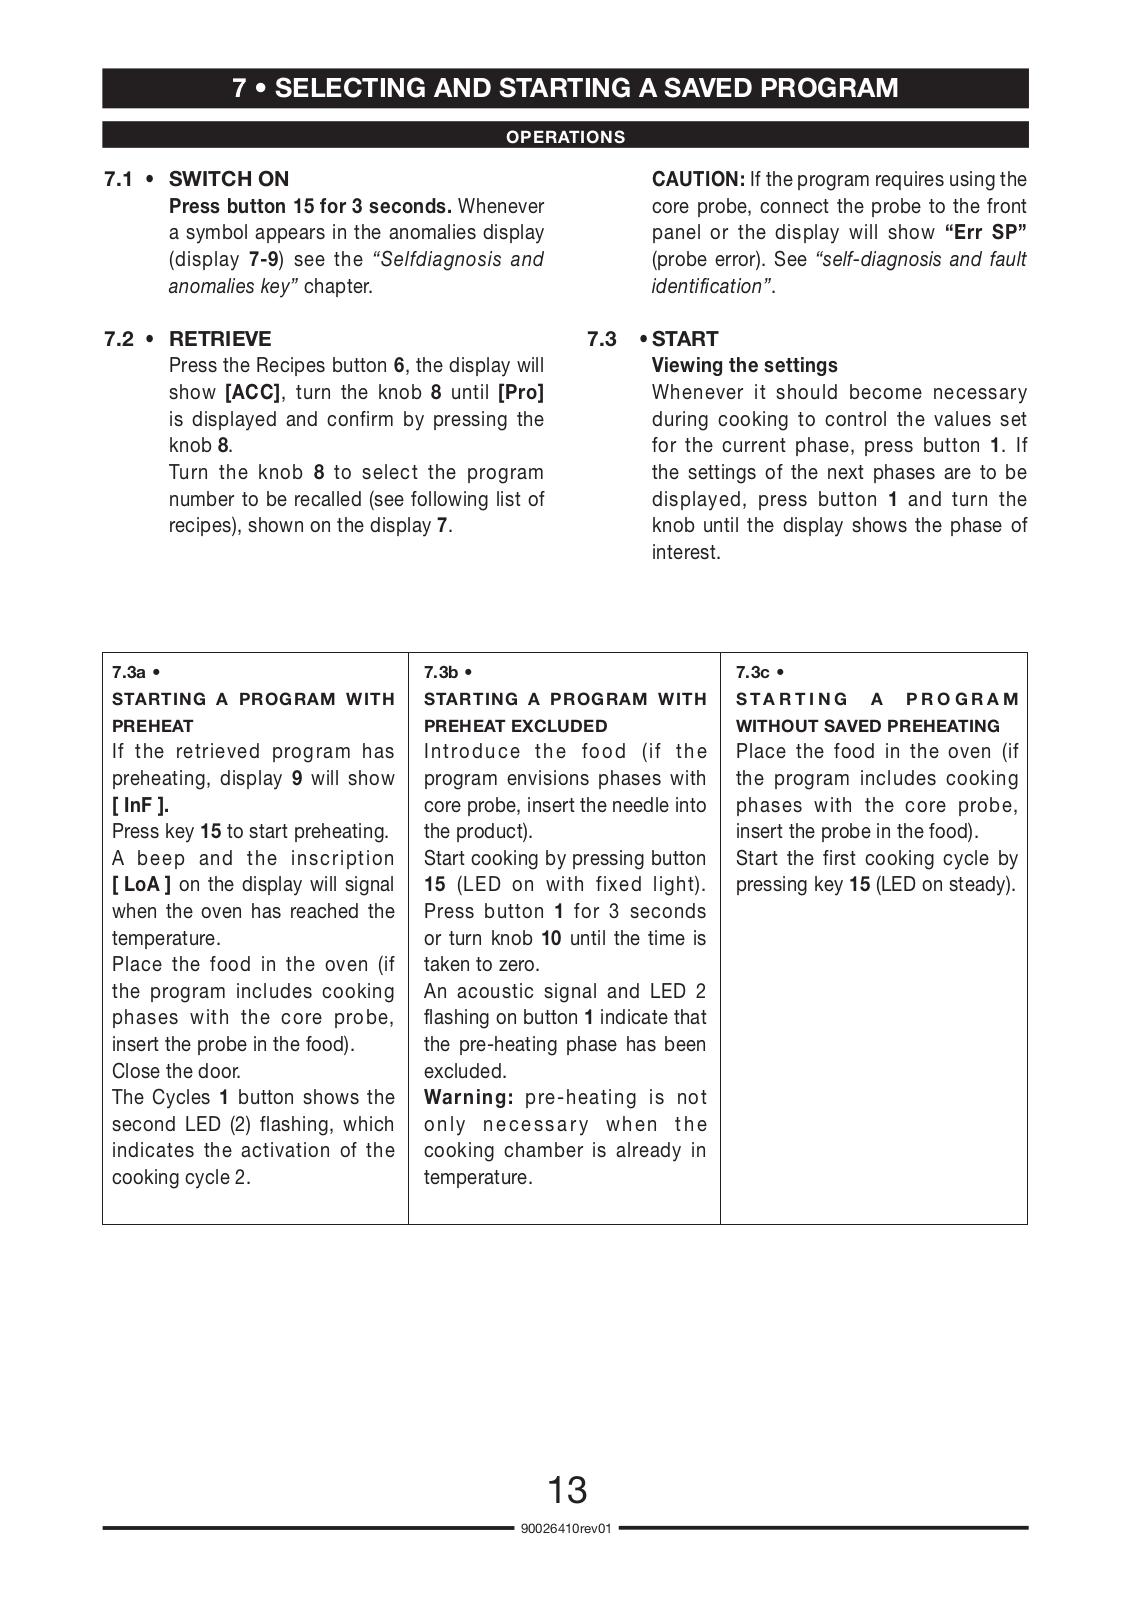
7 • SELECTING AND STARTING A SAVED PROGRAM

OPERATIONS

7.1 • SWITCH ON

Press button 15 for 3 seconds. Whenever a symbol appears in the anomalies display (display 7-9) see the “Selfdiagnosis and anomalies key” chapter.

7.2 • RETRIEVE

Press the Recipes button 6, the display will show [ACC], turn the knob 8 until [Pro] is displayed and confirm by pressing the knob 8.

Turn the knob 8 to select the program number to be recalled (see following list of recipes), shown on the display 7.

CAUTION: If the program requires using the core probe, connect the probe to the front panel or the display will show “Err SP”

(probe error). See “self-diagnosis and fault identification”.

7.3•START

Viewing the settings

Whenever it should become necessary during cooking to control the values set for the current phase, press button 1. If the settings of the next phases are to be displayed, press button 1 and turn the knob until the display shows the phase of interest.

7.3a •

7.3b •

7.3c •

STARTING A PROGRAM WITH

STARTING A PROGRAM WITH

S T A R T I N G A P R O G R A M

PREHEAT

PREHEAT EXCLUDED

WITHOUT SAVED PREHEATING

If the retrieved program has

Introduce the food (if the

Place the food in the oven (if

preheating, display 9 will show

program envisions phases with

the program includes cooking

[InF].

core probe, insert the needle into

phases with the core probe,

Press key 15 to start preheating.

the product).

insert the probe in the food).

A beep and the inscription

Start cooking by pressing button

Start the first cooking cycle by

[ LoA ] on the display will signal

15 (LED on with fixed light).

pressing key 15 (LED on steady).

when the oven has reached the

Press button 1 for 3 seconds


temperature.

or turn knob 10 until the time is


Place the food in the oven (if

taken to zero.


the program includes cooking

An acoustic signal and LED 2


phases with the core probe,

flashing on button 1 indicate that


insert the probe in the food).

the pre-heating phase has been


Close the door.

excluded.


The Cycles 1 button shows the

Warning: pre-heating is not


second LED (2) flashing, which

onl y necessar y whe n the


indicates the activation of the

cooking chamber is already in


cooking cycle 2.

temperature.


13­

90026410rev01

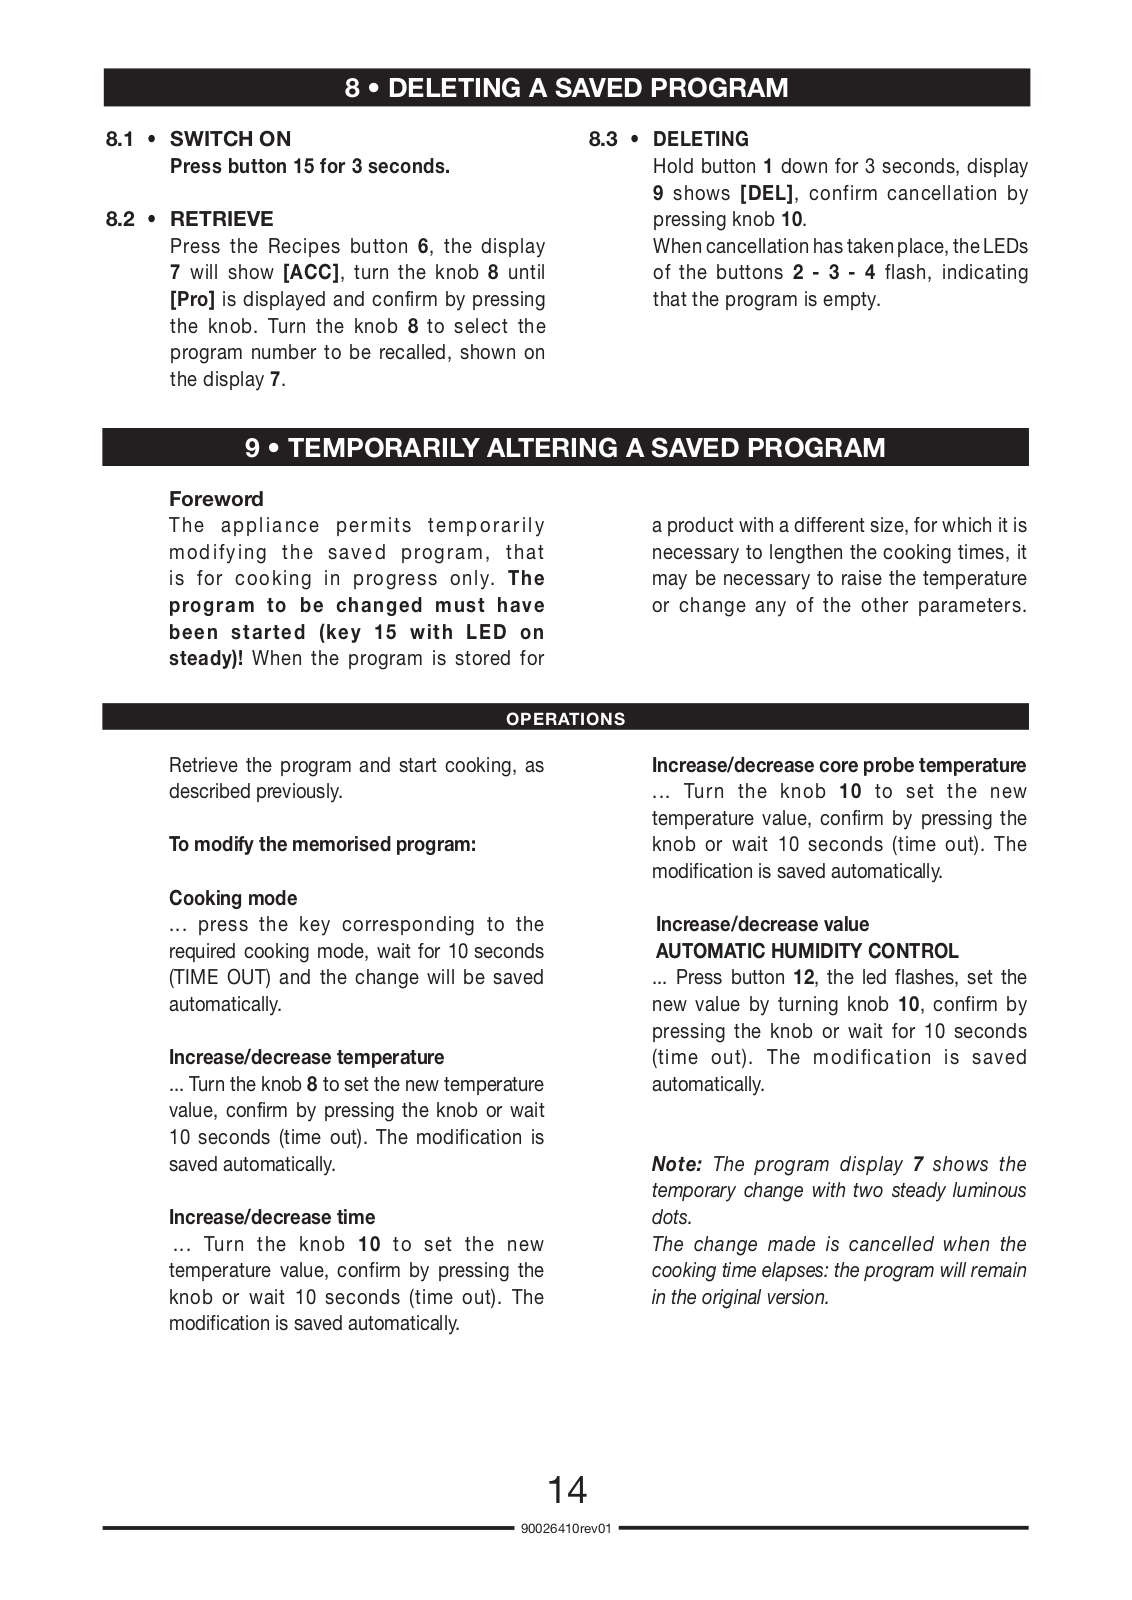
8 • DELETING A SAVED PROGRAM

8.1 • SWITCH ON

Press button 15 for 3 seconds.

8.2 • RETRIEVE

Press the Recipes button 6, the display 7 will show [ACC], turn the knob 8 until [Pro] is displayed and confirm by pressing the knob. Turn the knob 8 to select the program number to be recalled, shown on the display 7.

8.3 • DELETING

Hold button 1 down for 3 seconds, display 9 shows [DEL], confirm cancellation by pressing knob 10.

Whencancellationhastakenplace,theLEDs of the buttons 2 - 3 - 4 flash, indicating that the program is empty.

9 • TEMPORARILY ALTERING A SAVED PROGRAM

Foreword

Th e applianc e permit s temporarily modifying the saved program, that is for cooking in progress only. The program to be changed must have been started (key 15 with LED on steady)! When the program is stored for

a product with a different size, for which it is necessary to lengthen the cooking times, it may be necessary to raise the temperature or change any of the other parameters.

OPERATIONS

Retrieve the program and start cooking, as described previously.

To modify the memorised program:

Cooking mode

... press the key corresponding to the required cooking mode, wait for 10seconds

(TIME OUT) and the change will be saved automatically.

Increase/decrease temperature

... Turn the knob 8 to set the new temperature value, confirm by pressing the knob or wait 10 seconds (time out). The modification is saved automatically.

Increase/decrease time

... Turn the knob 10 to set the new temperature value, confirm by pressing the knob or wait 10 seconds (time out). The modification is saved automatically.

Increase/decrease core probe temperature

... Turn the knob 10 to set the new temperature value, confirm by pressing the knob or wait 10 seconds (time out). The modification is saved automatically.

Increase/decrease value AUTOMATIC HUMIDITY CONTROL

... Press button 12, the led flashes, set the new value by turning knob 10, confirm by pressing the knob or wait for 10 seconds (time out). The modification is saved automatically.

Note: The program display 7 shows the temporary change with two steady luminous dots.

The change made is cancelled when the cooking time elapses: the program will remain in the original version.

14­

90026410rev01

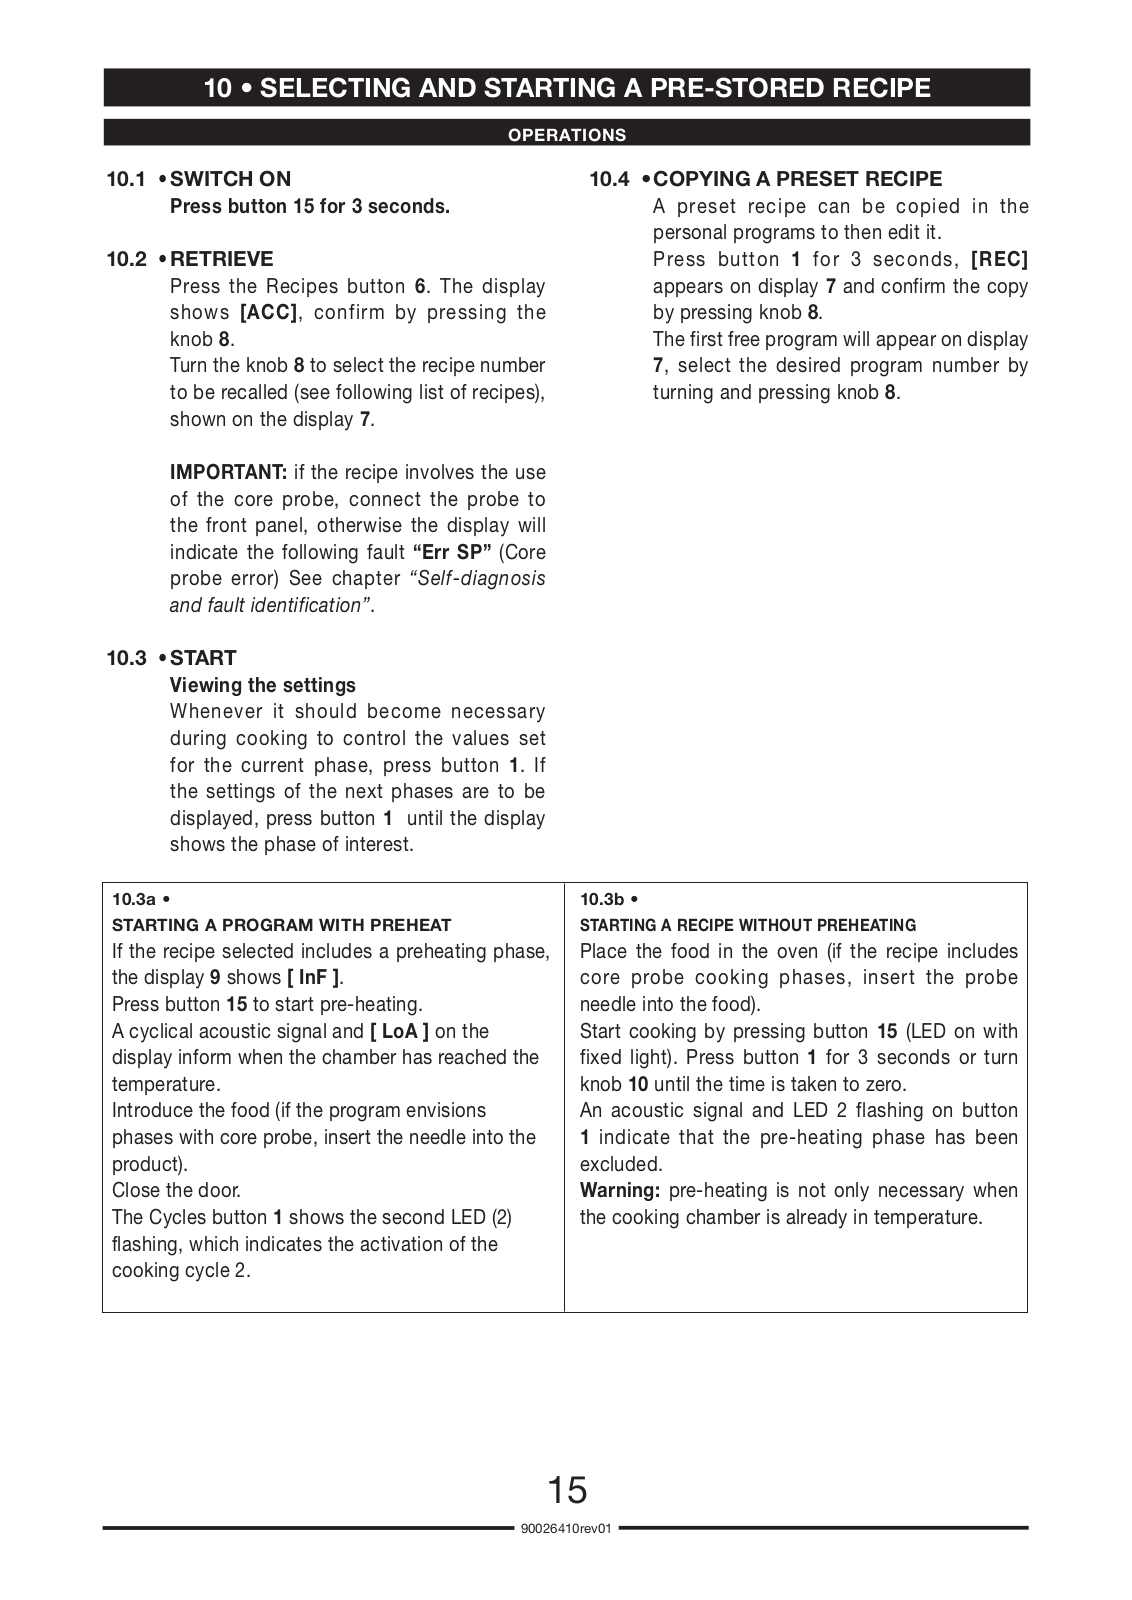
10 • SELECTING AND STARTING A PRE-STORED RECIPE

OPERATIONS

10.1 •SWITCH ON

Press button 15 for 3 seconds.

10.2 •RETRIEVE

Press the Recipes button 6. The display shows [ACC], confirm by pressing the knob 8.

Turn the knob 8 to select the recipe number to be recalled (see following list of recipes), shown on the display 7.

IMPORTANT: if the recipe involves the use of the core probe, connect the probe to the front panel, otherwise the display will indicate the following fault “Err SP” (Core probe error) See chapter “Self-diagnosis and fault identification”.

10.3 •START

Viewing the settings

Whenever it should become necessary during cooking to control the values set for the current phase, press button 1. If the settings of the next phases are to be displayed, press button 1 until the display shows the phase of interest.

10.4 •COPYING A PRESET RECIPE

A preset recipe can be copied in the personal programs to then edit it.

Press button 1 for 3 seconds, [REC] appears on display 7 and confirm the copy by pressing knob 8.

The first free program will appear on display 7, select the desired program number by turning and pressing knob 8.

10.3a •

10.3b •

STARTING A PROGRAM WITH PREHEAT

STARTING A RECIPE WITHOUT PREHEATING

If the recipe selected includes a preheating phase,

Place the food in the oven (if the recipe includes

the display 9 shows [ InF ].

core probe cooking phases, insert the probe

Press button 15 to start pre-heating.

needle into the food).

A cyclical acoustic signal and [ LoA ] on the

Start cooking by pressing button 15 (LED on with

display inform when the chamber has reached the

fixed light). Press button 1 for 3 seconds or turn

temperature.

knob 10 until the time is taken to zero.

Introduce the food (if the program envisions

An acoustic signal and LED 2 flashing on button

phases with core probe, insert the needle into the

1 indicate that the pre-heating phase has been

product).

excluded.

Close the door.

Warning: pre-heating is not only necessary when

The Cycles button 1 shows the second LED (2)

the cooking chamber is already in temperature.

flashing, which indicates the activation of the


cooking cycle 2.


15­

90026410rev01

Loading...
+ 35 hidden pages