

Page 1
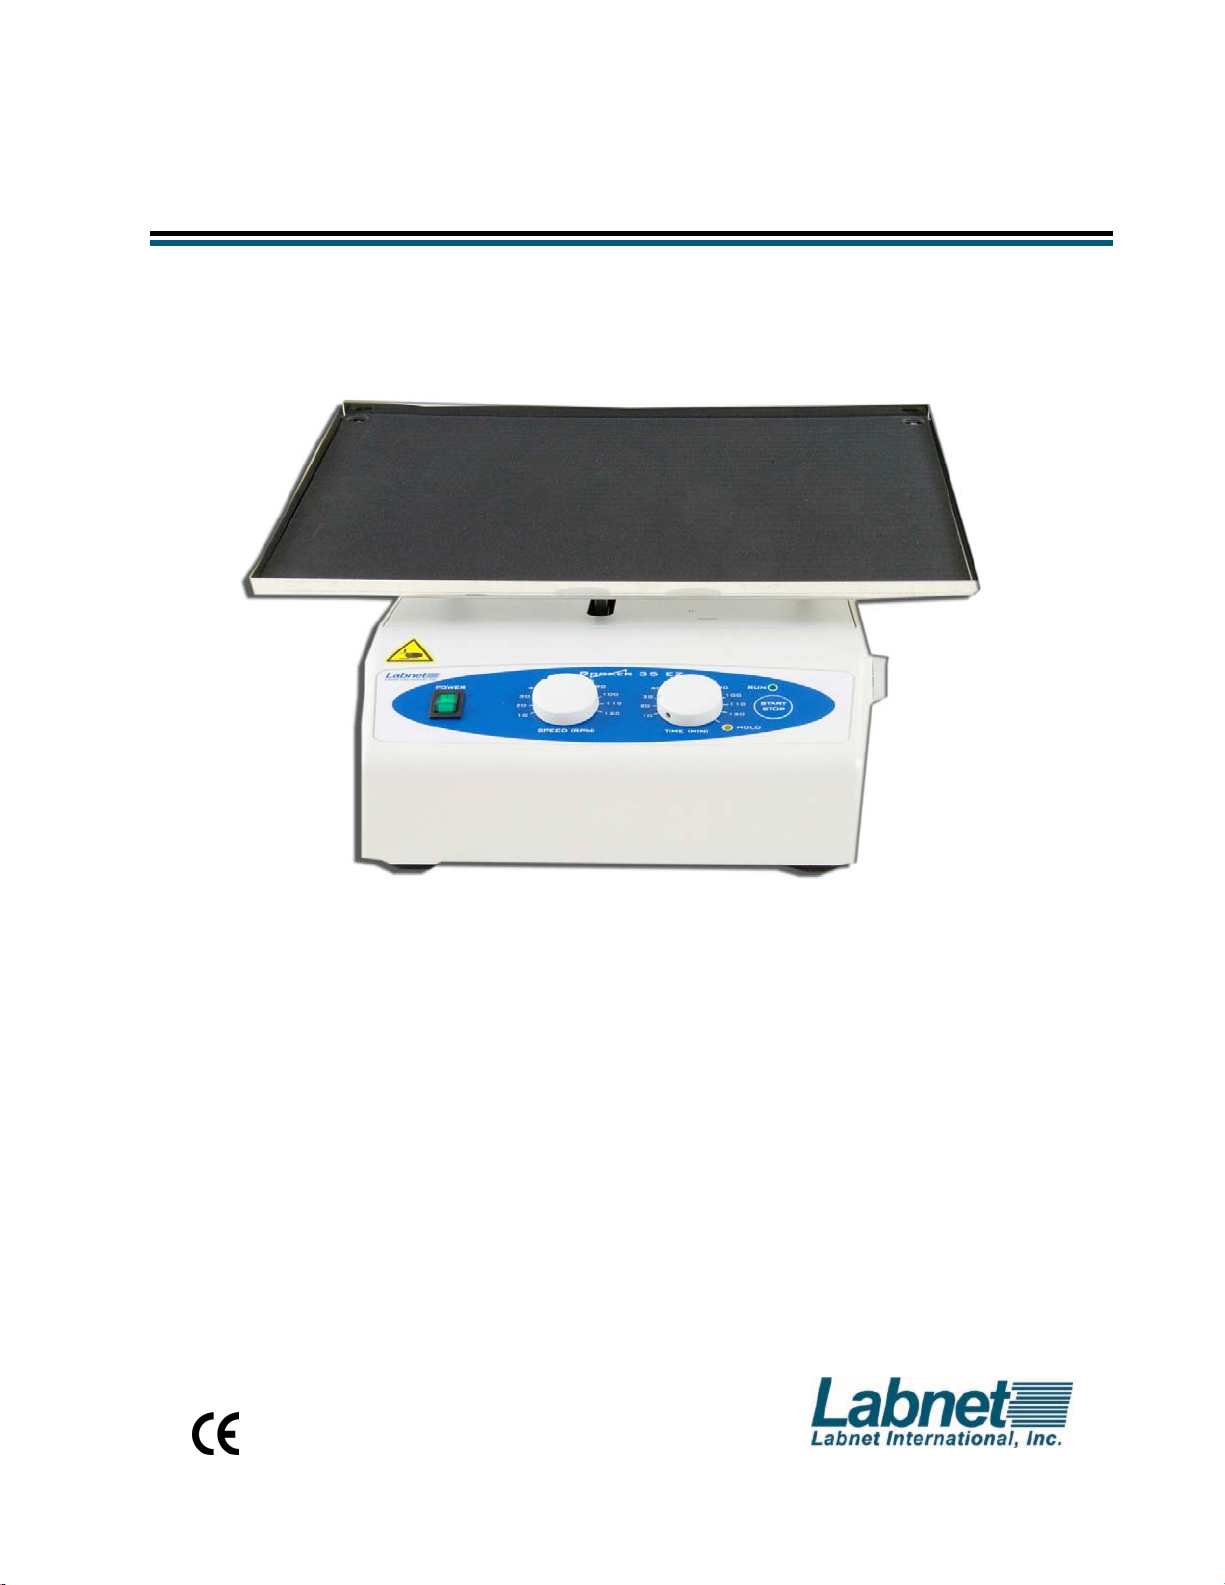
Rocker 35 EZ
User Manual
S2035-E
S2035-E-230V
S2035-DE
S2035-DE-230V
Version 1.0 March 2016
Page 2

ROCKER 35 EZ USER'S MANUAL
TABLE OF CONTENTS Page
1.0. GENERAL DESCRIPTION .................................................................................................... 3
1.1. DEFINITION ................................................................................................................. 3
1.2. PRINCIPLE OF OPERATION ....................................................................................... 3
2.0. TECHNICAL FEATURES ...................................................................................................... 3
2.1. CONSTRUCTION ......................................................................................................... 3
2.2. GENERAL FEATURES ................................................................................................ 3
3.0. INSTALLATION ..................................................................................................................... 4
3.1. UNPACKING ................................................................................................................ 4
3.2. SELECTING THE RIGHT PLACE ................................................................................ 4
3.3. ATTACHING THE POWER CORD ............................................................................... 4
3.4. ENVIRONMENT CONDITIONS .................................................................................... 5
4.0. INSTRUCTIONS FOR USE ................................................................................................... 5
4.1. INTRODUCTION .......................................................................................................... 5
4.2. OPERATION ................................................................................................................. 5
4.3. ADJUSTING TILT ANGLE ............................................................................................ 6
5.0. SAFETY ................................................................................................................................. 7
6.0. TROUBLESHOOTING GUIDE .............................................................................................. 7
7.0. REGULAR MAINTENANCE .................................................................................................. 8
7.1. CLEANING ................................................................................................................... 8
8.0. INSTALLATION OF DOUBLE PLATFORM .......................................................................... 9
Page 2
Page 3

ROCKER 35 EZ USER'S MANUAL
1.0. GENERAL DESCRIPTION
1.1. DESCRIPTION
Rocker 35 EZ is a general purpose adjustable tilt rocker with digital time and speed
controls. The tilt angle is easily adjustable without tools using the knob on right side of
unit. This reliable rugged unit is designed for extended use and comes with a 5 year
warranty.
1.2. PRINCIPLE OF OPERATION
The motor is designed to gene rate a rocking effect while the electronic interface controls
the RPM and Time features.
2.0. TECHNICAL FEATURES
2.1. CONSTRUCTION
The housing of the rocker is made of plastic and steel plate varnished with high resistant
polyurethane lacquer.
2.2. GENERAL FEATURES
ELECTRIC POWER SUPPLY 230V ± 10%, 50/60Hz or 115V ± 10%, 50/60Hz
MOTOR POWER 6 W
FUSES 2 x 1AT (for 230V and 115V power supply)
RPM REGULATION Microcontroller, load independent, from 10 to 120
RPM
TILT ANGLE 0 - 20° from horizontal
TIMER 10 - 120 min, HOLD function
LOAD Max. 5 kg
DIMENSIONS W x D x H 360 x 360 x 170 mm (single platform)
360 x 360 x 260 mm (double platform)
PLATFORM DIMENSIONS W X D 360 x 280 mm
WEIGHT 6.5 kg (single platform), 7.8 kg (double platform)
AMBIENT CONDITIONS -10°C to 70°C, up to 85% RH, non-condensing
Page 3
Page 4

ROCKER 35 EZ USER'S MANUAL
3.0. INSTALLATION
3.1. UNPACKING
Before starting the installation, carefully examine the delivery for possible damage or
missing parts.
- Open the box and lift the device together with shock a bso r ber s out of the box.
- Remove the shock absorbers and c heck that the rocker has not been visibly damaged
during the transportation. Keep the packing material until you are sure that the rocker
works properly.
- Check information on rocker name plate:
- Type
- Serial Number
- Product number
- Check that the mains cord has a pin configuration that will fit into a wall socket
according to the local standard.
Should any kind of damage have occurred during transportation, immediately make a
complaint to the carrier. Any incorrect delivery or missing parts should be reported to the
distributor.
3.2. SELECTING THE RIGHT PLACE
When selecting the right place for device, please consider following:
- Put the device on smooth, horizontal and stable place.
- Leave enough space beyond the device for normal air circulation, min. 10 cm.
- Leave enough space around the device, that you will easy control and maintain it.
- Don't use the device in surroundings, where there are fast temperature and humidity
changes. Please avoid also such places, which are unde r direct access of sun light or
places nearby devices which producing heat.
- Avoid such places, where possibility of shocks and vibrations exists.
NOTE: The equipment shall not be placed so, that it is difficult to pull out a mains
cord plug from wall socket.
3.3. ATTACHING THE POWER CORD
Fit the mains cord, which is included in the de livery, into t he mains receptac le on the back
side of rocker. Connect the other end of the cord to a grounded wall socket. To avoid
interference from noise, surges and spikes, a special line is preferred. If no such line is
available, avoid lines to which powerful electric motors, refrigerators and similar devices
are connected.
The power can be turned on and off by main switch located on the front panel of the
device. Light, mounted in the switch indicates that power is on.
Page 4
Page 5

ROCKER 35 EZ USER'S MANUAL
Take care when you plug mains cord to a grounded wall socket. Do not
touch the plug with wet hands, because it can be very dangerous. Plug
mains cord to a grounded wall socket only with dry hands.
3.4. ENVIRONMENT CONDITIONS
The rocker has been built for operating in laboratory environment. Therefore the
environmental reference parameters are th e following:
Temperature between -10°C to +70°C
Humidity up to 85% RH, non-condensing
4.0. INSTRUCTIONS FOR USE
4.1. INTRODUCTION
6
1 2 3 4 5
1. POWER switch - to turn the rocker ON (power switch illuminates) or OFF.
2. SPEED knob - to set the rocker speed.
3. TIME knob - to set the time of operation.
4. HOLD yellow signal light - illuminates when the rocker is set to HOLD (continuous
operation).
5. START/STOP key - to START or STOP the rocking operation.
6. RUN green signal light - illuminates when the rocker is running.
4.2. OPERATION
1. Turn POWER switch ON (it should illuminate).
2. Set SPEED knob to desired value.
3. Set TIME knob to desired value or to HOLD - continuous operation (yellow signal
light HOLD must illuminate).
4. Press START/STOP key to start the rocking operation.
5. Device automatically stops after the set time passes.
6. If you want to stop the rocking operation before the set time passes, or when TIME
knob is set to HOLD, press START/STOP key.
NOTE: Pressing START/STOP key during operation will reset the timer.
It's possible to change speed during operation, but you cannot change time. If you
want to change time, stop the rocker, set desired time and start it again.
Do not put your hands between platform and housing during operation,
because your fingers can get pinched.
Page 5
Page 6

ROCKER 35 EZ USER'S MANUAL
b
4.3. ADJUSTING TILT ANGLE
NOTE: Before you adjust the tilt angle, rocker must be STOPPED. Stop the rocker in
a position, where marking on the knob, located on the right side of the
housing, is aligned with arrow on the label (see picture below). Do this by
operating the rocker at low speed (20 - 30 RPM). Only when marking and
arrow are aligned, then it's easy to adjust tilt angle of rocker platform.
Proper alignment for adjustment between
arrow on label and marking on knob. Should
e in this position to change tilt angle.
Degree scale
Arrow on label
Marking on Adjustment Knob
How to adjust tilt angle:
1. Stop the rocker in a position described above a nd u nlo ad the pla tform.
2. Loosen the knob on the right side of the rocker housing, by rotating it counter-
clockwise.
3. Adjust the platform to desired tilt angle by moving it up or down and looking on the
degree scale (see above) on the platf or m drive shaft (front center unde r platform).
4. Tighten the knob on the right side by turning it clockwise. Test the unit without load to
ensure platform is tight.
Now rocker is ready for operation with new desir ed t ilt an gle.
Page 6
Page 7

ROCKER 35 EZ USER'S MANUAL
5.0. SAFETY
- Do not use the device nearby water sources. Take care, that water will not drop in the
device, especially by cleaning procedures.
- Do not use the device in aggressive atmosphere.
- To avoid sh ock hazards or destroying the device, do not put any elect rical conducting
objects into the device. It could happen that yo u wo uld to uch dan ge r ous voltage points.
In case of malfunction, unplug the device from mains power supply and call authorized
service. You have to call the service in the following cases also:
- Mains cord or mains receptacle are harm ed or destroyed.
- Liquid was dropped into the device.
NOTE: In case that device is not functioning properly, even if you have exactly
followed instructions described in User's Manual, you are allowed to use
only those commands and procedures, which are described by User's
Manual. Use of any other commands, procedures and adjustments could
result in device destruction or longer service repair time.
If the equipment is used in a manner not specified by the manufacturer, the
protection provided by the equipment may be impaired.
Do not shake inflammable or explosive samples!
6.0. TROUBLESHOOTING GUIDE
Review the informatio n in the table below to troubleshoot opera ting problems. In case of
malfunction, unplug the device from main power supply and contact Labnet International,
Inc. Service Department at ( 73 2) 41 7- 07 00 M onday through Friday 8:30am – 5pm EST.
Problem Explanation / Solution
POWER switch doesn't illuminate
when turned ON.
Rocker doesn't start when you press
START/STOP key.
HOLD yellow signal light and RUN
green signal light are blinking.
Check the connection to main power supply.
Check fuses.
Call authorized service.
Check the connection to main power supply.
Check fuses.
Call authorized service.
Motor overload - reduce the load on the plat form.
Call authorized service.
Page 7
Page 8

ROCKER 35 EZ USER'S MANUAL
7.0. REGULAR MAINTENANCE
No routine maintenance or lubrication is req uired.
It is recommended that the rocker is kept clean t o ensur e lo ng t r ou ble- free operation.
7.1. CLEANING
The housing of the rocker can be cleaned with a soft, damp cloth or special cleaners for
plastic surfaces (e.g. for car interior - armature). Do not immerse the device or spill liquids
on the device.
NOTE: Do not use any aggressive or abrasive cleaners (acetone, nitro, polish etc.)
because the surface can get permanently damaged.
Prior to any cleaning or maintenance of the device, unplug the power
cord from the wall socket.
Page 8
Page 9

ROCKER 35 EZ USER'S MANUAL
8.0. INSTALLATION OF DOUBLE PLATFORM
Before the installation of double platform, turn off the POWER switch.
For installation of double platform, prepare upper platform with rubber pad and posts kit,
which includes four posts, four washers, four screws and four nuts.
E
D
A
E Posts kit
A
B
C
B
C
1. Set four posts (A) above four holes at the corners of the bottom platform.
2. Put the washer (B) on each screw (C) and then screw it into each post from the
bottom side of the platform.
3. Fit upper platform (D) on the top of f our posts, so that the threads of the posts are
protruding through four corne r holes.
4. Screw four nuts (E) on the threads of four posts, to fix the upper platform.
Page 9
Page 10

ROCKER 35 EZ USER'S MANUAL
This equipment is marked with the crossed out
wheeled bin symbol to indicate that this equipment must
not be disposed of with unsorted waste.
Instead it’s your responsibility to corr ectly dispose of
your equipment at lifecycle-end by handing it over to an
authorized facility for separate collection and recycling.
It’s also you responsibility to decontaminate the
equipment in case of biological, chemical and/or
radiological contamination, so as to protect from health
hazards the persons involved in the disposal and
recycling of the equipment.
For more information about wher e y ou ca n dr op off your waste equipment,
please contact your local dealer from whom you or iginally purchased this
equipment.
By doing so, you will help to conserve natural and e nvironmental resources and you will
ensure that your equipment is recycled in a mann er th at pr o t e cts human health.
Thank you
Page 10
Page 11

LIMITED WARRANTY
Labnet International, Inc. warrants that this product will be free from defects in material and workmanship for a period of one (1) year
from date of purchase. This warranty is valid only if the product is used for its intended purpose and within the guidelines specified in the
supplied instruction manual.
Should this product require service, contact Labnet International, Inc.’s Service department at 732-417-0700 to receive a return
authorization number and shipping instructions. Products received without proper authorization will be returned. All items returned for
service should be sent postage prepaid in the original packaging or other suitable carton, padded to avoid damage. Labnet
International, Inc. will not be responsible for damage incurred by improper packaging. Labnet International, Inc. may elect for onsite
service for larger equipment.
This warranty does not cover damage caused by accident, neglect, misuse, improper service, natural forces or other causes not arising
from defects in original material or workmanship. This warranty does not cover motor brushes, fuses, light bulbs, batteries or damage to
paint or finish. Claims for transit damage should be filed with the transportation carrier.
ALL WARRANTIES INCLUDING THE IMPLIED WARRANTY OF MERCHANTABILITY AND FITNESS FOR A PARTICULAR
PURPOSE ARE LIMITED IN DURATION OF 12 MONTHS FROM THE ORIGINAL DATE OF PURCHASE.
LABNET INTERNATIONAL, INC.’S SOLE OBLIGATION UNDER THIS WARRANTY IS LIMITED TO THE REPAIR OR
REPLACEMENT, AT LABNET INT ERN ATI ONA L, I NC. DI S CRETI ON, OF A DEFECTIVE PRODUCT. LABNET INTERNATIONAL, INC.
IS NOT LIABLE FOR INCIDENTAL OR CONSEQUENTIAL DAM AGE, COMM ER CIAL LOS S OR AN Y OTHER DAMA GES RES ULTING
FROM THE USE OF THIS PRODUCT.
Some states do not allow limitation on the length of implied warranties or the exclusion or limitation of incidental or consequential
damages. This warranty gives you specific legal rights. You may have other rights which vary from state to state.
No individual may accept for, or on behalf of Labnet International, Inc., any other obligation of liability, or extend the period of this
warranty.
Mail Warranty Registration to : or Register online at
Labnet International, Inc. www.labnetinternational.com
31 Mayfield Ave.Edison, NJ 08837
To validate the warranty, complete and return this card within 10 days.
Model ____________________________________________________________________________
Serial No. ______________________________ Date Tested________________________________
Date Rec’d _____________________________ PO#______________________________________
Name/Title ________________________________________________________________________
Phone ___________________________________________________________________________
Institution _________________________________________________________________________
Address __________________________________________________________________________
City ______________ State _____ Zip/Postal Code ____________ Country __________________
Purchased from (distributor) __________________________________________________________
How would you rate the quality of this product? Excellent Good Fair Poor
What feature(s) on this product made you purchase it? ____________________________________
What feature(s) would you change to improve the performance of this product? __________________
_________________________________________________________________________________
cut along the dotted line
31 Mayfield Avenue. Edison.NJ.08837
(p) 732.417.0700 (f) 732.417.1750)
Version 1.0 March 2016
Page 12

 Loading...