


© LABELMATE – User_RRC-330 – 04/12
MAINTENANCE:
Your RRC-330 requires no maintenance.
WARRANTY:
The RRC-330 Reel-to-Reel Counter is backed by LABELMATE’s famous 3-Year
Parts and Labour Limited Warranty. 1-Year Warranty on Power Supplies,
Counters and Encoders.
LABELMATE LLC
69 AVENUE ALPHONSE XIII, 1180 BRUSSELS, BELGIUM
TEL: +322.375.69.60 – FAX: +322.375.38.96
brussels@labelmate.com
www.labelmate.com
RRC-330
Reel-to-Reel Counter
• Variable Speed Control
• 6-Digit Digital Pre-set Counter
• 330mm (13") Roll Diameter
Remove all parts from the shipping container and verify contents.
Package Contents
• User Manual (this document)
• RRC-330 Unit
• Power Supply Module
• Separate User Manual for Counter Unit
Retain the Shipping Container and Packaging for Storage and Transport
● KEEP MANUAL IN A SAFE PLACE FOR FUTURE REFERENCE ●
SPECIFICATIONS:
Max. Label Roll Weight: 6Kg (13.2Lb)
Max. Label Roll Size: 330mm (13") diameter
Power Supply: Input: 220-240VAC – 50-60Hz.
Output: 24VDC – 4.17A.
Speed: Min. 65cm/sec with 76mm take-up roll diameter.
SET-UP:
1. Plug the Power Supply Output Cable to the Power Jack on the Rear Panel of
the RRC-330. Plug the Power Supply into a suitable AC Power Mains Outlet.
Place the Power Switch on the rear of the RRC-330 to the “ON / 1” position.
Observe that numbers are displayed on the Counter.
See the separate User Manual for the Counter Modules itself for other
operations.
2. The Counter is pre-programmed as a Preset Count-Up Counter. If you want
to use the preset function, introduce the number of labels with the blue push
button on the counter. If you do not want to use preset, set the value to “0”.
3. When the preset number of labels is reached, the RRC-330 will stop.
Pressing “R” on the counter will reset the count and restart the RRC-330
.
OPERATION:
1. Place the “STOP / RUN” Switch in the STOP Position.
2. Place your Roll of Labels on the Roll Holder at the left of the RRC-330. The
Take-Up Spindle on the right rotates in a counter-clockwise direction. Note
that your rewind can be “Wind-In” or “Wind-Out” according to which way you
place the Label Roll on the Roll Holder, right-side-up or upside-down.
3. The 2 plastic rings on the paper guides need to be used only if the unwind
roll is unevenly wound to begin with. Setting the rings at the proper height will
correct the unevenness of the roll on the rewind side.
4. The machine will stop when out of paper. To re-start, load paper, and set the
Stop/Run Switch to STOP. Re-set the counter if necessary. Start by
switching to “RUN”.
5. Place an empty label Core (not included) over the Take-Up Spindle and
secure the Label Web using a piece of tape.
6. Enter the desired Label Count via the Push Buttons on the Counter. If you do
not use preset, set the value to “0”.
IMPORTANT!
It is recommended to use the machine at its maximum speed.
Keep unwind plate clean of particles and glue.
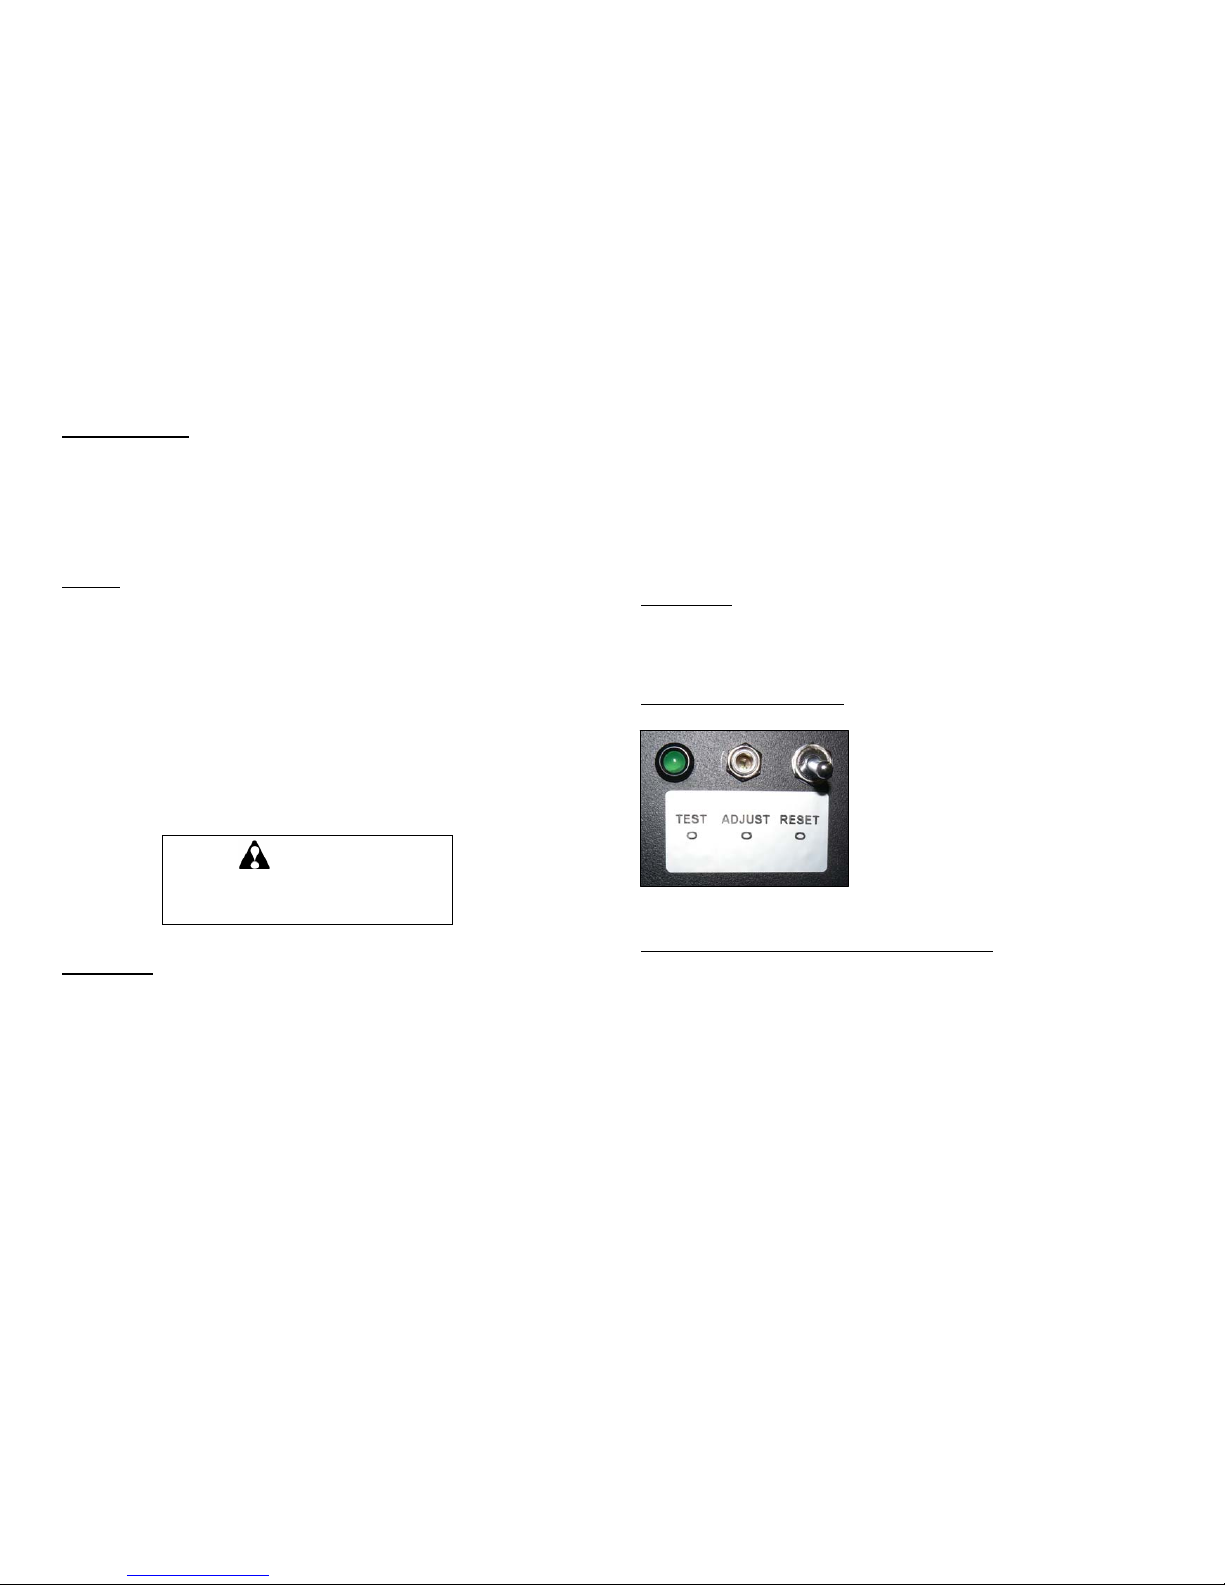
LEFT SIDE CONTROL PANEL:
RESET: The new left-side control panel has
three items. The toggle switch (reset) is a
momentary closing switch, that has the same
function as the reset button on the counter,
but is more convenient for the operator.
ADJUST: Potentiometer.
TEST: Green LED
ADJUSTING THE LABEL DETECTOR PHOTOCELL:
The label detector photocell has been adjusted at the factory (potentiometer fully
CCW) and requires no adjustment for a large variety of labels. However, some
specific labels (very transparent or relatively opaque backing paper) might
require adjustment of the photocell.
Load a roll of labels on the machine, and position the backing paper in front of
the photocell. Make sure that the labels are tensioned when doing the test. The
LED should light on. If not, rotate the potentiometer till LED goes on “green”.
Now put a label in front of the photocell, the LED should turn off.
WARNING!
This Product is for indoor use only.
Not for use in wet locations.
 Loading...