

Page 1
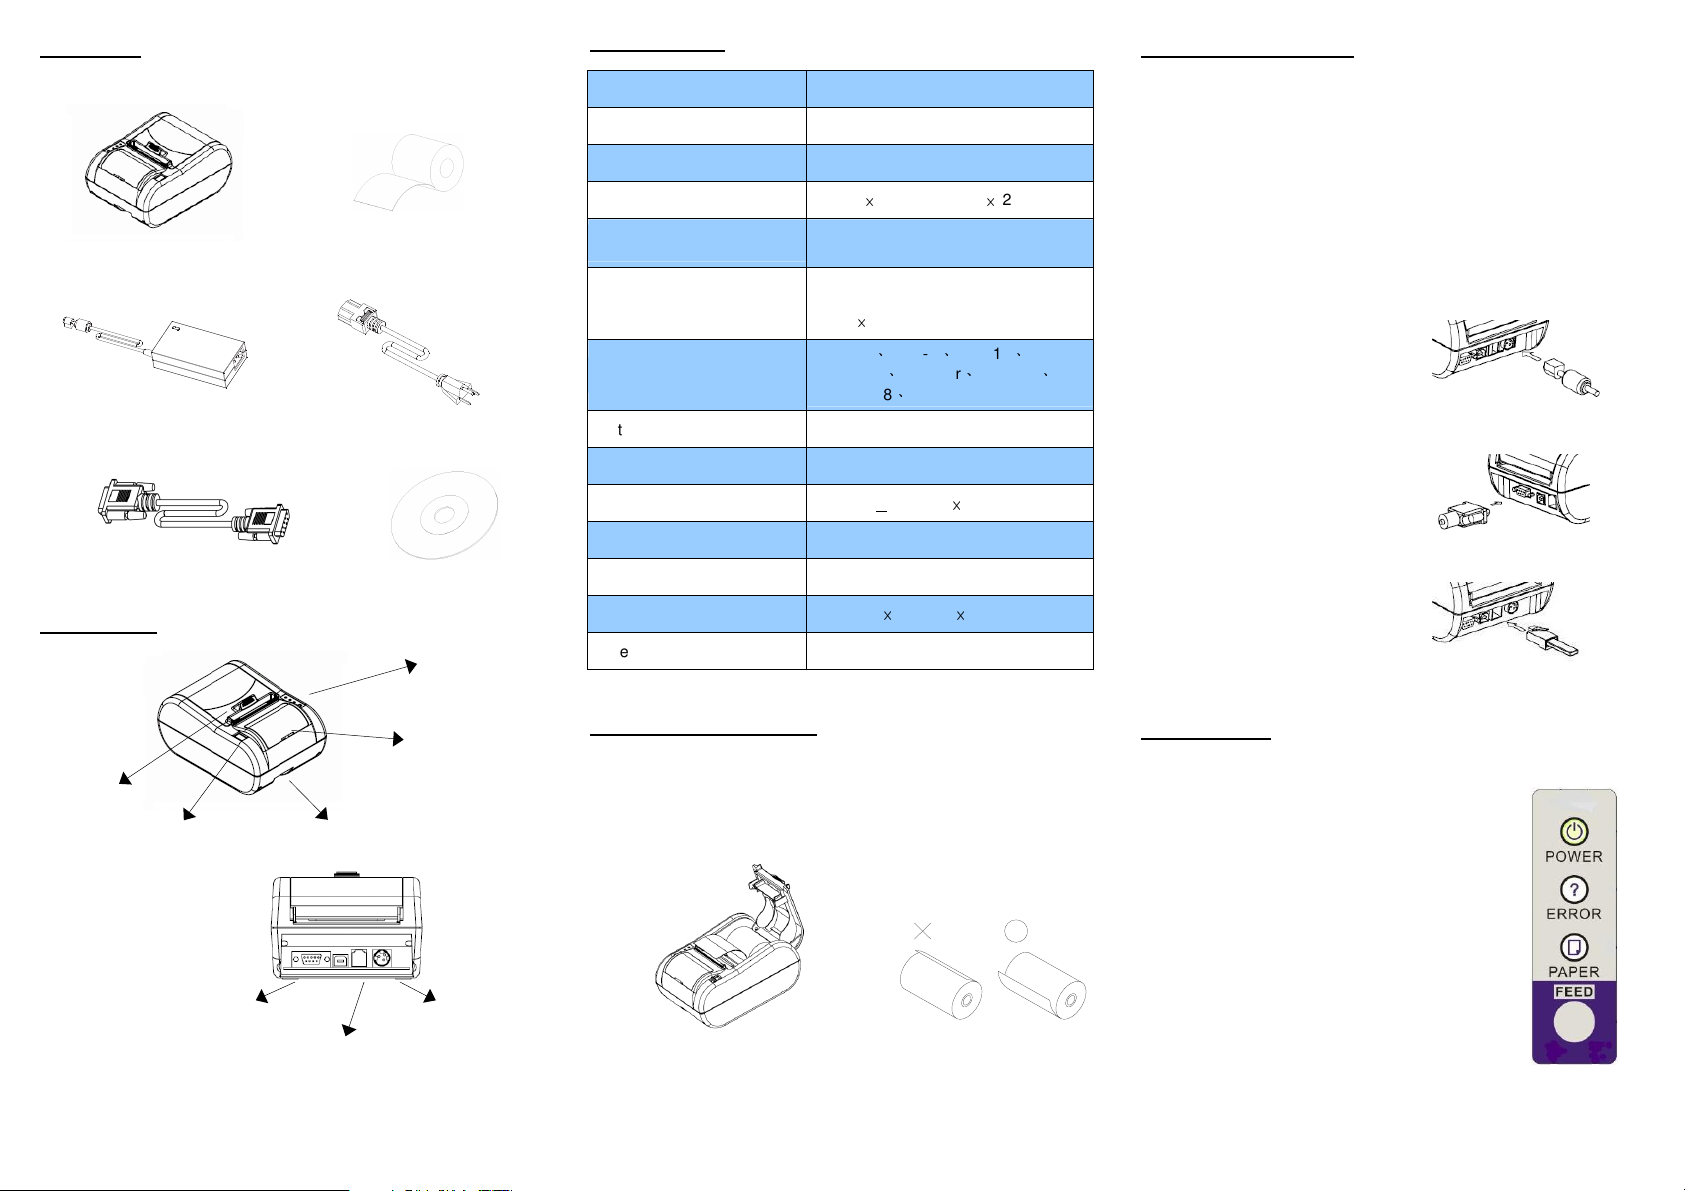
Unpacking
Specifications
Connecting the cables
The items illustrated below are included in a standard package.
Printer
AC Adapter
Communication Cable
Paper Roll
Power Cord
Windows Driver & Utility
Printer parts
Printer Cover
Printer-Cover Lever Power Switch
Control Panel
Cutter Cover
Printer method Direct Thermal Printing
Print speed 250mm/sec
Print resolution 203 dpi
Print font
Column capacity
Character set
Bar code
Interface RS-232 and USB / Parallel
Cash drawer port RJ-11
Paper dimensions
Paper thickness 0.06 to 0.12 mm
Power 24V
Overall dimension
Weight 850 g
9(W) × 17(H) / 12(W) × 24(H)
34 characters in Font A,
46 characters in Font B
95 Alphanumeric
32 International
128 × 5 graphics
UPC-A、UPC-E、EAN-13、EAN-8
Code 39、Codabar、Code 93、
Code 128、ITF-25
57 mm + 0.5 mm × dia 50 mm
120(W) × 170(D) × 85 (H) mm
Installing the Paper Roll
1. Open the printer cover.
2. Insert the paper roll and pull out a small amount of paper, as shown
below.
Power supply cable, communication cable, and cash drawer cable.
Note:
Make sure that you use +24V power supply or equivalent for your
printer. Using an incorrect power supply may cause fire or electrical
shock.
1. Turn off the printer and the host computer.
2. Plug the power cord into the adaptor,
then plug the adaptor into the power
connector of the printer.
3. Plug the communication cable into
the communication connector.
4. Plug the drawer cable into the drawer
kick-out connector, if needed.
Control Panel
The control panel has three LEDs and one button.
POWER light---green light
Light on when the power is on
Light off when the power is off.
ERROR light---red light
Light on when an error occurs.
Communication Connector Power Supply Connector
Cash Drawer Connector
1.
2.
PAPER light---red light
Light when the paper roll is nearly end.
FEED button
Feed the paper.
3.
Page 2
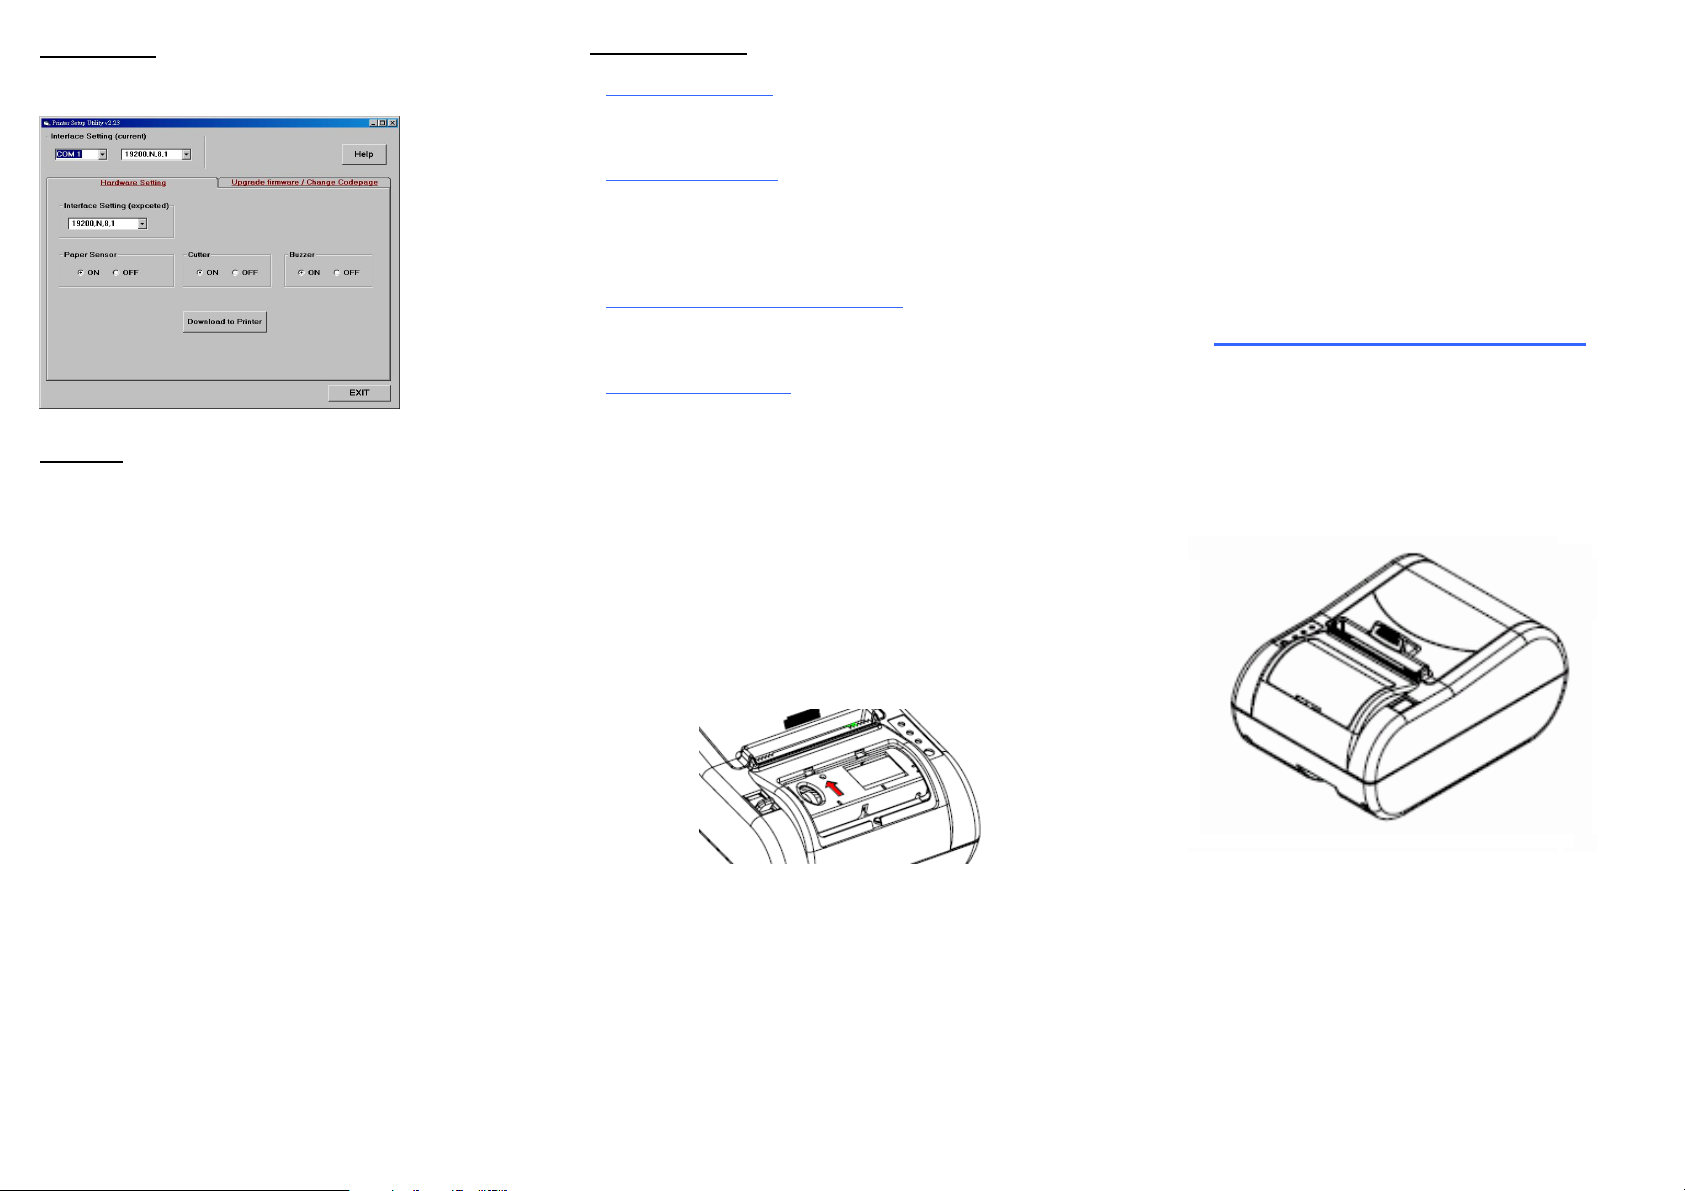
Setup Utility
Troubleshooting
In the AP, you can set up baud rate and upgrade firmware.
Self-Test
The self-test is independent of any other equipment or software.
It checks the printer mechanisms, setting, and firmware version.
1. Make sure the paper roll has been installed properly.
2. Turn off the printer and close the printer cover
3. Turn on the power while holding FEED button till print feeds paper
and then release FEED button. The self-test begins
PAPER red light is “On”
Paper roll is nearly end. Install a new paper roll.
ERROR red light is “On”
Make sure that the printer cover is properly closed.
Or turn off the printer and check if the cutter was seized.
ERROR light is “Off”, but noting is printed.
Try to run the self-test to check that the printer works properly.
Printer can not feed paper
1. Turn off the power and open the printer cover. If there is a paper
jam, remove the jammed paper.
Caution: Do not touch the print head, because it could be very
hot after continuously printing.
2. If the jammed paper is caught in the cutter, open the cutter cover
by a coin. Then turn the knob in the direction indicated by the
arrow as shown below. After the cutter blade draws back to the
lowest position, remove the jammed paper.
Quick Manual
S320
Thermal Receipt Printer
4. The self-test prints the current printer setting and provides the
control firmware version
5. After printing the current printer setting, self-test printing will print
the following, and pause.
If you want to continue self-test, please press FEED button.
6. Press the FEED button to continue printing. The printer prints a
pattern using the built-in character set.
7. The self-test automatically ends and cuts the paper after printing
the following.
*** completed ***
8. Please re-start to exit self-test.
4.
5.
 Loading...