

Manual ND3 UL ING.qxd 10/06/2002 13:15 Página 1
INSTRUCTIONS FOR USE AND
INSTALLATION INSTRUCTIONS
KD 957.1 GE-UL
Manual ND3 UL ING.qxd 10/06/2002 13:15 Página 2
Dear client:
Congratulations on your choice. We are sure
that this modern, functional and practical
apparatus, made with top quality materials, will
fully satisfy your needs.
Please read every section of this
INSTRUCTIONS MANUAL before using your
kitchen hood for the first time, to be able to get
maximum performance from the apparatus
and to avoid breakdowns which may be
caused by incorrect use, as well as to allow
any minor problems to be solved.
Store this manual, as it will provide useful
information about your kitchen hood at all
times and will also help other people to use it.
Important Safety Instructions
READ AND SAVE THESE
INSTRUCTIONS
• Take care when using cleaning agents or
detergents.
• Suitable for use in household cooking area.
• CAUTION: To reduce risk of fire and to
properly exhaust air, be sure to duct air
outside. Do not vent exhaut air into spaces
within walls or ceiling or into attics, crawl
spaces, or garages.
• CAUTION: For General Ventilating Use
Only. Do Not Use To Exhaust Hazardous
Or Explosibe Materials And Vapors.
• WARNING: TO REDUCE THE RISK OF
FIRE, ELECTRIC SHOCK, OR INJURY TO
PERSONS, OBSERVE THE FOLLOWING.
a. Use this unit only in the manner intended
by the manufactured. If you have questions,
contact the manufacturer.
b. Before servicing or cleaning the unit,
switch the power off at service panel and
lock the service disconnecting means to
prevent power form being switched on
accidentally. When the service
disconnecting means cannot be locked,
securely fasten a prominent warning
device, such as a tag, to the service panel.
• WARNING: TO REDUCE THE RISK OF A
RANGE TOP GREASE FIRE:
a. Never leave surface units unattended at
high settings. Boilovers cause smoking and
greasy spillovers that may ignite. Heat oils
slowly on low or medium settings.
b. Always turn hood ON when cooking at
high heat or when cooking flaming foods.
c. Clean ventilating fans frequently. Grease
should not be allowed to accumulate on fan
or filter.
d. Use proper pan size. Always use
cookware appropiate for the size of the
surface element.
• WARNING: TO REDUCE THE RISK OF
INJURY TO PERSONS IN THE EVENT OF
A RANGE TOP GREASE FIRE, OBSERVE
THE FOLLOWING:
a. SMOTHER FLAMES with a close-fitting
lid, cookie sheet, or metal tray, then turn off
the burner. BE CAREFUL TO PREVENT
BURNS. If the flames do not go out
inmediately, EVACUATE AND CALL THE
FIRE DEPARTAMENT.
b. NEVER PICK UP A FLAMING PAN. You
may be burned.
c. DO NOT USE WATER, including wet
dishcloths or towels, a violent steam
explosion will result.
d. Use an extinguisher ONLY if:
1. You know you have a Class ABC
extinguisher, and you already know how to
operate it.
2. The fire is small and contained in
the area where it started.
3. The fire department is being called.
4. You can fight the fire with your
back to an open exit.
• Please be aware of current local regulations
with reference to domestic electrical fittings
and gas eduction.
• Verify that the tension and frequency of the
network match those indicated on the label
located inside the kitchen hood.
2
Manual ND3 UL ING.qxd 10/06/2002 13:15 Página 3
• Once the kitchen hood has been installed,
ensure that the feed cable to the network is
not in contact with any live metal edges.
• Avoid connecting the apparatus to
conductors used exits for fumes produced
by a non-electric energy source. E.g.:
boilers, chimneys, etc.
• If the extractor fan is going to be used
simultaneously with equipment powered by
a non-electric energy source. E.g.: gas
cookers, the room must have sufficient
ventilation.
• The lower part of the kitchen hood must be
fitted at least 60 cm. (23,6 in) over electric
hobs and 65 cm. (25.6 in) over gas or mixed
hobs.
• Avoid cooking under the kitchen hood if the
metal filters are not fitted, e.g.: while they
are being cleaned in the dishwasher.
• We recommend the use of gloves and to be
extremely careful when cleaning the kitchen
hood's interior.
• Your kitchen hood is designed for domestic
use and only for extraction and purification
of gases produced during food preparation.
It will be your responsibility if it is used for
other purposes, which may be dangerous.
The manufacturer cannot accept responsibility for damage caused by improper use of
the apparatus.
• For repairs please contact the nearest
KÜPPERSBUSCH Technical Assistance
Service, and always use genuine spare
parts. Repairs or modifications effected by
unqualified personnel can cause
malfunctions or may damage the
apparatus, putting your safety in danger.
Index
Page
Description of the apparatus 3
Instructions for use 4
Programming timer 4
Cleaning and maintenance 4
Problem solving 5
Sizes and specifications 5
Accessories supplied 6
Grounding instructions 6
Installation 7
Active charcoal filters 8
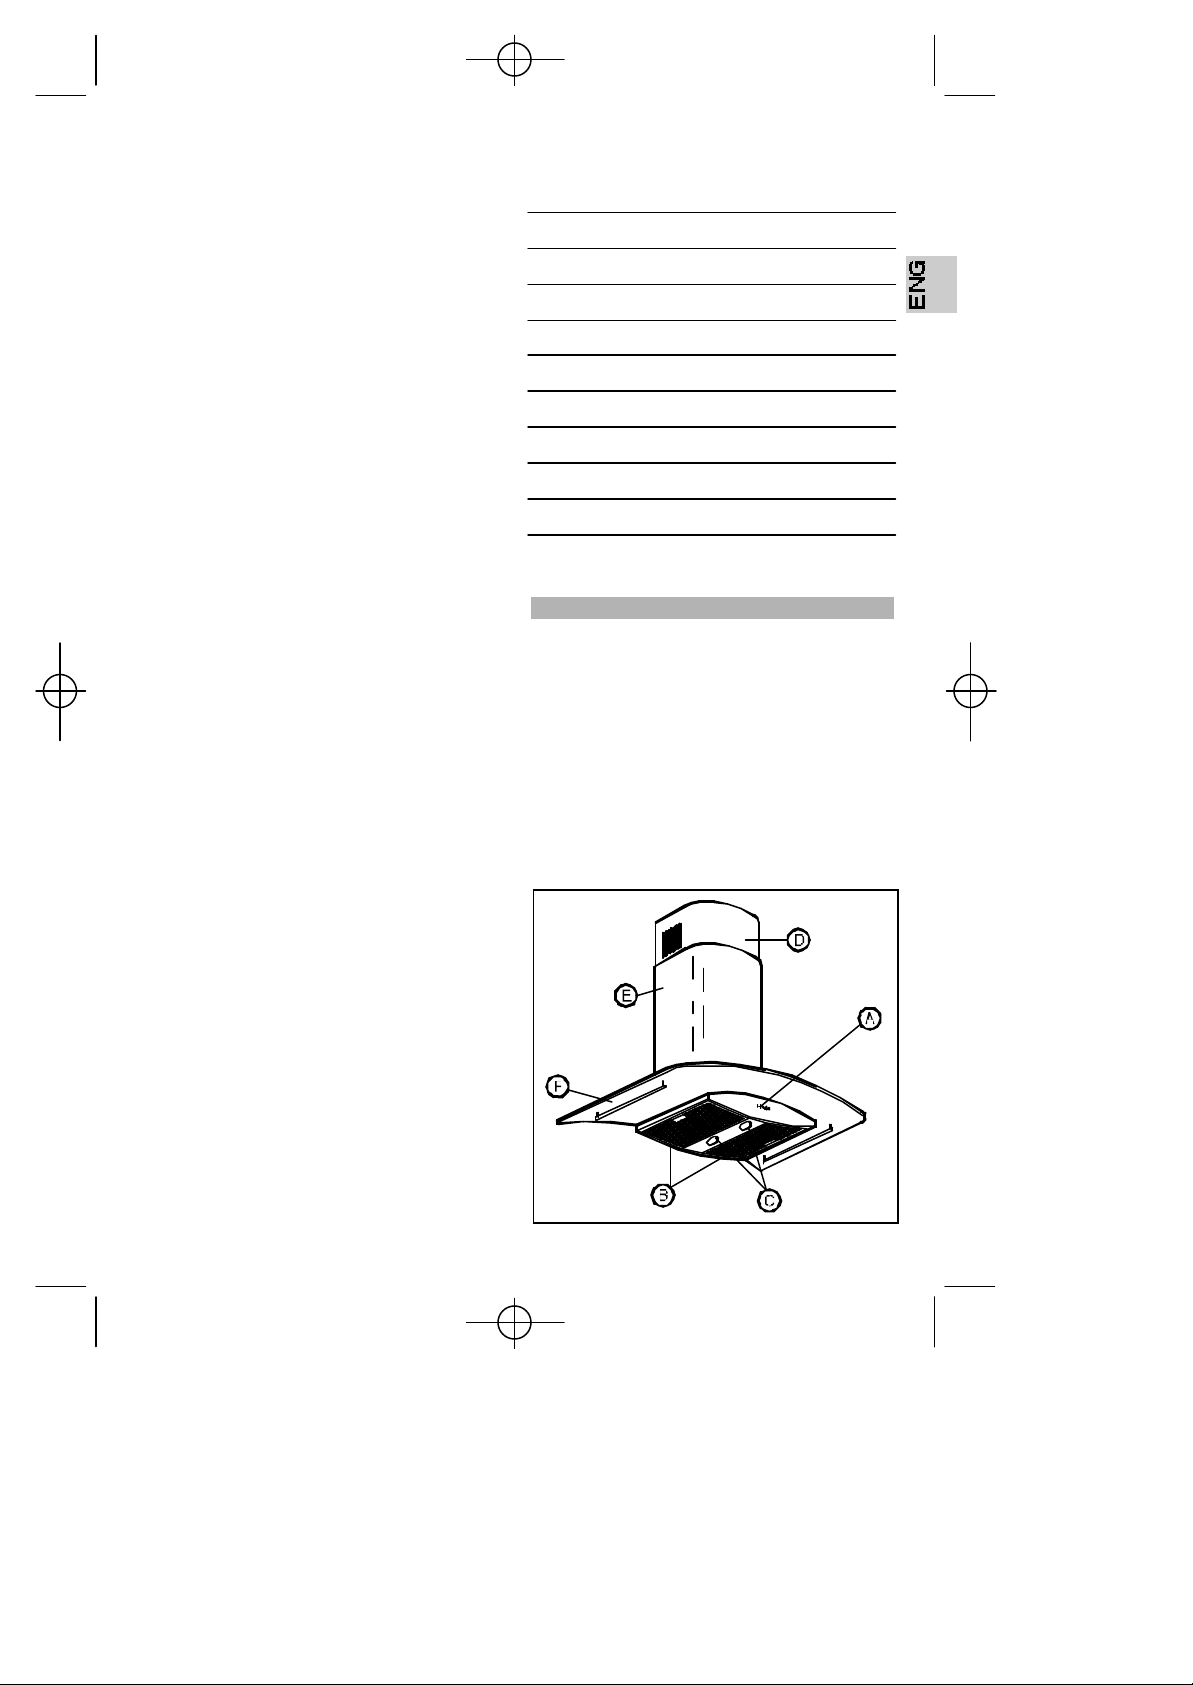
Description of the apparatus
A Electronic programmer control box with
buttons to control speed, light and
power in use indicators.
B Metal filters.
C Lamp with two lights - 20 W (G-4).
D, E Vertically adjustable tubecovers.
F Decorative part. ( No incluided ).
3
Manual ND3 UL ING.qxd 10/06/2002 13:15 Página 4
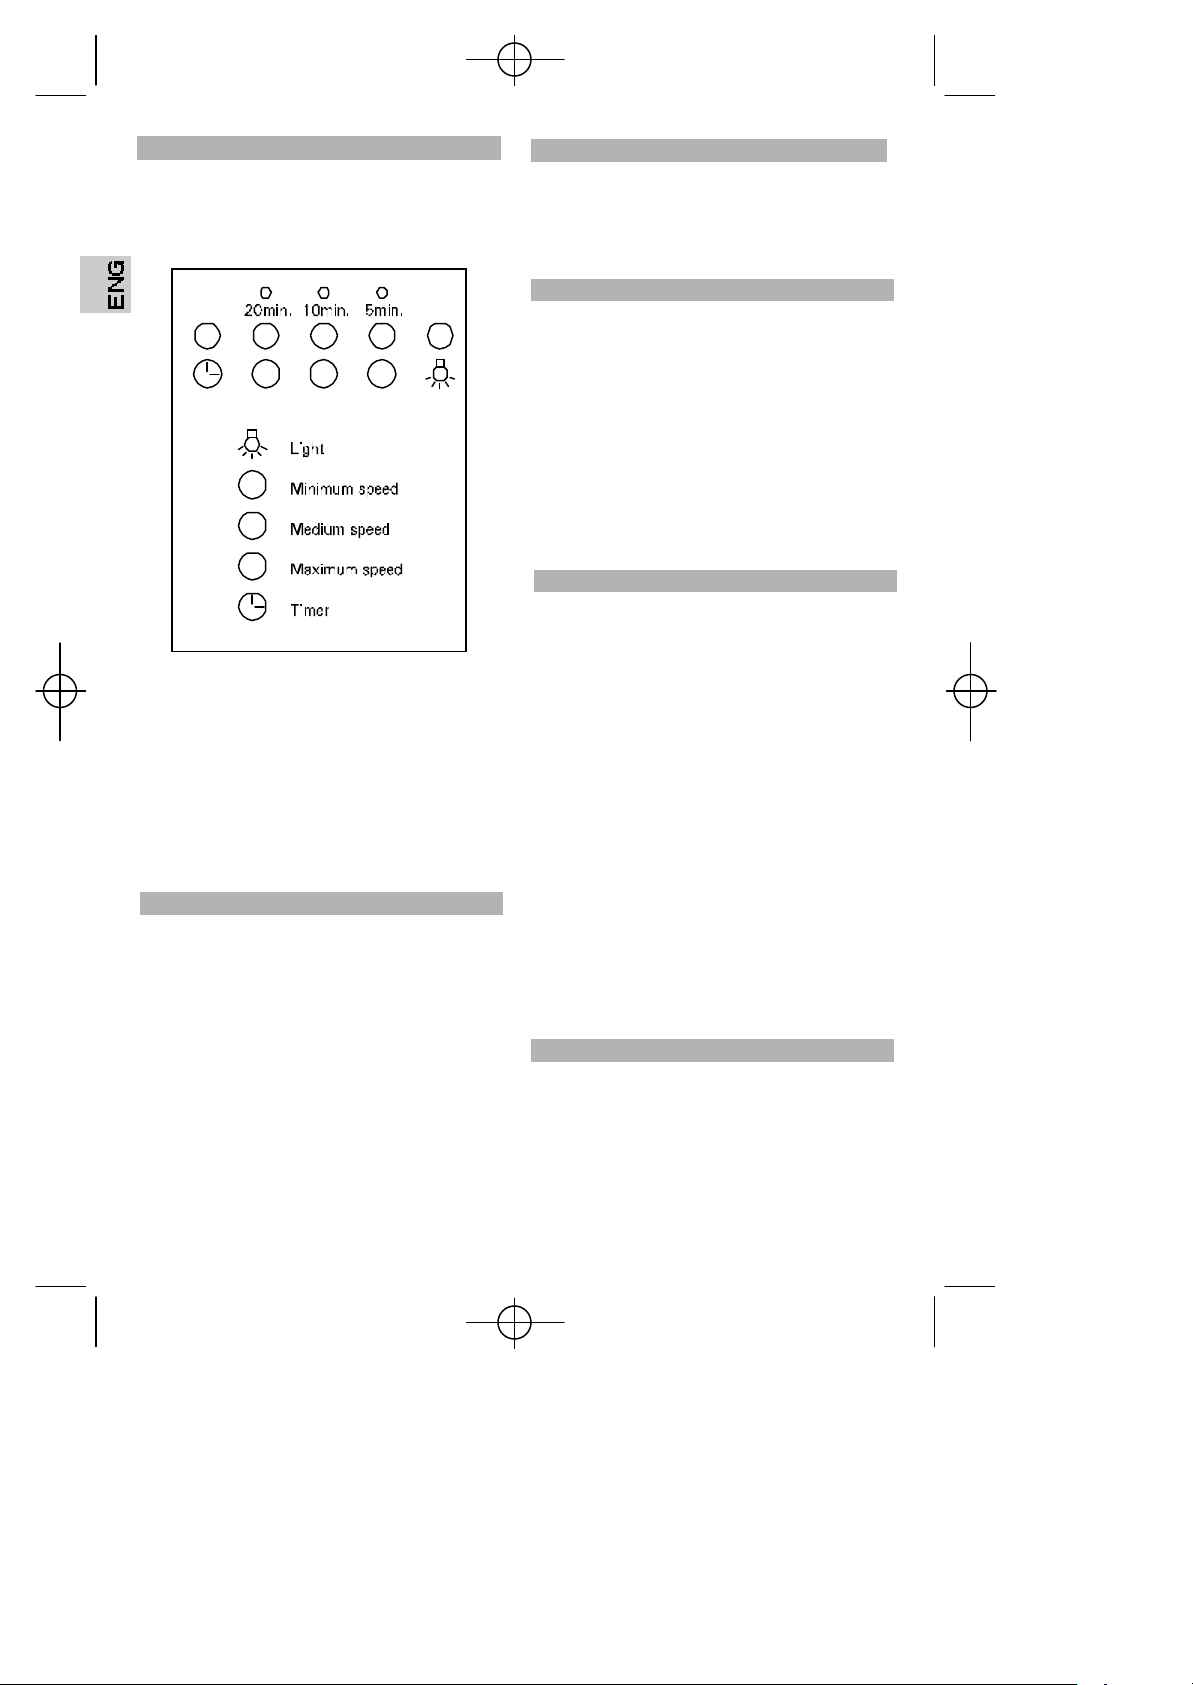
Instructions for use
You may control the kitchen hood's workings
by operating the controls as shown in the
diagram.
3 2
1
1
2
3
To improve draught we recommend to turn
the extractor fan on a few minutes before
cooking so that the flow of air is continuous
and stable when fumes are extracted.
Similarly, keep the extractor fan on for a few
minutes after cooking to completely extract
fumes and odours.
Cleaning and maintenance
When cleaning and doing maintenance,
make sure the safety instructions set out
on page 2 are complied with.
Cleaning the body of the kitchen hood
• If your kitchen hood is made from stainless
steel, use this material's specially designed
cleaners following the instructions
mentioned in the product supplier´s
instructions.
• Never use metallic scourers, nor abrasive
or corrosive products.
• Dry the kitchen hood using a cloth that
does not produce fluff.
Cleaning the metal filters
To remove the filters from their fittings, press
lightly on the locks and then pull them off.
The metal filters can be cleaned by soaking
them in hot water with neutral detergent until
the fat dissolves and then rinsing them under
the tap or using products specially designed
for fats. They can also be washed in a
dishwasher. In this case, it is advisable to
stack them vertically to avoid food residue
sticking to them.
Programming timer
1.- By pressing for more than 2 seconds any
speed, the kitchen hood will stay switched on
for 10 minutes at the selected speed. To
program a duration other than 10 minutes:
a).- With the kitchen hood switched off, press
“timer”.
b).- Select the required programming time by
pressing the chosen button (see drawing).
c).- Press “timer” again to record the new
program.
d).- Press the chosen speed for more than 2
seconds, the pilot light will start flashing.
4
Cleaning in a dishwasher with aggressive
detergents or polish may damage the metallic
surface (blackening it), although this will not
affect its fat retention capacity.
Once clean, leave them to dry off and then fit
them onto the kitchen hood.
Changing lights
Proceed as follows:
• Unscrew the decorative element of the
halogen lamp.
• Change the broken/burnt out lamp.
Maximum lamp power is 20 W (G-4).
• Screw back on the decorative element of
the halogen lamp.

Manual ND3 UL ING.qxd 10/06/2002 13:15 Página 5
Problem solving
Proceed with the following checks before calling the Technical Service:
Problem Possible cause Solution
The extractor fan ceases to function
The extractor ceases to educt strongly
or vibrates
The lamps do not light up
The kitchen hood feed cable is not connected to
the network.
There is no electrical current in the network
Filters are saturated with fat.
Obstruction in the air exit conduct
The lamps are burnt out
The lamps are loose
Sizes and specifications
Connect feed cable to the network.
Check that the network has electrical current
Change or clean the active charcoal and/or metal
filters, as the case may be.
Eliminate the obstruction
Change the lamps
Tighten the lamps
2 13
5
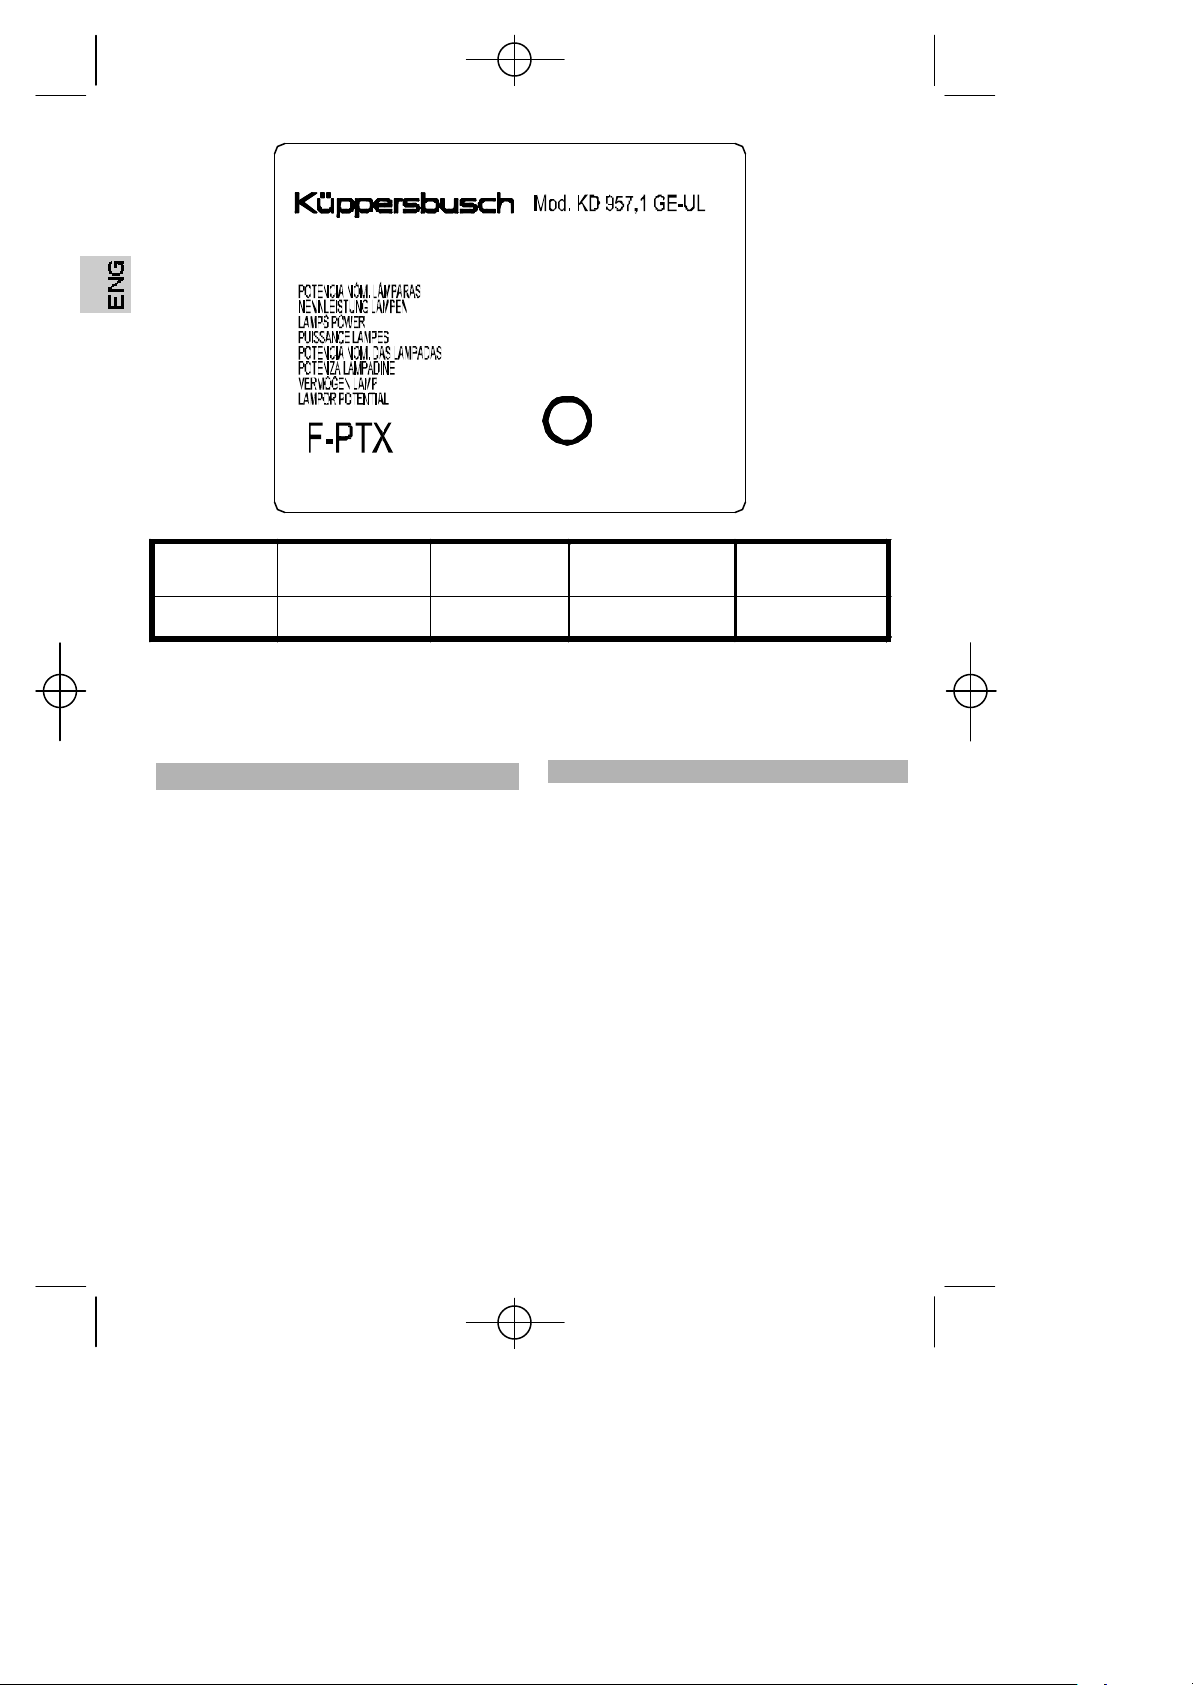
22UL324ND
Manual ND3 UL ING.qxd 10/06/2002 13:16 Página 6
Tec. Cod.
F .Nr**********
U
C
L
© US
LISTED
ELECTRIC FAN
XXXX
Made in Europe
Technical
Code
Network Code (V)
Network
Frecuency (Hz)
Lights/ Motor Power
(W)
Motor Volume
120 60 2x20 / 340 850 m3/h
KÜPPERSBUSCH reserves the right to make changes and corrections to its products
as it deems necessary, without altering their basic characteristics.
Accesories supplied
1 150/125 mm reduction.
1 Anti-recoil valve.
2 Supports for tubecover.
2 Wall supports.
6 Wall plugs (Ø8 x 40).
6 Long bolts (Ø5 x 45).
4 Wall plugs (Ø6 x 30).
4 Long bolts (Ø4 x 30).
2 Washers (Ø6.4 x Ø12).
2 Washers (Ø6.4 x Ø18).
2 Screws (Ø3.9 x 13).
4 Screws (Ø4 x 12)
2 Clips.
• This appliance must be grounded. In the
• WARNING: Improper grounding can
• Consult a qualified electrician if the
• Do not use an extension cord. If the power
Grounding Instructions
event of an electrical short circuit,
grounding reduces the risk of electric
shock by providing an escape wire for the
electric current. This appliance is plugged
into an outlet that is properly installed and
grounded.
result in a risk of electric shock.
grounding instructions are not completely
understood, or if doubt exists as to whether
the appliance is properly grounded.
supply cord is too short, have a qualified
electrician install an outlet near the
appliance.
6

Manual ND3 UL ING.qxd 10/06/2002 13:16 Página 7
Installation
Fig. 1 (Pag. 8)
On installing the kitchen hood make sure
that the Safety Instructions set out on
page 2 are complied with.
• WARNING: TO REDUCE THE RISK OF
FIRE, ELECTRIC SHOCK, OR INJURY
TO PERSONS, OBSERVE THE
FOLLOWING:
a. Installation work and electrical wiring must
be done by qualified person(s) in accordance
with all applicable codes and standards,
including fire-rated construction.
b. Sufficient air is needed for proper
combustion and exhausting of gases through
the flue (chimney) of fuel burning equipment
to prevent back drafting. Follow the heating
equipment manufacturer´s guideline and
safety standards such as those published by
the National Fire Protection Association
(NFPA), and the American Society for
Heating, Refrigeration and Air Conditioning
Engineers (ASHRAE), and the local code
authorities.
c. When cutting or drilling into wall or ceiling,
do not damage electrical wiring and other
hidden utilities.
d. Ducted fans must always be vented to the
outdoors.
• WARNING: TO REDUCE THE RISK OF
FIRE, USE ONLY METAL DUCTWORK.
• WARNING: To Reduce The Risk Of Fire
Or Electric Shock, Do Not Use This Fan
With Any Solid-State Speed Control
Device.
To obtain optimum performance, the external
conduct must not be more than FOUR
METRES LONG, have more than two 90°
angles and its diameter must be at least
Ø120.
1) Using the attached template, trace and drill
the points for fitting the wall plugs onto the
wall (P) (Ø 8 x 40) y (J) (Ø 6 x 30).
2) Attach the Supports (O) to the wall using
the long bolts (Q) (Ø 5 x 45) and the support
(H) with the long bolts (I) (Ø 4 x 30), as in
figure 1.
3) Hang the kitchen hood of the support (K).
Straighten the apparatus by tightening the
long bolts (L) (M 4 x 12).
4) Trace the location of the wall plugs (S) (Ø
5 x 45), through the inside of the kitchen hood.
5) Take the kitchen hood off.
6) Drill into the wall and fit the wall plugs (R)
(Ø 8 x 40).
7) Hang the kitchen hood; tighten the screws
(M) (M 4 x 12) with the washers (A3) (Ø6,4 x
Ø12) and the long bolts (S) (Ø 5 x 45) with the
washers (T) (Ø6,4 x Ø18).
8) Adjust the decorative glass part (U), fixing
it to the body of the kitchen hood using the
screws (V) (M4) provided with the glass.
9) Mount the tubecovers, attaching the inside,
as indicated in figure 1 detail. Raise the upper
tubecover up to the required point and mark
its shape on the wall. Remove tubecovers.
10) Fit the clips (F) to the support (C).
11) Center the support (C) around the shape
marked; trace and drill the fixing points for the
wall plugs (E) (Ø6 x 30). Attach the support
(C) with the long bolts (D) (Ø4x30).
12) Fit the part (A) if the inner tube (not
supplied) is Ø150 or (A)+(B) if it is Ø120.
13) Attach the inner tube with a clamp (not
supplied) to (A) or (B) as the case may be.
14) Thoroughly attach the bottom chimney to
the support (H).
15) Adjust the decorative glass part (U) to the
lower tubecover and thoroughly fix the top
chimney using the screws (G) (Ø3.9 X 13).
16) Attach the decorative handle glass wing
(W) to the decorative glass part (U) with the
screws (X) and the washer (Y) provided with
the glass.
7

Manual ND3 UL ING.qxd 10/06/2002 13:16 Página 8
8

Manual ND3 UL ING.qxd 10/06/2002 13:16 Página 9
FIG.1
Active charcoal filters (Optional)
When exterior gas extraction is not possible,
then the kitchen hood may be set to purify the
air by recycling it through active charcoal
filters.
The active charcoal filters have an active life
of between three to six months, depending on
the individual conditions of use. These filters
cannot be washed nor regenerated. They
must be replaced once their useful life comes
to an end.
9
SET type 1 - Fig. 2 (Page 9)
1) Put the filters into the lateral draught
section of the motor making the holes in the
filters match up (A) with the pivots (B) of the
motor carcass. Turn as indicated in the
diagram.
2) Remove the tubecovers (E). Use the wall
plugs and the long bolts (D) of the top
chimney support (G). Already installed, to fix
the piece (C) to the wall.
3) Conect this piece (C) to the motor upper
exit using the inner tube (Not included). Use
clamps (Not included). Put back the
tubecovers (E).
 Loading...