

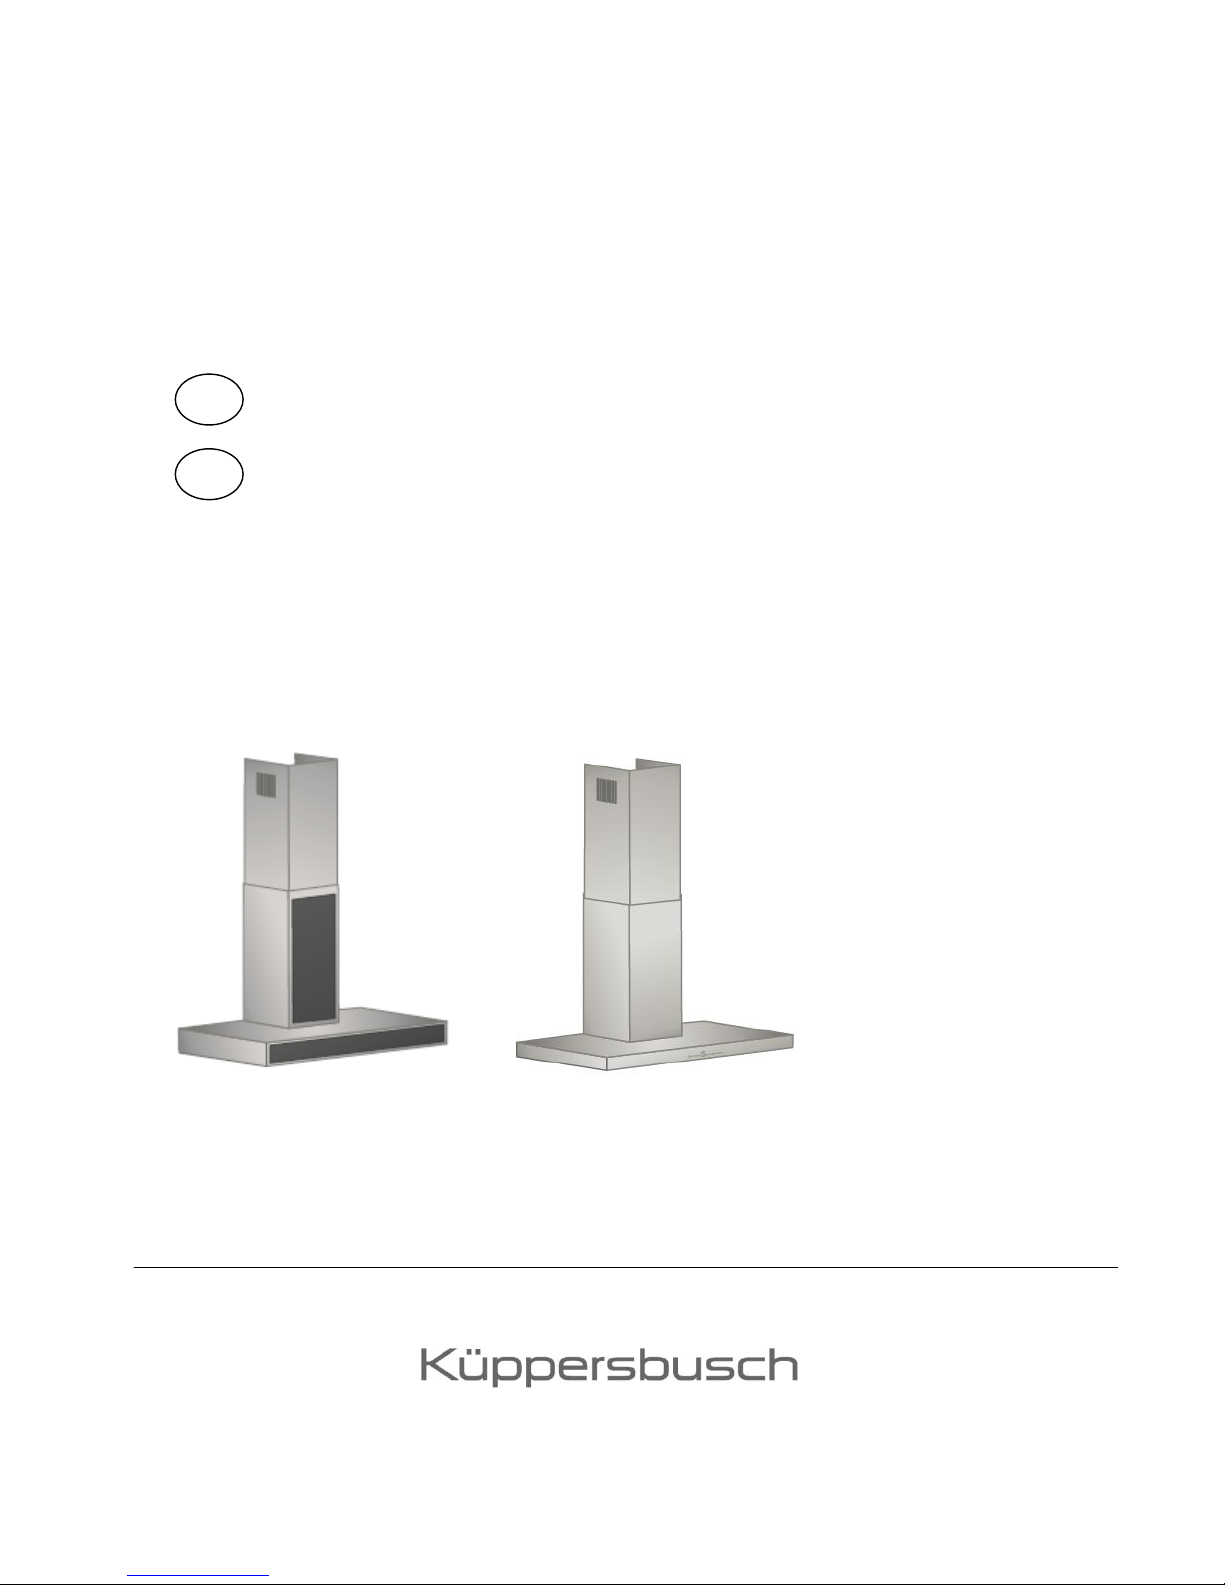
Küppersbusch IKD9885.0, KD9885.0, KD9440.0, IKD 12440.0, IKD9440.0 Instructions For Assembly And Use
...
BEDIENUNGS- UND
MONTAGEANWEISUNG
IKD9885.0 IKD 12440.0 / IKD9440.0
KD9885.0 KD12440.0 / KD9440.0
GB INSTRUCTIONS FOR ASSEMBLY AND USE
GR


Contents
General
Contents 24
Your appliance data 25
Safety Instructions 26
Installation
Assembly instructions 28
Electrical connection 28
Other assembly instructions and tips 29
Mounting on a wall 30
Mounting on the ceiling 35
Operation
Switching your appliance on / off 38
Power controls 38
Automatic delayed stop 38
Switching the lamp on / off 38
Dimmer function 39
Filter saturation display 39
Remote control 40
Maintenance, Cleaning and Care
Housing 41
Grease filter 42
Charcoal filter 43
24

Please note:
We require the following details for your request for customer service so that our
customer service technicians can be well-prepared to carry out repairs and have the
required spare parts available:
1. Your exact address
2. Your telephone number and, if available, fax number
3. When can customer service call?
4. An exact appliance designation:
model no. and fabric no. (refer to the nameplate and/or the receipt)
Model designation: ...............................................................................................
E-number: ............................................................................................................
F/N: ......................................................................................................................
5. Date of purchase
6. An exact description of the problem or the kind of service you require
Please also have your receipt available.
This will help us to avoid wasting time as well as cutting down on expenses and we
will be able to work more efficiently for you.
25

Safety Instructions
This appliance complies with valid safety regulations. Improper handling may cause
damage to property and injury to persons.
Please read these instructions carefully before installing your appliance and using it.
It contains important information and tips on assembly, safety and maintenance.
Information concerning structural requirements
The following instructions must be observed when cooker hoods are used in the
extraction mode:
- In kitchens/rooms with no open fireplace, the air supply must ensure that no
negative pressure occurs in the room and that the hood can function properly.
- Important! Kitchens / rooms with an open fireplace, e.g. tile stoves, coal
ovens, fireplaces, etc., must always be provided with a sufficient supply of
fresh air. This is best ensured with a wall box for inlet air and exhaust air or
with a flip switch for the window.
Contact your local chimney sweep for information before making your plans.
He will have to give his approval for the hood and the inlet air and exhaust air
pipes before you put your hood into operation.
- Under no circumstances may the hood be connected to a smoke or exhaust
gas chimney that is used for other appliances (hot water tanks, boilers,
furnaces, etc.). Chimneys used for ventilating rooms or fireplaces may not be
used for the hood.
- Your local chimney sweep must give his approval if the hood is connected to
smoke or exhaust gas chimneys which are no longer in use.
- Valid national building regulations must be observed!
26

Safety instructions for assembly and use
- The metal grease filters must always be in place when the cooker hood is in
operation. Greasy vapours may otherwise be deposited in the hood and in the
extraction air system.
- In the case of gas cookers it is important to ensure that the cooking zones are
not operated without any cookware. Uncovered gas flames may damage
components of the cooker hood as a result of rising heat.
- Never flambé under the cooker hood as there is a risk of fire. The rising flame
could ignite the fat that has been deposited in the filter.
- Constant supervision is essential when deep-frying or cooking with oil or fat
under the hood because of the risk of fire.
- No other work may be carried out with an open flame. A fire may result and
damage the metal grease filter or other parts of the hood. This does not
include the proper use of a gas cooker.
Safety instructions for maintenance, cleaning and care
- Pull the mains plug out of the socket or switch off the relevant safety fuse in
the fuse box for the building when carrying out any maintenance or cleaning
work.
- The cooker hood may not be cleaned with a steam cleaner.
- Grease deposits may cause a fire if the instructions for maintenance and
cleaning are not followed.
27

INSTALLATION
Depending on the model, a minimum clearance of 60 cm must be maintained
between an electric hob and the bottom of the cooker hood when installing the hood.
A minimum clearance of 75 cm must be maintained for gas hobs (Fig. 1).
Fig. 1
electric hob min. 60 cm
gas hob min. 75 cm
Assembly instructions
Extraction or recirculation mode
When the hood operates in the extraction mode, the air that is extracted is cleaned
in the grease filter and lead outside through an exhaust air duct.
In the recirculation mode, the air that is extracted is cleaned in the grease filter and
also in a charcoal filter (extra). The clean air is then lead back into the kitchen.
Hoods supplied from the factory have been fitted for the extraction mode. You can
order the extra part required for the recirculation mode from us (also see the section
on “maintenance, cleaning and care”).
Electrical connection
Before connecting the hood to the mains, check that the voltage stated on the type
plate corresponds to the local power supply. The type plate is located inside the
hood. You will see it next to the motor once you have removed the grease filter.
The hood is supplied from the factory fitted with a mains cable and a plug. It can be
connected to any 230 volt, 50 Hz alternating current shockproof socket which has
been installed in accordance with regulations.
The socket should be located behind the chimney so that it is not visible. The socket
will not be accessible once the chimney has been mounted, so it must be possible to
cut off the electric circuit to which the hood is connected when maintenance work
needs to be carried out.
The hood complies with protection class 1 standards.
28
 Loading...