

Küppersbusch EDIP 60.0 W, EDIP 6400.0E Instructions For Use And Installation Instructions
BEDIENUNGSANWEISUNG
mit Montageanweisungen
Instructions for use and installation instructions
Instructions d´utilisation e avis de montage
Gebruiksaanwijzing en montagehandleiding
Istruzioni di uso e di montaggio
Instrucciones de Uso e Instrucciones de Montaje
Instruções de uso com indicações para montagem
GB
F
NL
I
E
P
G
00 00 00 00
EDIP 60.0 W - EDIP 6400.0E
KÜPPERSBUSCH HAUSGERÄTE AG
Postfach 10 01 32, D-45801 Gelsenkirchen, Küpperbuschstraße 16, D-45883 Gelsenkirchen
Telefon (02 09) 4 01-0,Telefax (02 09) 4 01-3 03
Dear customer,
We congratulate you on your choice. We are
sure that this modern, functional and practical
article, constructed from highest quality materials, will fully meet your requirements.
Please read all the sections of this INSTRUCTION MANUAL before using the extractor for the
first time to be able to obtain its full performance
and to avoid any breakdowns that could arise
from its misuse, also allowing small problems to
be overcome.
Keep this manual. It will always provide useful
information on the extractor and will help other
people to use it.
Safety Instructions
■ Before using the extractor for the first time,
you must observe the installation and connection instructions.
■ Never pull the cable to unplug the extractor.
Always pull the plug.
■ Do not switch on the extractor if the electricity
cable is worn or has cuts or if there are signs
of deterioration around the control panel.
■ If the extractor stops working or functions
abnormally, unplug it from the mains and
advise the technical service.
■ Do not leave gas burning without a pan
above it under the hood.
■ Do not allow grease to accumulate in any
part of the extractor, especially in the filter as
this COULD PRODUCE A FIRE RISK.
■ Do not flambé food under the hood.
■ Before installing the extractor consult local
rules and regulations in force with respect to
current standards on air and fumes.
■ Before connecting the extractor to the mains,
check that both the voltage and the frequency conform to that shown on the characteristics label of the extractor located inside it.
■ Switching on and off must be by means of
an omnipolar switch with minimum separation between contacts of 3 mm incorporated
into the fixed installation.
■ The electrical connection must be made by
means of a flexible cable. It is not allowed to
connect it by means of a rigid conduit.
■ The expelled air must not reach a duct that
is used to expel food processor fumes using
energy other than electricity.
■ The room must be provided with appropriate
ventilation if the extractor is going to be used
at the same time as other food processing
equipment not using electrical power.
■ We recommend the use of gloves and cau-
tion when cleaning the inside of the extractor.
■ Your extractor is designed for domestic use
and only for expelling and purifying gases
arising from food preparation. Its use for any
other purpose must be at your own responsibility and may be dangerous.
■ You should contact the nearest Qualified
Technical Assistance Service for any repairs
always using original spare parts. Repairs
and modifications carried out by others
could damage the apparatus or cause it to
malfunction, and risking your safety. The
manufacturer cannot be held liable for inappropriate use of the apparatus.
Description of the apparatus
A Motor controls that allow three posi-
tions to be selected
B Light switch independent of the motors
C Lighting by means of lamps
D Filters located over cooking area, easily
withdrawn for cleaning
E Extractable group that allows a
greater gas capture area
F Possibility of incorporating activated
charcoal filter
G-H Anti return tabs to be located in the
outlet mouth, locating their ends in the
holes provided.
(Fig. 1)
Instructions for use
By pressing the button shown in the figure, you
will be able to control the functions of the
extractor (Fig. 2).
Two achieve better extraction, we recommend
switching on the extractor a few minutes before
starting to cook (3 - 5 minutes) so that the air
flow is continuous and stable when extracting
the fumes.
Likewise, keep the extractor switched on for a
few minutes when cooking is complete to allow
all fumes and odours to be expelled.
Cleaning and maintenance
Before carrying out any cleaning or maintenance
activities, ensure that the extractor is disconnected from the mains.
To carry out cleaning and maintenance, follow
the safety instructions.
Filter cleaning
To withdraw the filters from their locations
release the anchoring points. Clean the filter,
either by putting it in the dishwasher (see notes)
or leaving it standing in hot water to simplify the
removal of grease or, if wished, by means of
special sprays (protecting the non metallic
parts). Once clean, leave it to dry.
Notes: cleaning in the dishwasher with aggressive detergents may blacken the surface of
metallic parts, without this affecting its gas
retaining properties.
N.B. The filter must be cleaned at least once a
month depending on how often the extractor is
used. It must be remembered that grease is
deposited in the extractor when cooking,
whether it is switched on or not.
Cleaning of the extractor body
The use of warm (40ºC approx.) soapy water is
recommended. A cloth moistened in this water
is used for cleaning the extractor, paying special
attention to the grids. Afterwards, dry using a
lint-free cloth.
Note:
■ Never use metallic scouring pads or abrasive
products that could damage the surface.
■ Do not use scrapers with metallic surfaces
such as knives, scissors etc.
Activated charcoal filter
■ To install the charcoal filter, the motor
anchorage is made to coincide with the
anchor points of the activated charcoal filter
and turn it clockwise.
■ The carbon filter lasts from three to six months
depending on the particular conditions of use.
■ The activated carbon filter can neither be
washed nor regenerated. Once it is exhausted, it must be changed.
■ To replace exhausted filters with new ones,
withdraw the old one in the reverse order to
that of installation.
Chaging Bulbs (Mod. A EDIP 60.0W, Fig. 1)
■ Remove the filter support to acces the bulbs.
■ Take care to disconnect the mains beforehand
and that the bulbs to be replaced are not hot.
■ The maximum bulbs power is 40W.
Changing Bulbs (Mod. B EDIP 6400.0E, Fig. 1)
■ Remove the embellisher ring by unscrewing
it in anti-clockwise direction, taking care not
to drop it.
■ Make sure that the hood has been discon-
nected from the mains supply and that the
bulbs to be replaced are not hot.
■ Remove the old bulb and install the new one,
following the bulb manufacturer’s instructions.
■ The maximum bulb rating is 40 W, 12 V.
■ Replace the embellisher ring by screwing
tightly in clockwise direction.
English
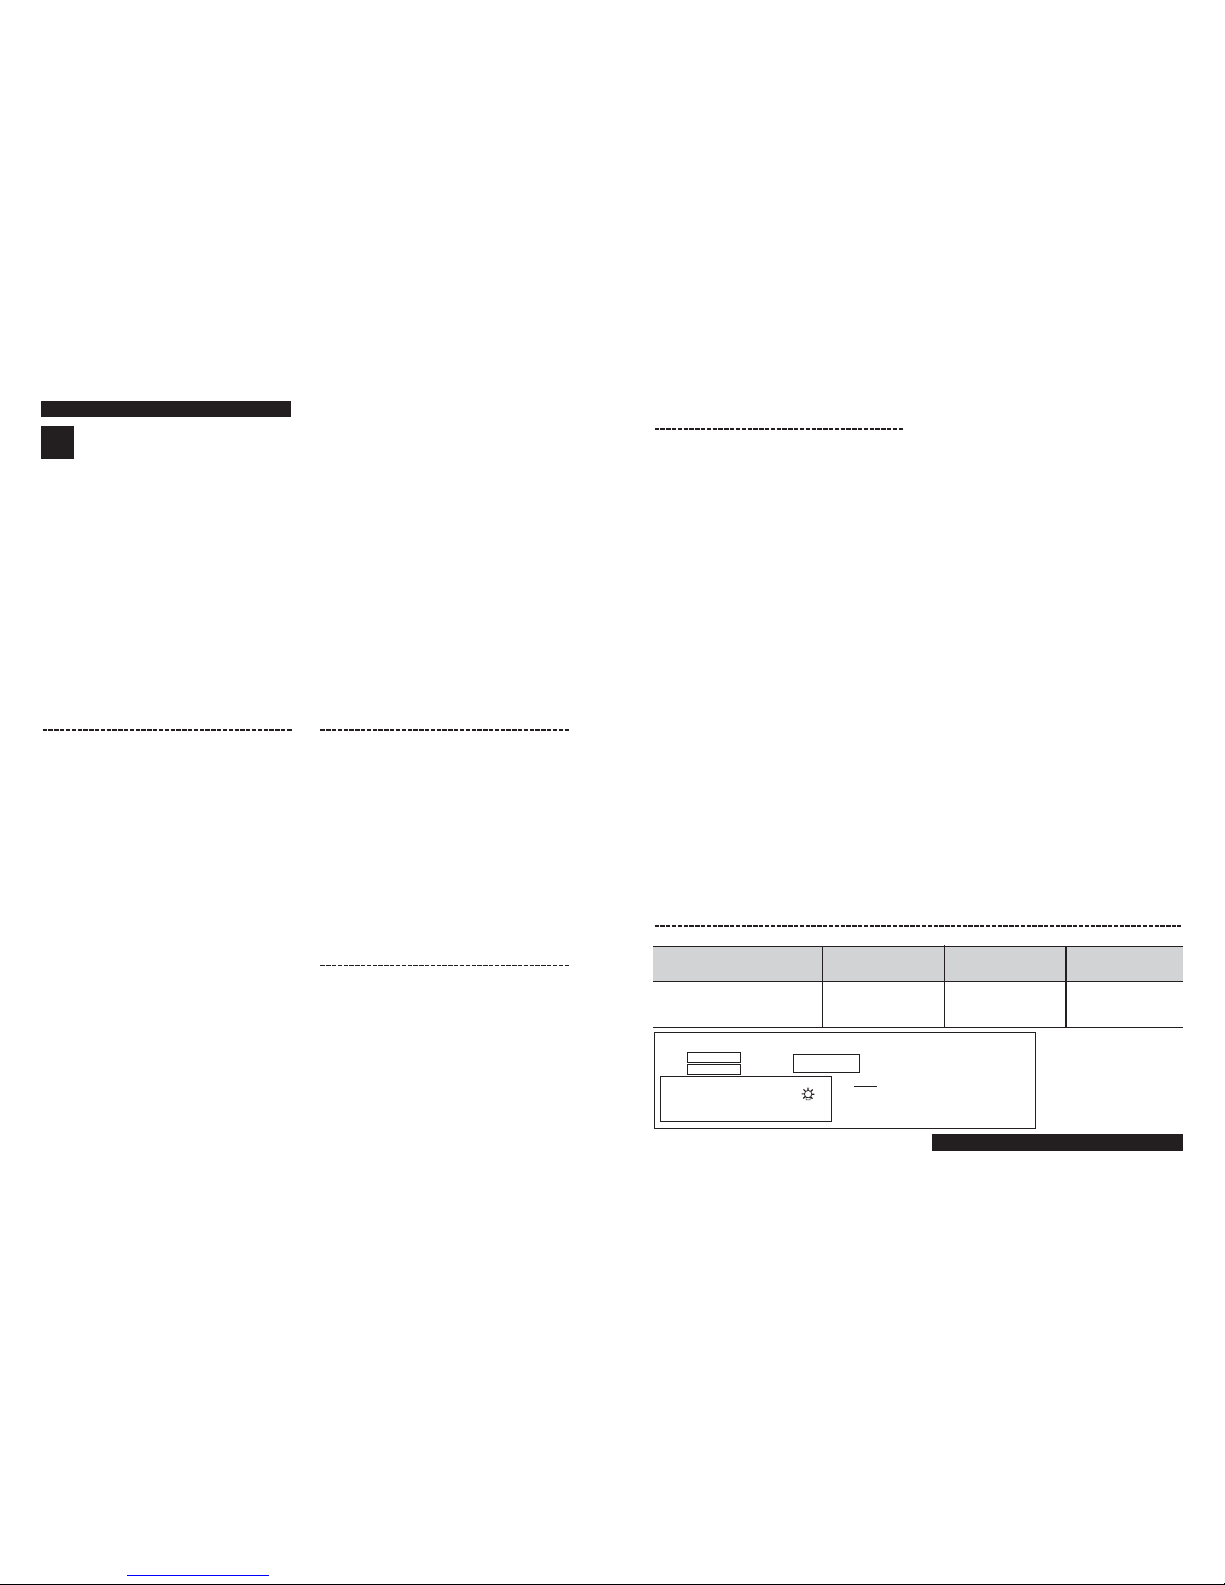
Technical information (Fig. 3)
Dimensions Voltaje Max Power
(mm) Frequency
600x300x185 Refer to Refer to Refer to
(Width x Depth x Height) Characteristics Label Characteristics Label Characteristics Label
Mod.
Typ.
POTENCIA NOM. LAMPARAS
NENNLEISTUNG GLÜHLAMPEN
LAMPS RATE
PUISSANCE LAMPES
POTENCIA NOM. DAS LAMPADAS
2x40 W
XXX – ZZ
Z-000000
N.º de fábric.
Fabrik.-Nr.
Serial No.
Made in European Community - C.I.F.: A-39004932
AA-000000
ELECT.
000…000 V. ~
00 Hz
000 W.
 Loading...